Hello everybody I'm still here as both of my airship builds are stalled at present need to find a way of constructing 100+ chairs all the same size and shape
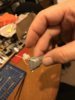
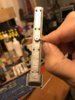
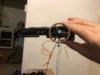
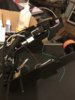
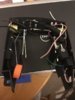
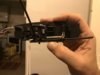
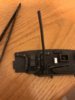
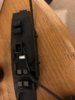
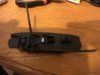
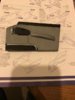
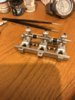
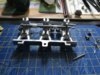
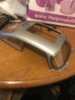
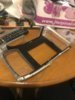
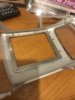
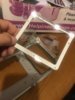
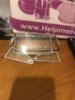
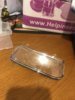
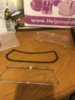
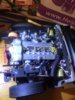
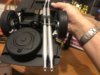
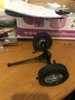
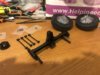
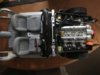
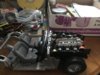
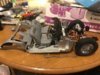
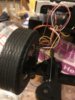
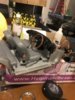
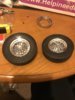
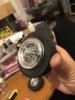
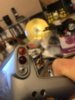
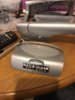
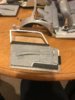
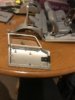
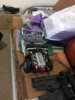
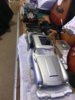
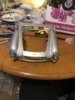
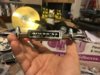
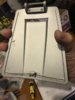
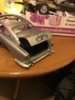
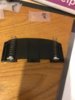
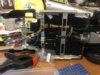
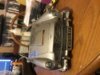
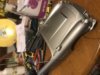
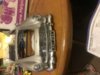
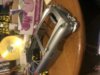
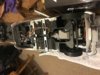
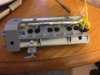
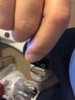
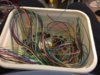
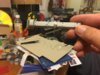
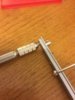
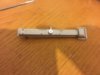
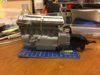
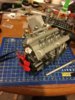
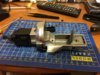
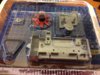
I present my latest build namely the 007 Aston Martin which I added extra detail due to it laking this although to be perfectly honest most of it is hidden anyway here is the 1st group of photo's to illustrate build so far
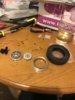
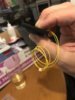
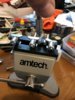
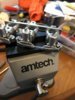
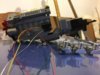
Basically I built the engine as per instructions decided it wasn't good enough did research on the net to see how other people had built theirs and went along the same route adding extra wiring and hoses to the engine bay and as later photographs show more detail espically the passenger compartment anyway comments always welcome good and bad
Regards
Colin
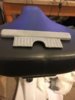
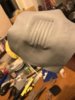
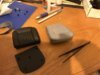
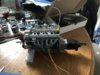
I present my latest build namely the 007 Aston Martin which I added extra detail due to it laking this although to be perfectly honest most of it is hidden anyway here is the 1st group of photo's to illustrate build so far
Basically I built the engine as per instructions decided it wasn't good enough did research on the net to see how other people had built theirs and went along the same route adding extra wiring and hoses to the engine bay and as later photographs show more detail espically the passenger compartment anyway comments always welcome good and bad
Regards
Colin
Attachments
-
 IMG_4951.JPG2 KB · Views: 0
 -
 IMG_4950.JPG3.5 KB · Views: 0
 -
 IMG_4949.JPG3.4 KB · Views: 0
 -
 IMG_4947.JPG2.9 KB · Views: 0
 -
 IMG_4946.JPG2.6 KB · Views: 0
 -
 IMG_4945.JPG2.5 KB · Views: 0
 -
 IMG_4944.JPG3.2 KB · Views: 0
 -
 IMG_4943.JPG2.8 KB · Views: 0
 -
 IMG_4942.JPG3.3 KB · Views: 0
 -
 IMG_4941.JPG2.3 KB · Views: 0
 -
 IMG_4940.JPG1.9 KB · Views: 0
 -
 IMG_4939.JPG2.8 KB · Views: 0
 -
 IMG_4938.JPG3.5 KB · Views: 0
 -
 IMG_4937.JPG3.4 KB · Views: 0
 -
 IMG_4936.JPG3.4 KB · Views: 0
 -
 IMG_4935.JPG3.2 KB · Views: 0
 -
 IMG_4934.JPG2.9 KB · Views: 0
 -
 IMG_4952.JPG2.9 KB · Views: 0
 -
 IMG_4933.JPG2.2 KB · Views: 0