Scale Model Shop

Collapse

Tamiya 1/32 Spitfire Mk8

Collapse
This topic is closed.
X
X
 
  • Time
  • Show
Clear All
new posts
  • Guest

    #1

    Tamiya 1/32 Spitfire Mk8

    Yesterday I was asked to build a 1/32 Tam Spitty Mk8 for a friend.
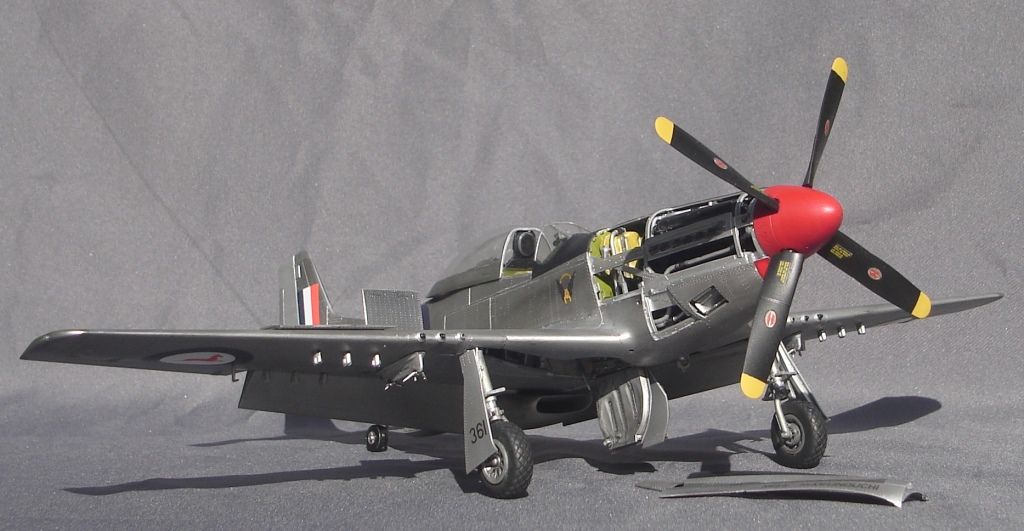
    Need;ess to say I was interested to see how well it builds after my recent experience with the Tam Mustprang.
    I woke at 0600 to pouring rain and with all my plans shot to hell I started this kit expecting another longterm build.
    However I was surprised how quick it is going sofar.
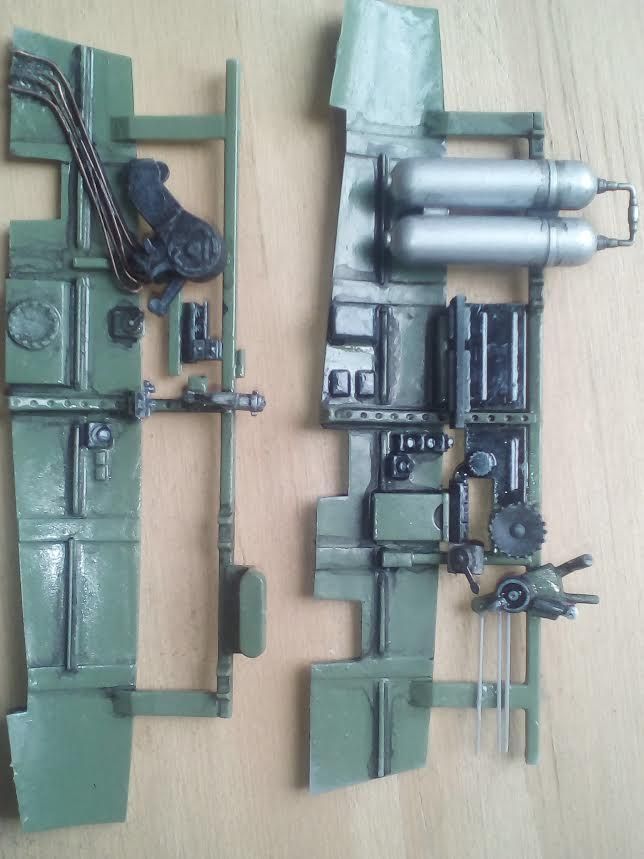
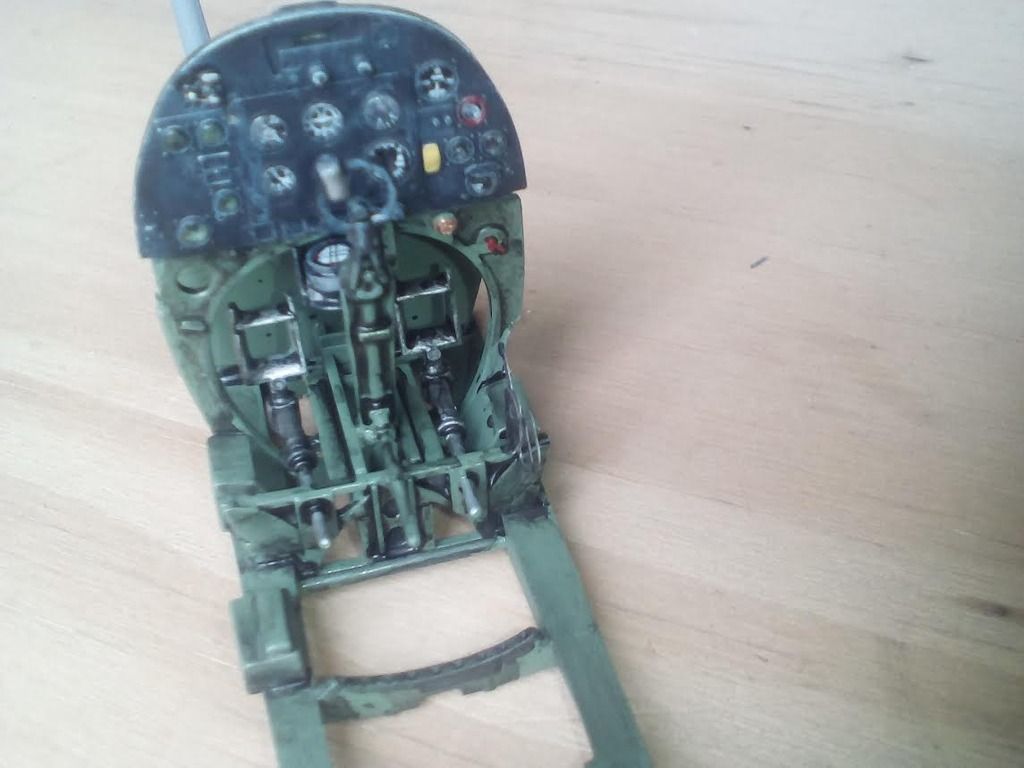
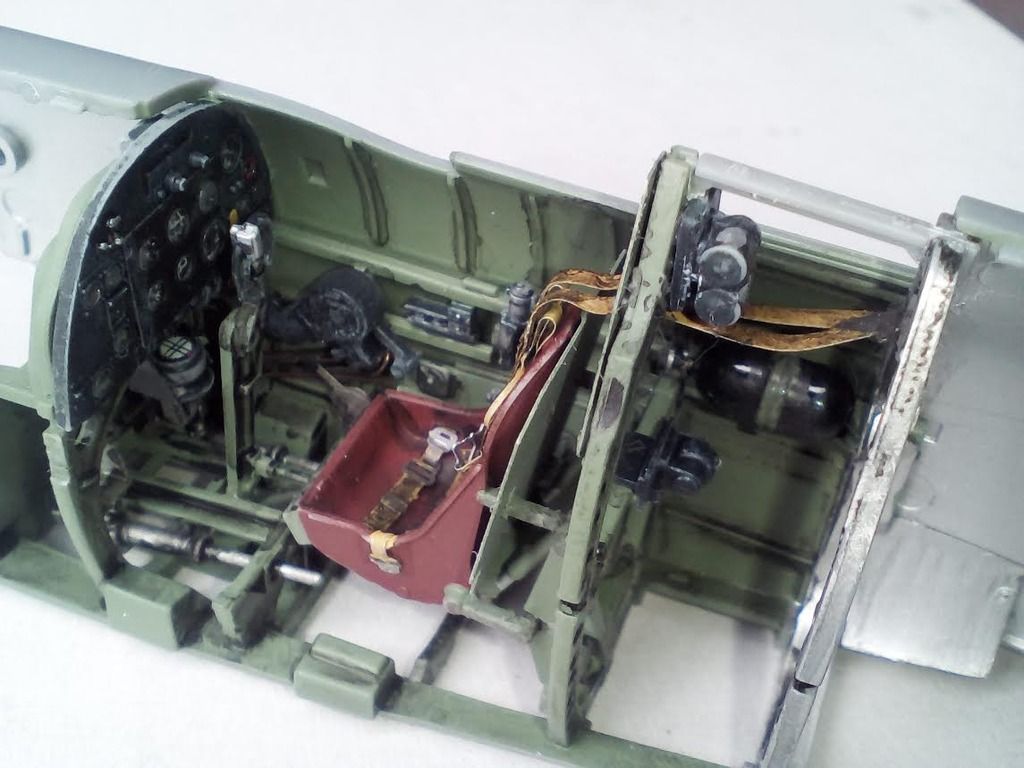
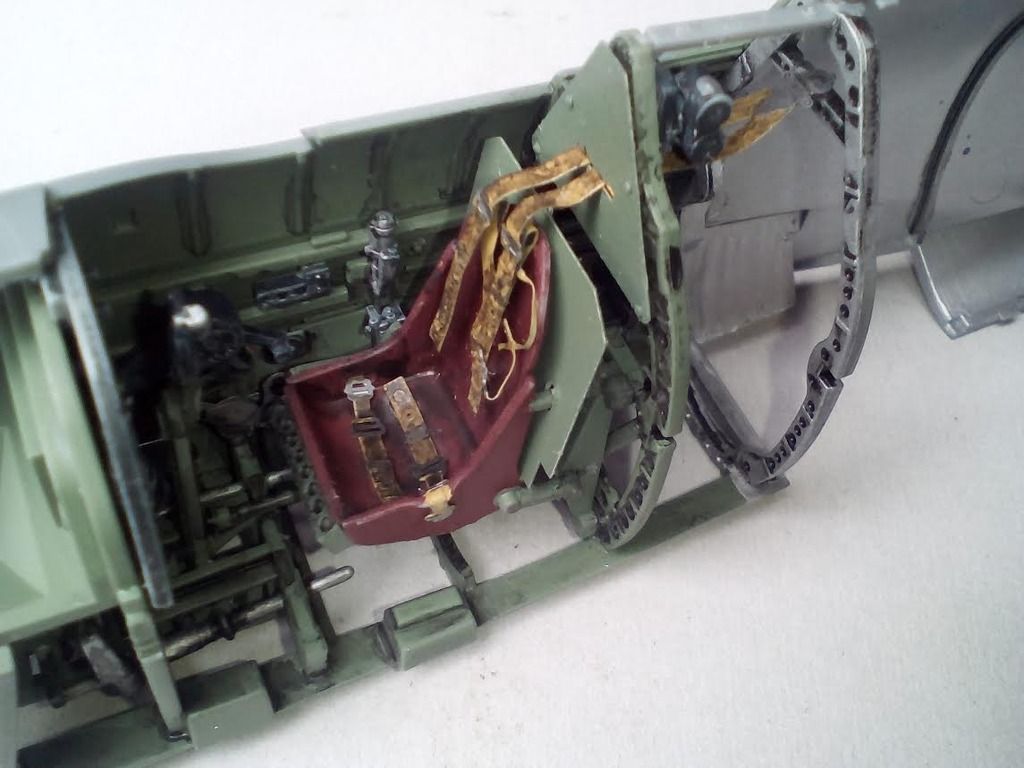
    Here is the basic components of the cockpit sofar.
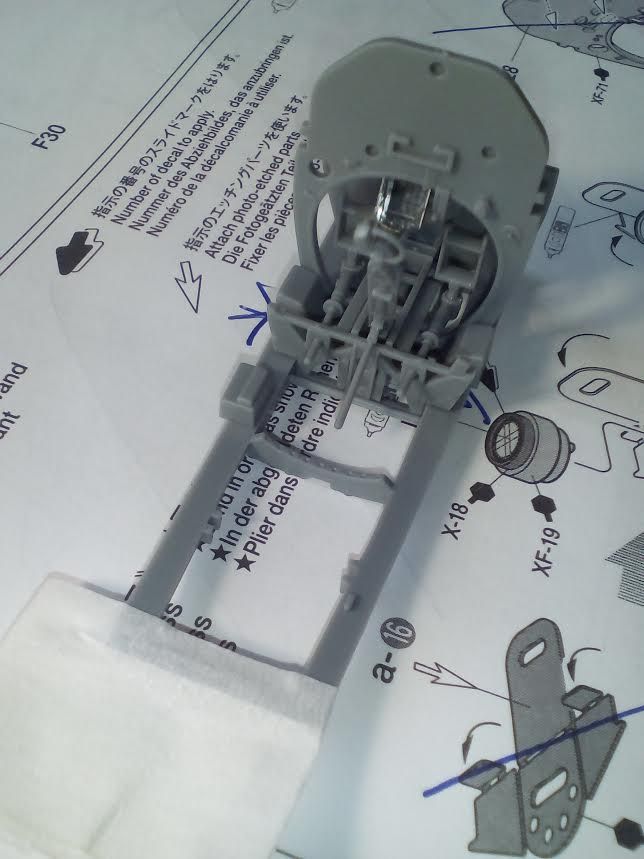
    Painted in Humbrol RAF interior...
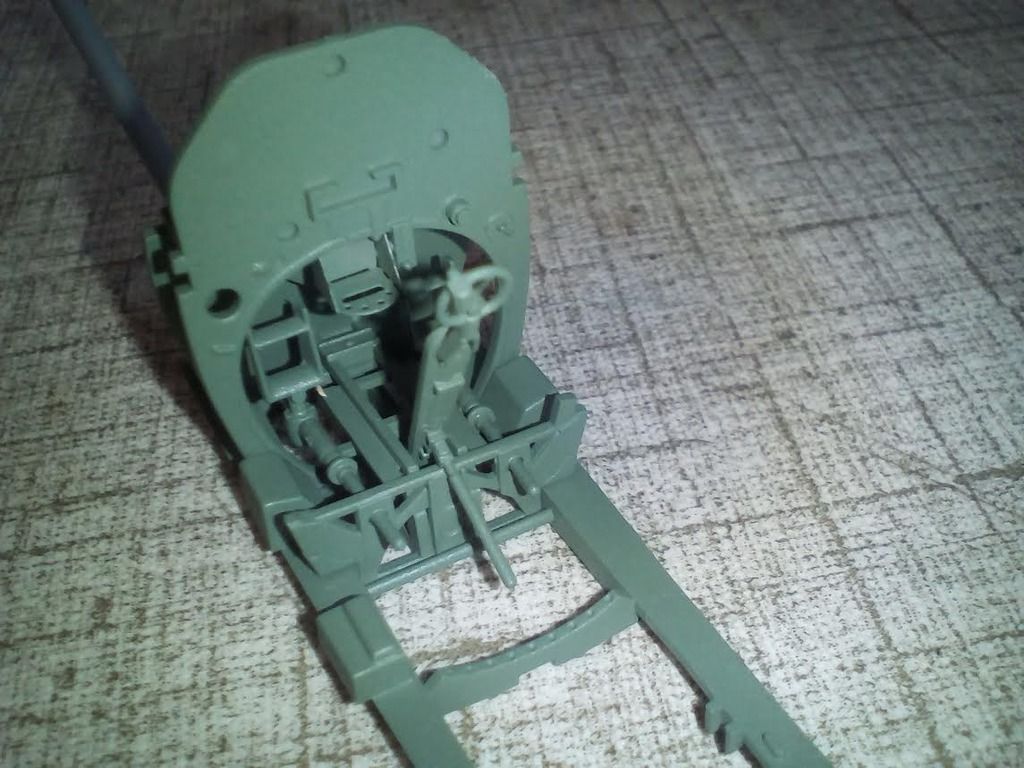
    The parts take very little if any cleanup compared to the damn revell 1/32 Spit Mk2 I am busy with.
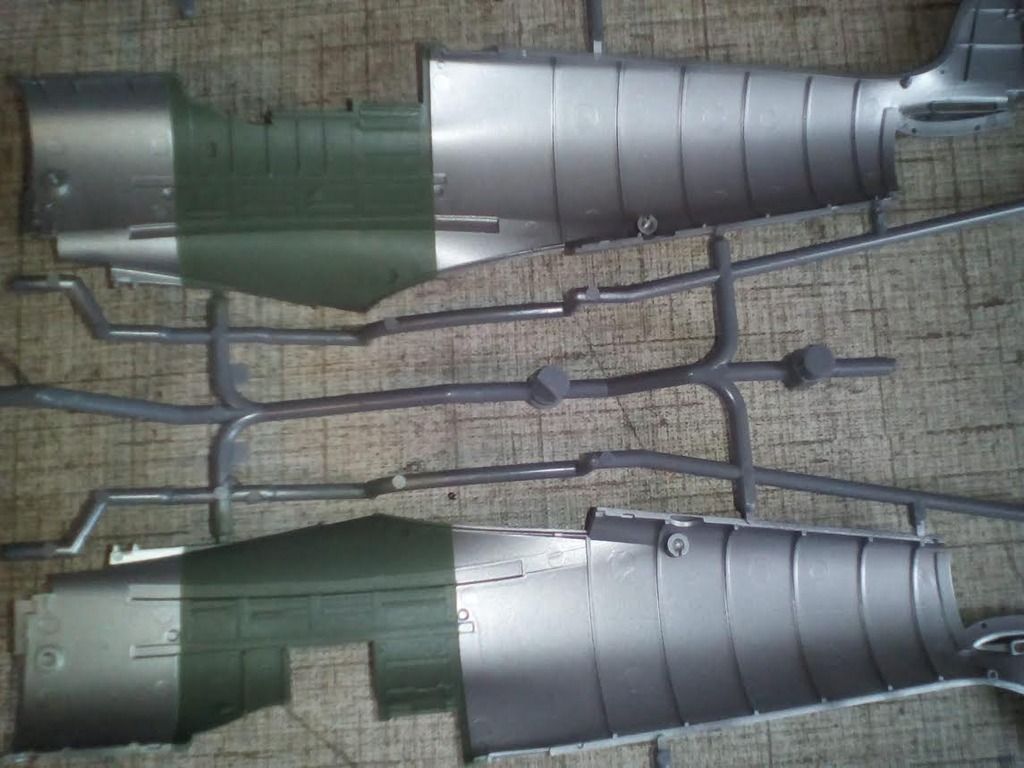

    It will be in the colours of the USAAF in Italy 1944.

    Theuns
  • Guest

    #2
    All detail is out the box except for the copper hydrolic libed to the right side controller aswell as the throttle quadrant's control pudhrods.

    On my mustang I preshaded the sidepannels but the effect made for a to dark look so this time I just did a pinwash to give some depth.


    Theuns

    Comment

    • BarryW
      SMF Supporters
      • Jul 2011
      • 6052

      #3
      Enoy the build Theuns, its a great kit and I am sure you will do it proud...

      Comment

      • Guest

        #4
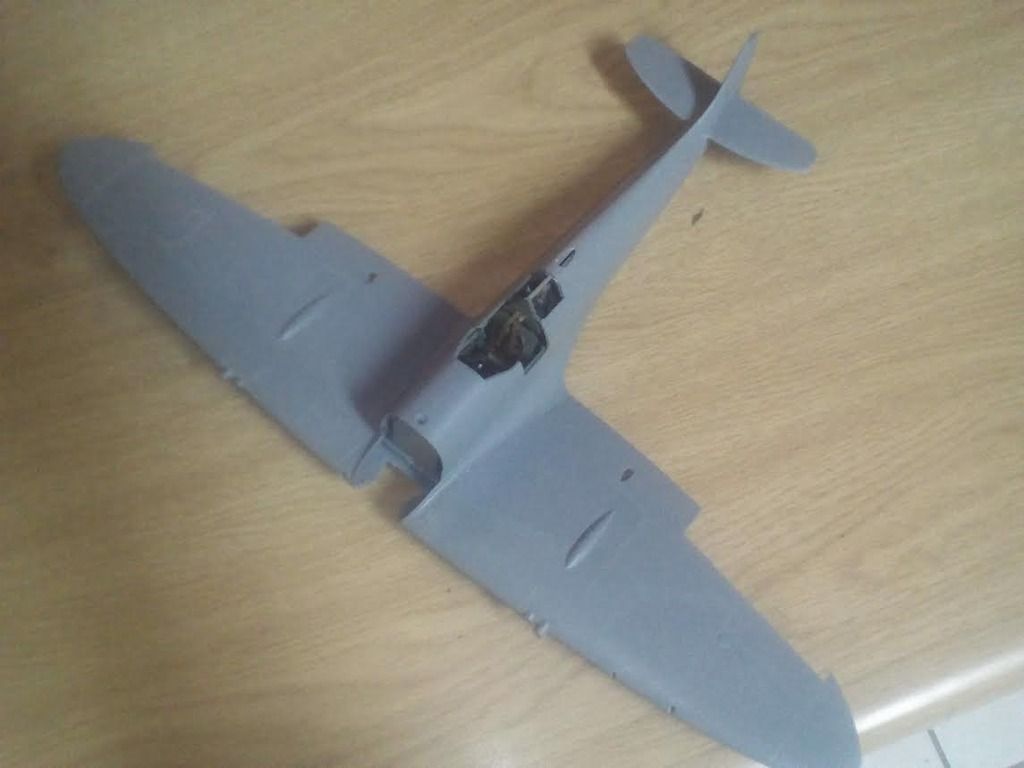
        Ta. I got the wing and tail on last nught, the fit is superb. I also got the whole engine built up in a few hours. This thing really is just shake and bake.

        Theuns

        Comment

        • Guest

          #5
          Originally posted by T. van Vuuren
          Yesterday I was asked to build a 1/32 Tam Spitty Mk8 for a friend.
          Need;ess to say I was interested to see how well it builds after my recent experience with the Tam Mustprang.
          I woke at 0600 to pouring rain and with all my plans shot to hell I started this kit expecting another longterm build.
          However I was surprised how quick it is going sofar.
          Here is the basic components of the cockpit sofar.

          Painted in Humbrol RAF interior...

          The parts take very little if any cleanup compared to the damn revell 1/32 Spit Mk2 I am busy with.


          It will be in the colours of the USAAF in Italy 1944.

          Theuns
          What influenced your decision on colour pallet for this?

          Comment

          • Guest

            #6
            If you are refering to the desert colours wit the USAAF decals, it is what the ovnre wanted :-)

            Theuns

            Comment

            • Guest

              #7
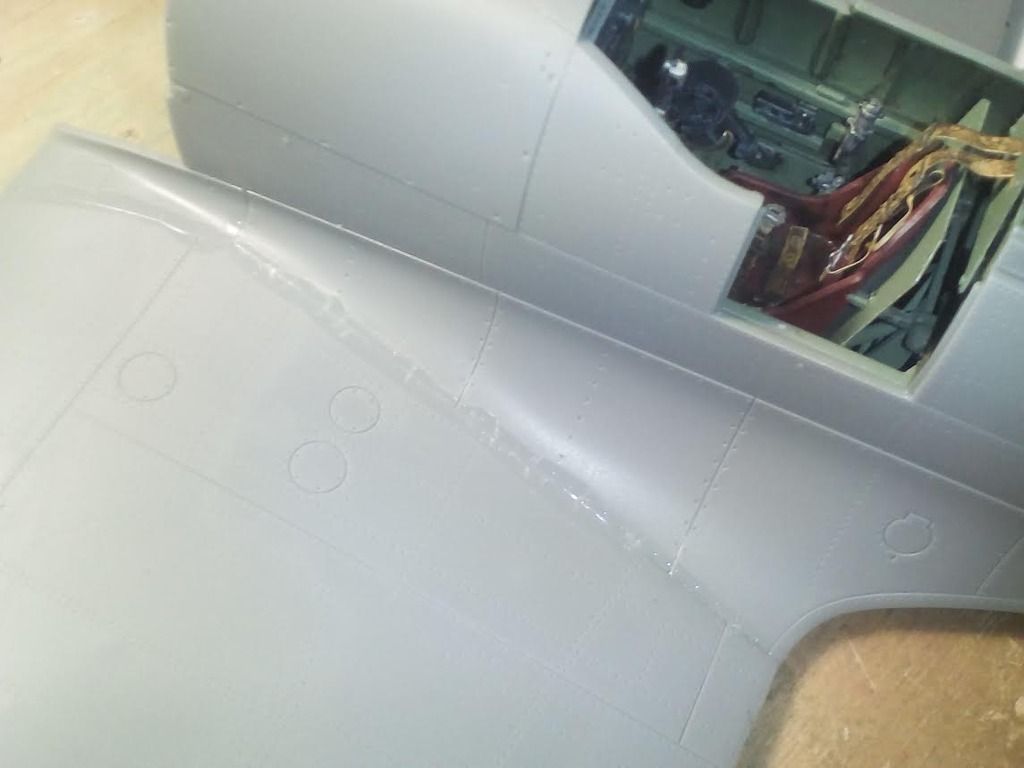
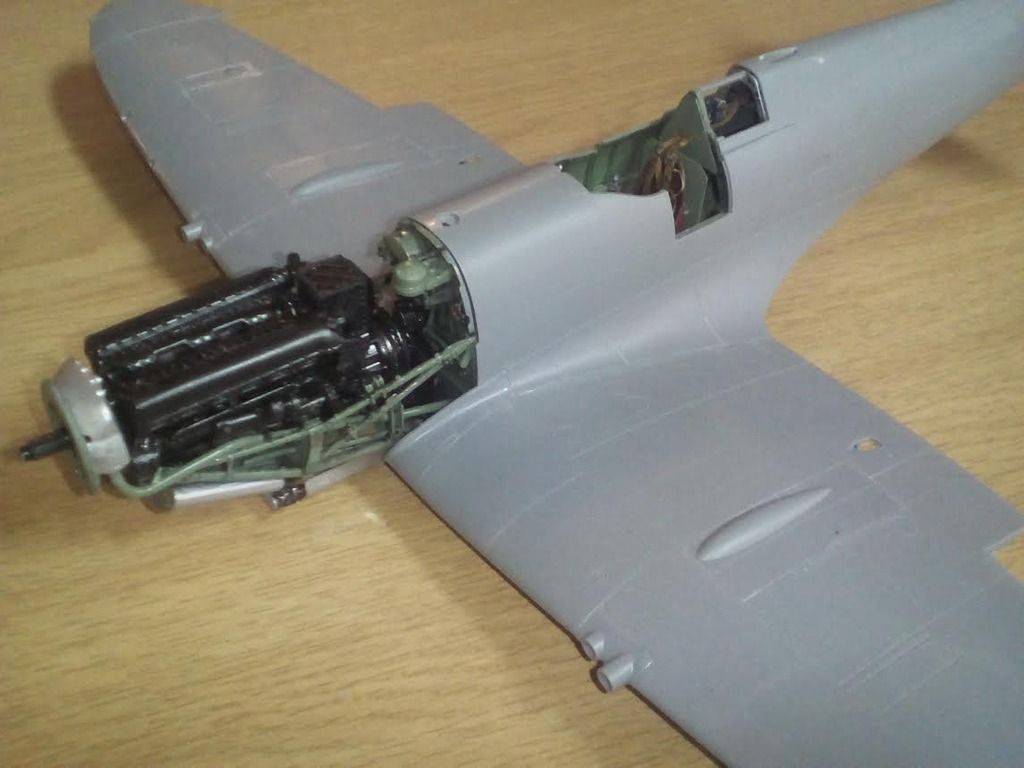
              Here is the wingroot fit on the Tam spitty, a light sanding and it will be ready for paint. Only thin cement was needed, no filler.

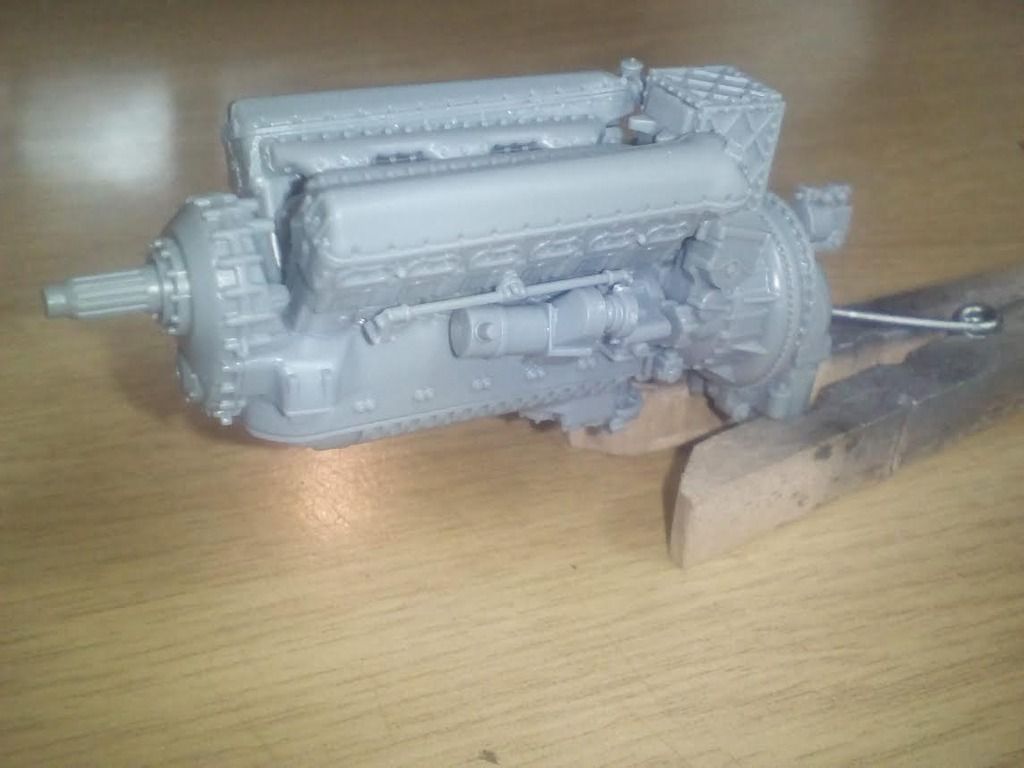
              The engine took about 90 min to assemble ready for paint.

              Good progress for only 3 days work

              In the meantime I painted all the bits for the engine mounds and firewall.

              Theuns

              Comment

              • james pithouse
                • Dec 2014
                • 1295

                #8
                close the canopy its cold I see they foregot the canpony and the rest off the bits and peices. THOSE MECHANIC CREW ARE FIRED AND THE DESIGNER THEY NEED SHOOTING for treason and sabotaging this build. great work tho theuns. liking it

                Comment

                • Guest

                  #9
                  It just goes to show how heavy this engine was f it had to sit so close to the cockpit in order to ballance.

                  Theuns

                  Comment

                  • Guest

                    #10
                    Cockpit looks good Theuns.

                    Comment

                    • Guest

                      #11
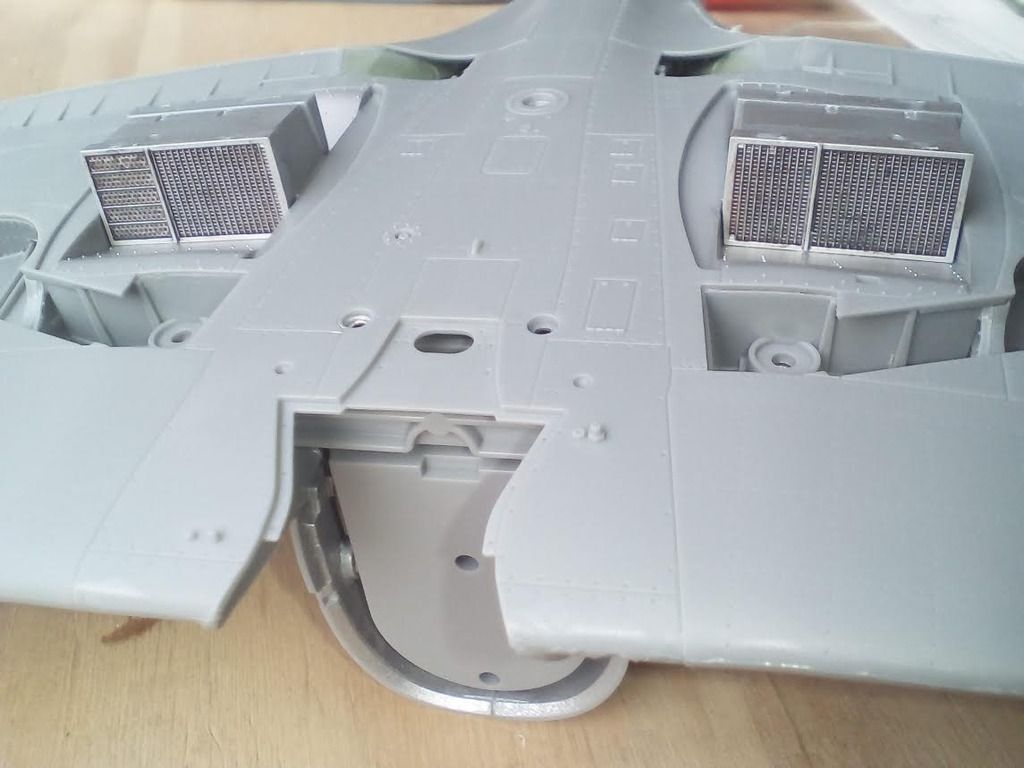
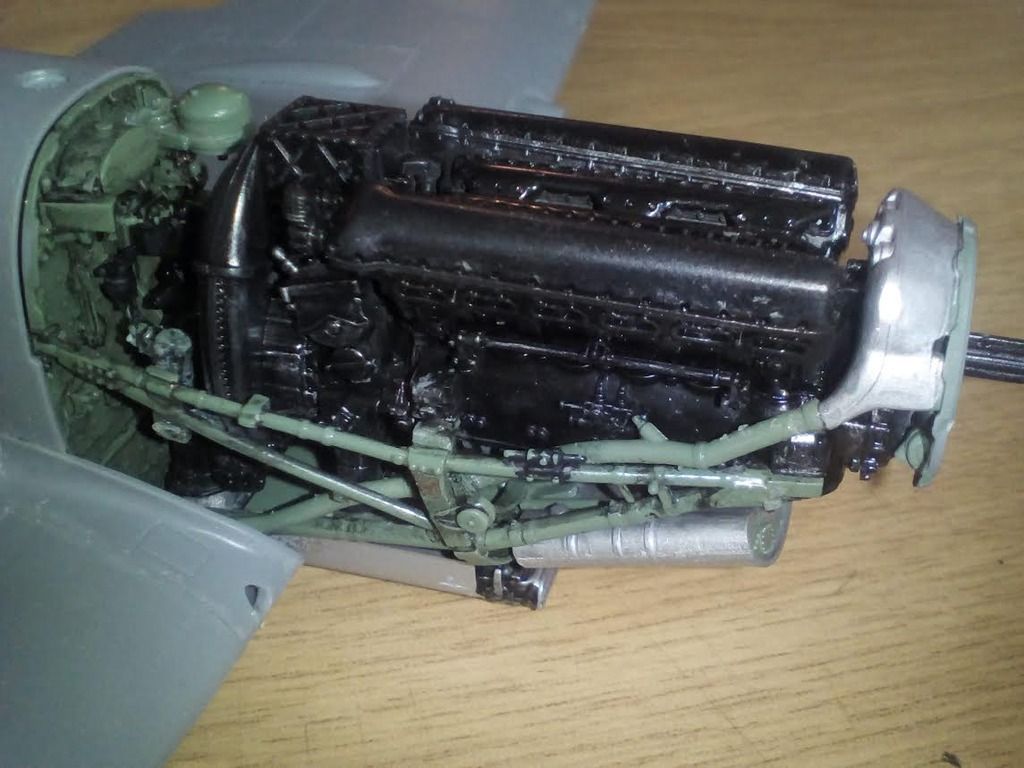
                      These radiators really "look the part" with a bit of a pinwash

                      The rest of the engine assembly was a tad fiddly, (was the same on my P-51) but it looks nice.

                      Theuns

                      Comment

                      • james pithouse
                        • Dec 2014
                        • 1295

                        #12
                        looking great theuns keep it up

                        Comment

                        • Guest

                          #13
                          Here is the basic firewall forward assembly, it was a little more "fiddly" and difficult than the rest of the model bt it looks busy enough.


                          ALthough the whole cowl can be take n off I might just remove te one side and the bottom cowl but leave the rest on to try and maintain the "lines" of the plane yet still show off enough to be interesting, I did the same on my mustprang ad it works well.


                          Theuns

                          Comment

                          • james pithouse
                            • Dec 2014
                            • 1295

                            #14
                            i gree theuns it does work well

                            Comment

                            • Guest

                              #15
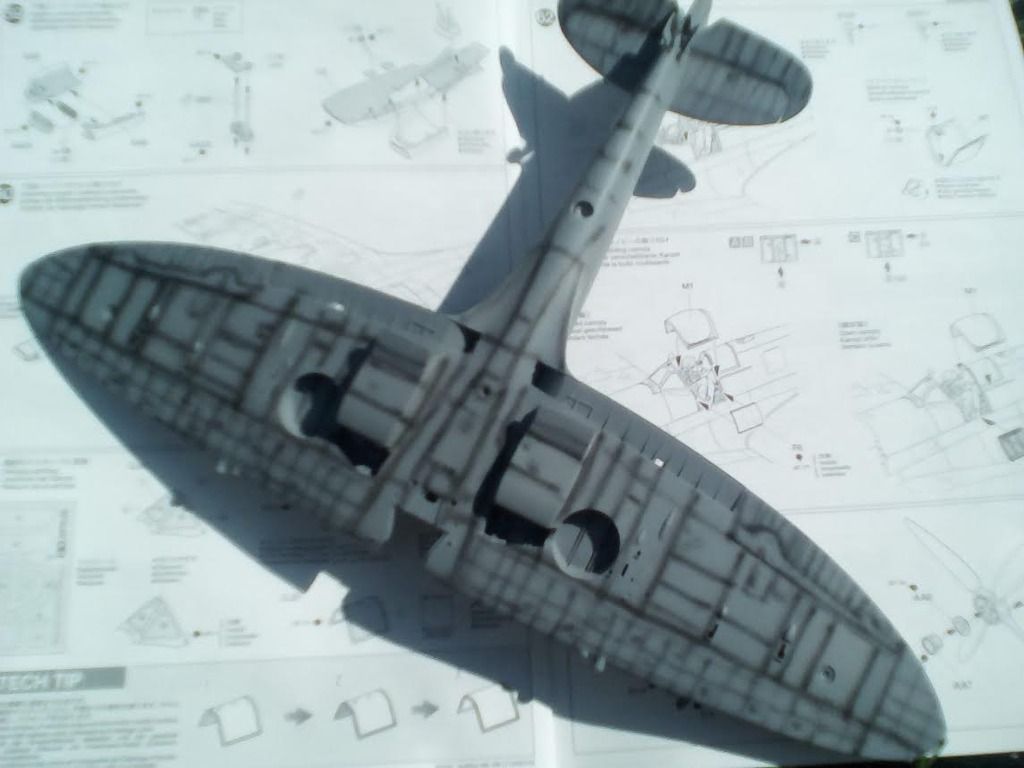
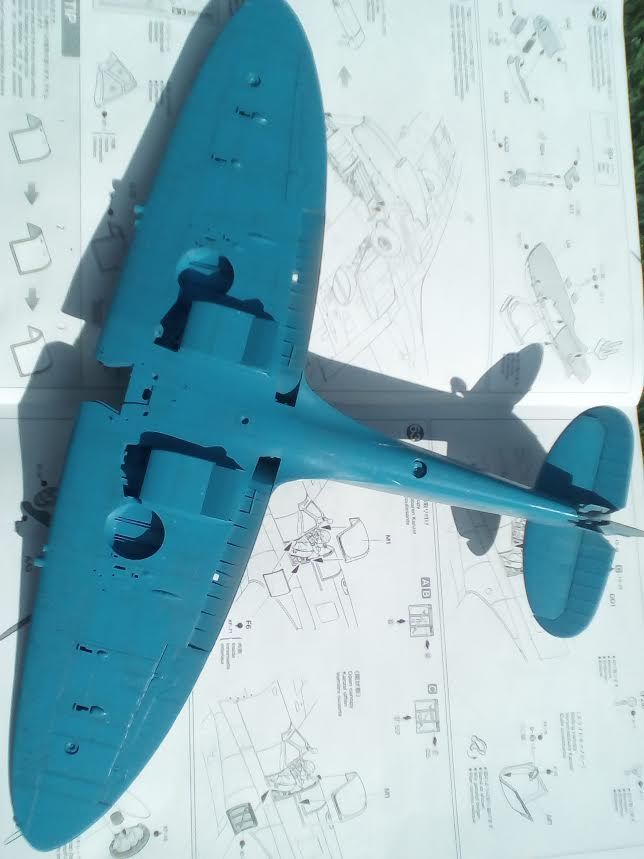
                              This is not the best quality pic but you can see the preshading (my hand was a tad shaky it seems lol)

                              I mixed sonme Tamiya blue with white and added a few drops of red to give it that Azure look that has a very slight "violett" tint. Difficult to see in the cell pic.

                              Next will be my mix of faded Mid stone and dark earth

                              Theuns

                              Comment

                              Working...