
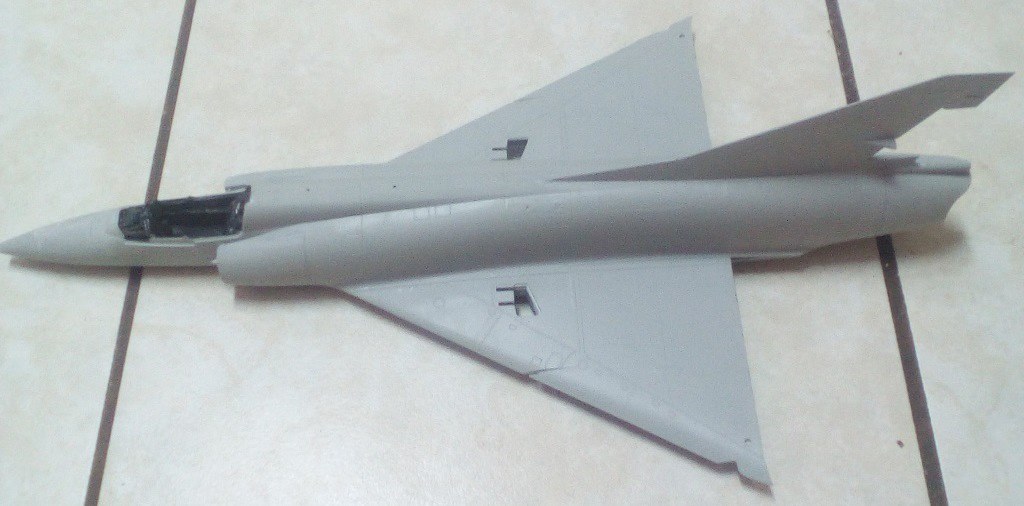
I am building this Itateri 1/32 Mirage 3 CJ for a mate.
Sofar it is a nice kit, fot is good in the cockpit and detail is good.
These kits are quite popular with guys I know and it builds up well out of the box.
The seat dresses up nicely with the kit supplied PE harnass.
It will be in Israeli scheme
T
Attachments
 IMG_20181212_140725.jpg (95.16 KiB) Not viewed yet
Sofar it is a nice kit, fot is good in the cockpit and detail is good.
These kits are quite popular with guys I know and it builds up well out of the box.
The seat dresses up nicely with the kit supplied PE harnass.
It will be in Israeli scheme
T
Attachments

 IMG_20181222_055821
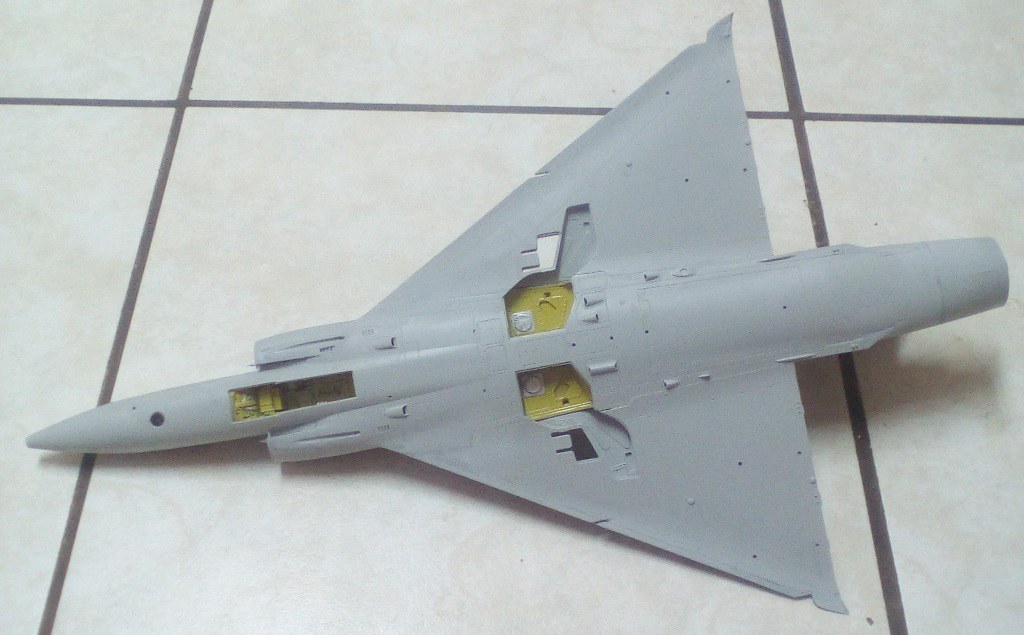 IMG_20181222_055852
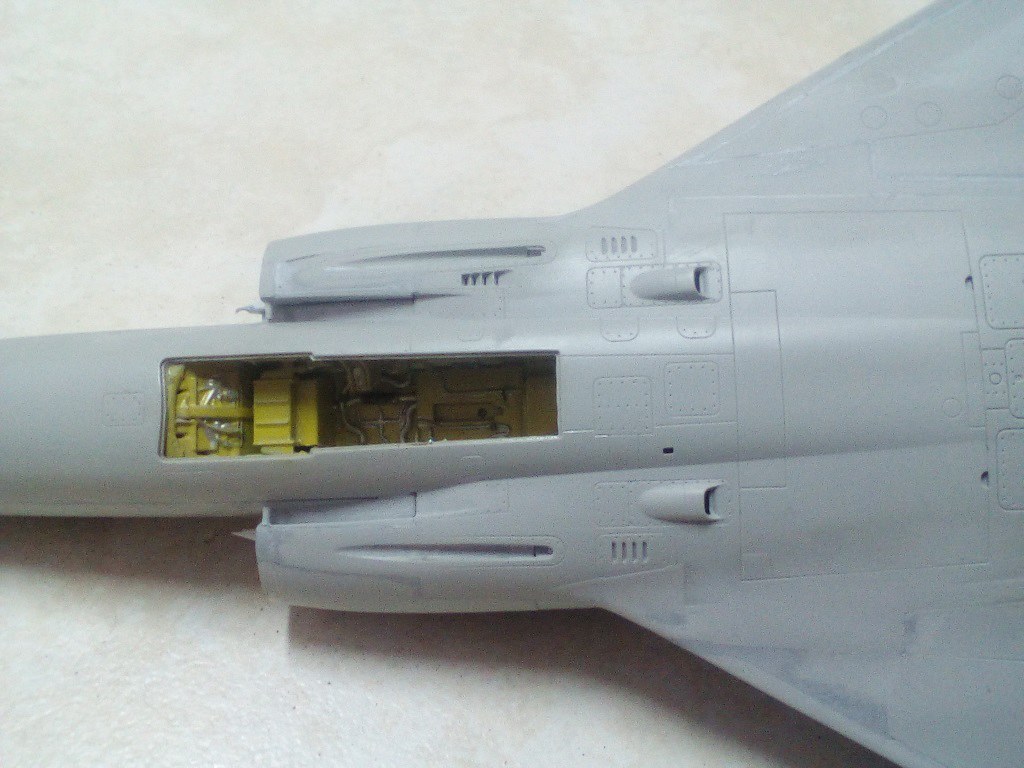 IMG_20181222_055920
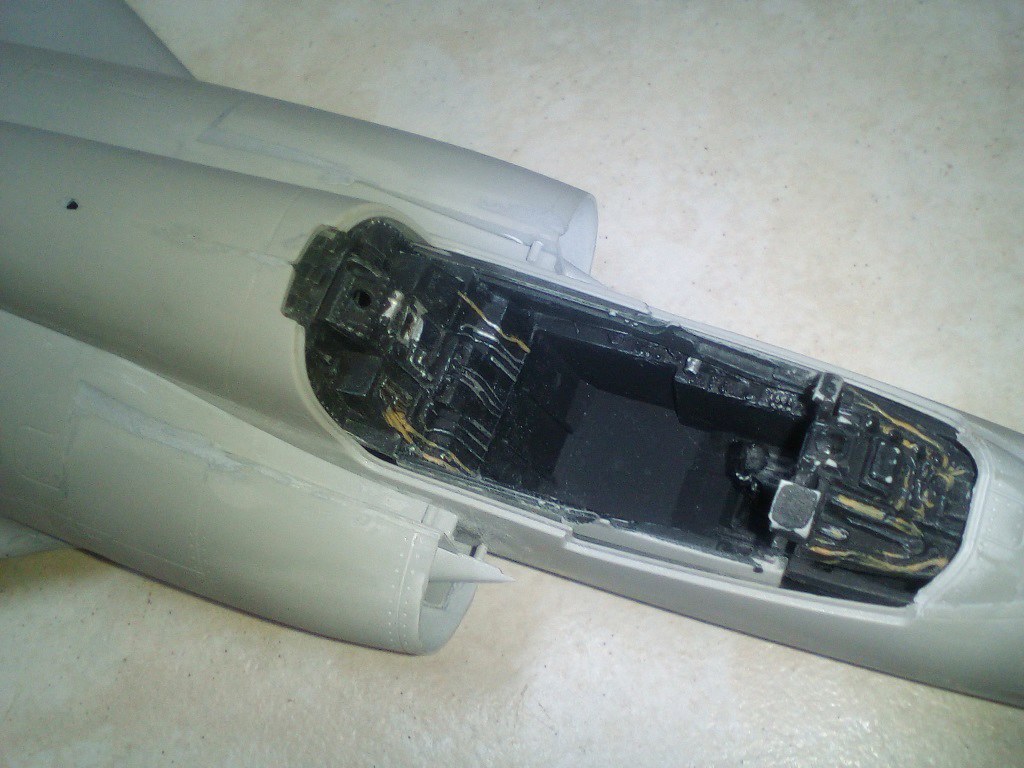 IMG_20181222_060007
 IMG_20190107_163813
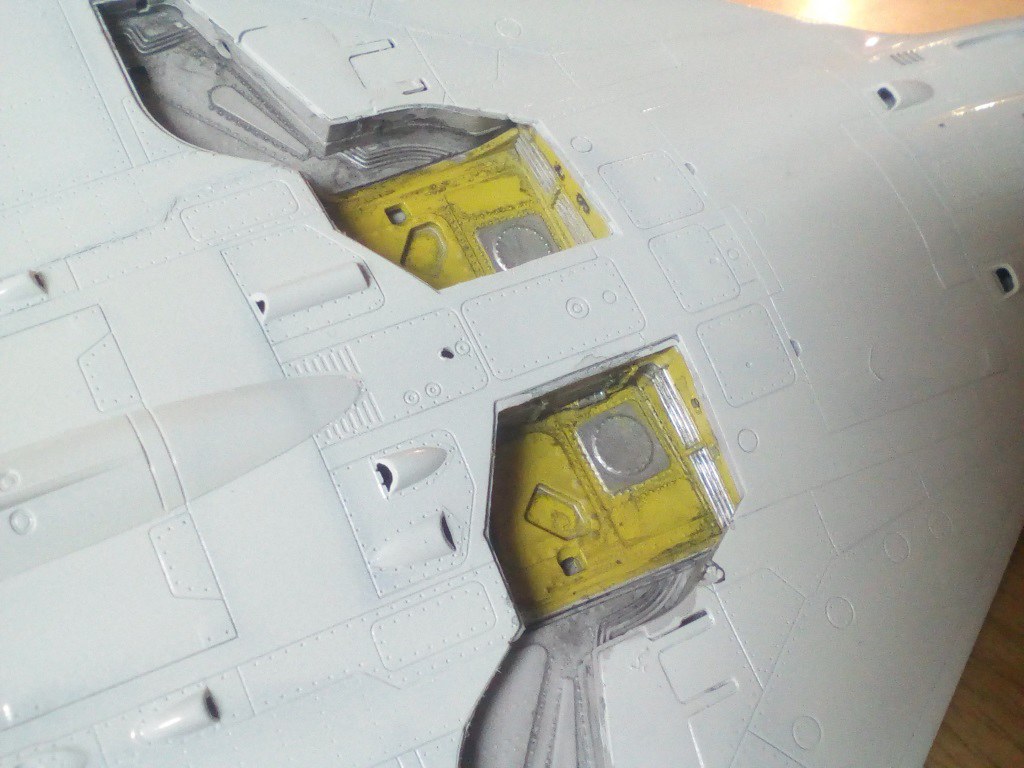 IMG_20190107_194708
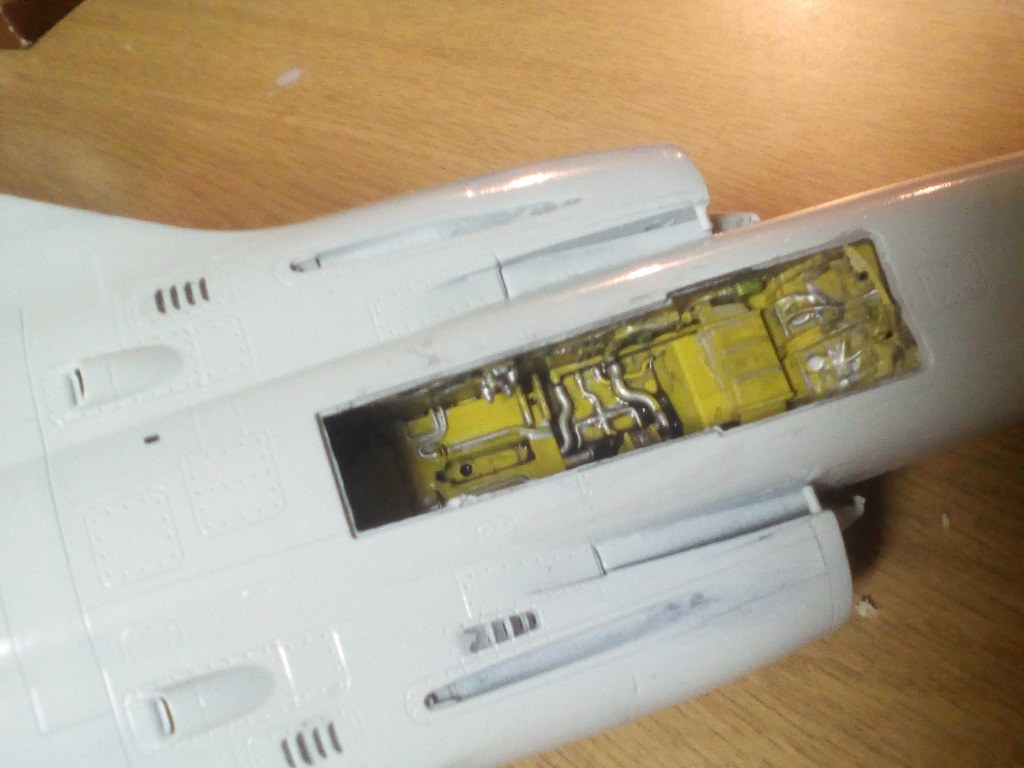 IMG_20190107_194731
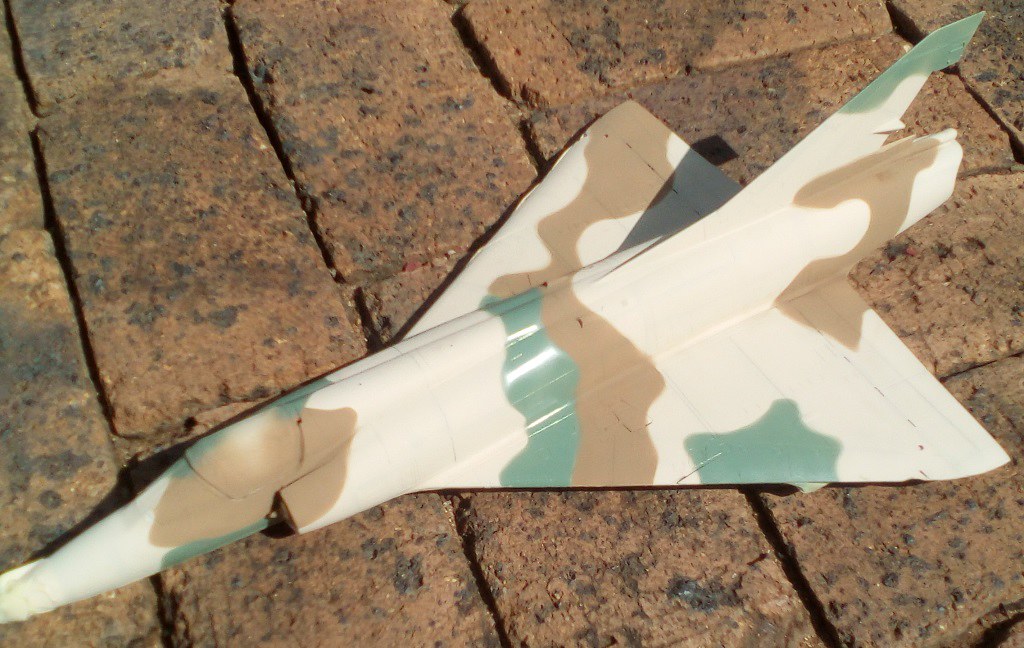 IMG_20190108_152308
 IMG_20190108_152257
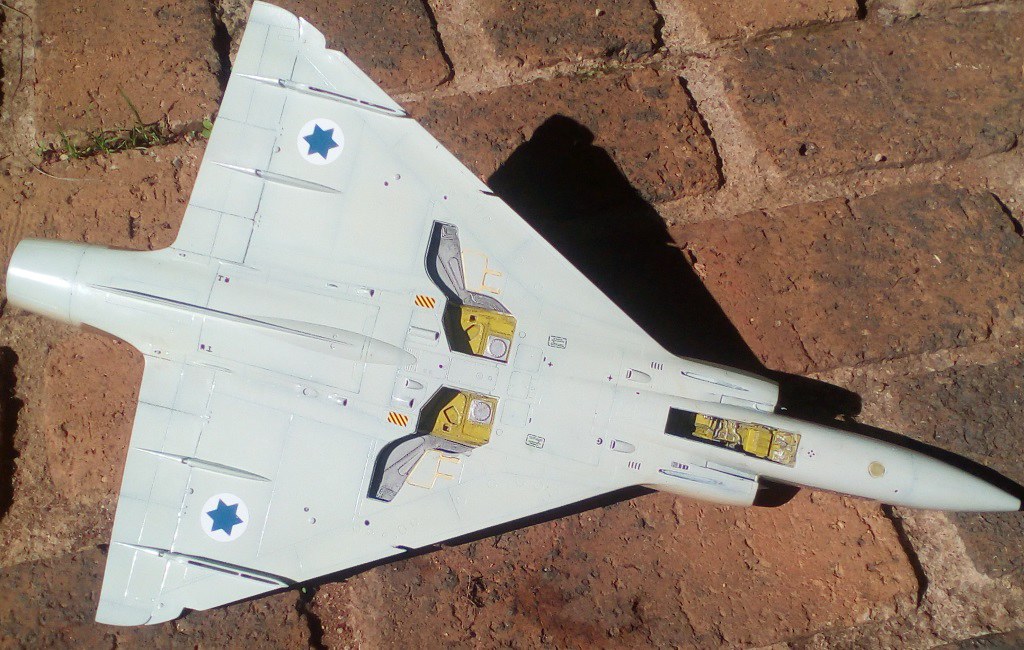 IMG_20190111_083924
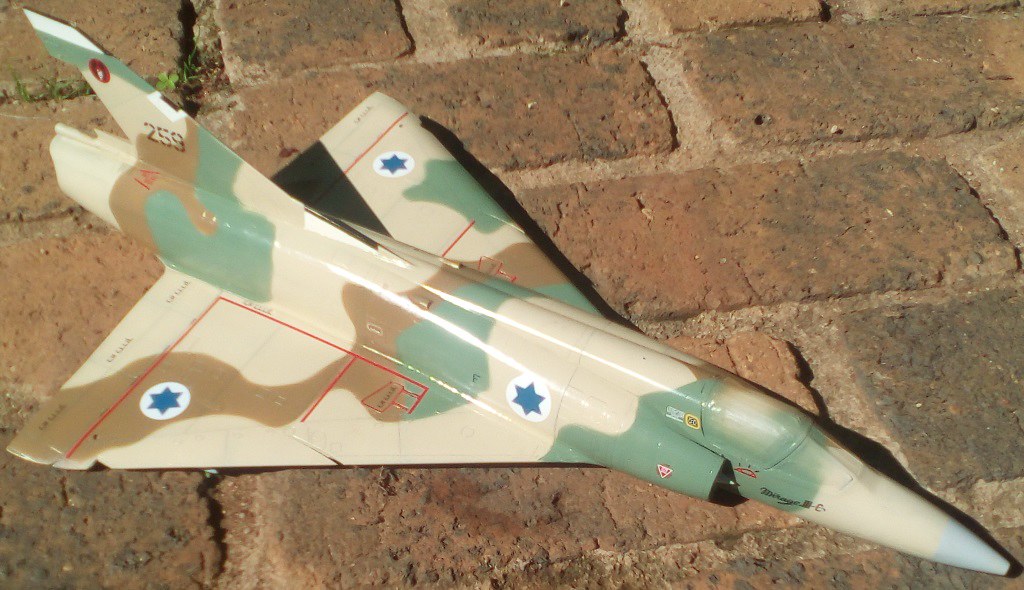 IMG_20190111_083910
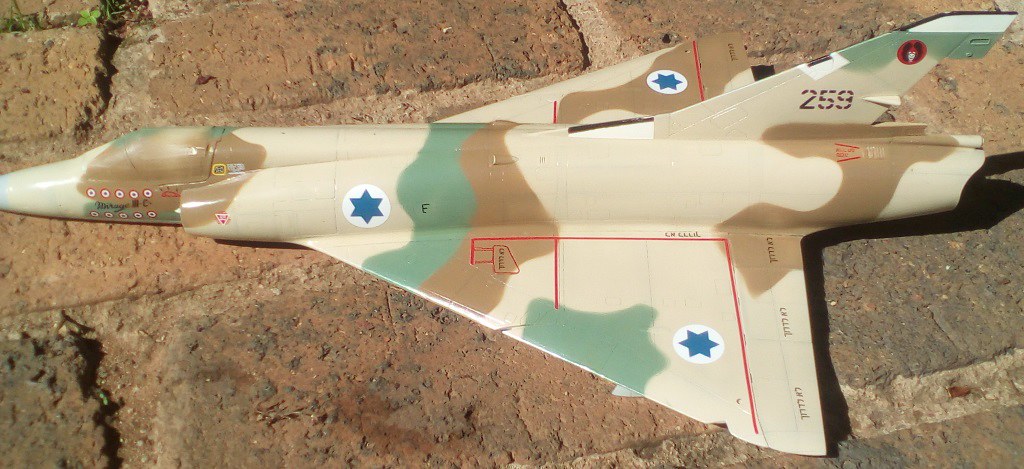 IMG_20190111_083832
Comment