Thanks Patrick... with the Photos, I always use the IMG link on photobucket, so I am not sure why an album is showing up on your smartphone, I have checked the images on our smartphones and they look fine to me, it opens up photobucket if you click on a picture though ... computers !!

-
-
Fair enough mate, I just wasn't sure why it was happening so I thought maybe it was a different type of link.Comment
-
That's looking really good Bob
BobComment
-
looking real good ,Bob,like the colors,the black under the salmon,gives a very nice feel of depth,
and like the way your done the door and windows,I have never used flat earth,with the orange wash,mite just
have to try that one,real like what your done,looking great,
Comment
-
Thanks Bob and Monica.
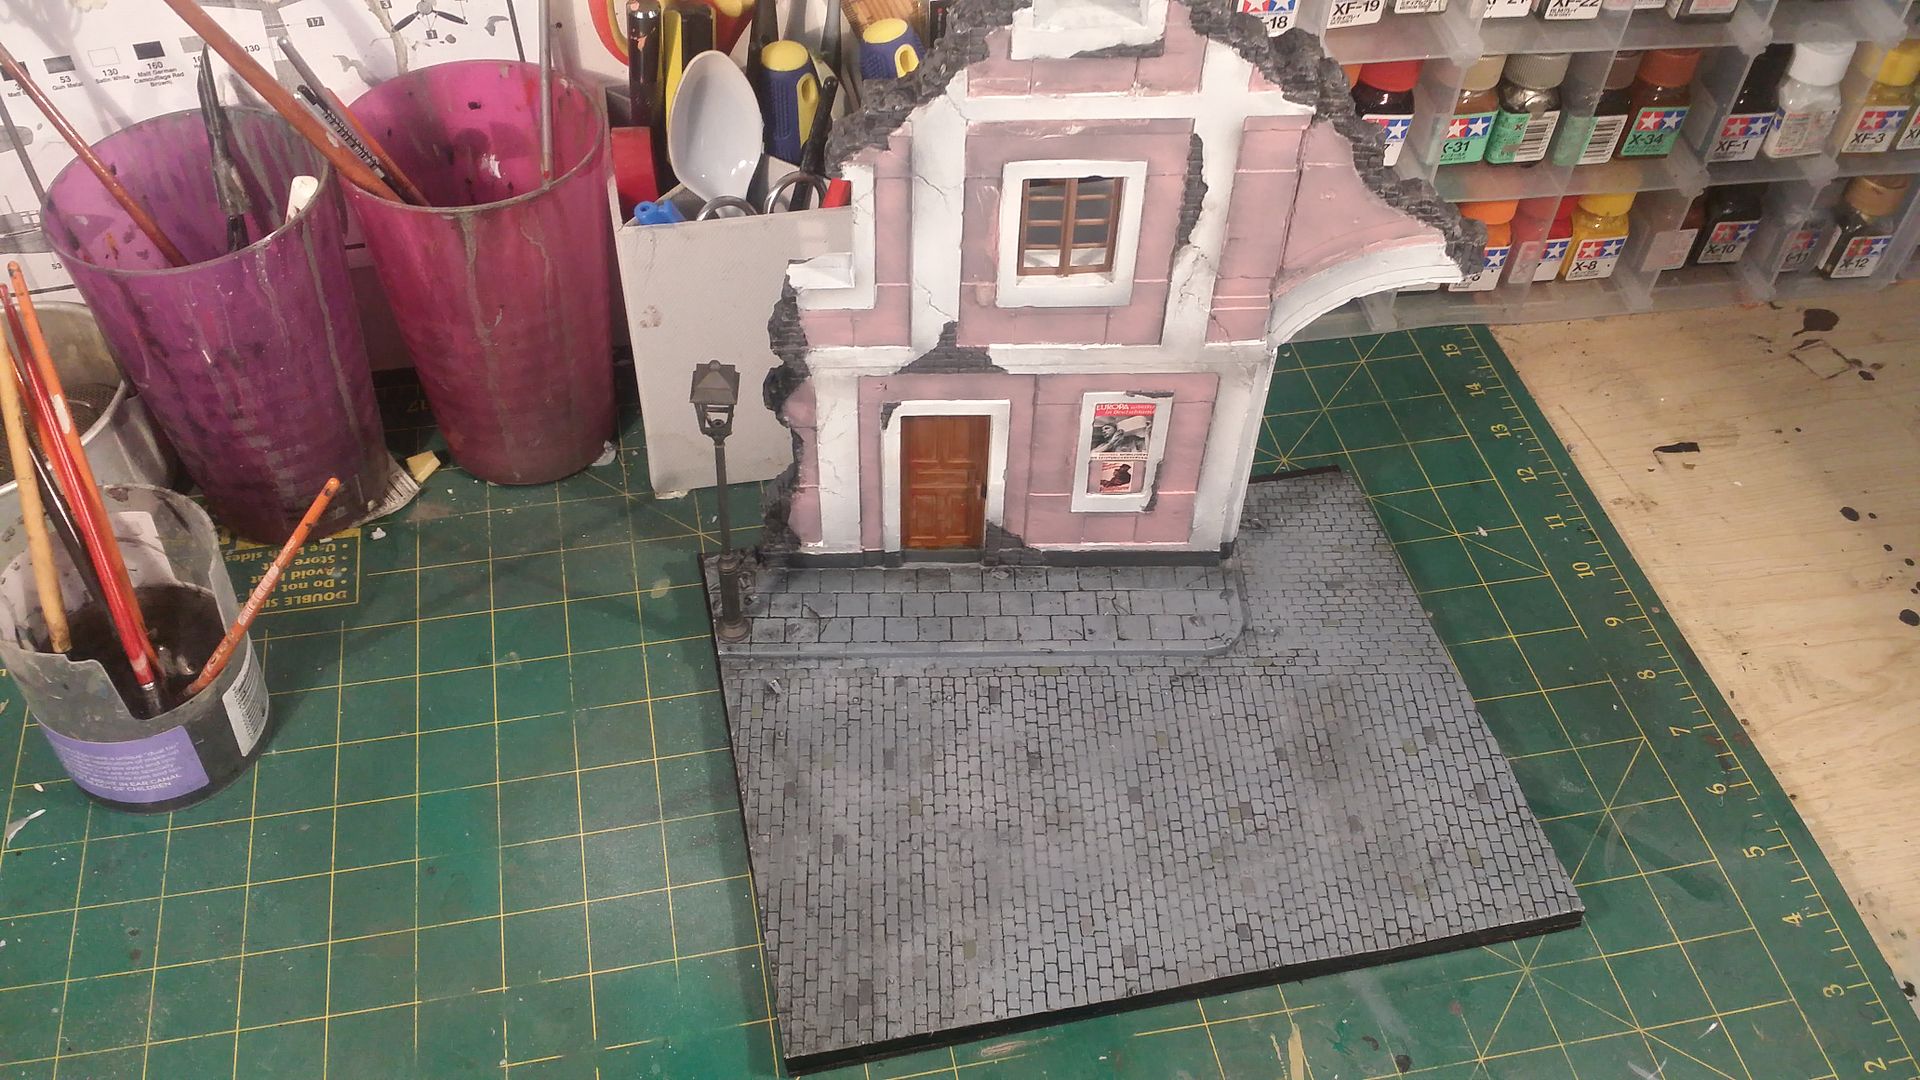
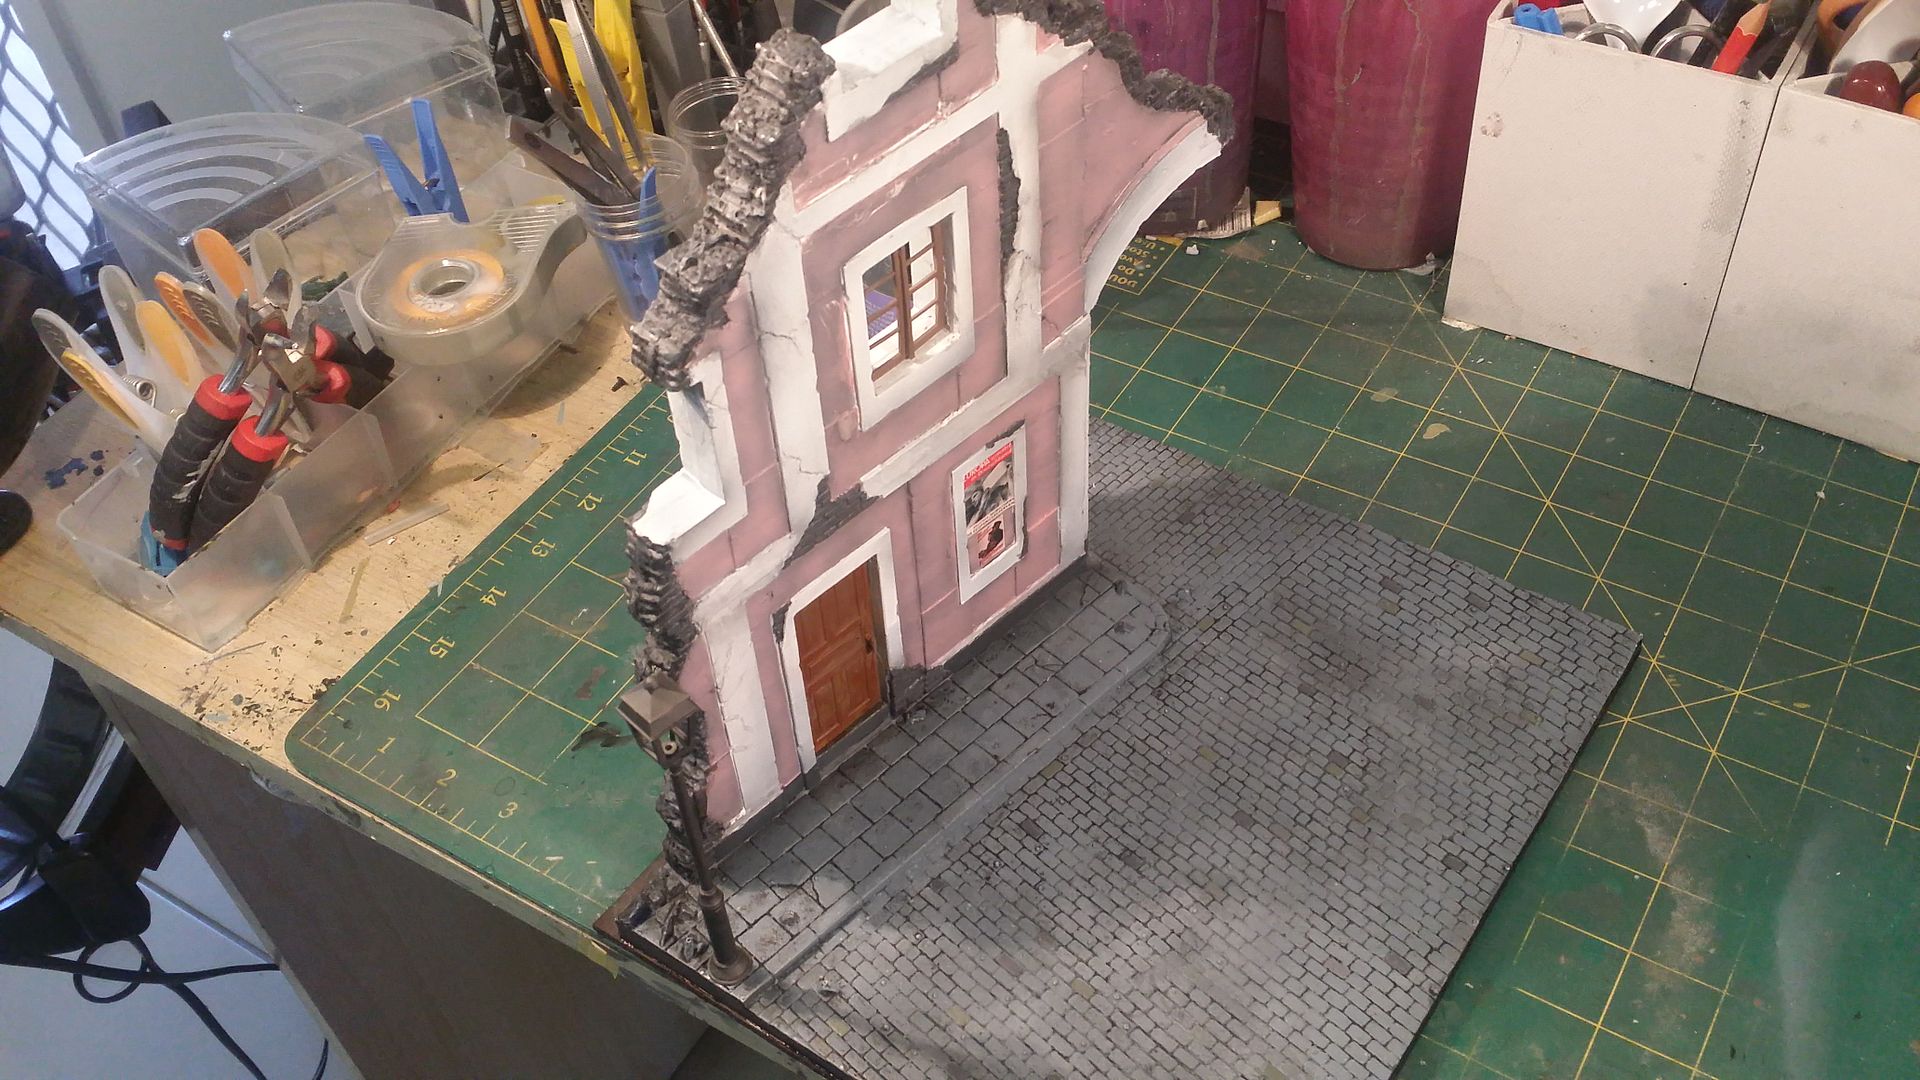
Monica with reference to the door I havnt applied clear orange in the pictures above, however in the photos below I have. So for a wood effect I paint Tamiya Flat Earth wait for it to dry then apply Tamiya Clear Orange then a matte coat.
In the pics below you can see how it looks
So I applied a Vallejo wash to the floor

Did up the last piece of the base
Here it is
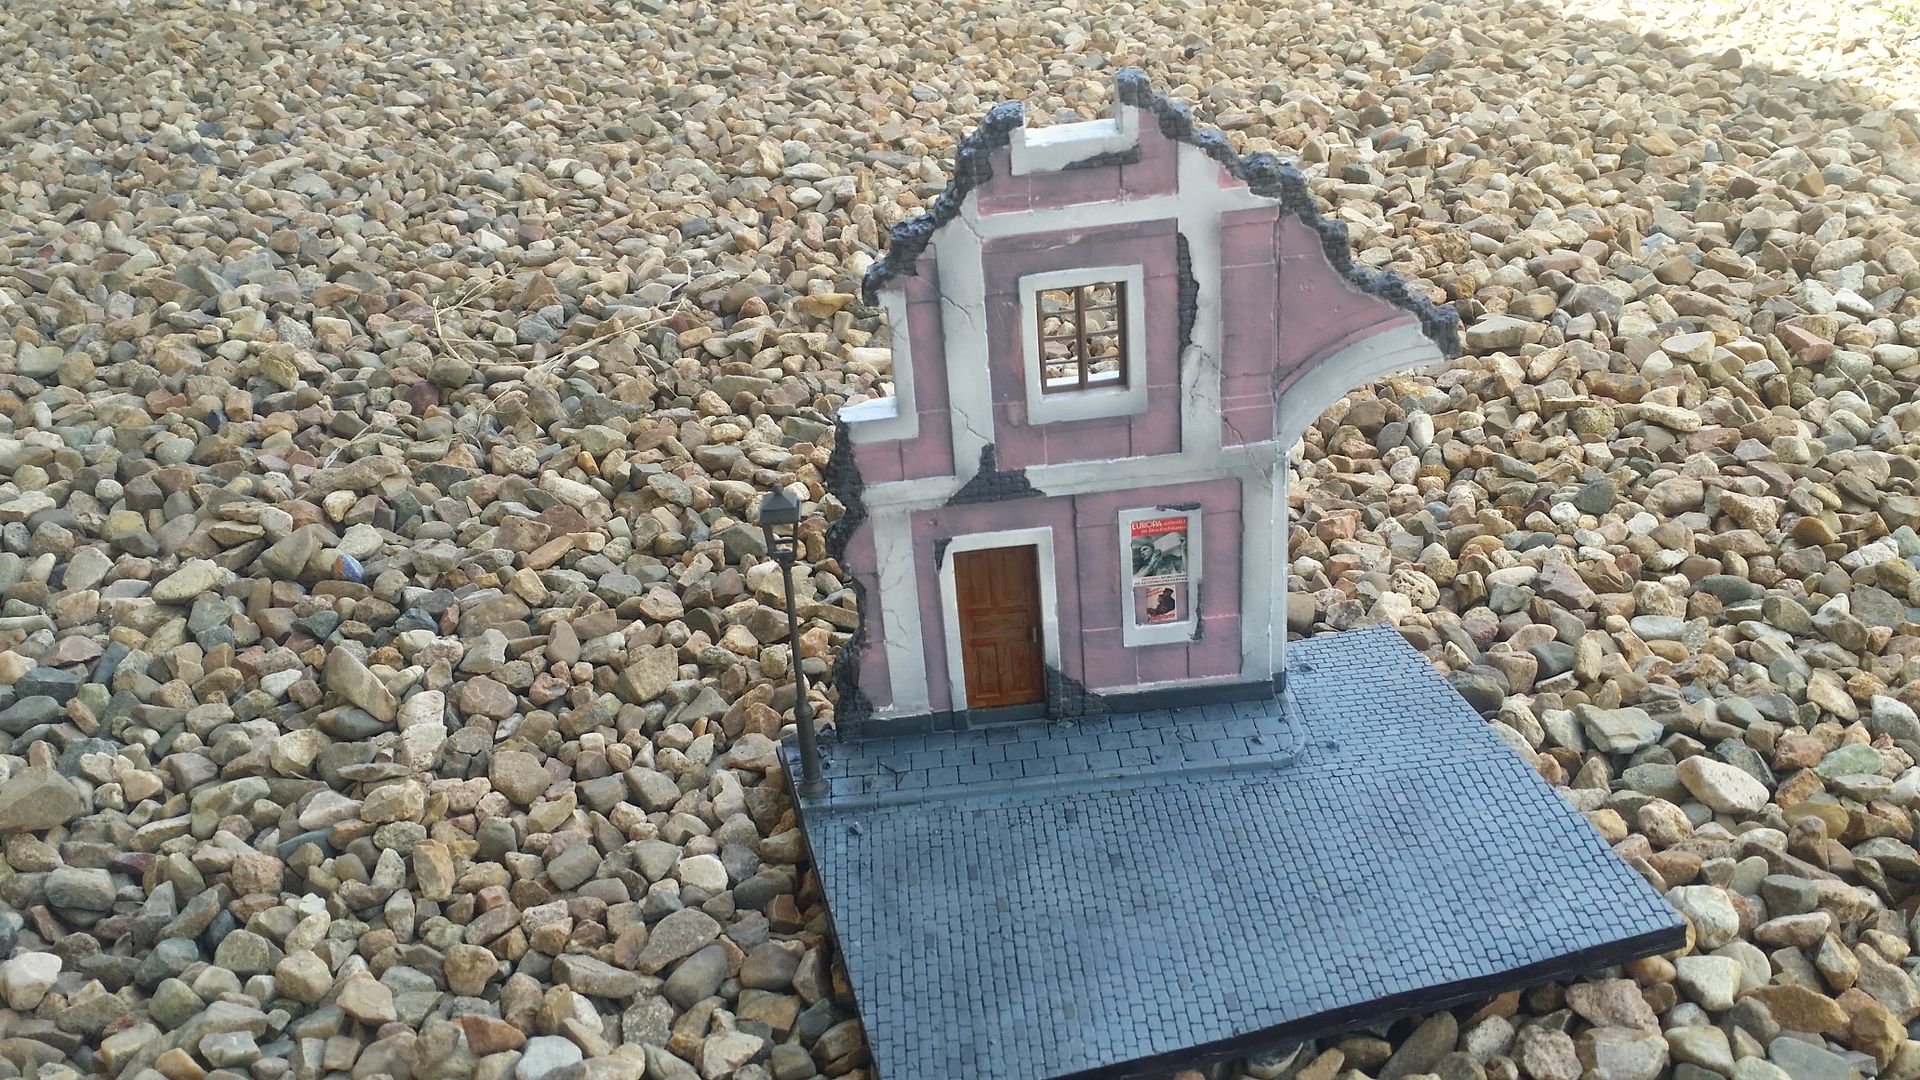
Many more pics in the Completed Buildings Section .. Link below
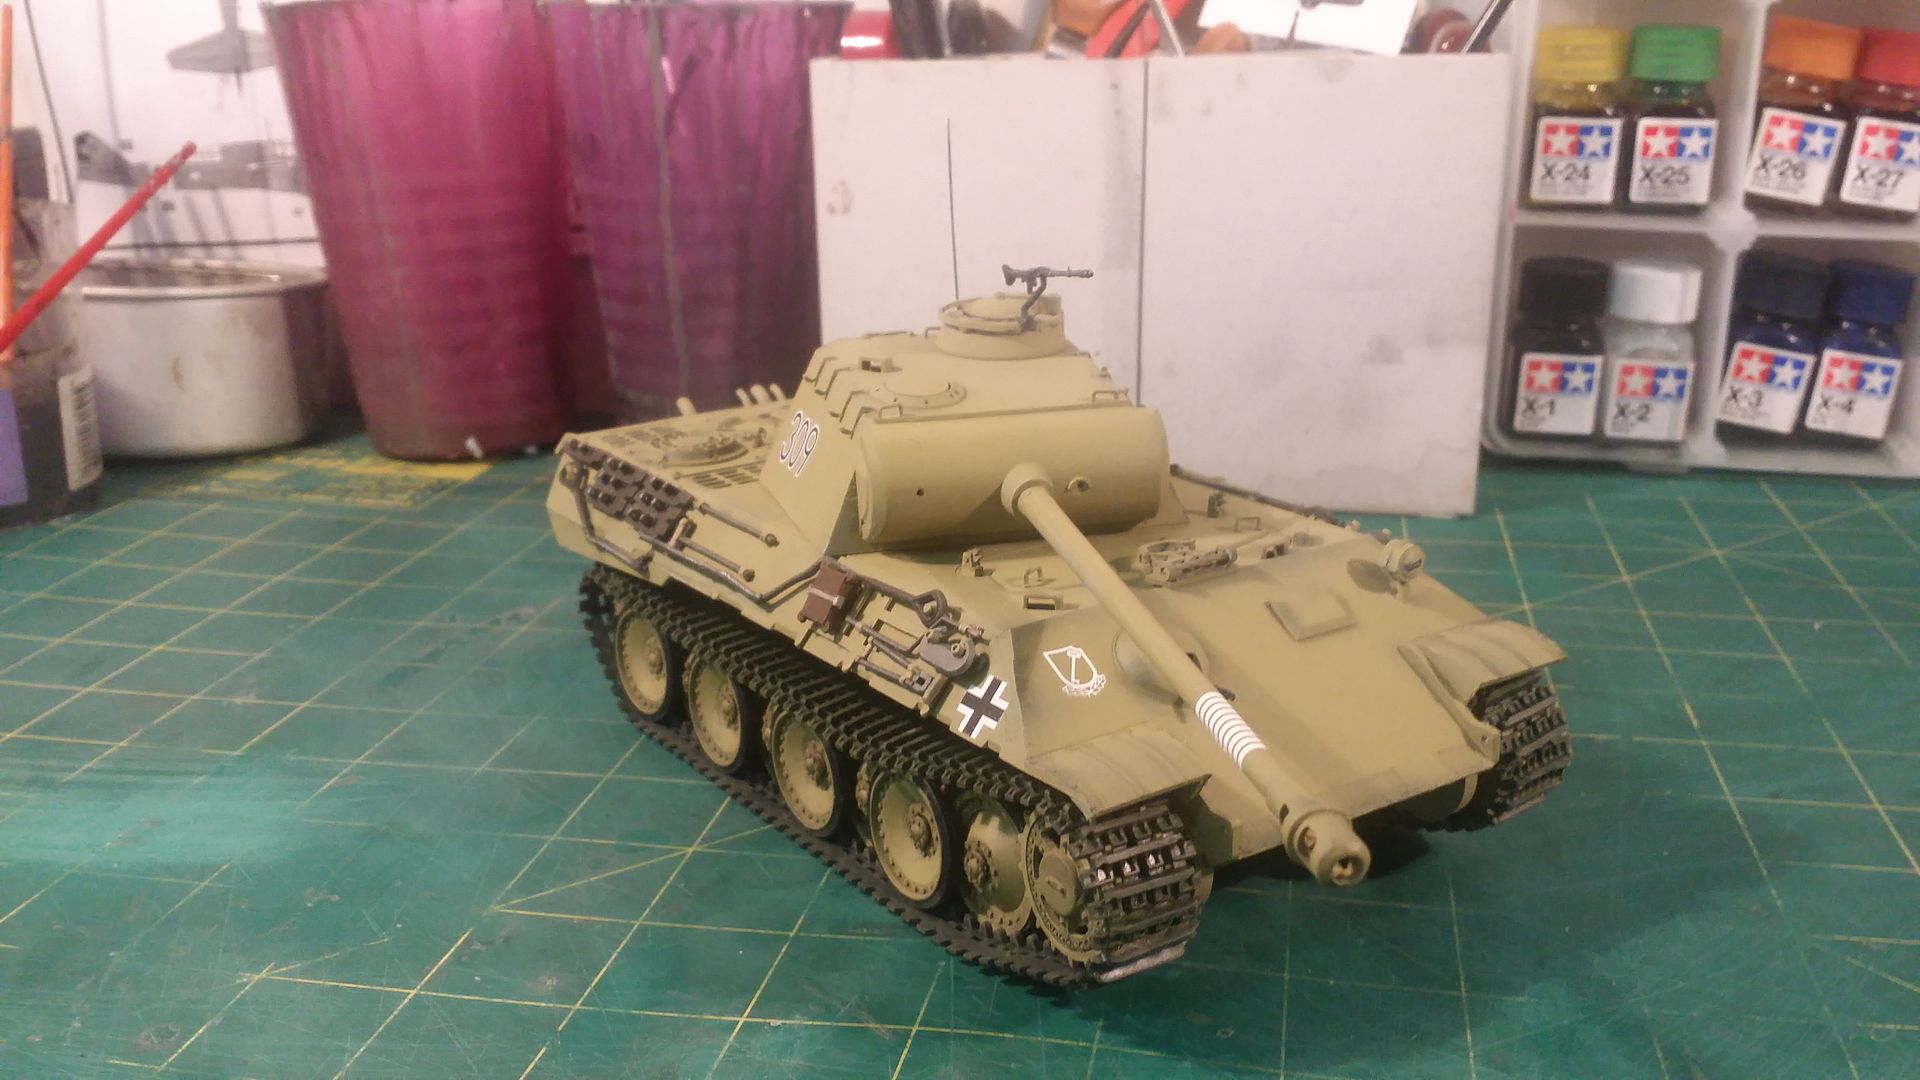
Then did some weathering on the wheels using Vallejo Model wash light grey. I apply the wash directly over the dried enamel.
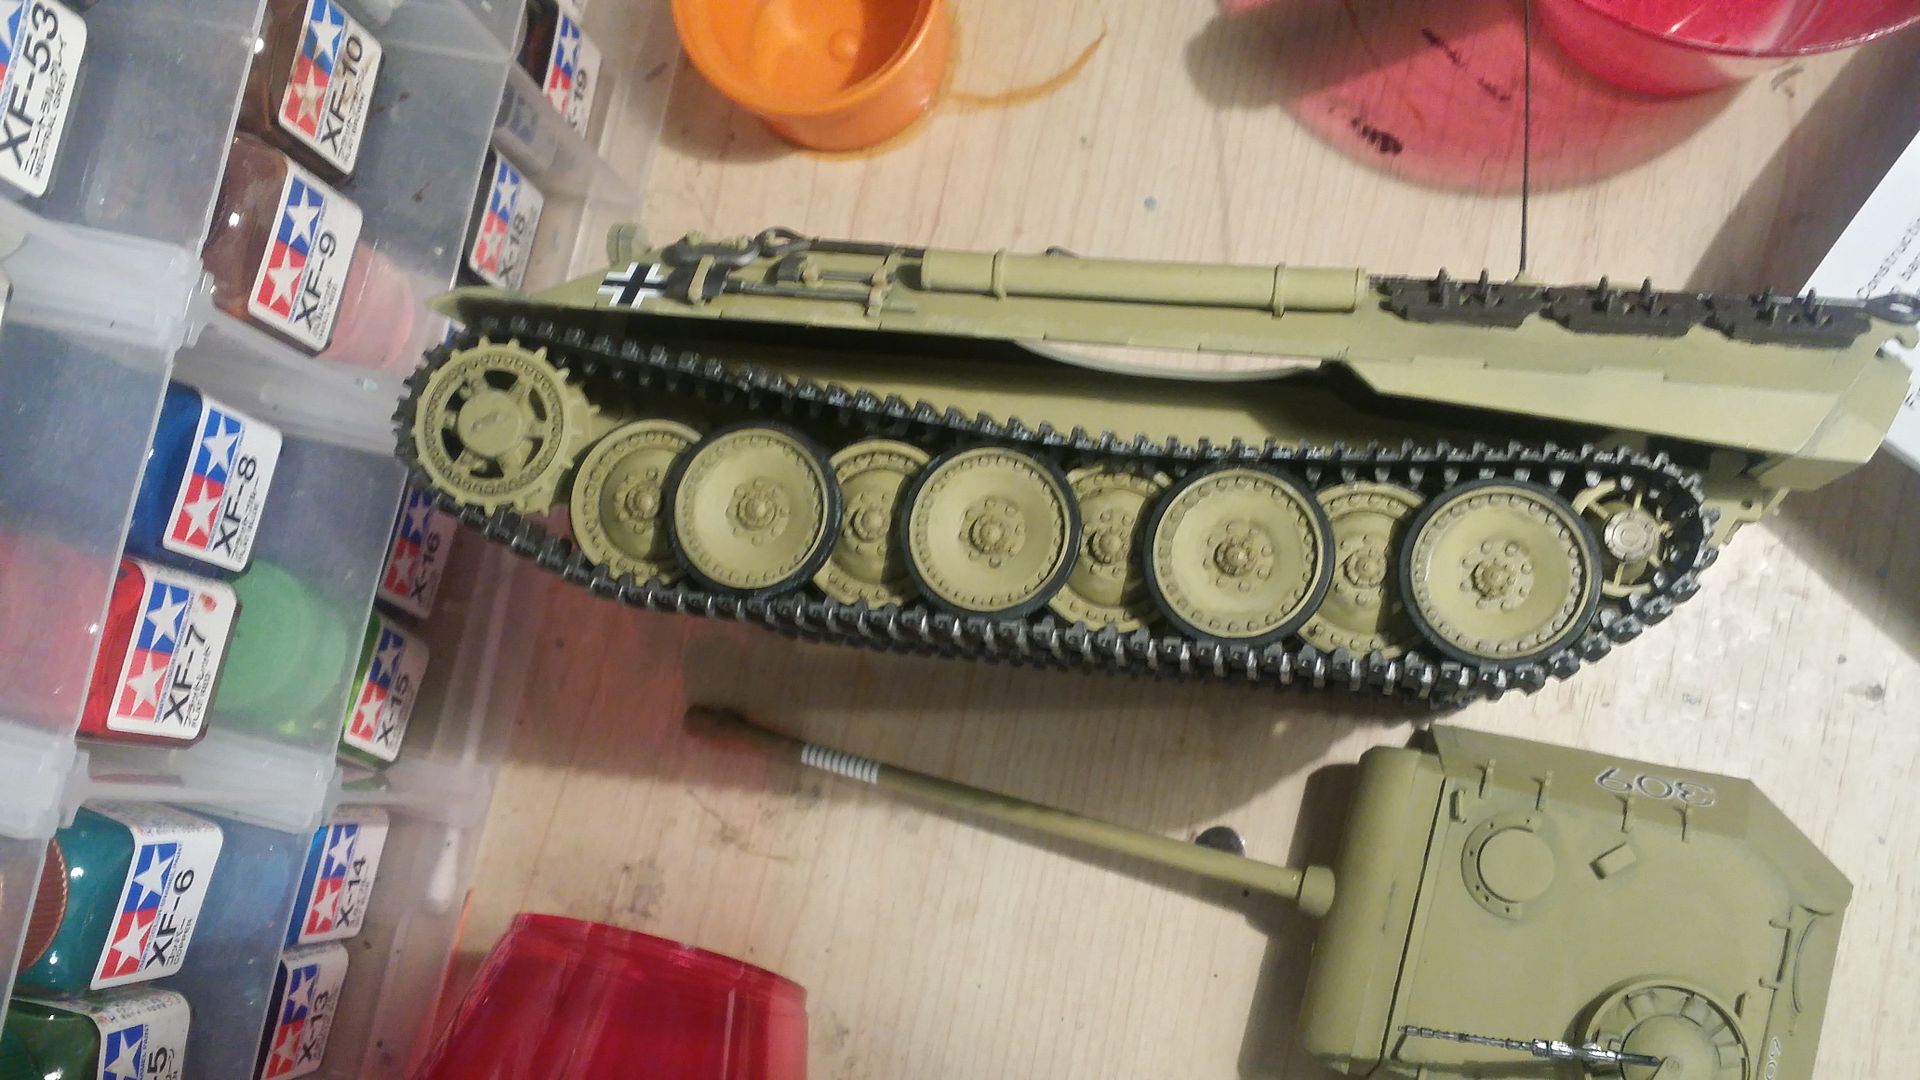
I have painted the figures but they still need alot more work. Here it is in its current state
So still need to matt coat the tank, detail up the figures and it should be done.
Hope you all like the build update and photos. All comments are welcome.Comment
-
looking real good Bob,well done so far on this one,
Comment
-
This is coming along nicely Bob the building looks great.Comment
-
Looking good Bob. Those Miniart buildings make up quite nicely don't they? And it makes for a terrific backrop to the Panther.
Cheers
PComment
-
I like that Panther! Reminds me of the kit I build when I was 15yrs old! 9_9
I did not paint it at the time, so yours is worlds apart in finish - very nice! B|
On a critical note if you don't mind, a bit more "wear 'n tear" on the Panther will not go amiss.
Comment
-
Thanks Monica Terry, Paul and Gavin... the miniart buildings do make a fantastic backdrop. On Weathering Gavin, I said in my plan (at the start of the thread) that weathering would be kept to a minimum and so that is the case here. Though I have lightly weathered the wheels, the tracks and the hull. I have done this using Vallejo washes and Tamiya Weathering Master sets.
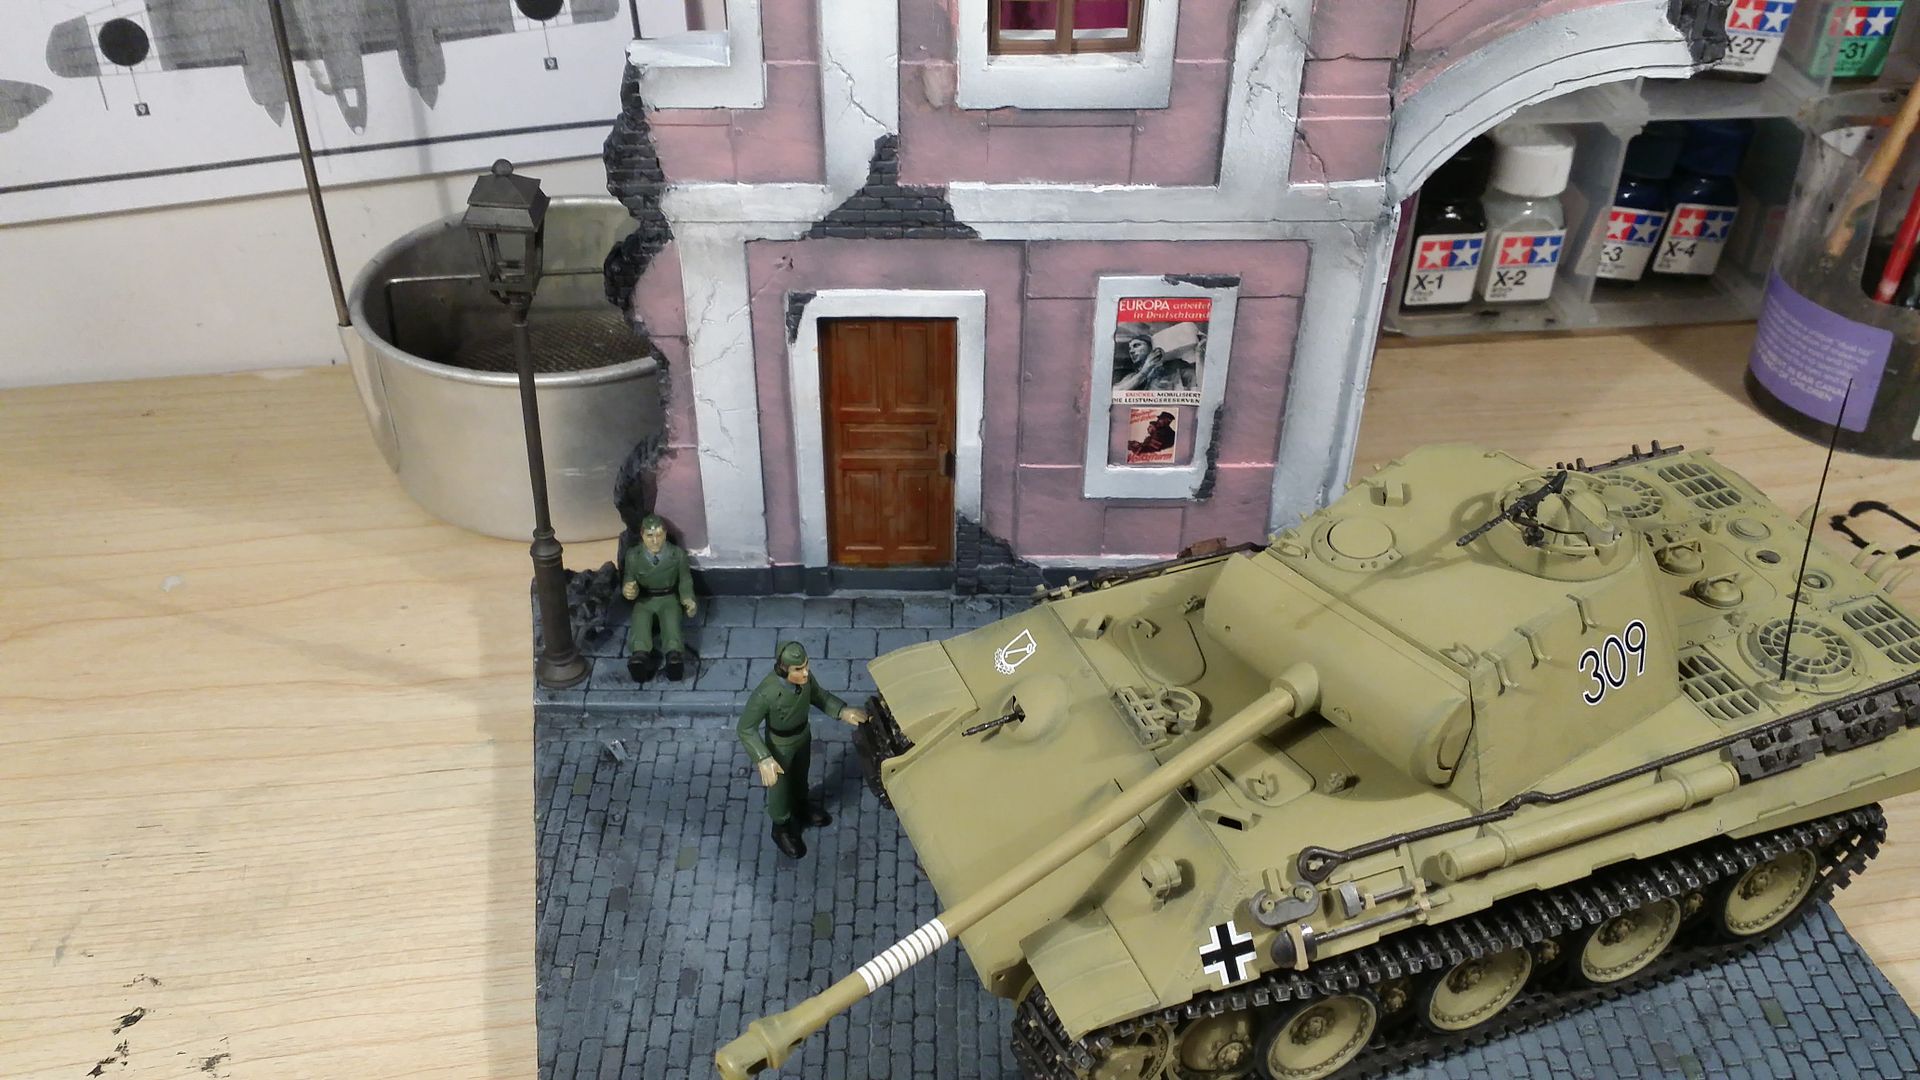
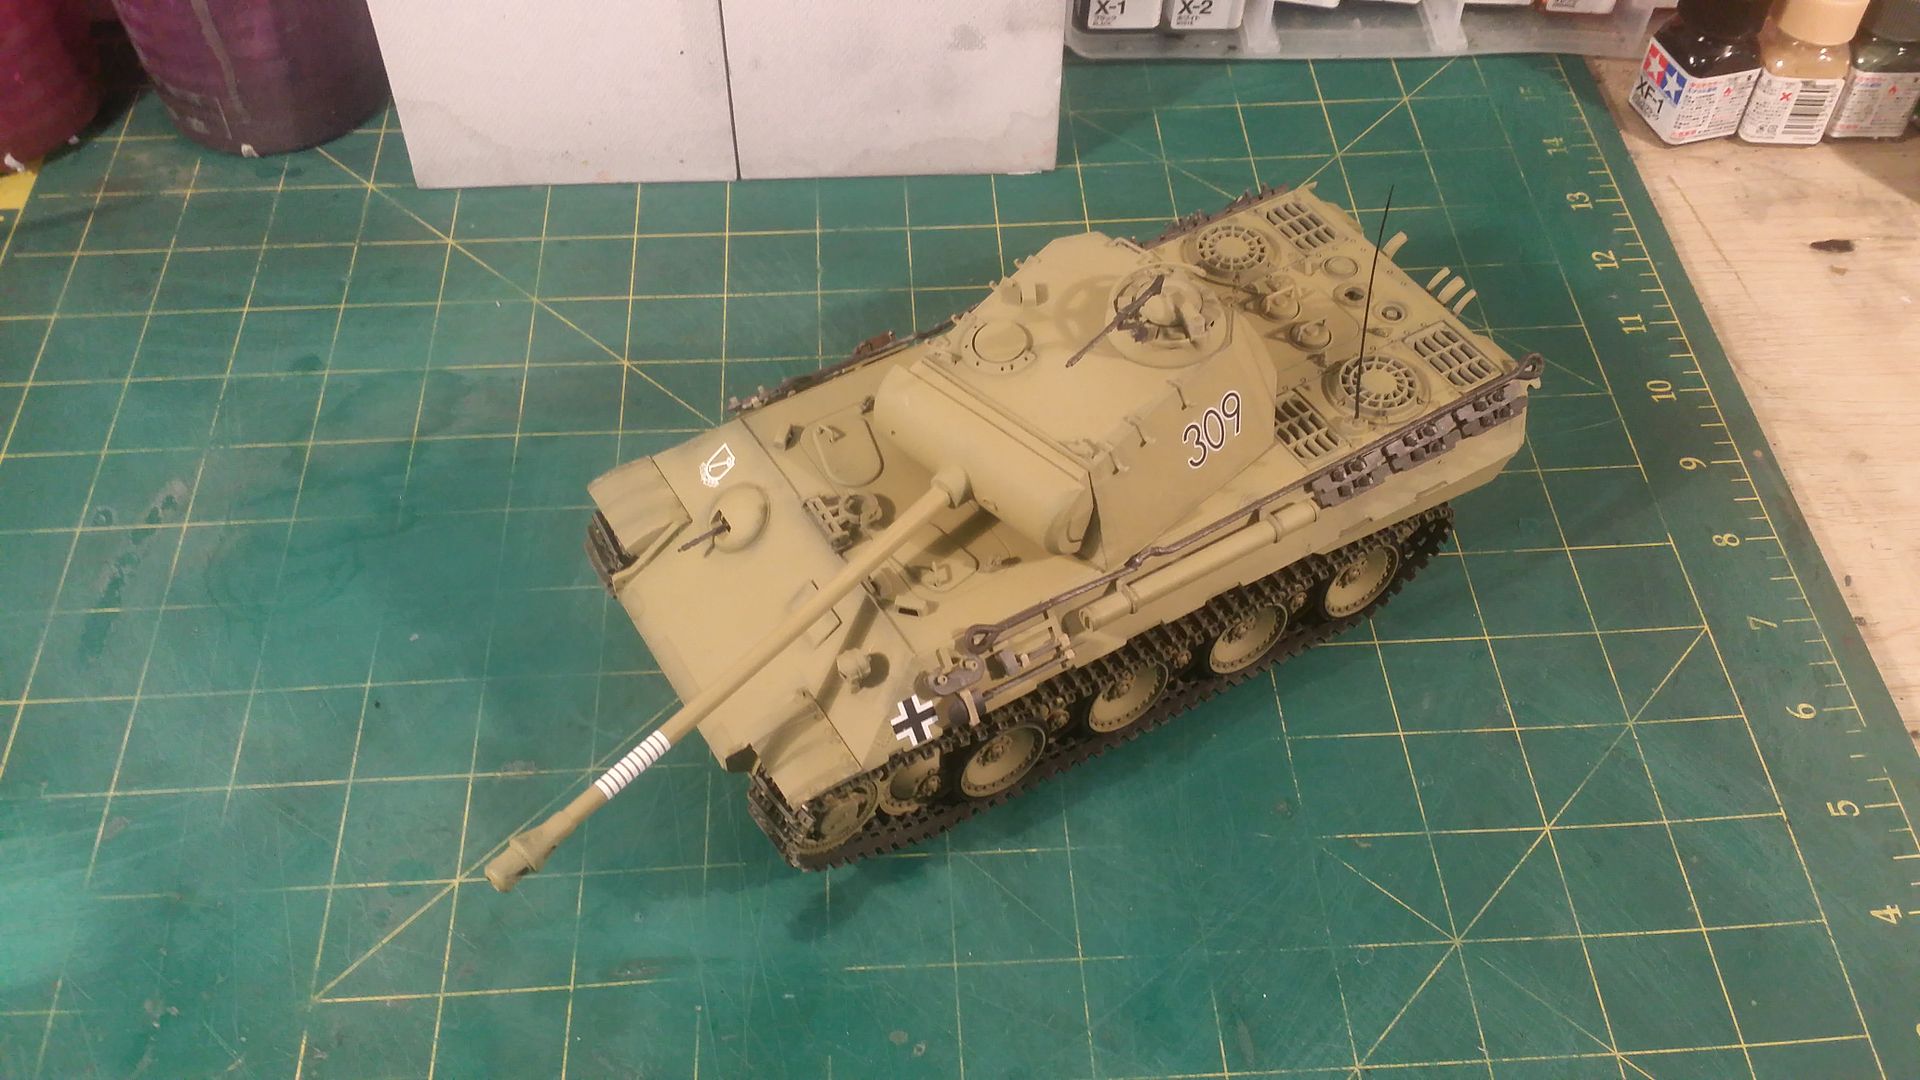
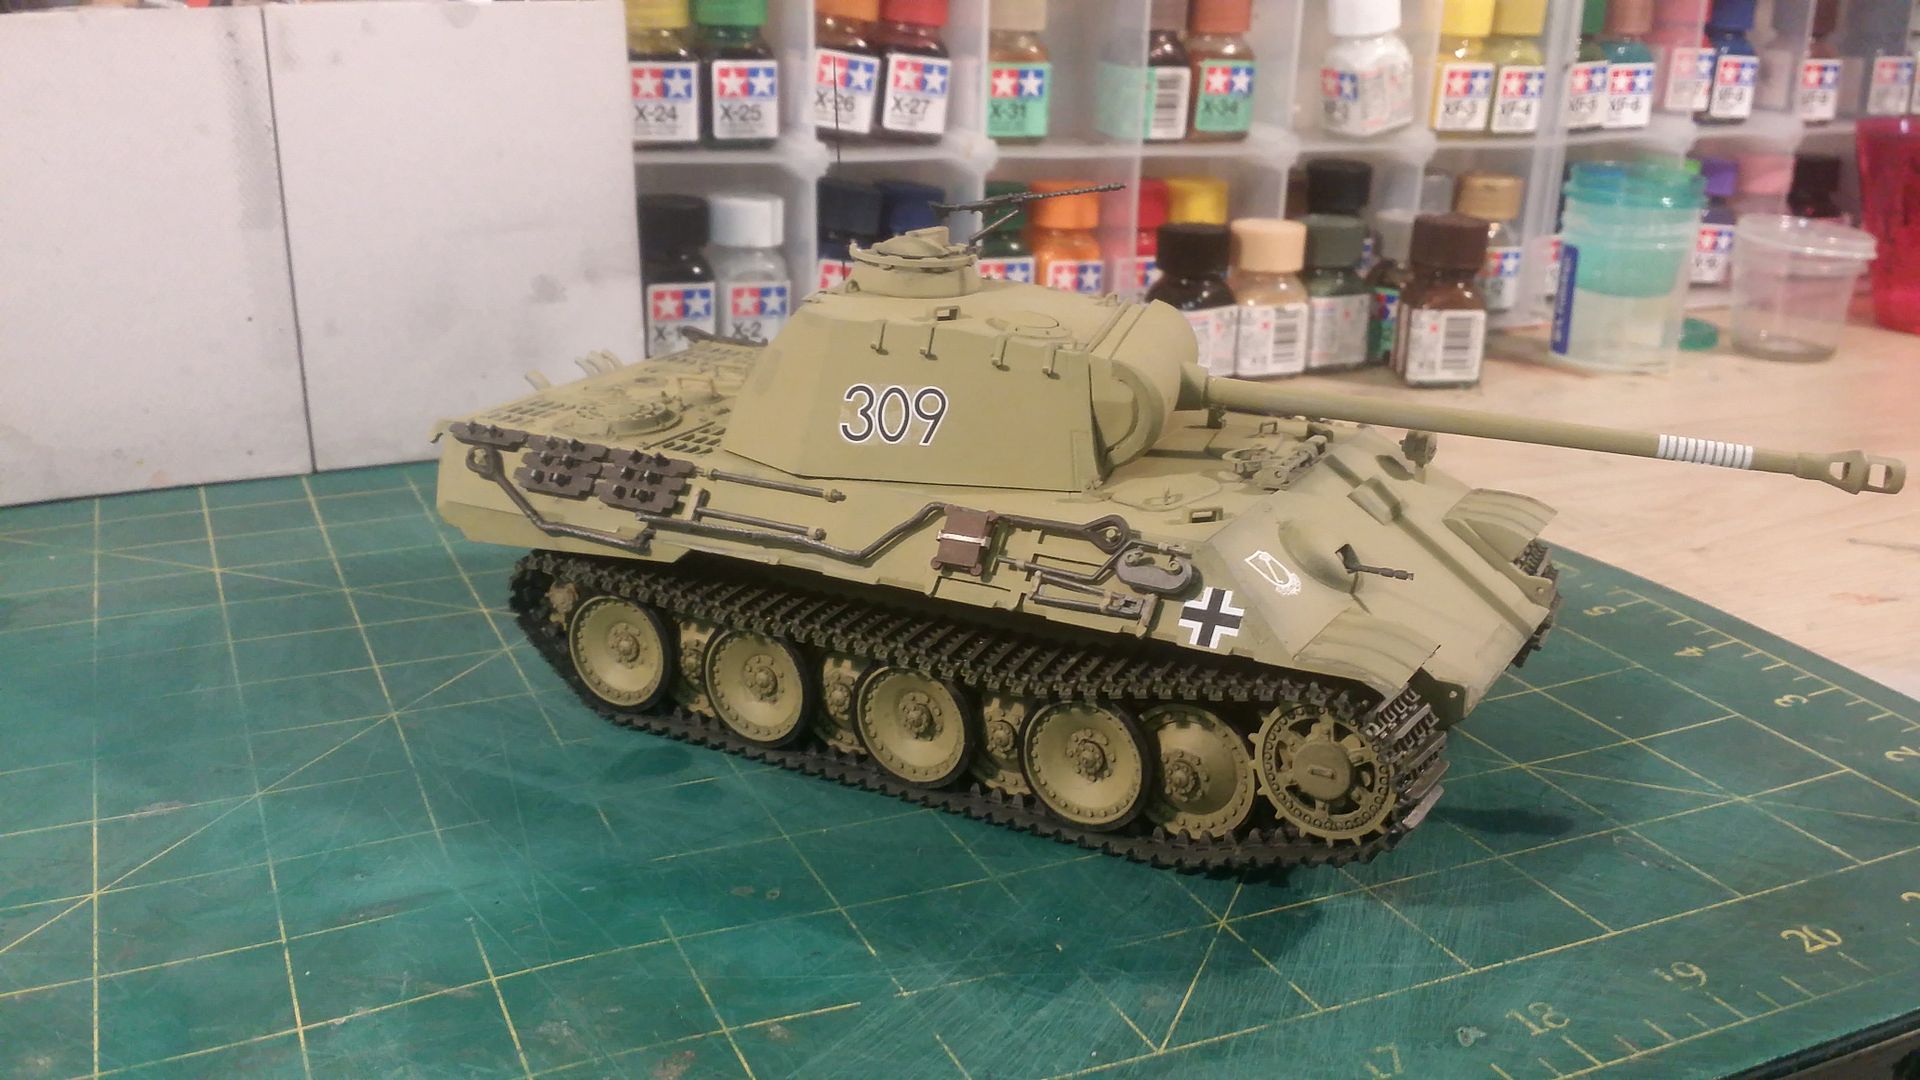
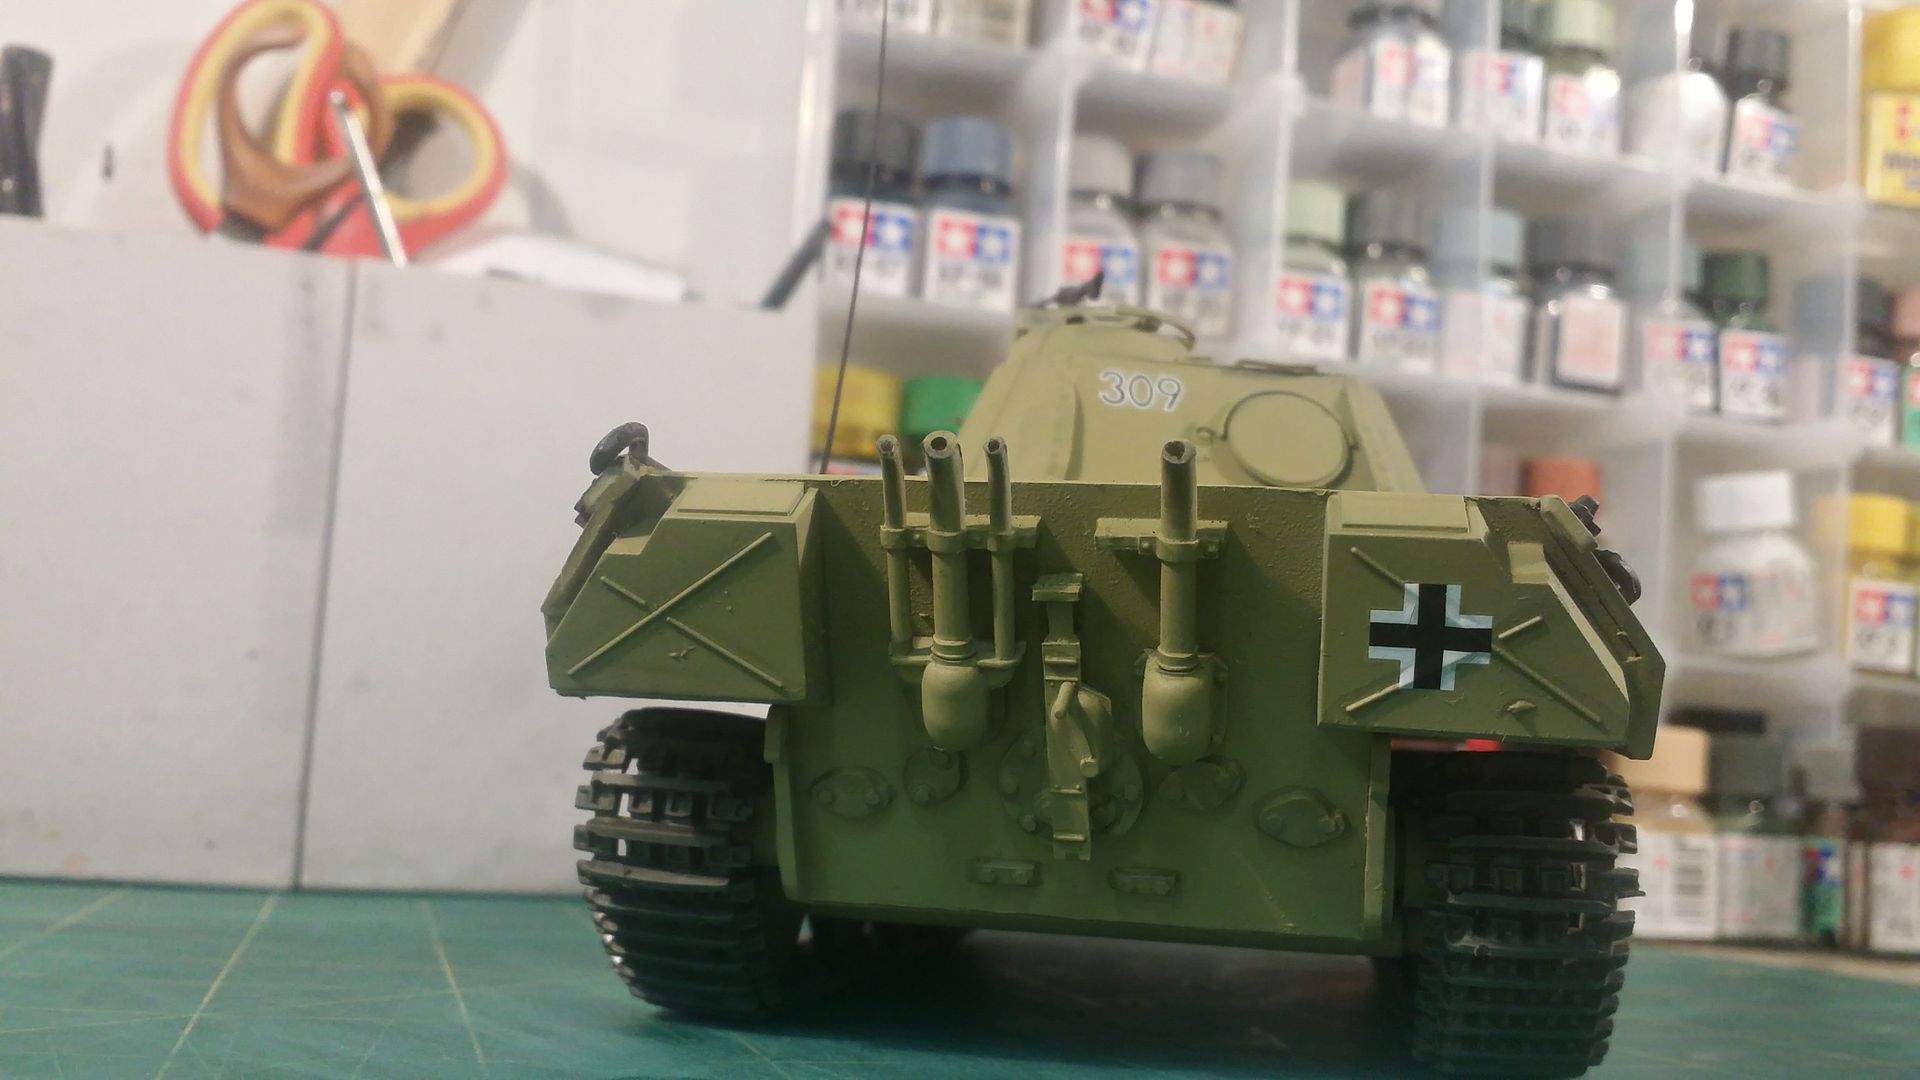
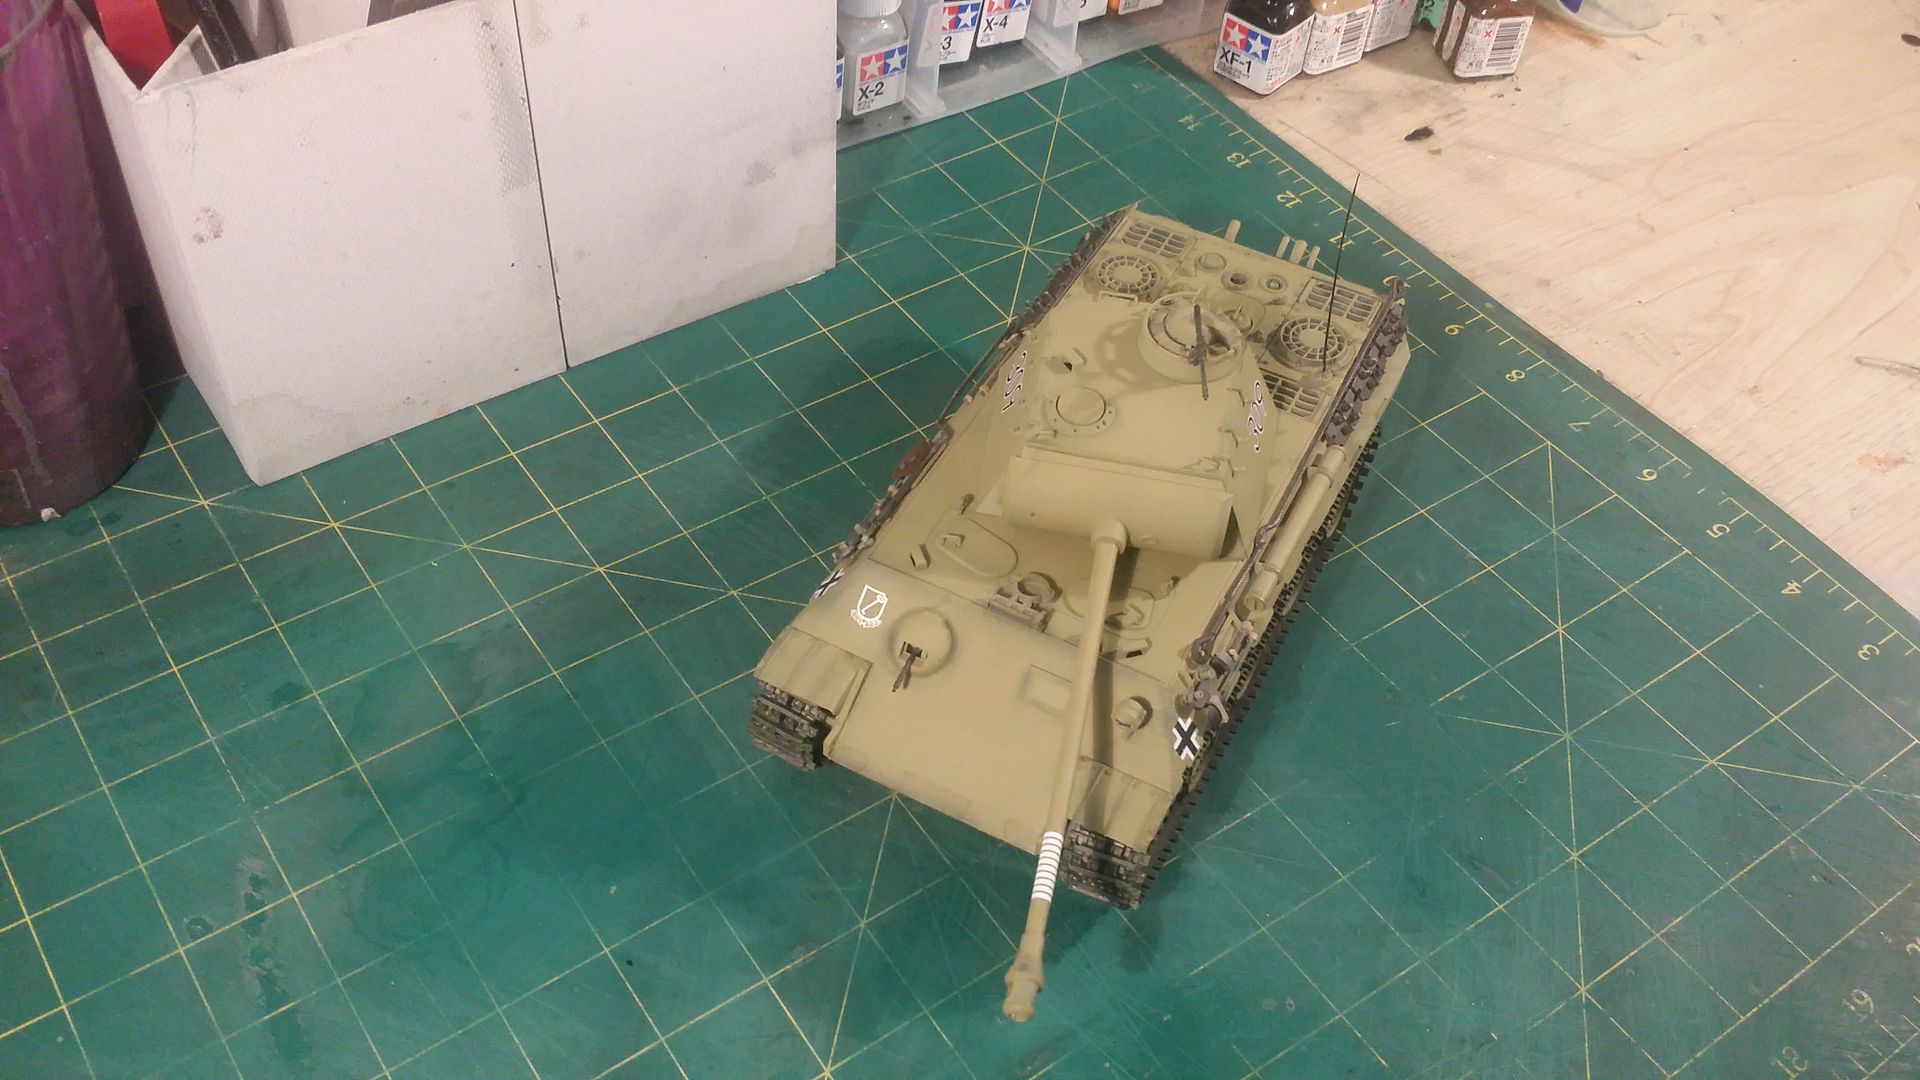
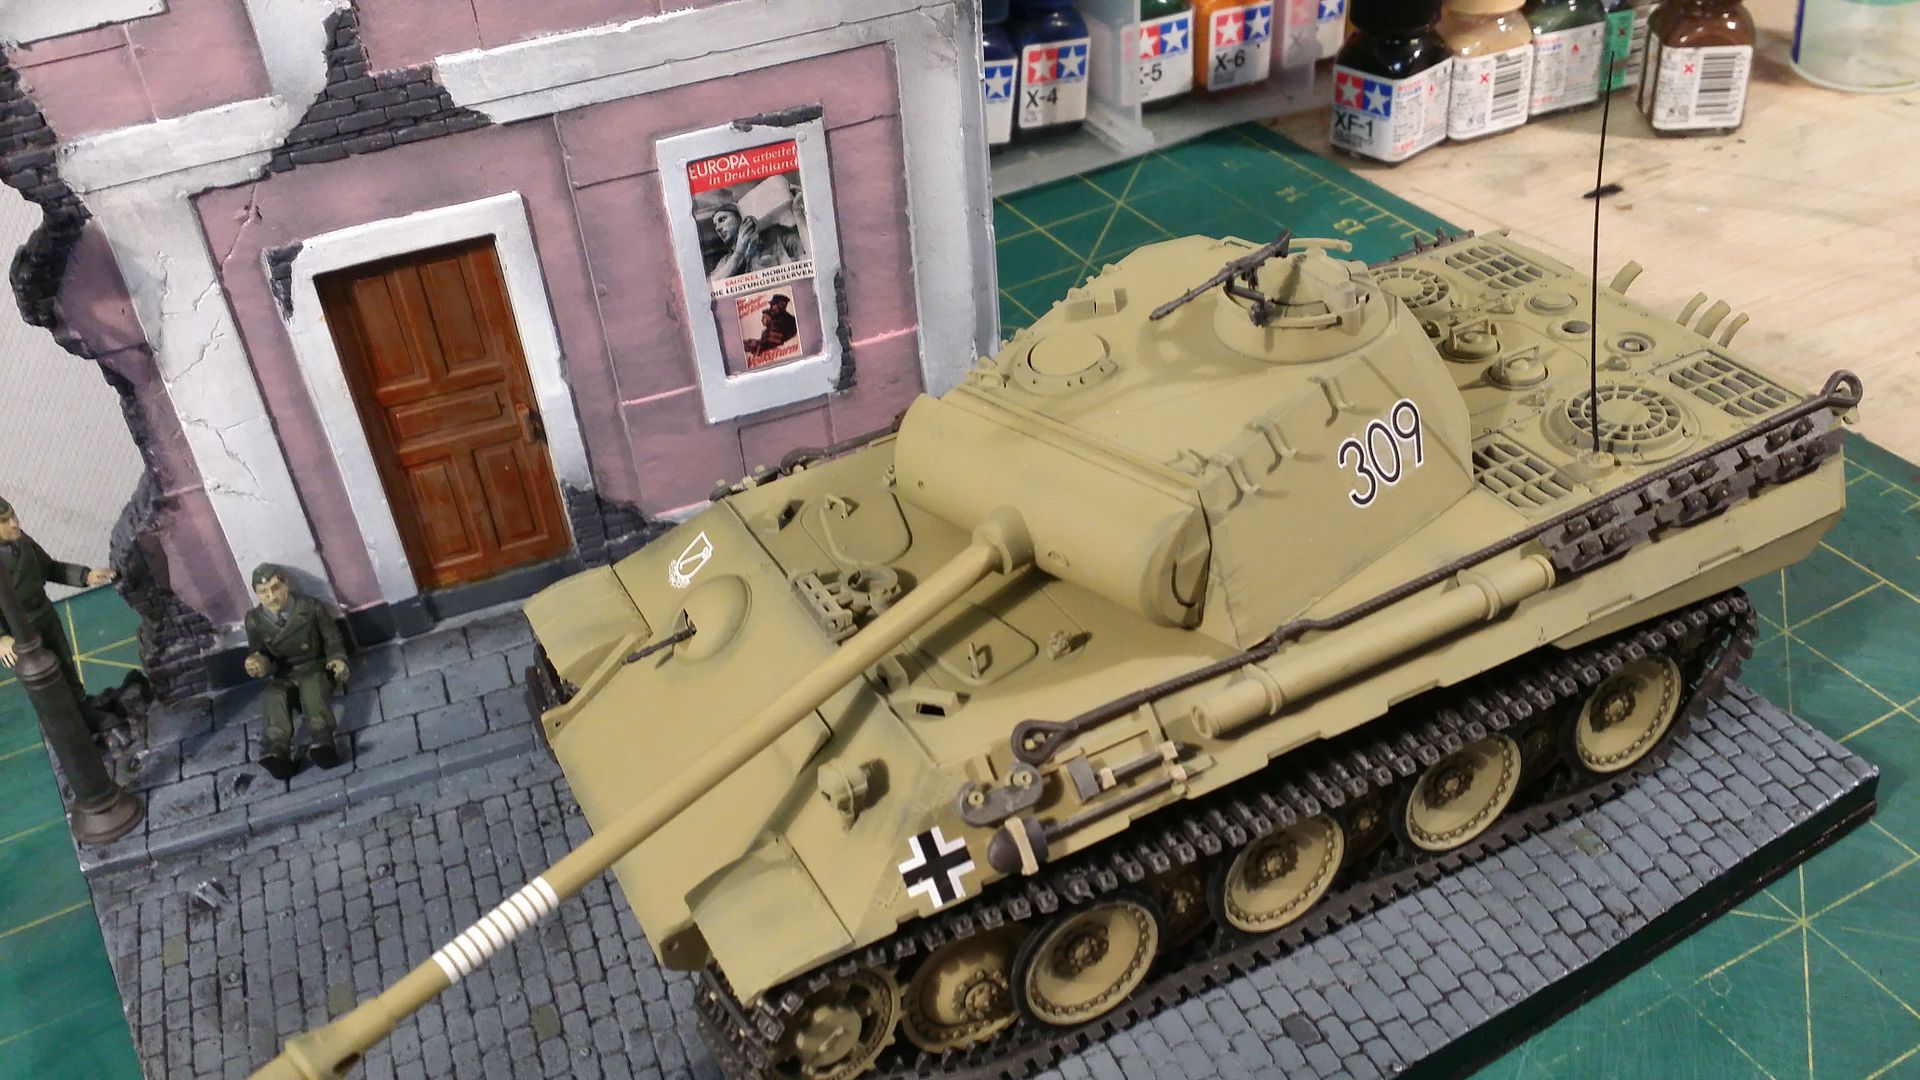
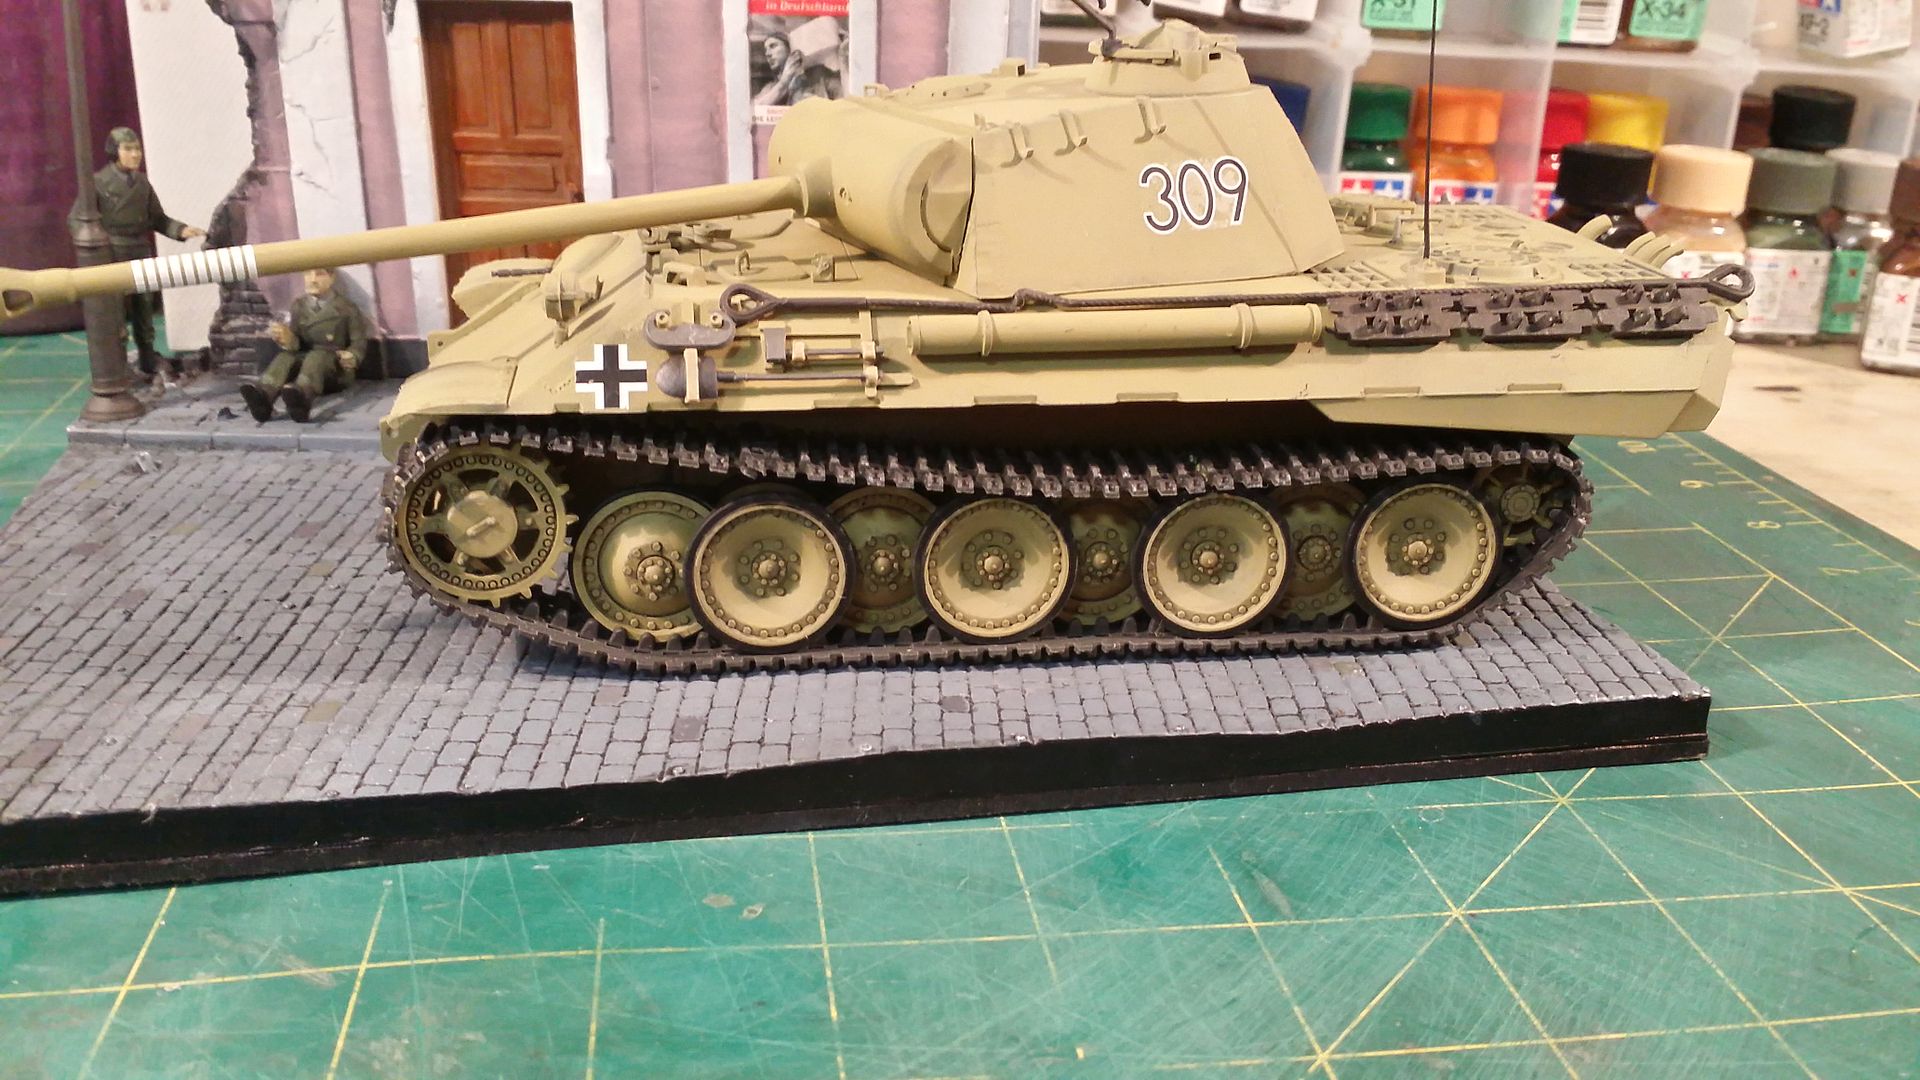
Here are the pictures of the Completed Panther, The tracks were given a Desert Dust wash and then pigmented with Tamiya Weathering Master - Sand.
This was all done after the Tank was coated with 2 coats of Alclad II Flat coat.

I hope you all like the build update. All comments welcome.Comment
-
Very nice, none the less!! B|Comment
-
Yep I like it very tidy.Comment
-
Sorry Bob only just caught this one
Really like what you have done with both tank and building.
starting off with a miniart kit was brave of you as they are not the easiest to work with as others have pointed out,but you have done a great job of it.Comment
-
Thanks all very much. The final reveal is up. But just before that a final build update so that this build thread is fully complete.
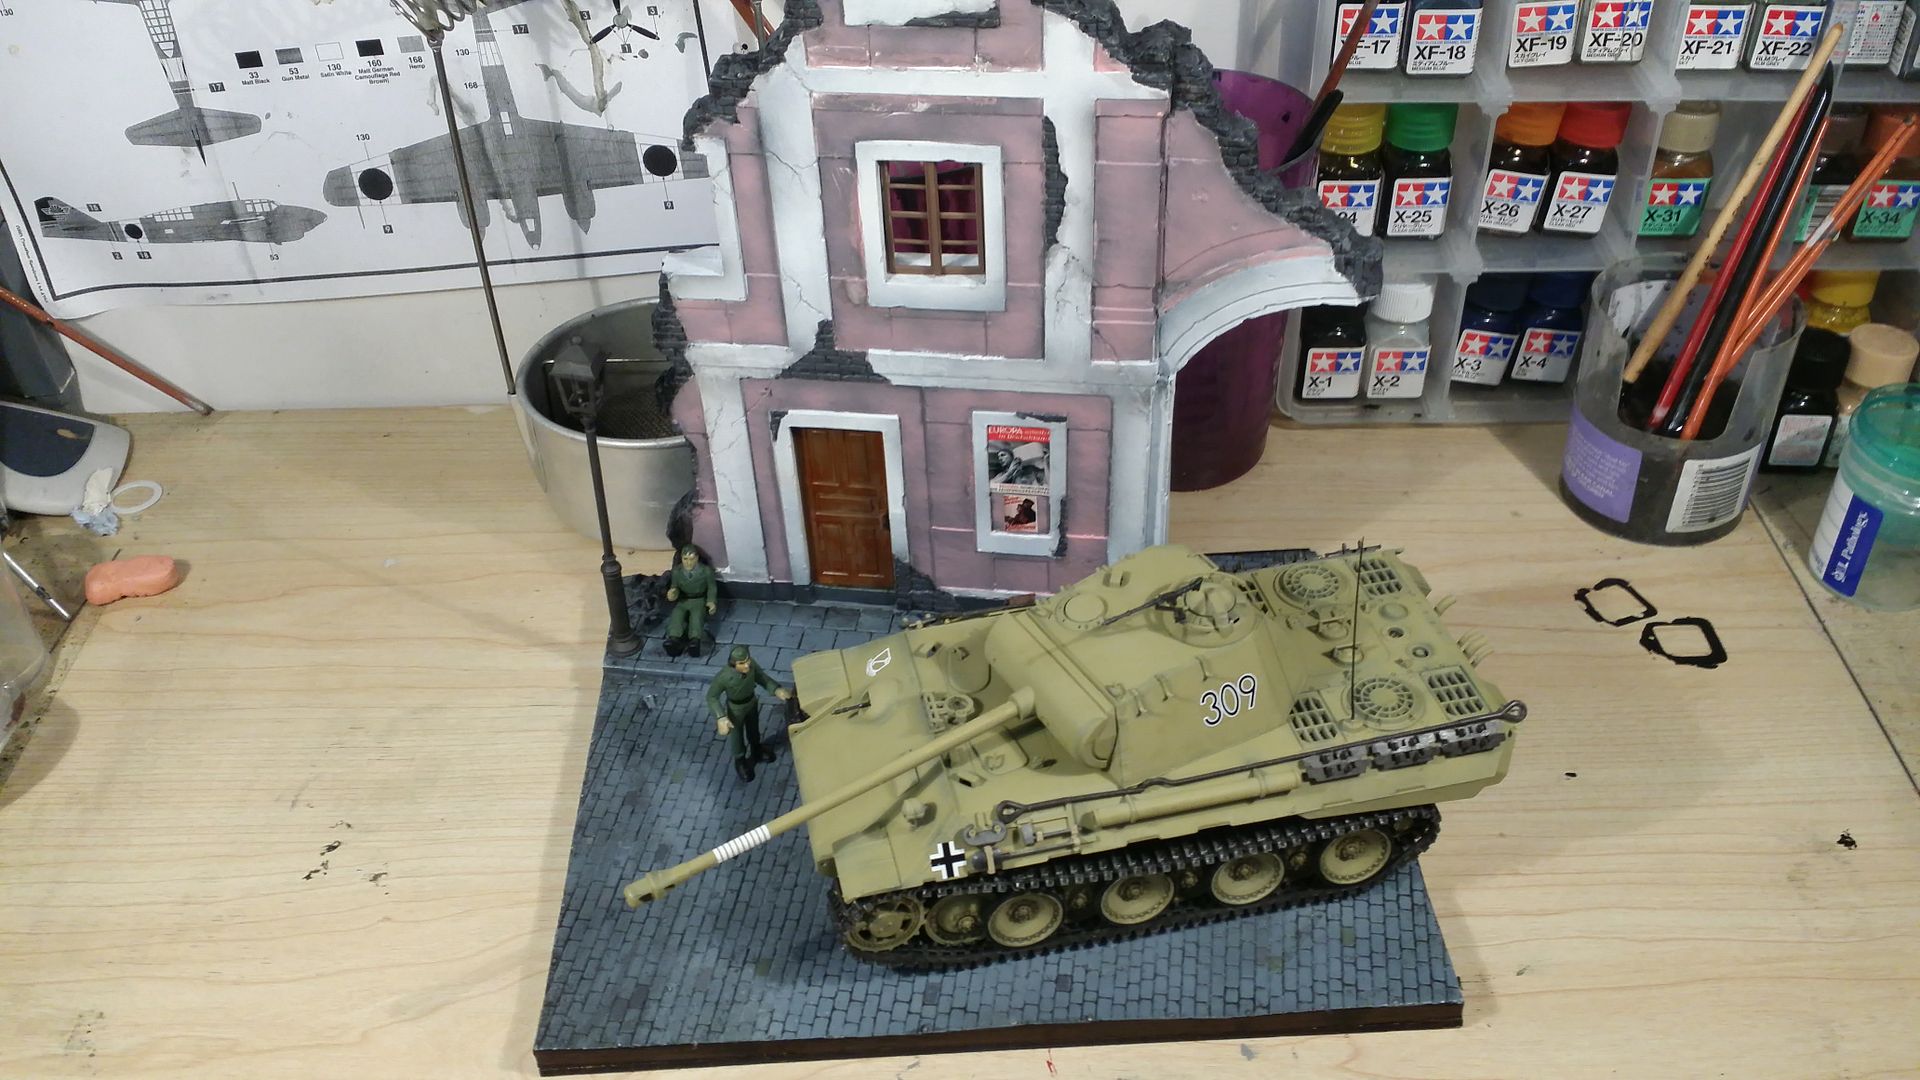
I applied a matt coat, Alclad II Flat coat and really liked the outcome. I then completed the figures as well.
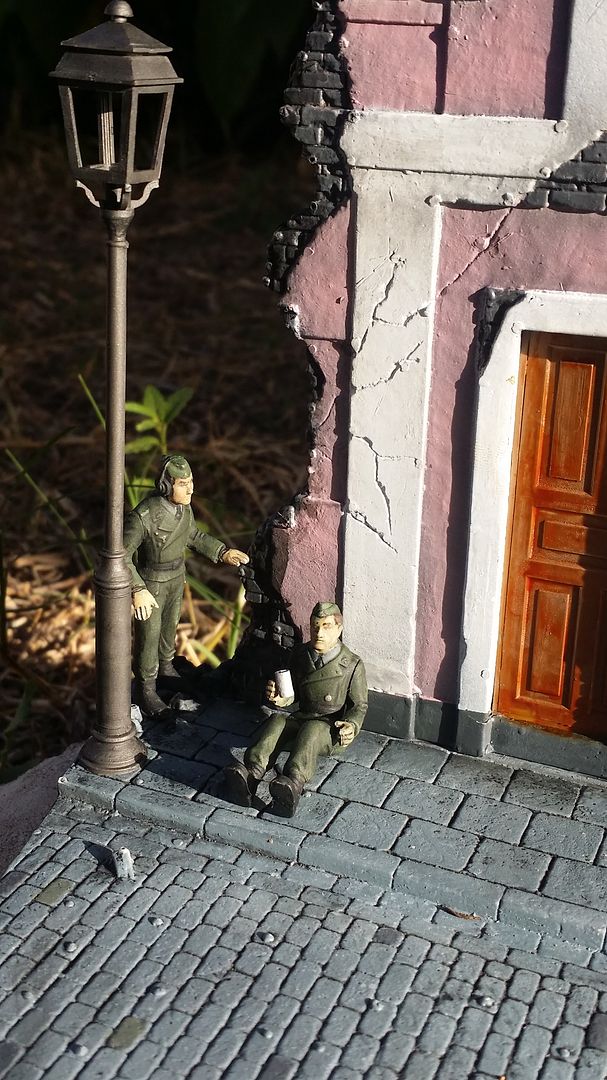
These are the last build pics before I completed the final diorama
So the figures are complete I just had to make a can to go in one of the figures hands
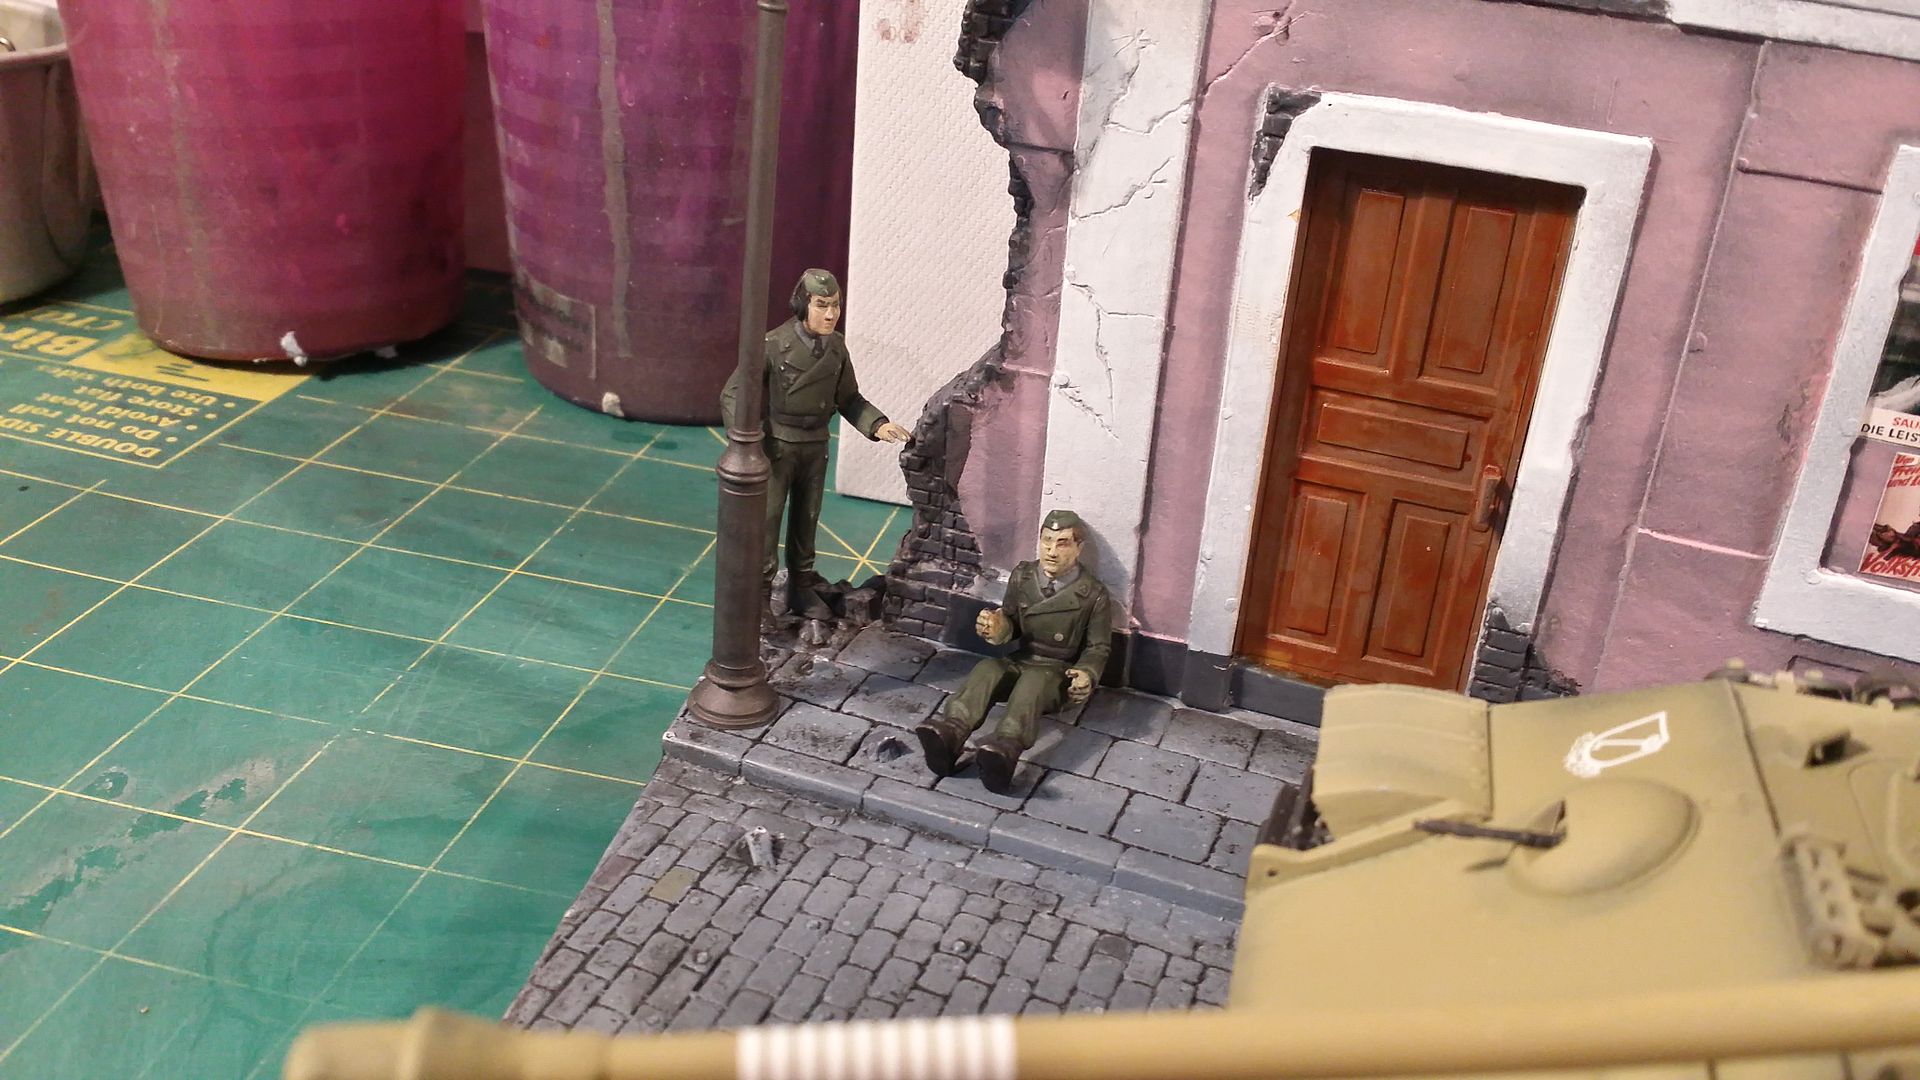
So that was then done... I just used some paper card rolled it up, super glued it and painted it with Tamiya XF - 16 Flat Aluminium. The can doesnt fit completely into his hands but it fits alright.
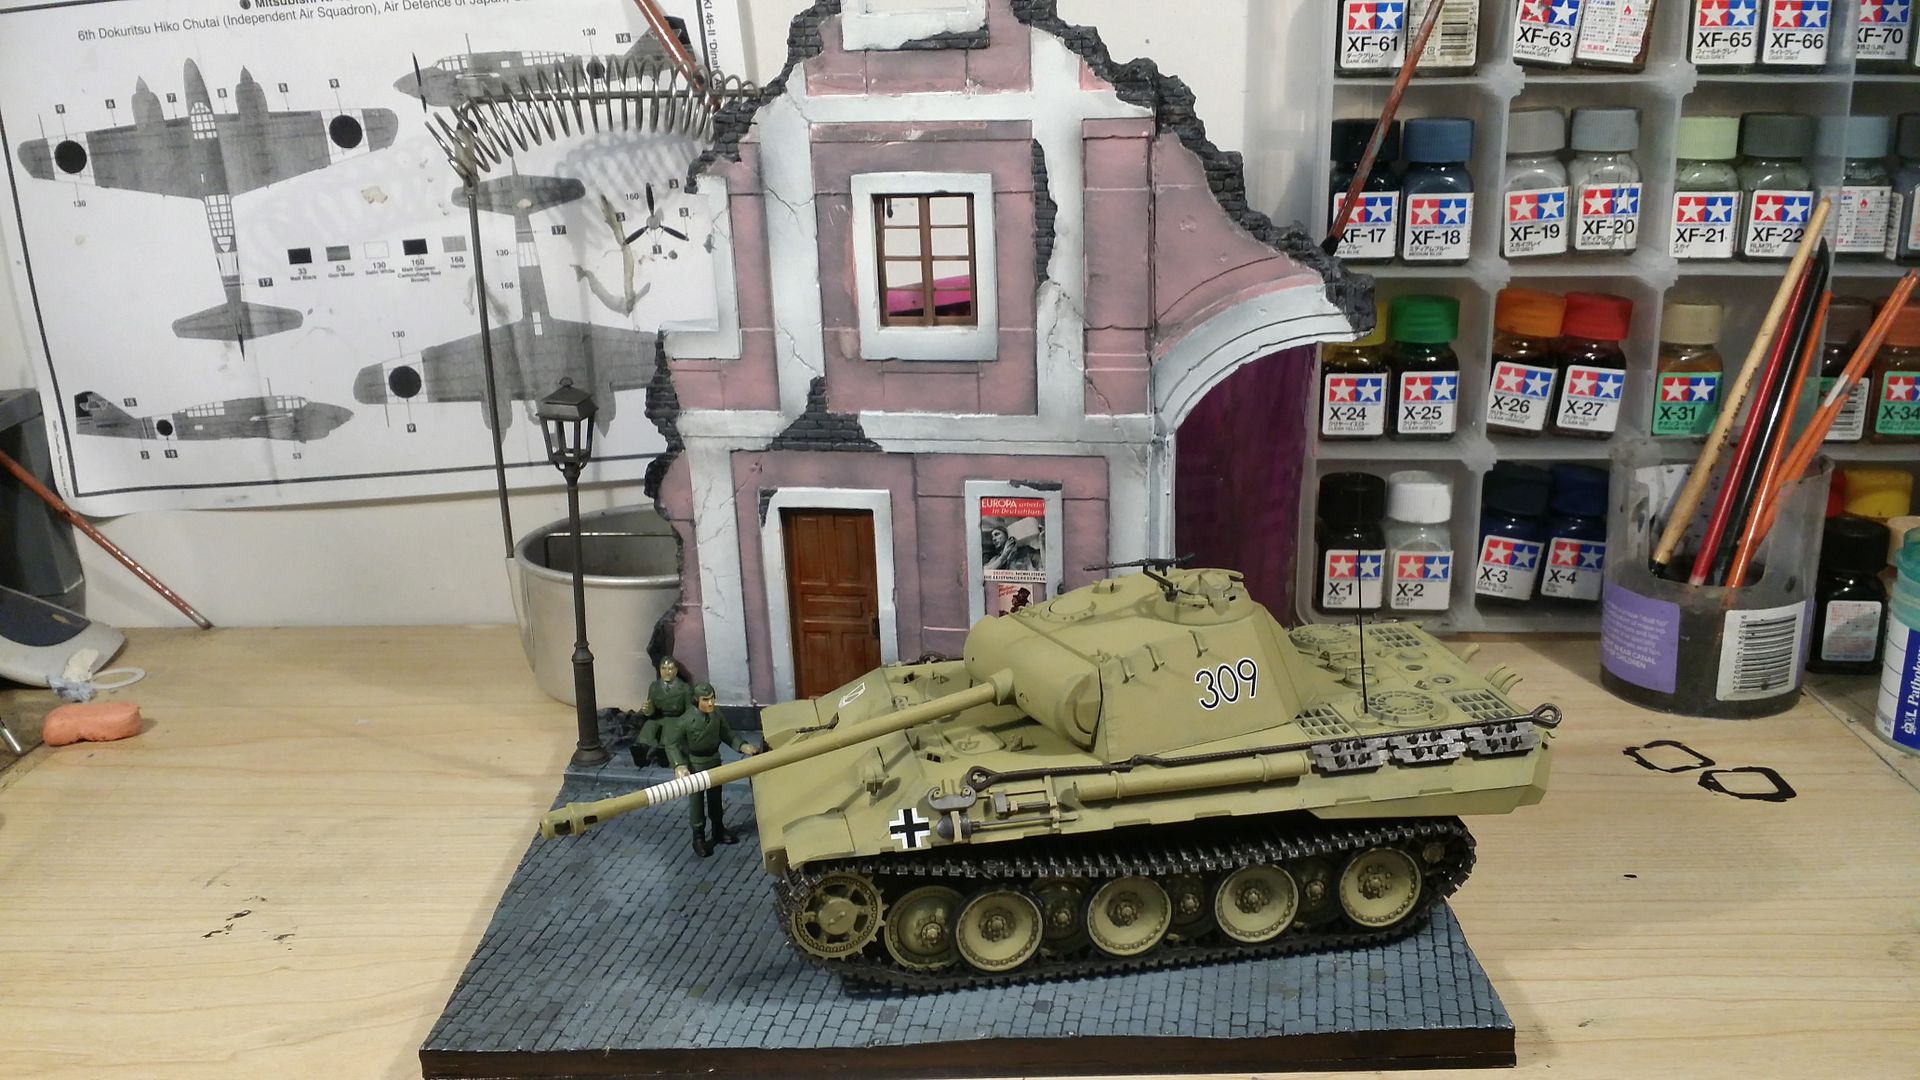
So here is one pic of the final diorama
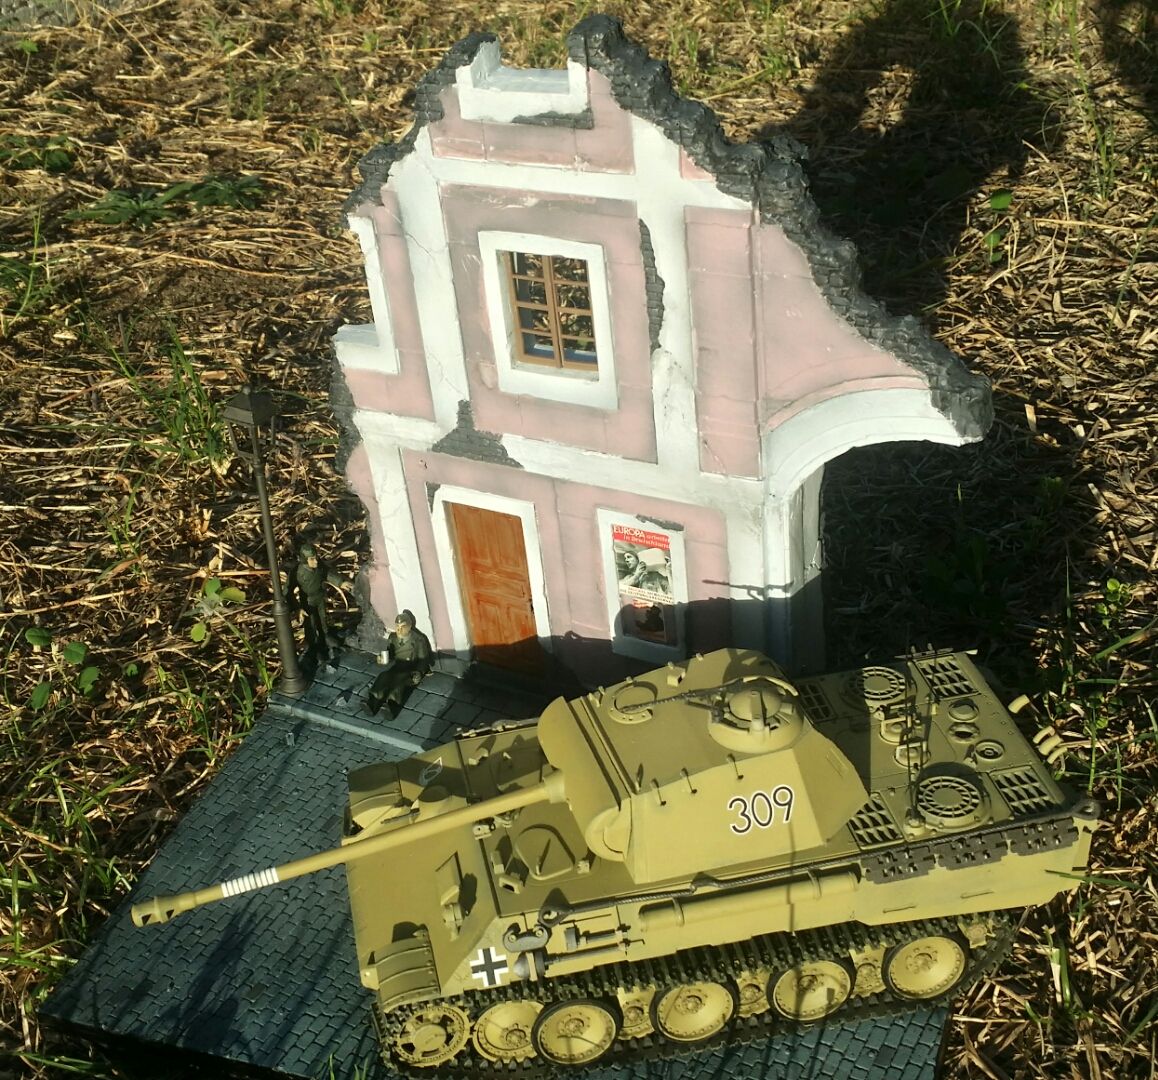
Many more pictures in the final reveal here:
Final Reveal for 1/35 Panther Diorama for Panzers WWII GB
Hope you enjoyed the build journey as much as I did. All comments welcome!Comment
-
real great job on this one,Bob,and few first for you,and there turned out great,very well done with the
whole thing,and enjoyed you build as well,
Comment


Comment