
Here is my second entry into this GB
Build Plan
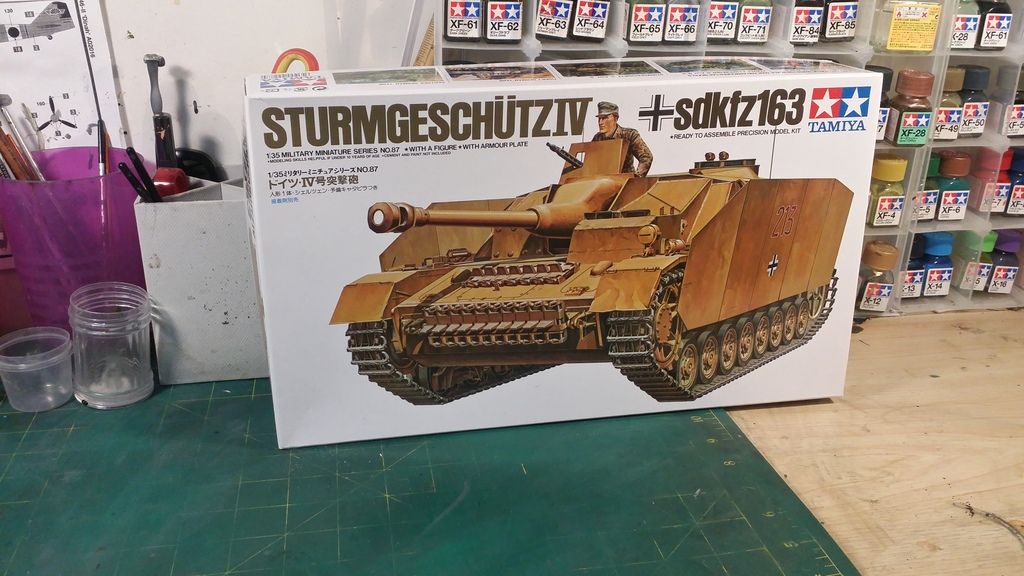
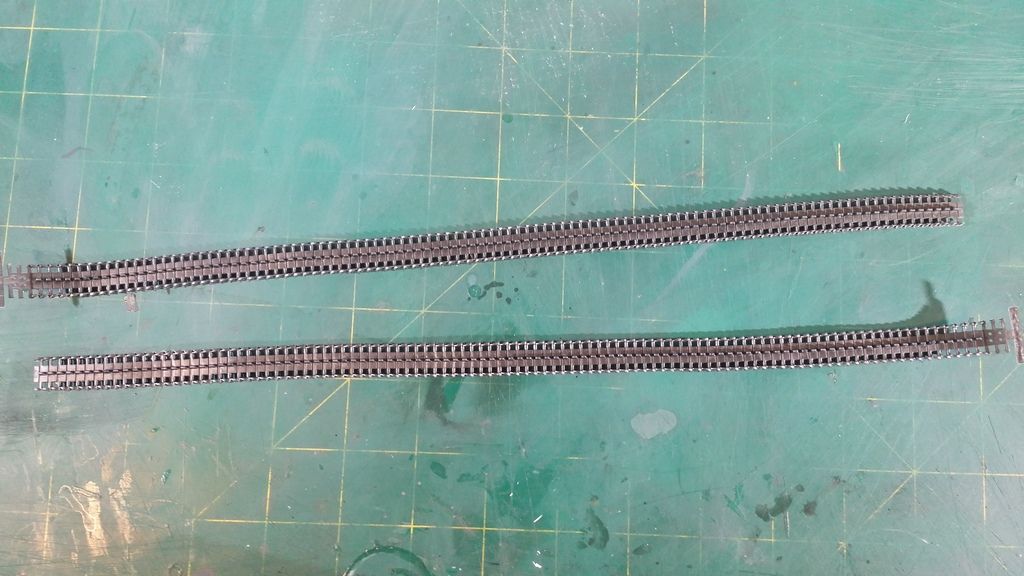
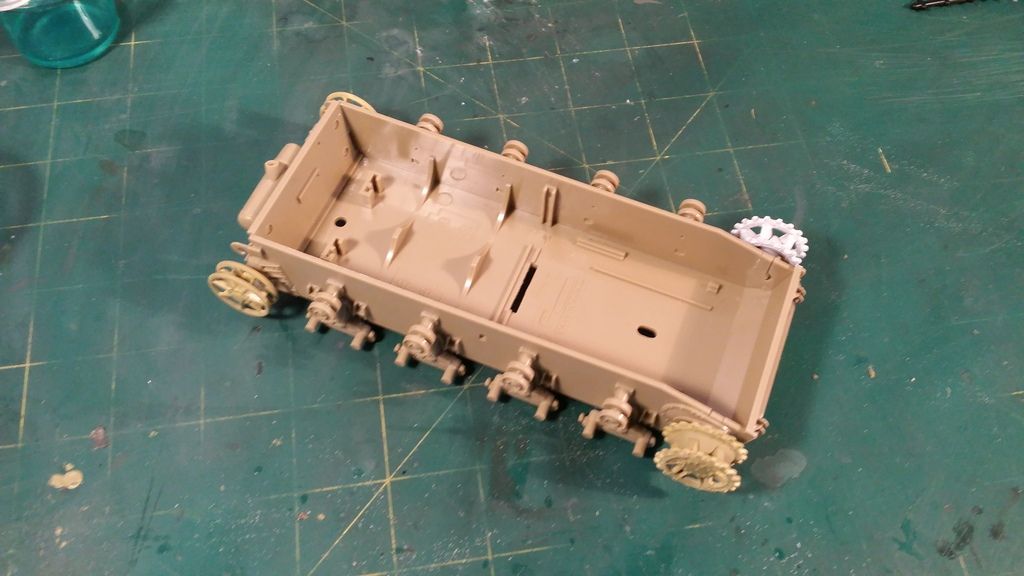
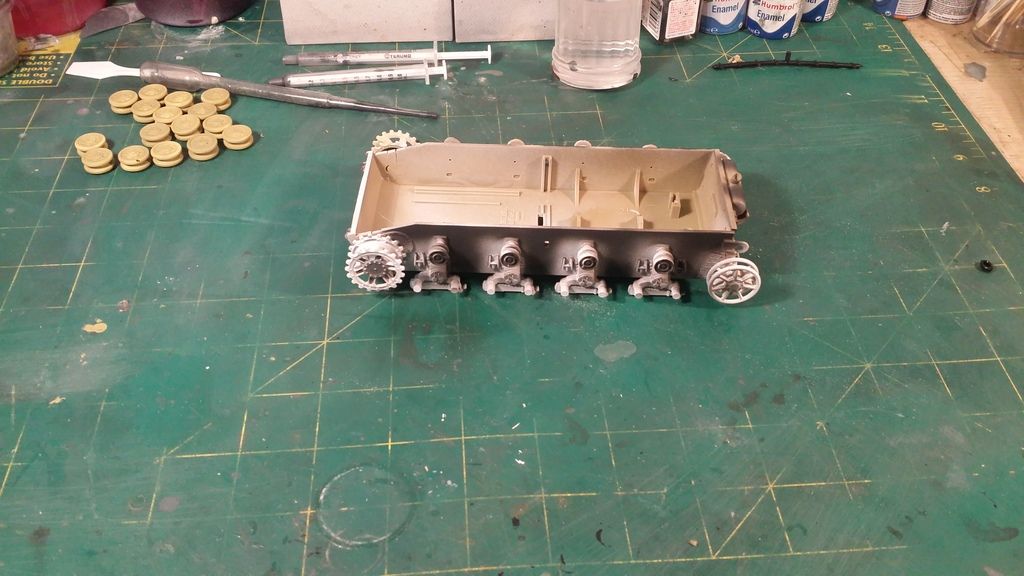
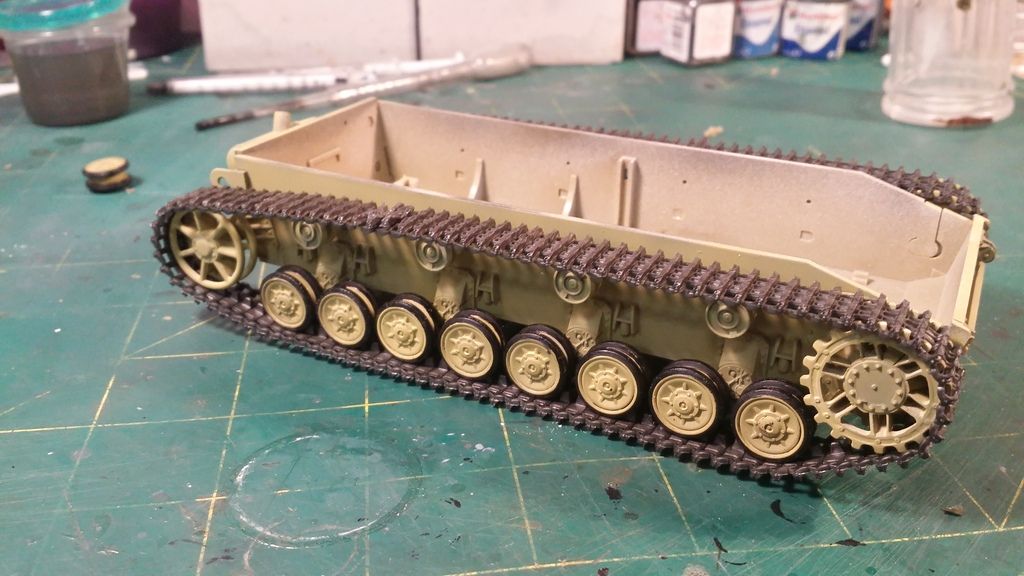
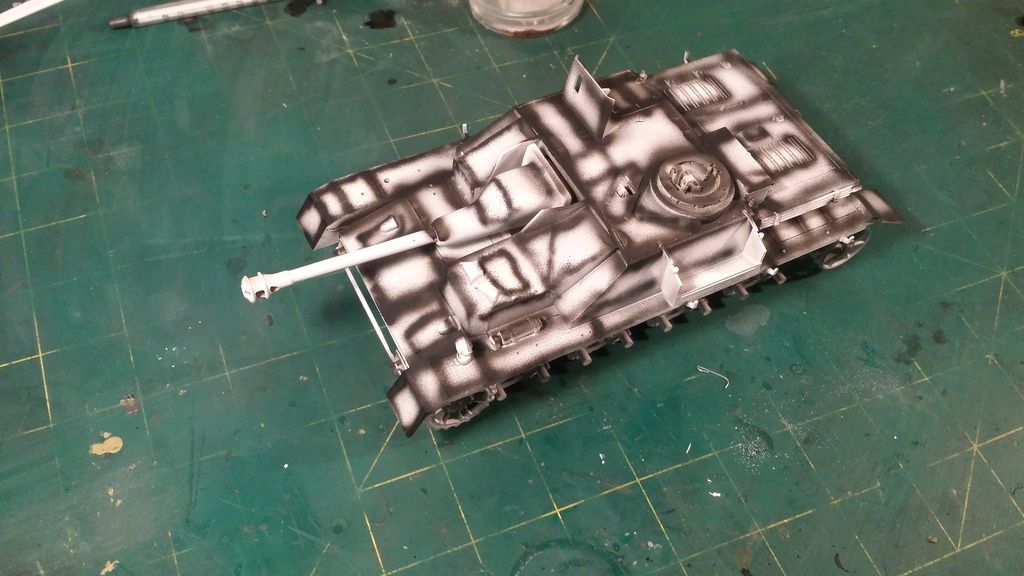
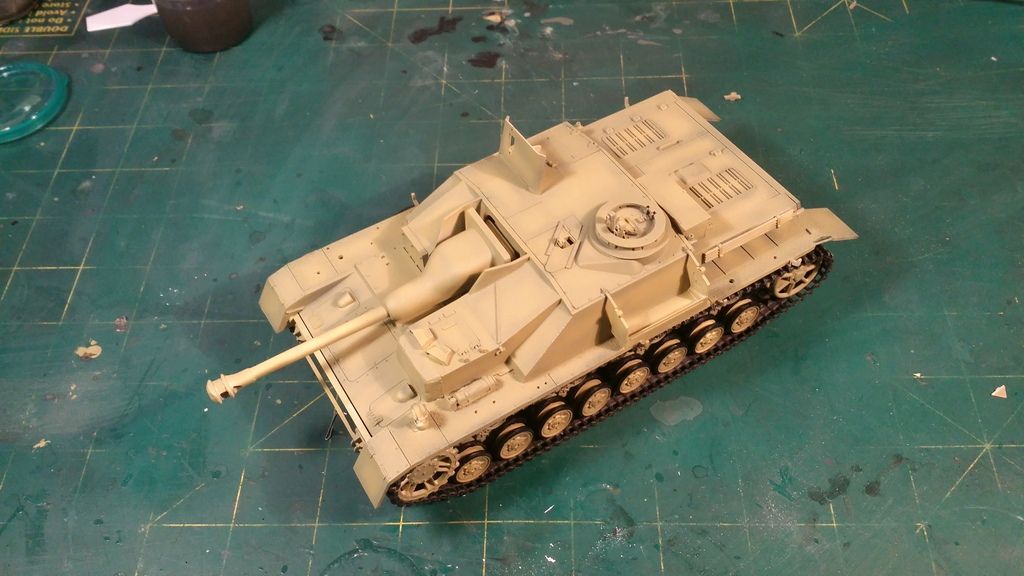
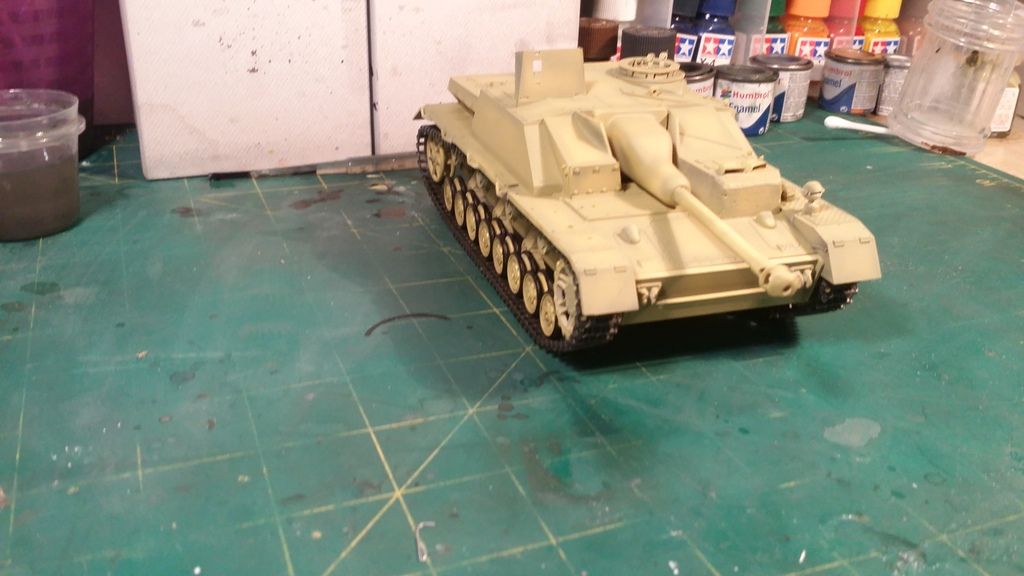
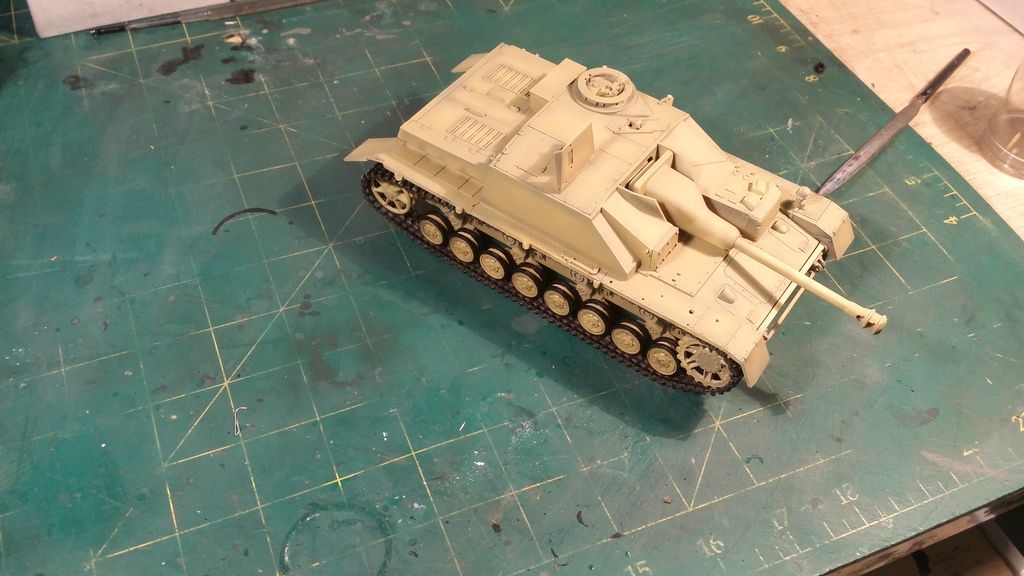
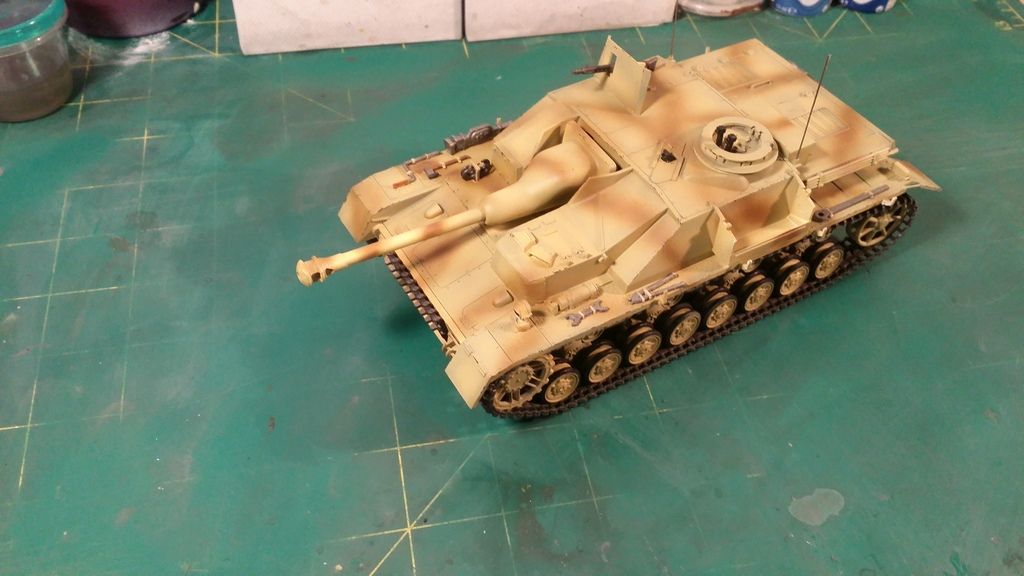
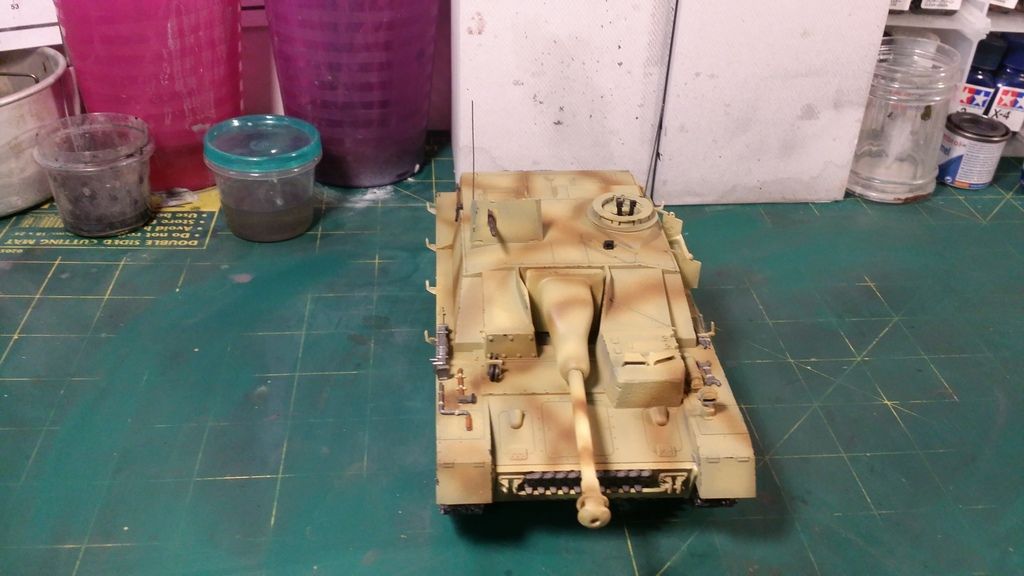
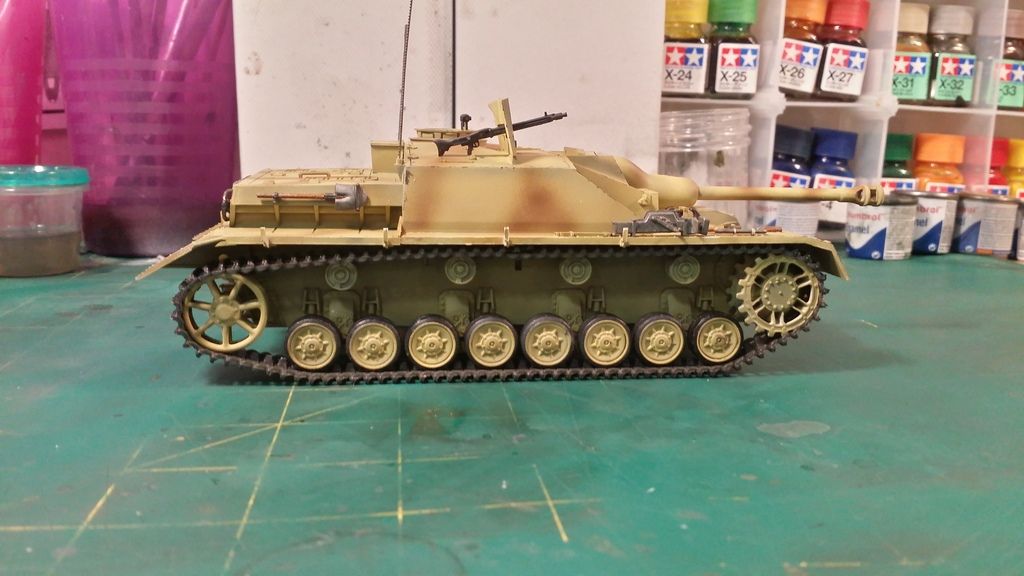
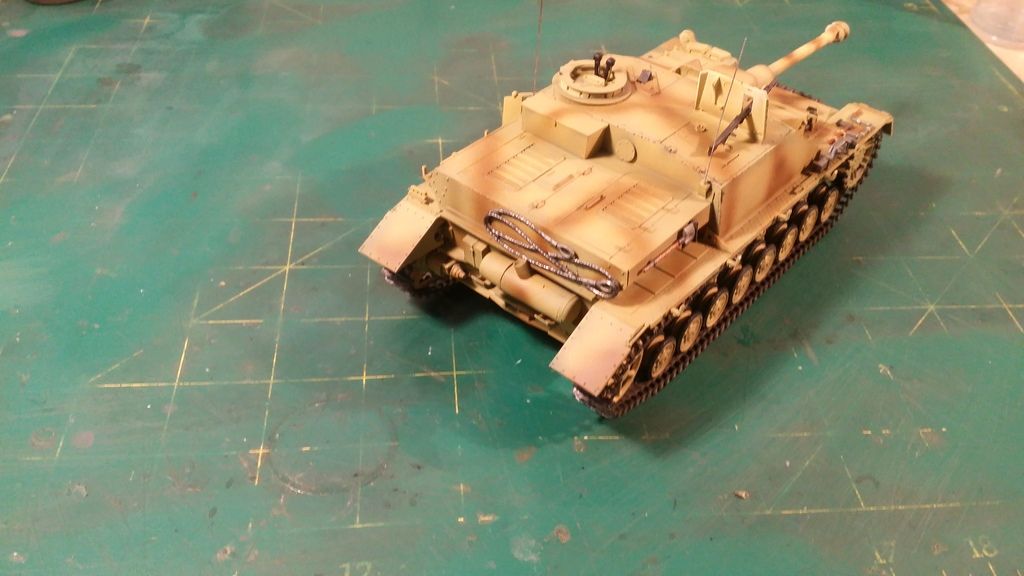
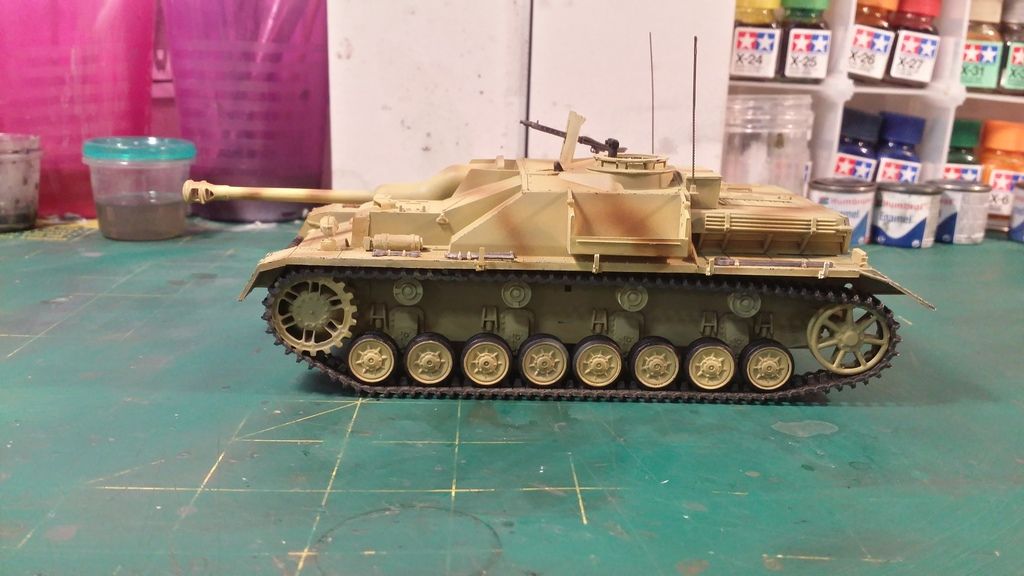
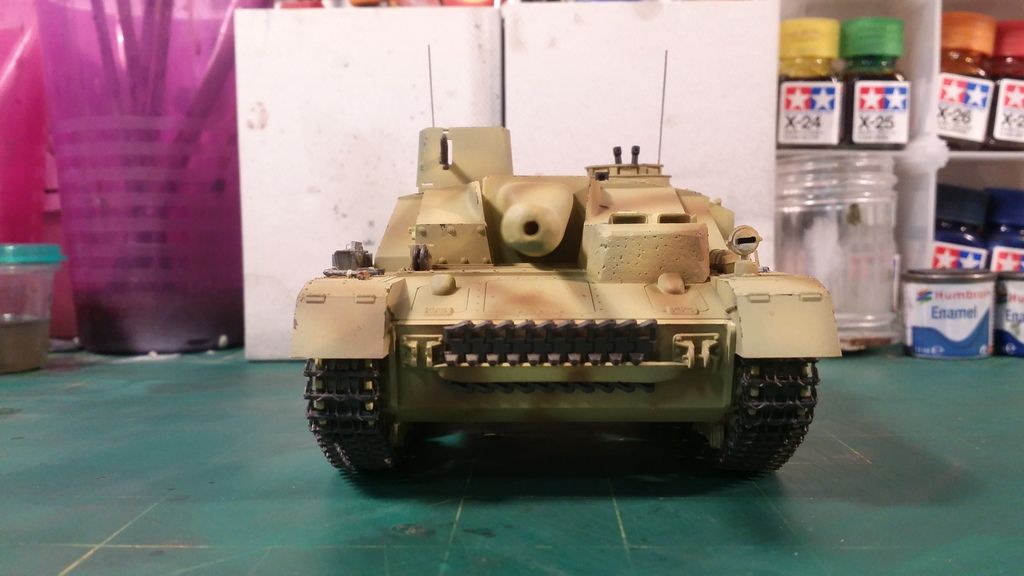
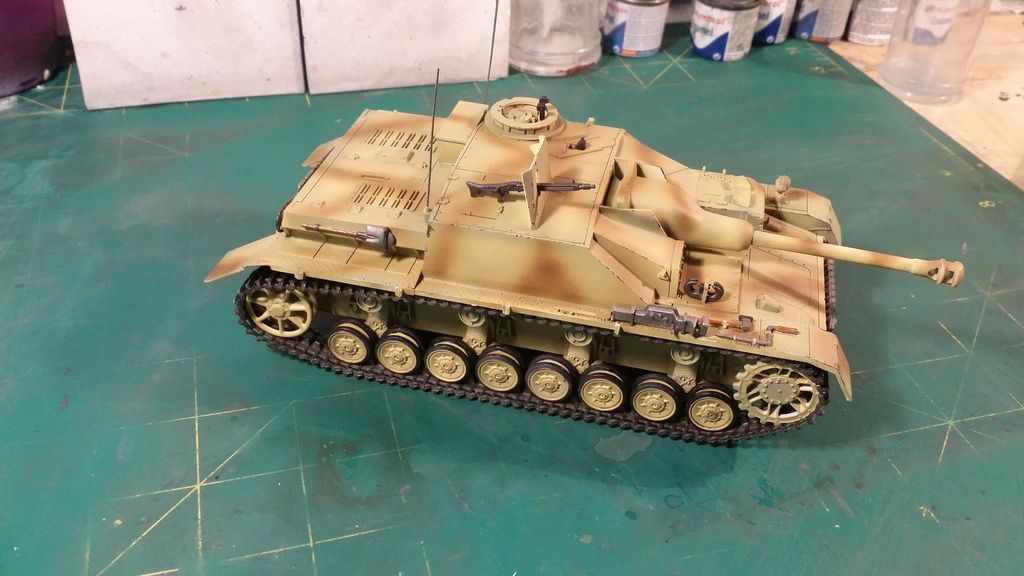
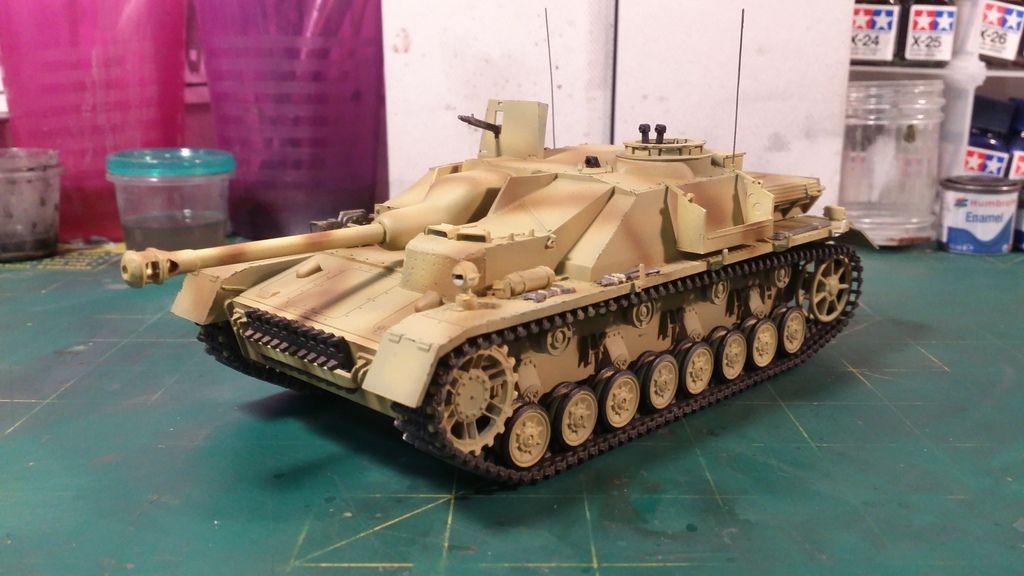
I will be building the Tamiya Stug IV, without the side armour plating, the rest of it will pretty much be OOB. As for a colour scheme, I am trying to look for something basic, and not in sand colour, but most of the schemes I find all seem to have some form of camouflage pattern. Will do some more research into that. The tank will be preshaded then painted and finally very lightly weathered, once again I am going for a clean look as thats how I prefer my models.
Kit Details
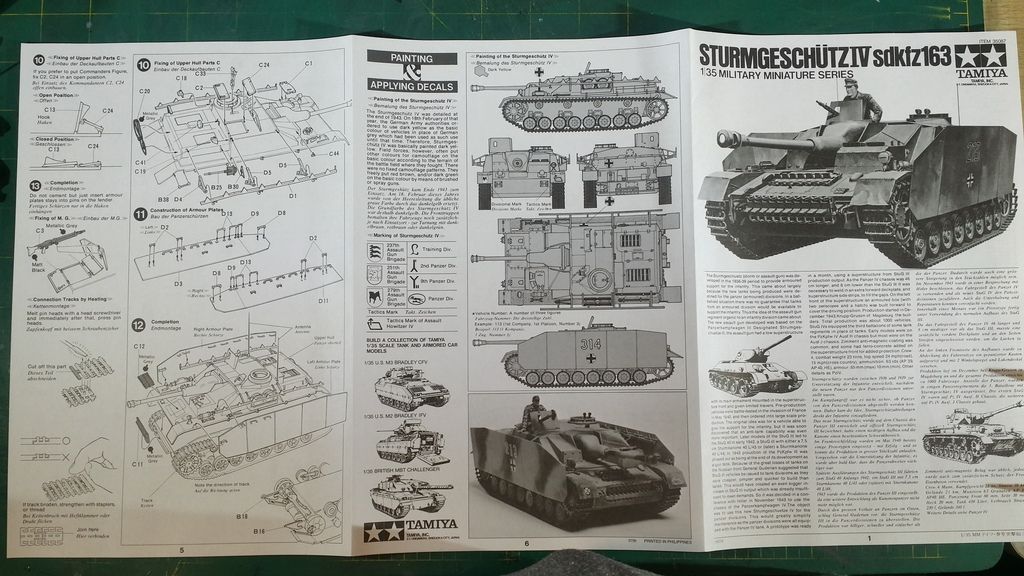
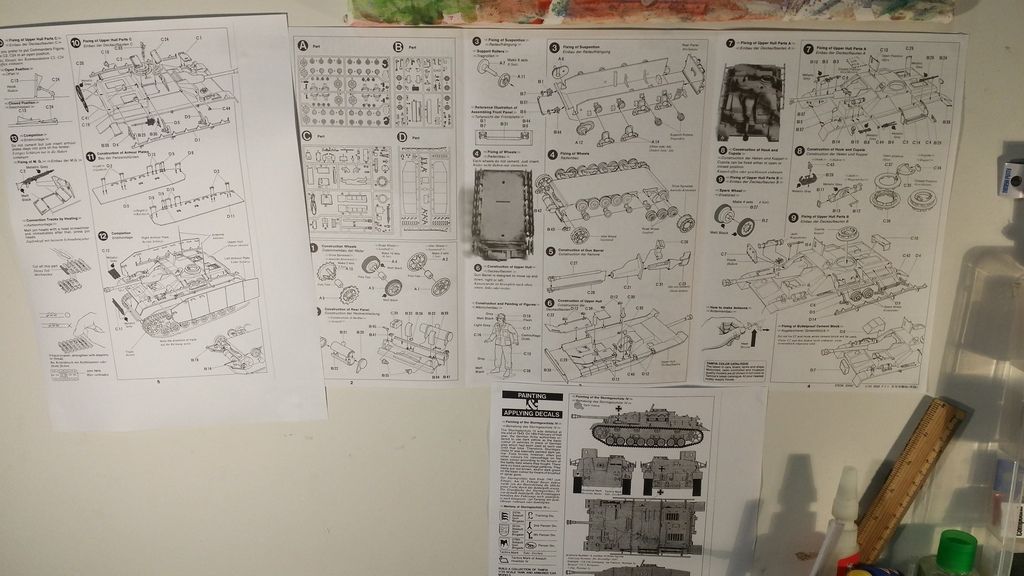
Here are the kit details taken from scalemates.com
Brand:
Tamiya
Product name:
Sturmgeschütz IV
Product number:
35087
Scale:
1:35
Type:
Full kit
[COLOR=rgb(136,136,136)]Includes: Plastic sprues, Vinyl, Waterslide decals[/COLOR]
Released:
1976 | Rebox [COLOR=rgb(136,136,136)](Changed box only)[/COLOR]
Decal options
Scalemates link:
https://www.scalemates.com/kits/1234...urmgesch-tz-iv
Box Art
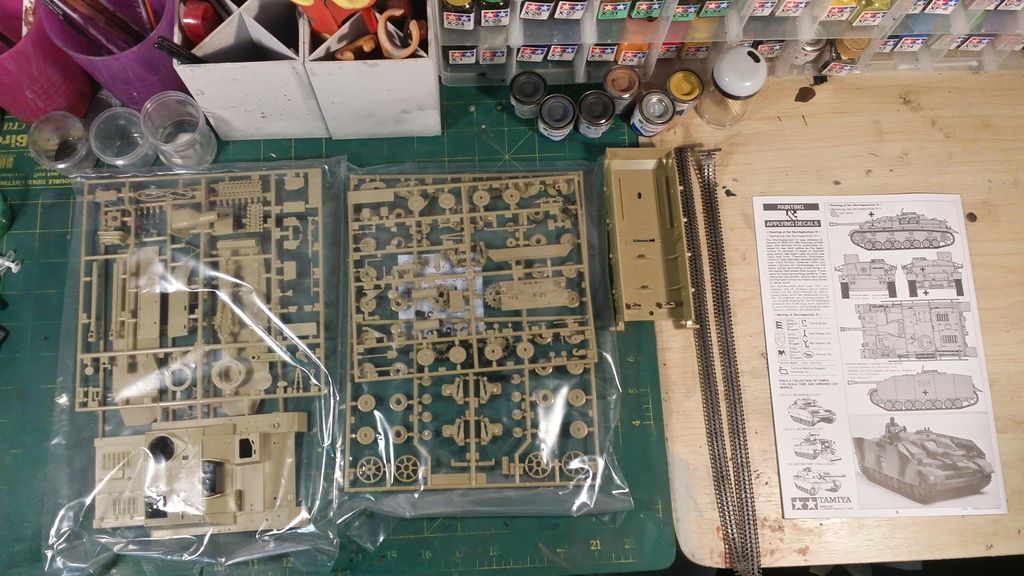
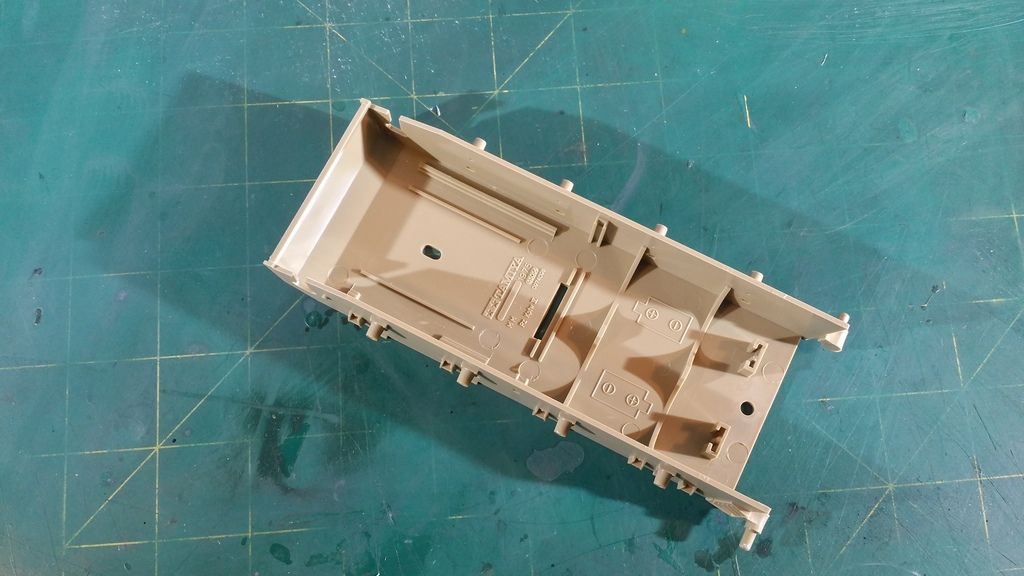
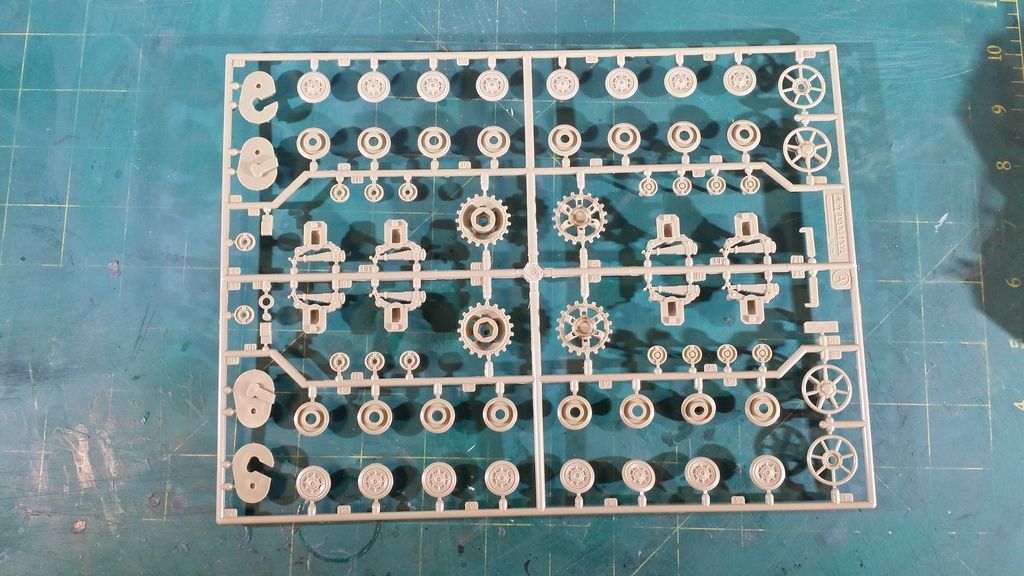
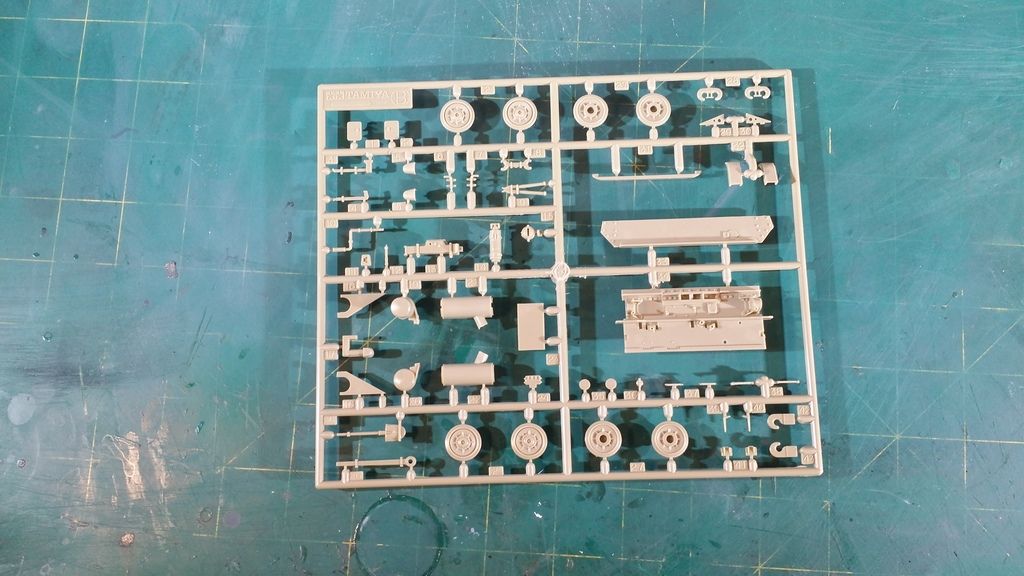
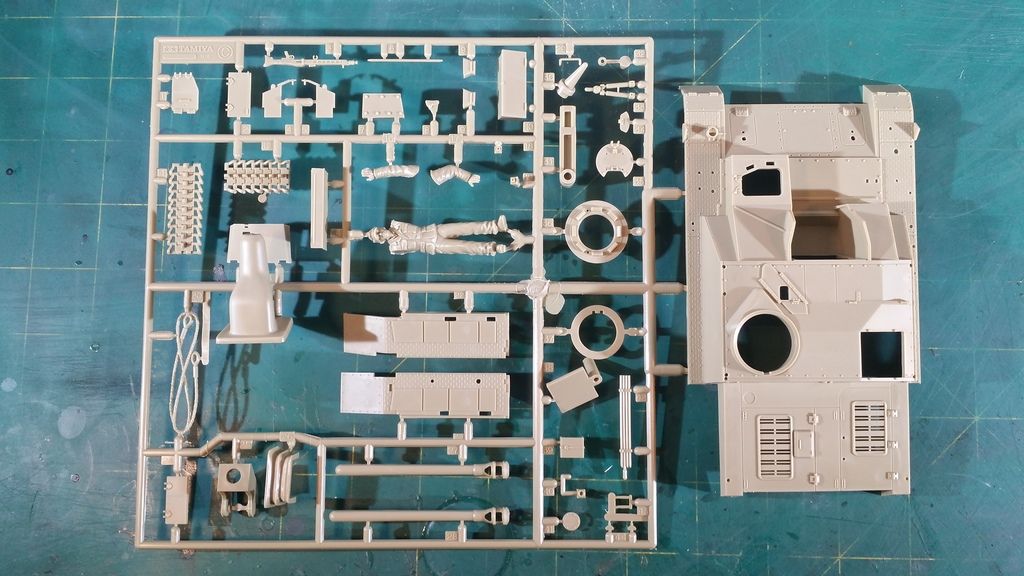
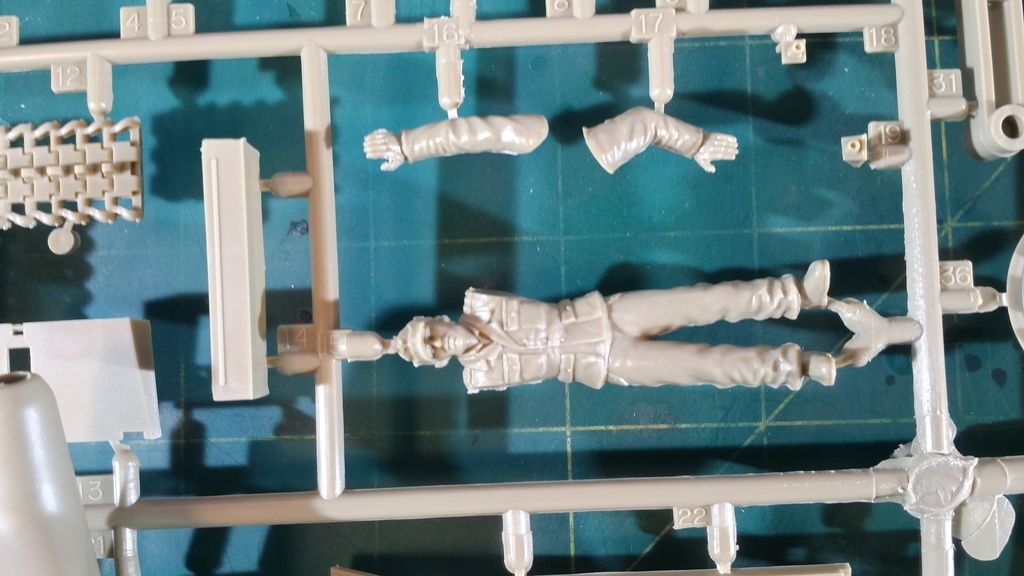
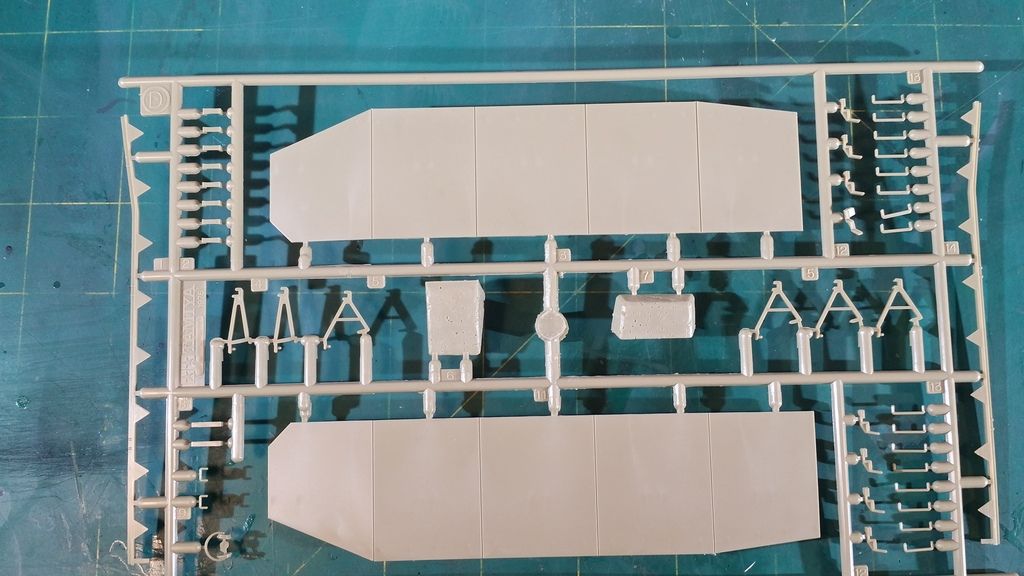
Kit Contents


Good to go
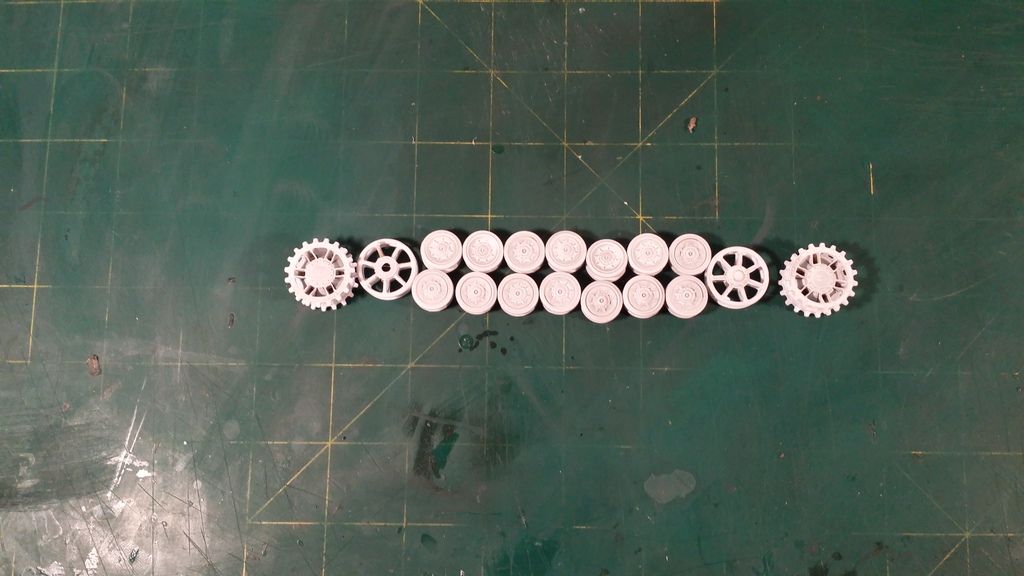
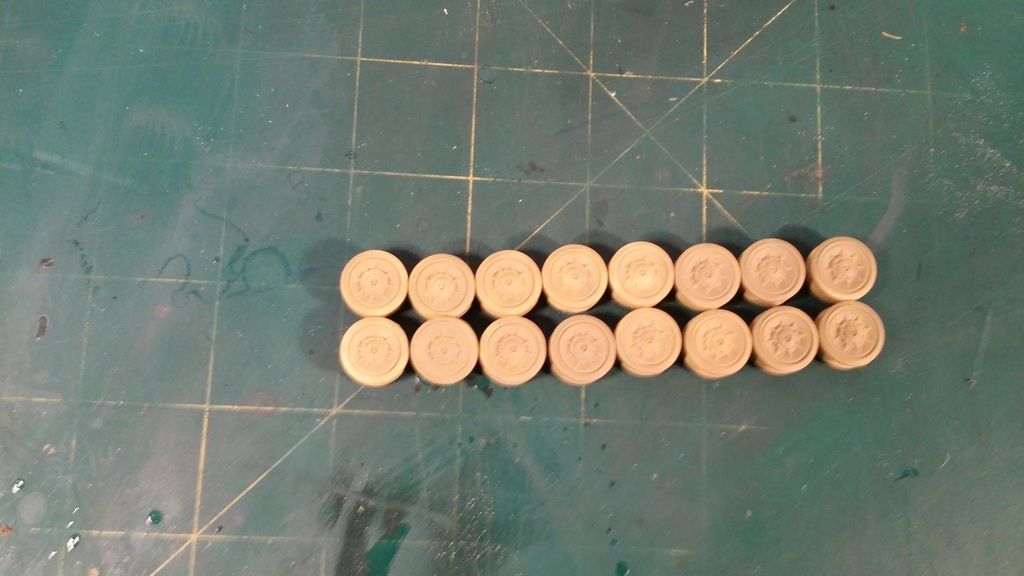
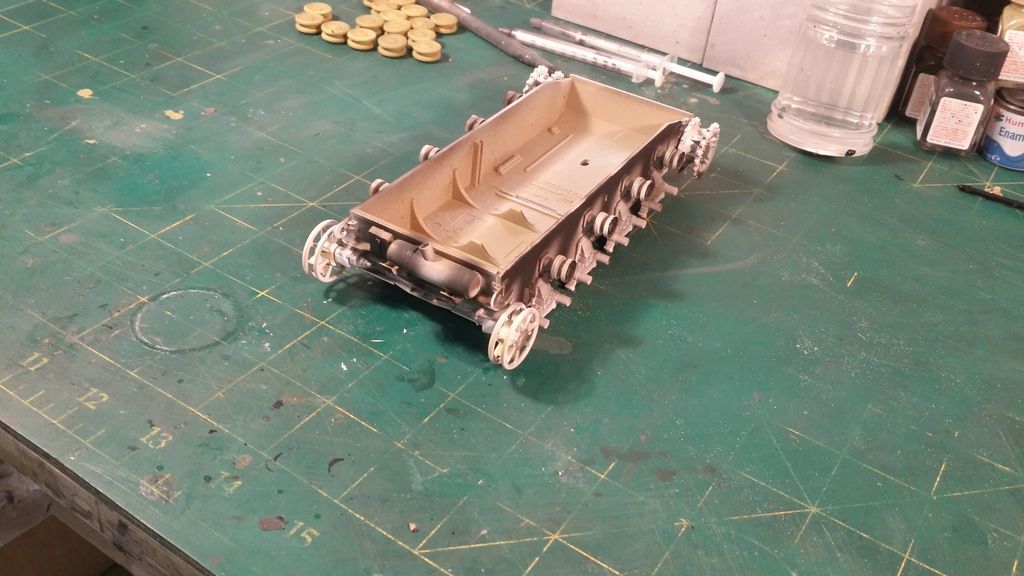
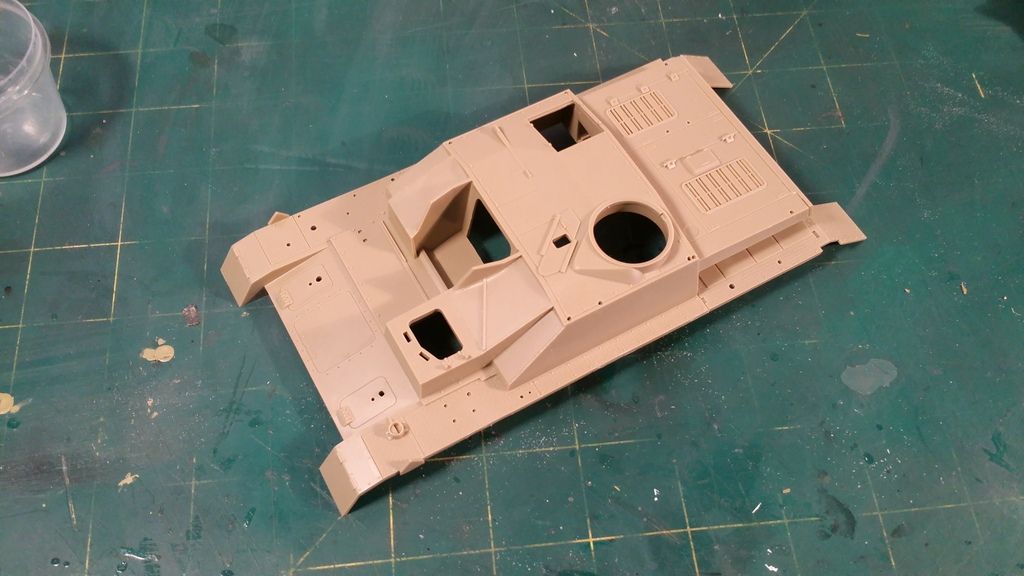
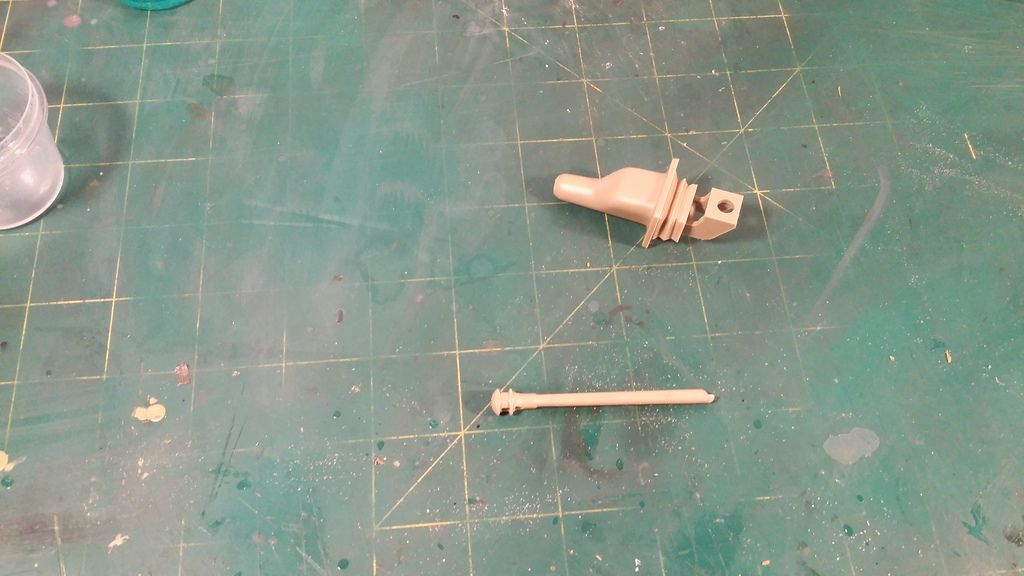
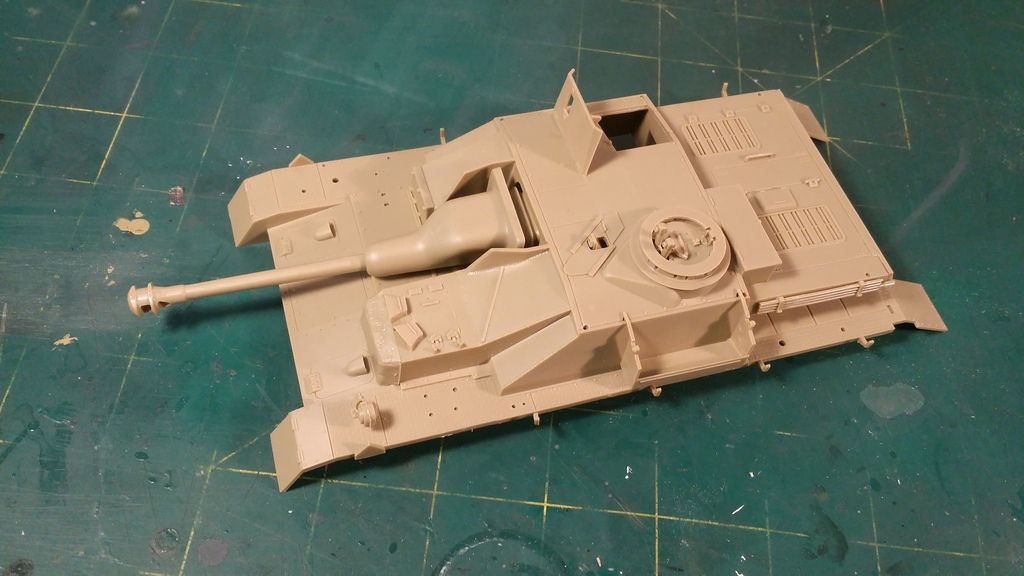
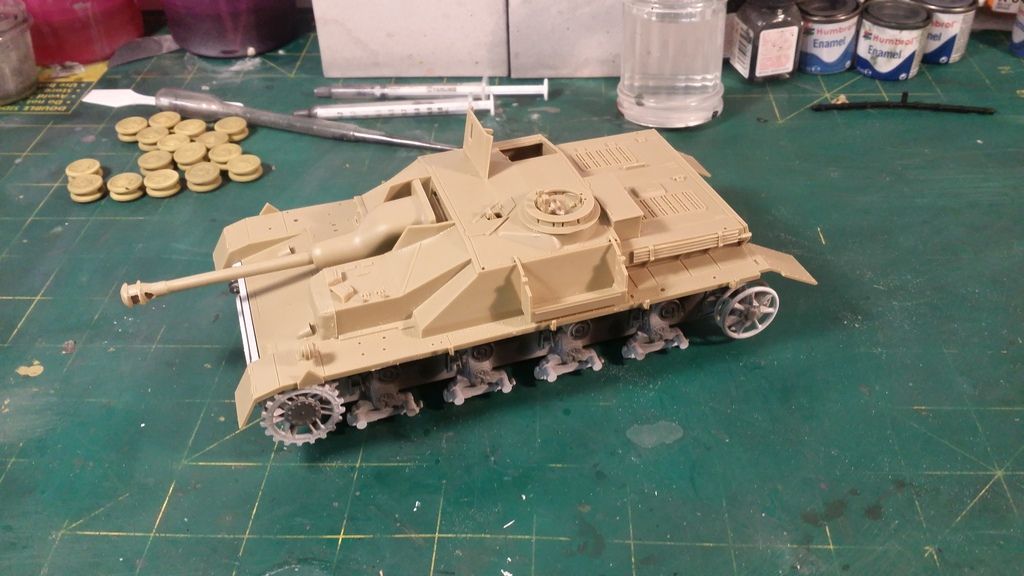
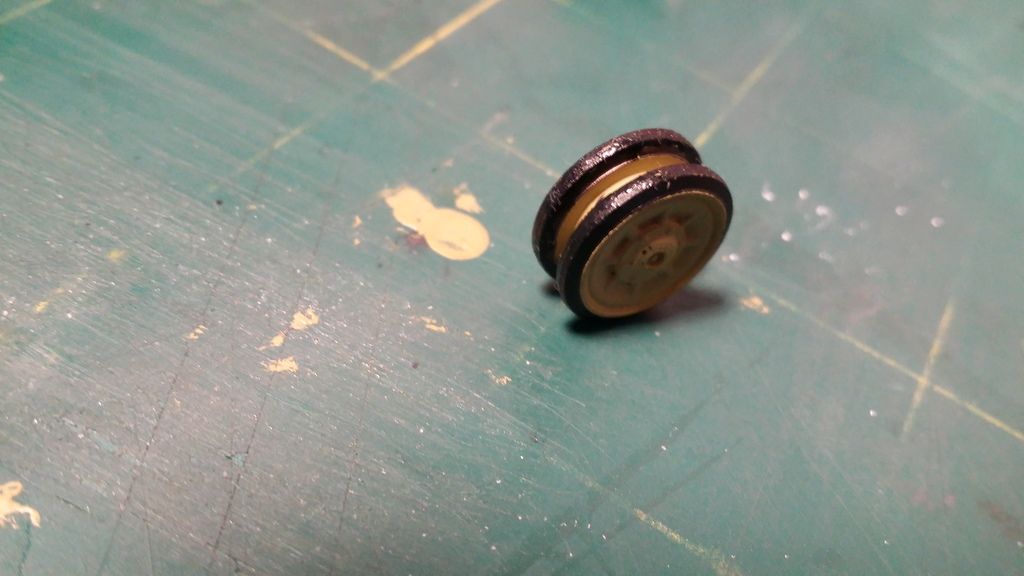
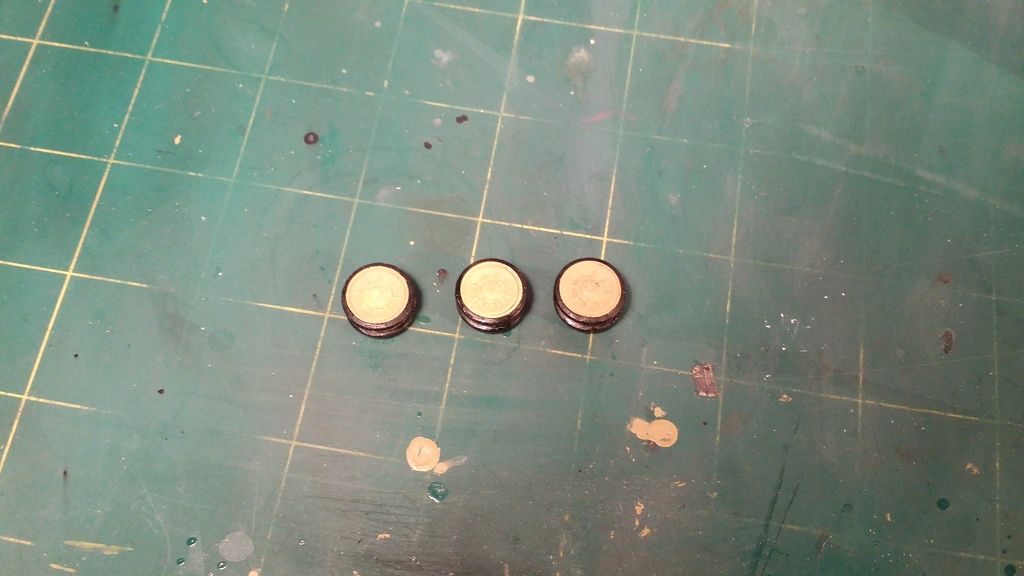
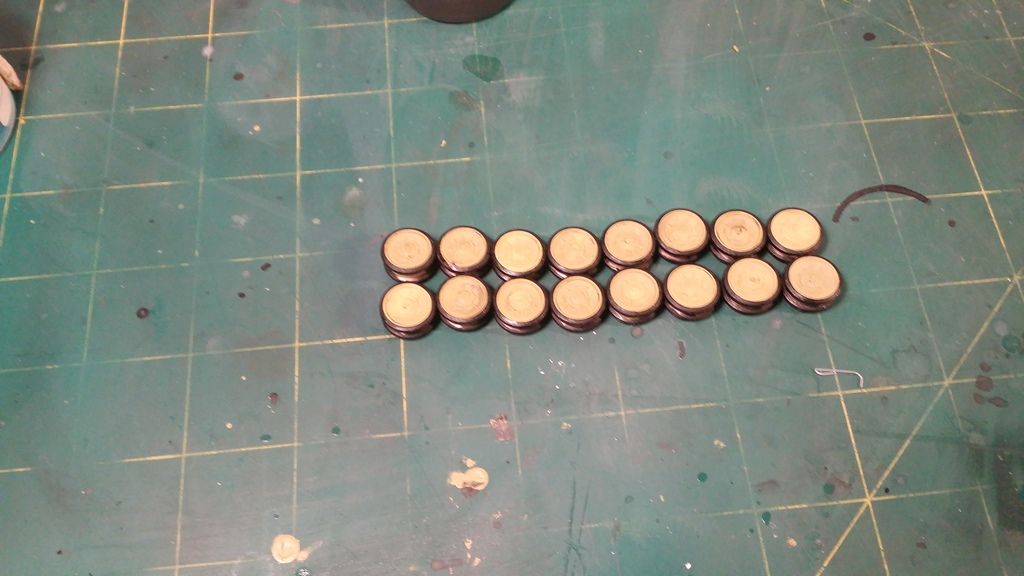
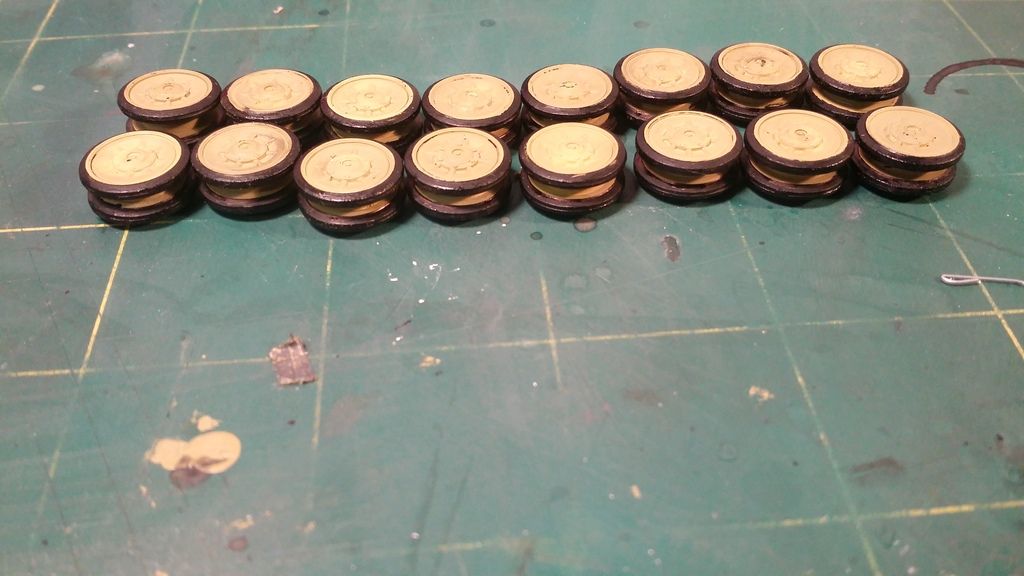
Well I have started the kit, and am working on the wheels, I will post up photos soon.
I hope you all liked the post, all comments welcome.
Build Plan
I will be building the Tamiya Stug IV, without the side armour plating, the rest of it will pretty much be OOB. As for a colour scheme, I am trying to look for something basic, and not in sand colour, but most of the schemes I find all seem to have some form of camouflage pattern. Will do some more research into that. The tank will be preshaded then painted and finally very lightly weathered, once again I am going for a clean look as thats how I prefer my models.
Kit Details
Here are the kit details taken from scalemates.com
Brand:
Tamiya
Product name:
Sturmgeschütz IV
Product number:
35087
Scale:
1:35
Type:
Full kit
[COLOR=rgb(136,136,136)]Includes: Plastic sprues, Vinyl, Waterslide decals[/COLOR]
Released:
1976 | Rebox [COLOR=rgb(136,136,136)](Changed box only)[/COLOR]
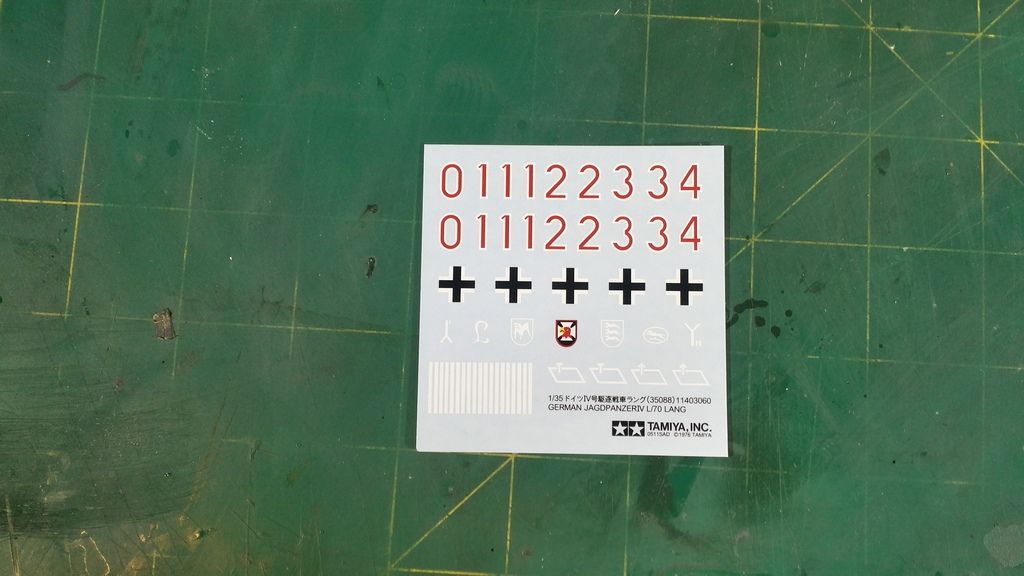
Decal options
- StuG. IV

 Wehrmacht Heer (German Army 1935-1945)
StuG.Brig. 237
- StuG. IV
Wehrmacht Heer (German Army 1935-1945)
StuG.Brig. 251
- StuG. IV
Wehrmacht Heer (German Army 1935-1945)
StuG.Brig. 279
Scalemates link:
https://www.scalemates.com/kits/1234...urmgesch-tz-iv
Box Art
Kit Contents
Good to go
Well I have started the kit, and am working on the wheels, I will post up photos soon.
I hope you all liked the post, all comments welcome.


Comment