
Hi all,
This is my entry into the GB. I know its a bit late, but I did start this kit two weeks ago. It has since stalled and I will try to smash it out in the next 5 days.
Build Plan
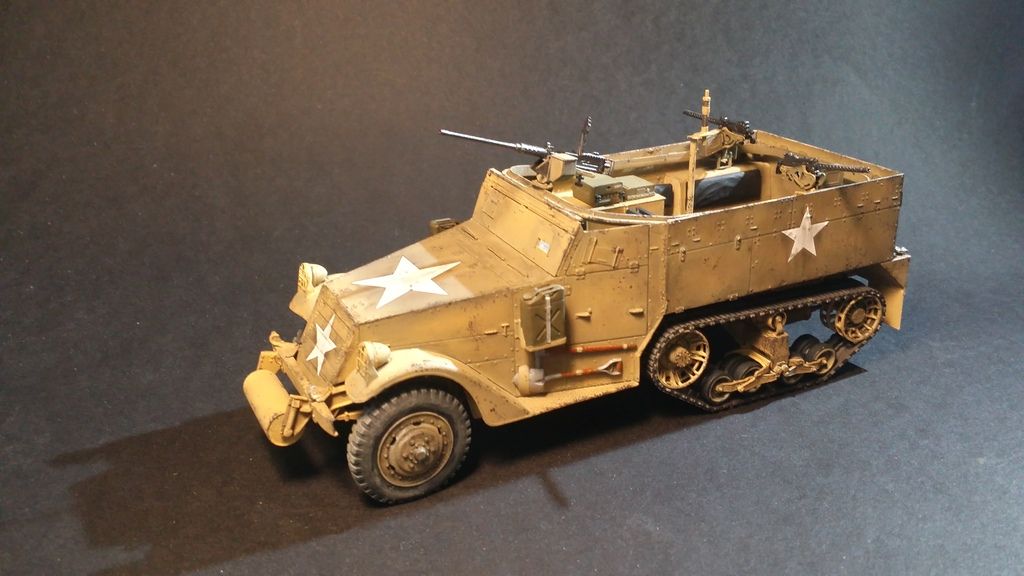
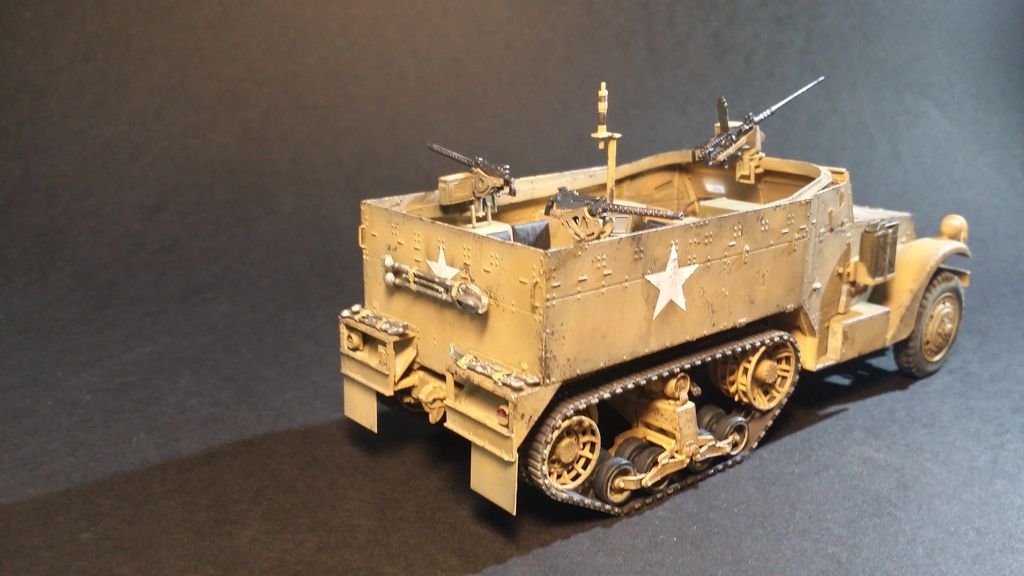
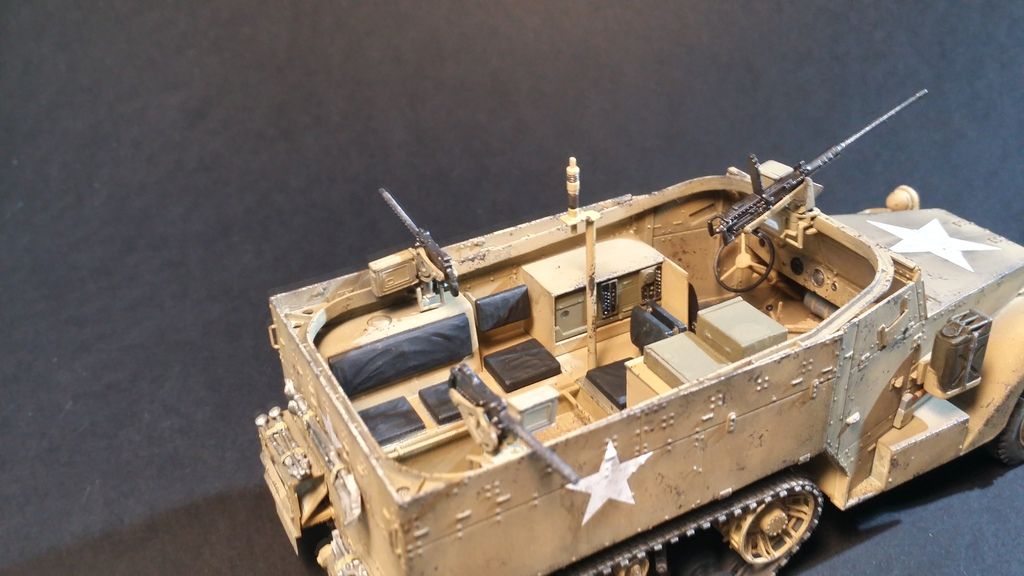
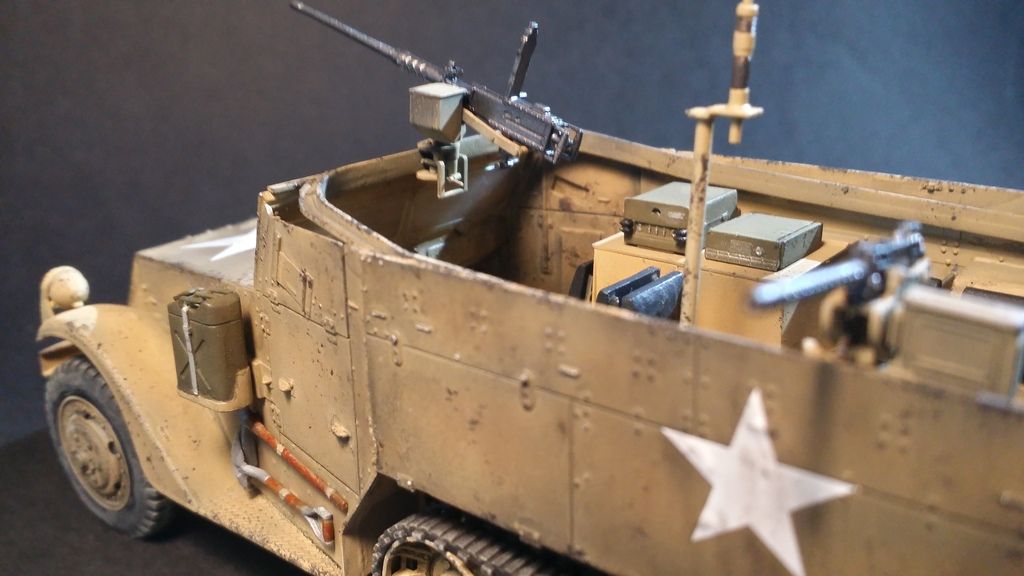
I will build this in the desert chamo scheme shown on the box art. As I have minimal time, I might not get to do much weathering.
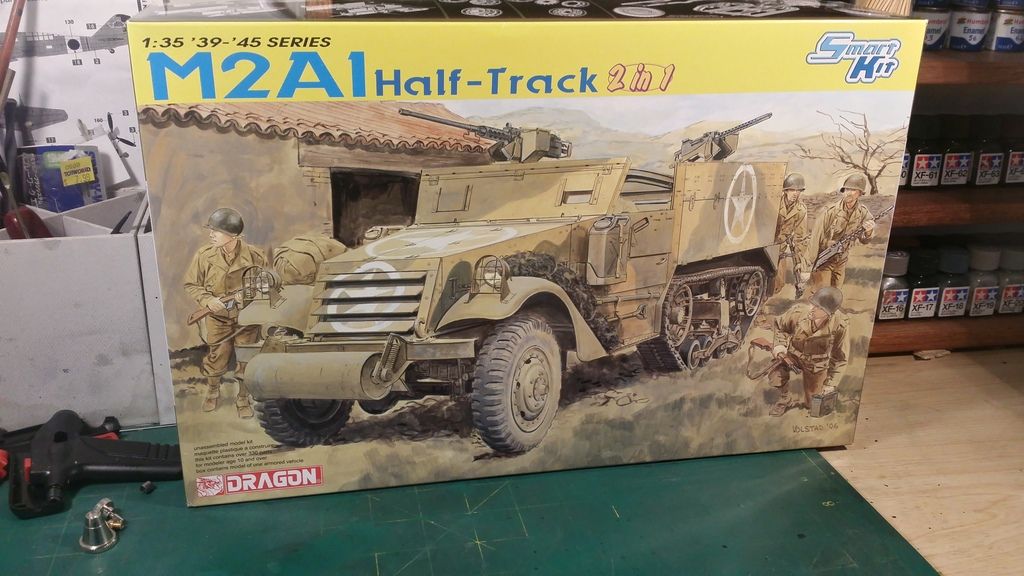
Kit Details from www.scalemates.com
Brand: Dragon
Title: M2A1 Half-Track 2 in 1
Number: 6329
Scale: 1:35
Type: Full kit
Includes: Plastic sprues, Photoetch, Waterslide decals, Clear parts, Rope
Released: 2006 | Initial release - new tool
Decal options
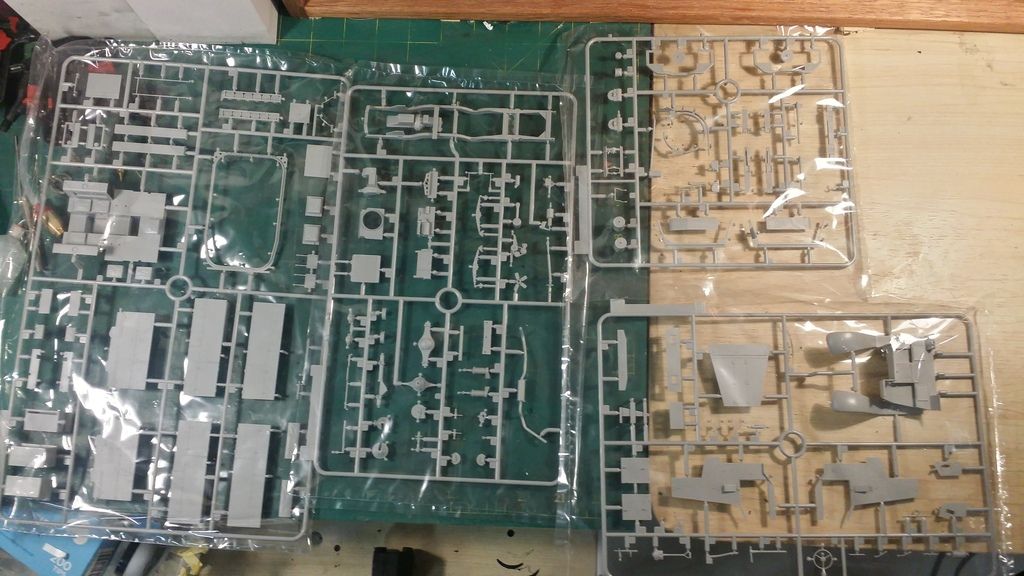
Kit Contents
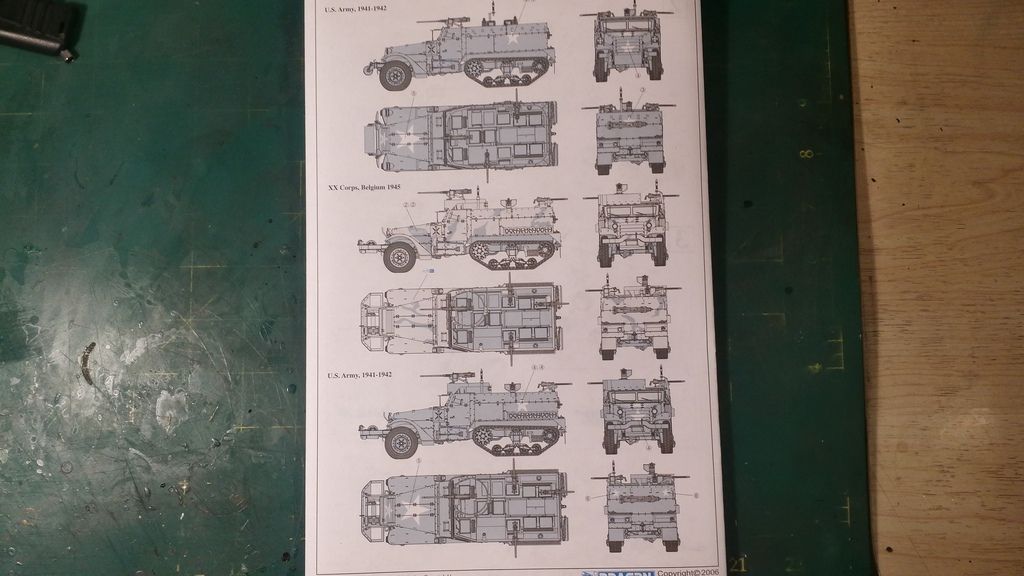
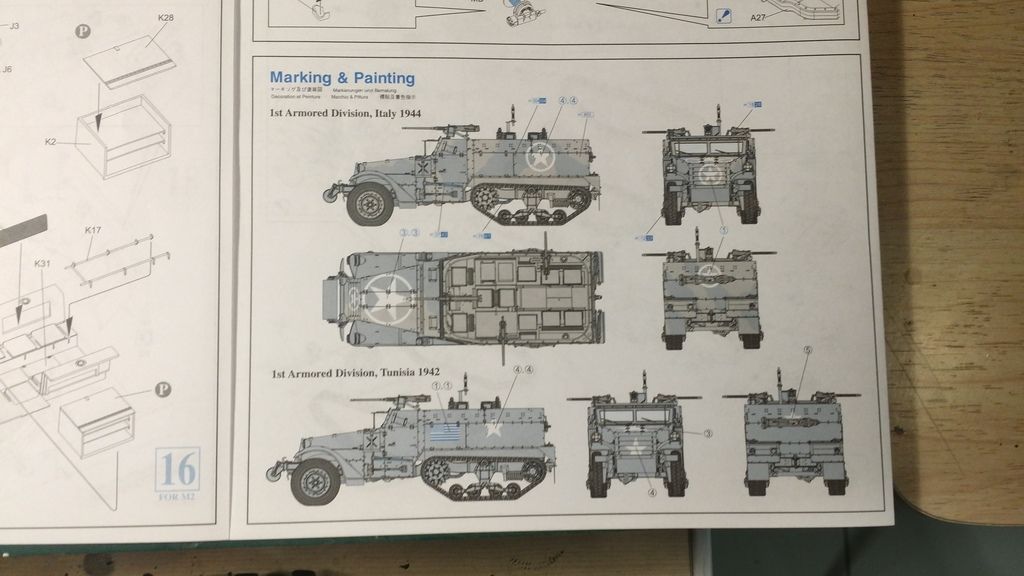
The chosen marking option
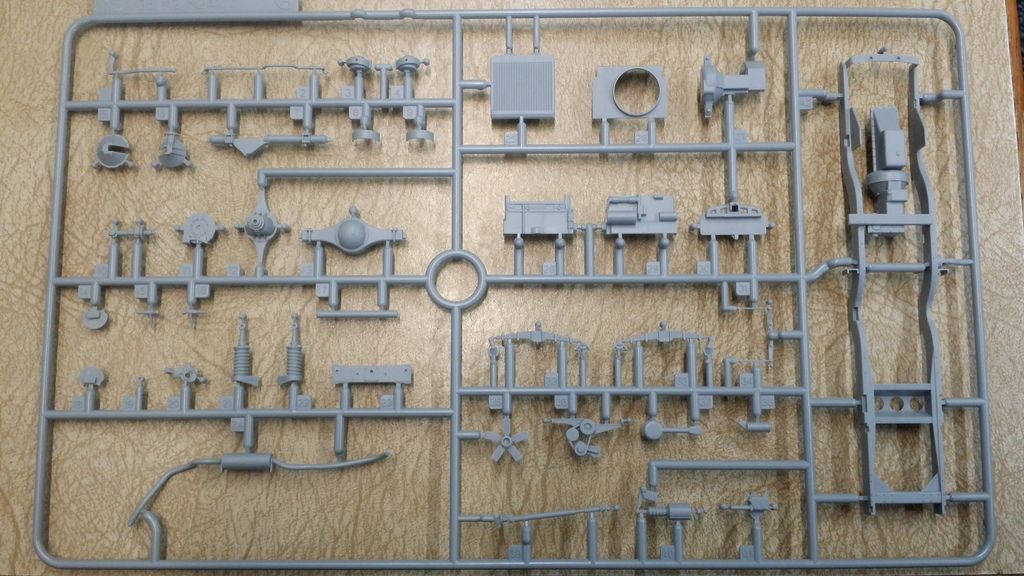
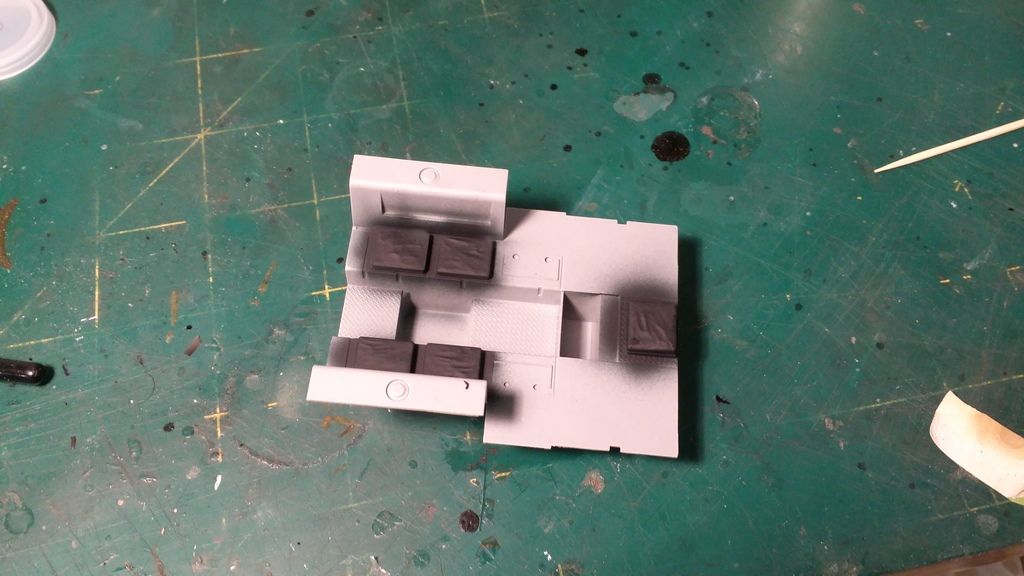
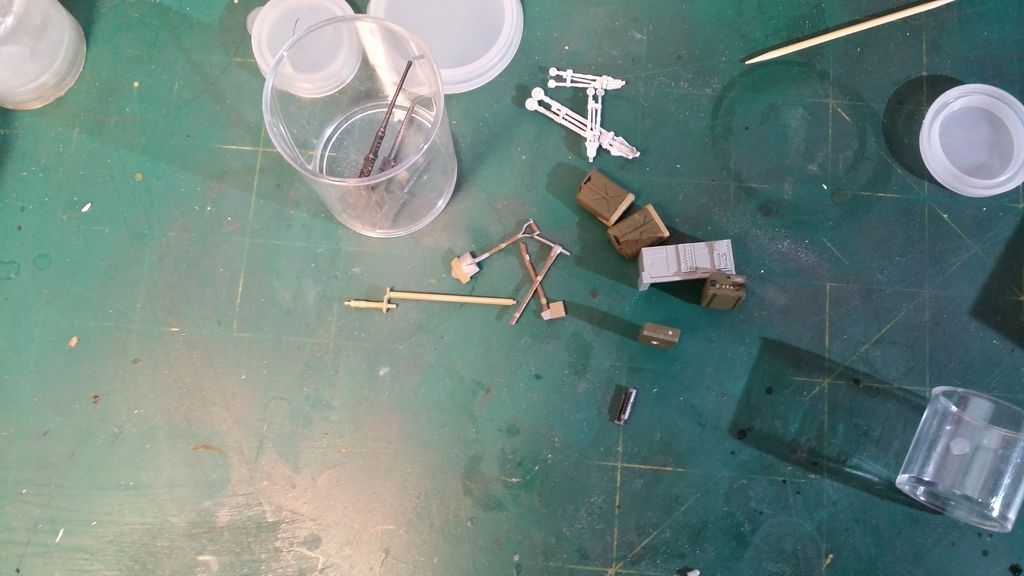
Here is the sprue I started working on
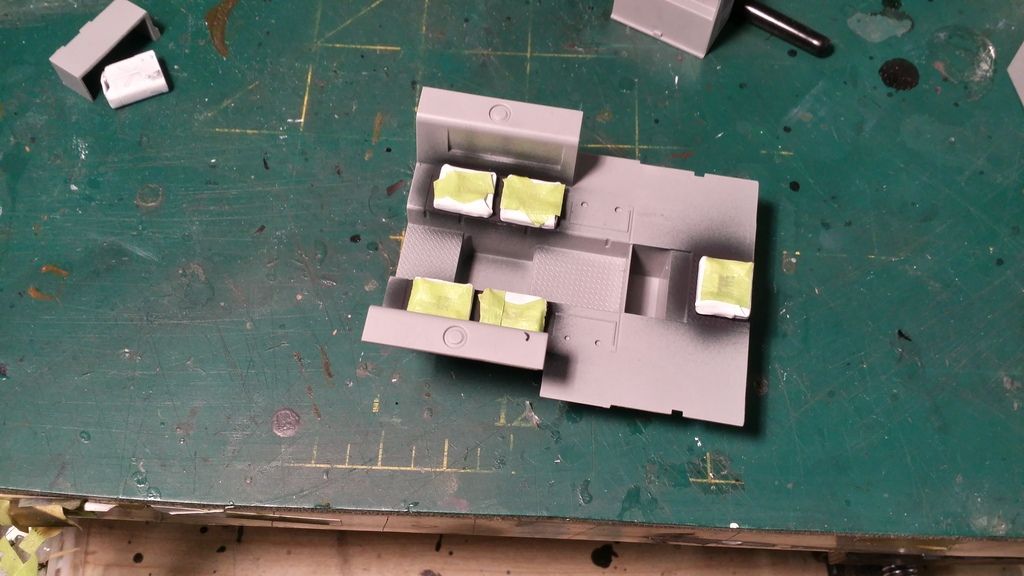
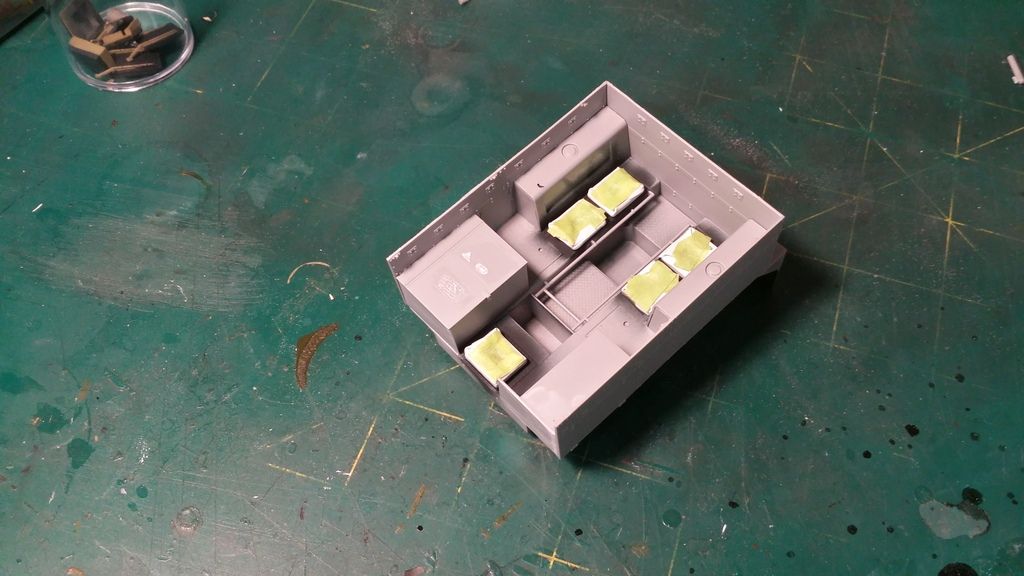
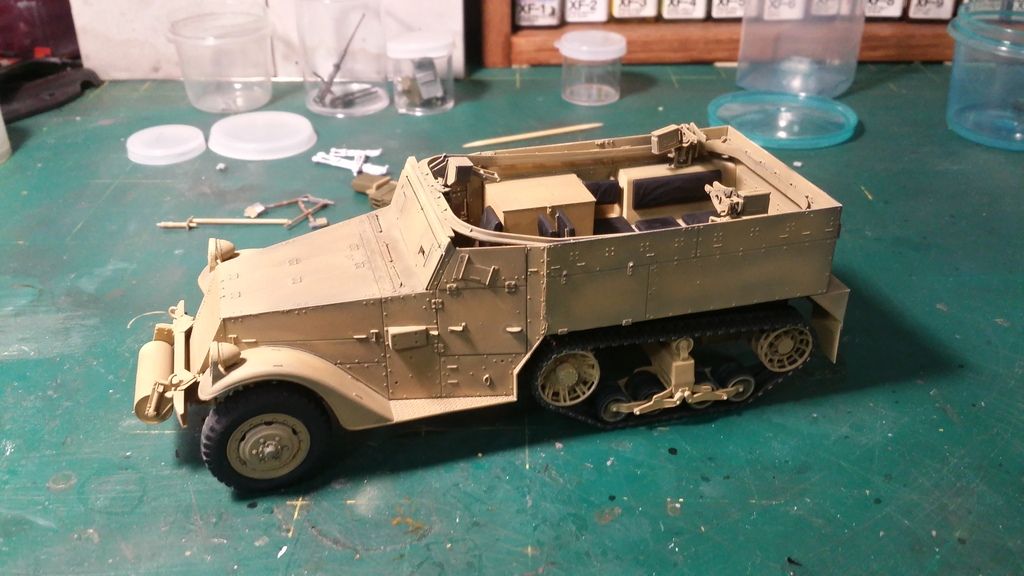
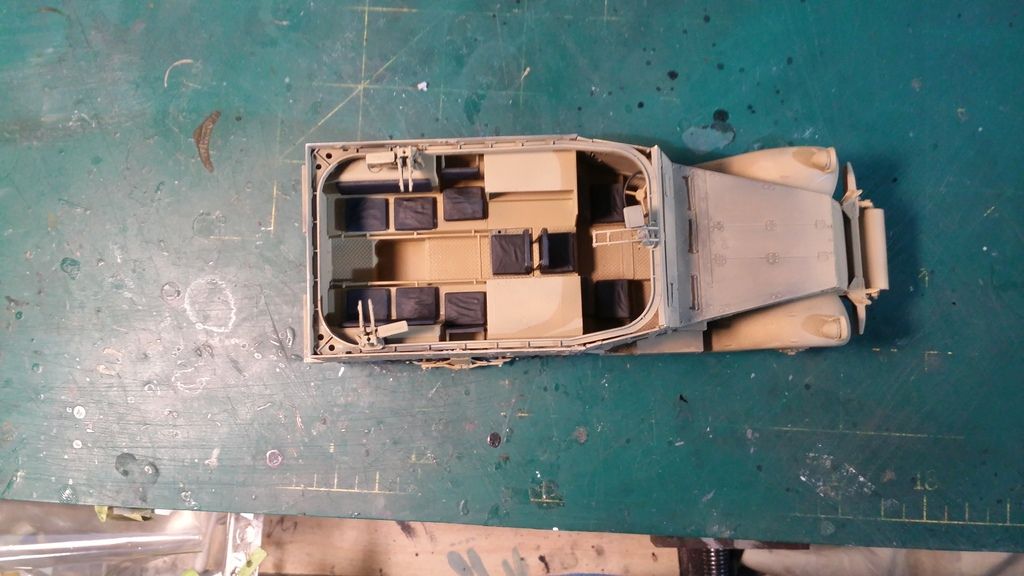
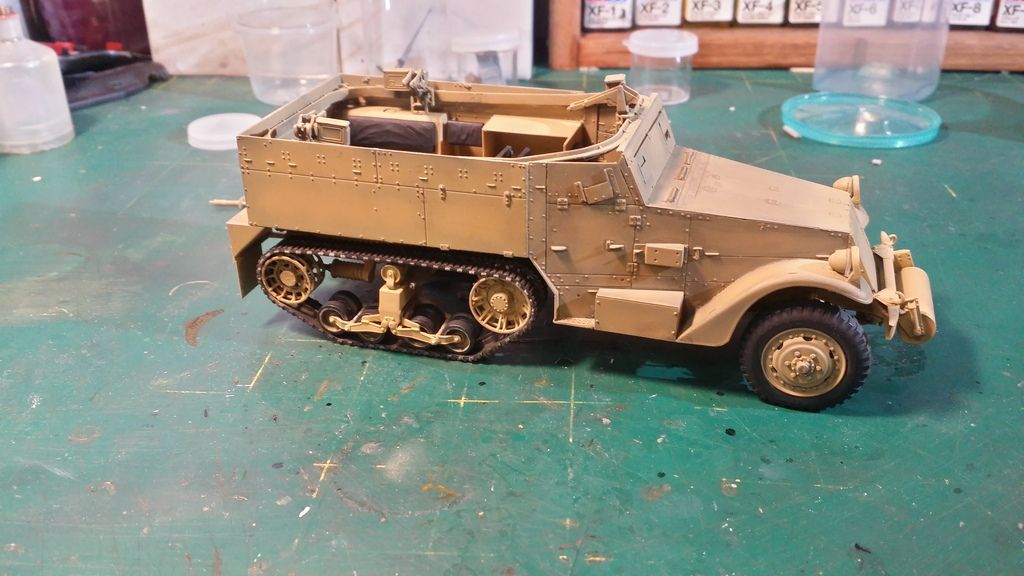
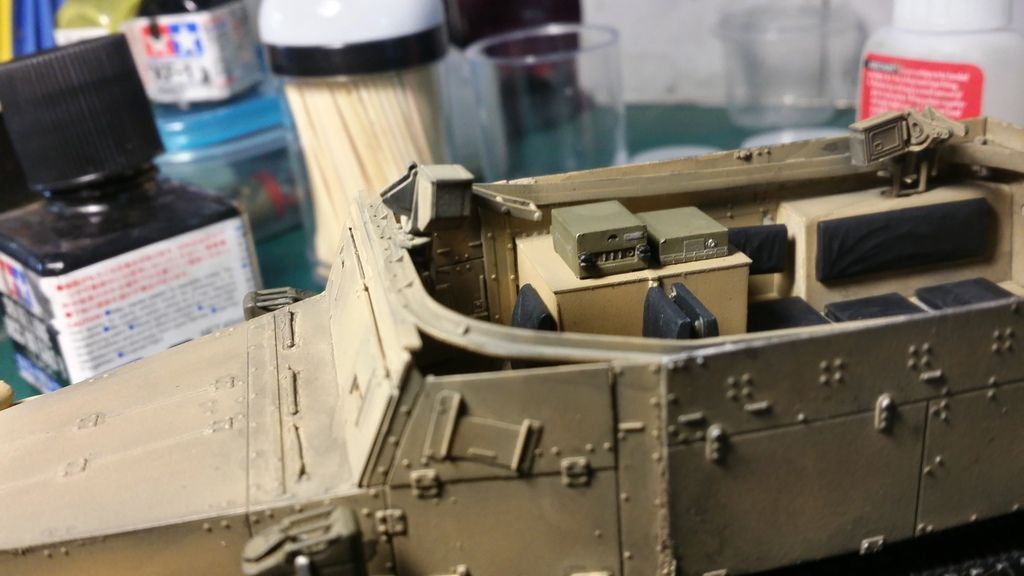
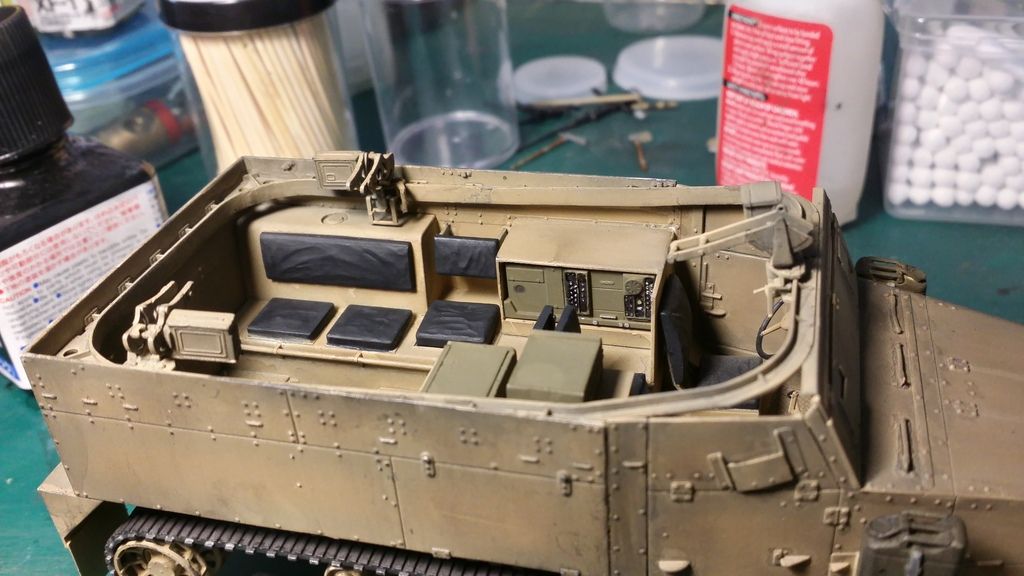
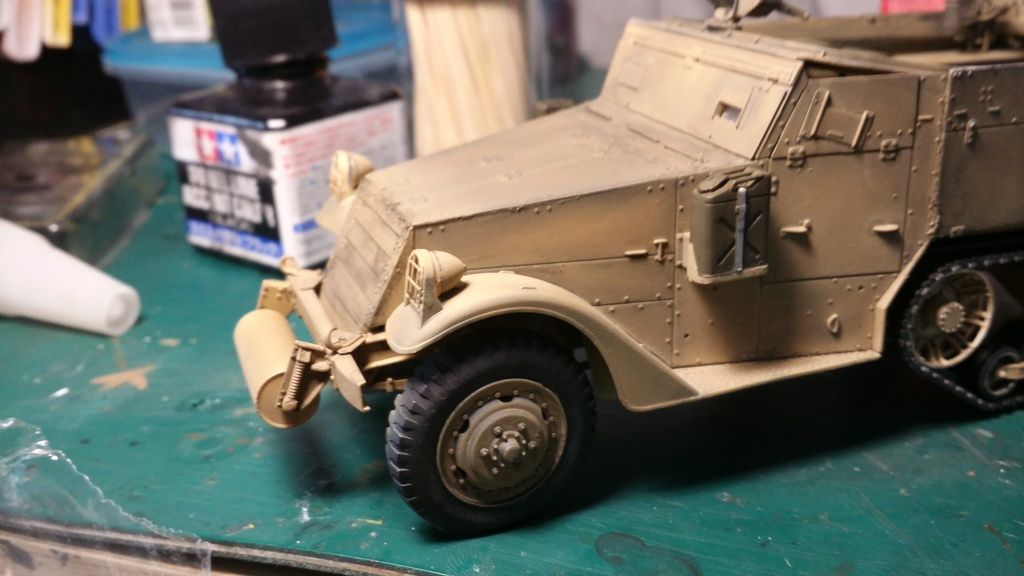
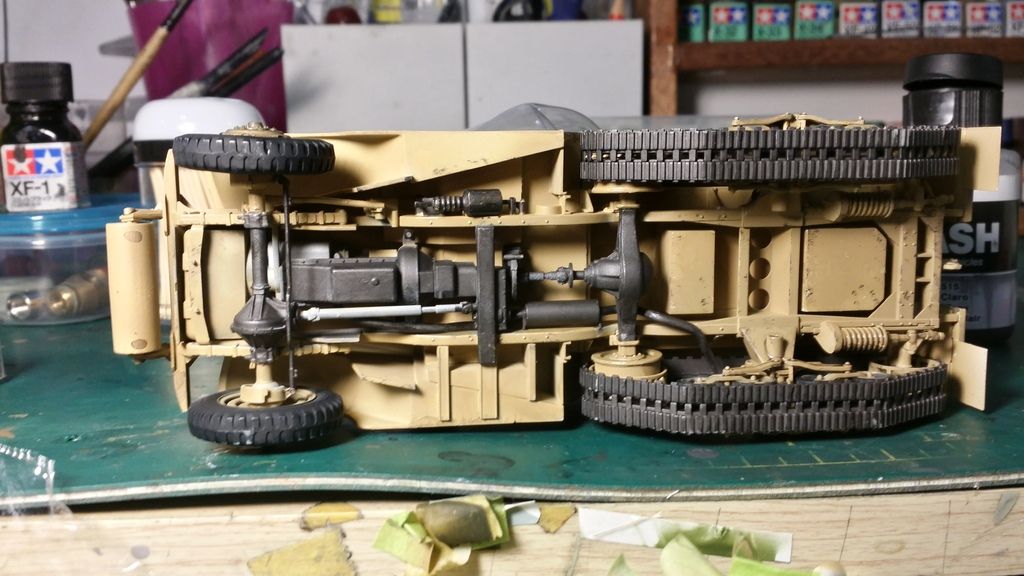
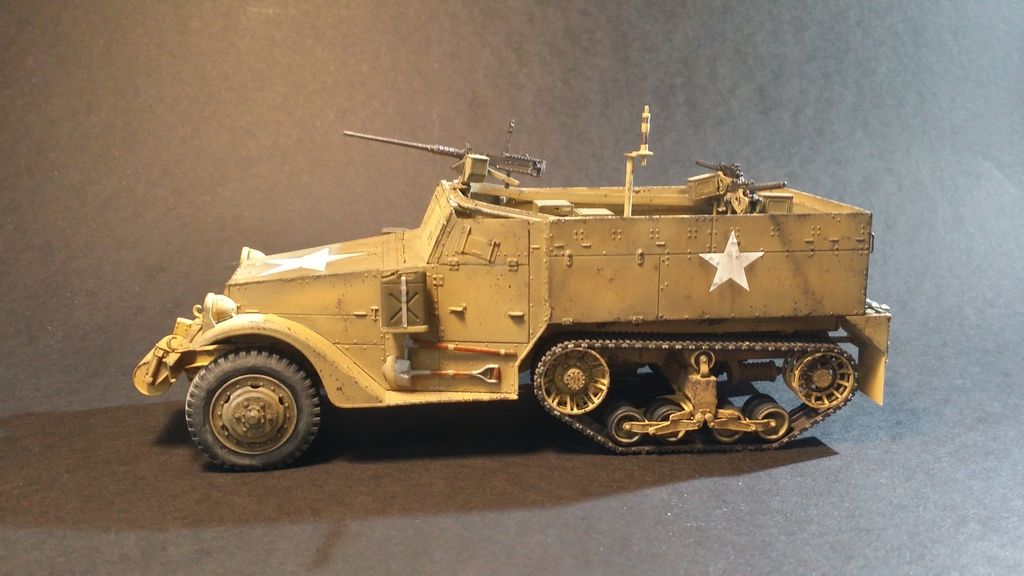
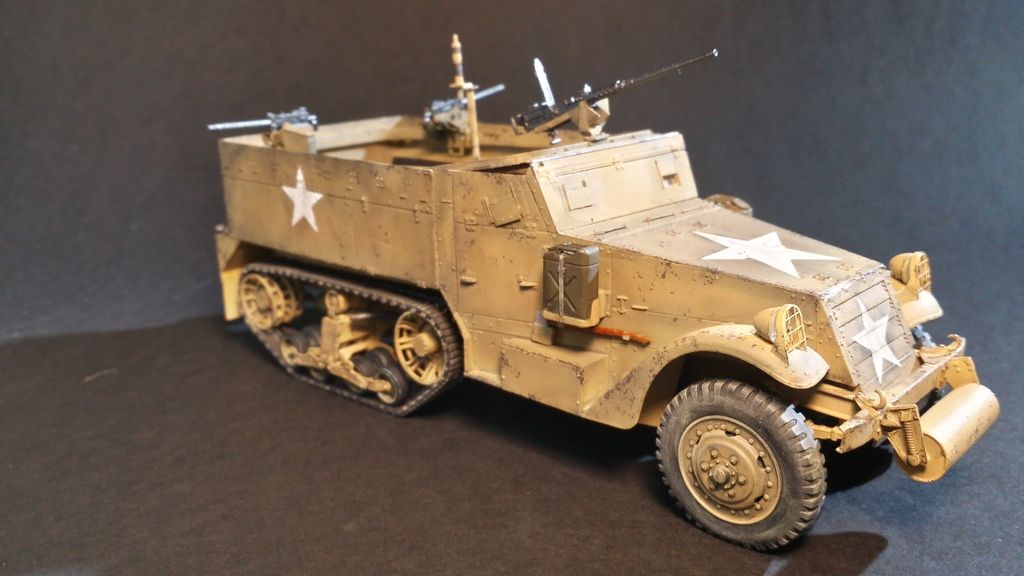
and here is where I am upto
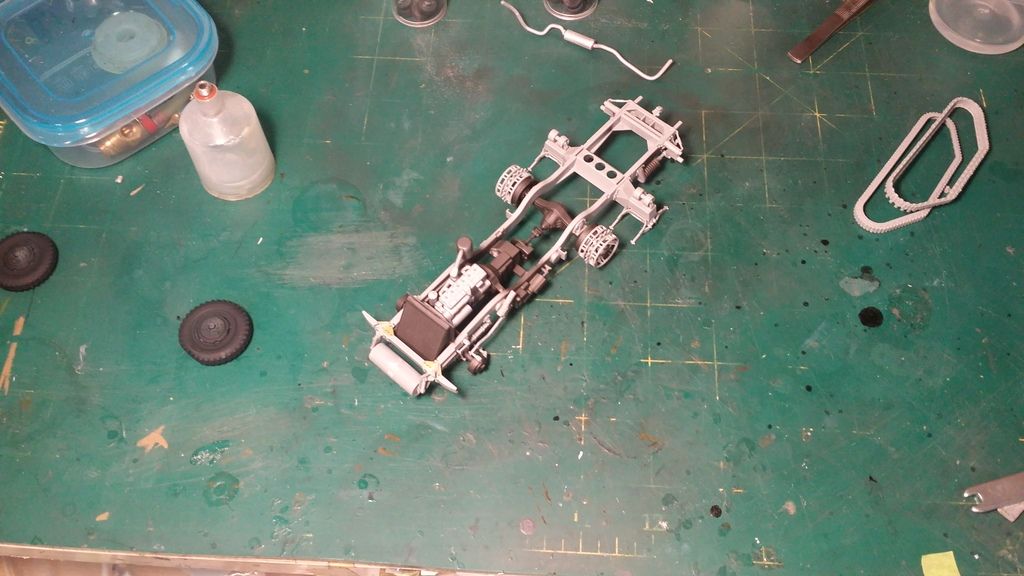
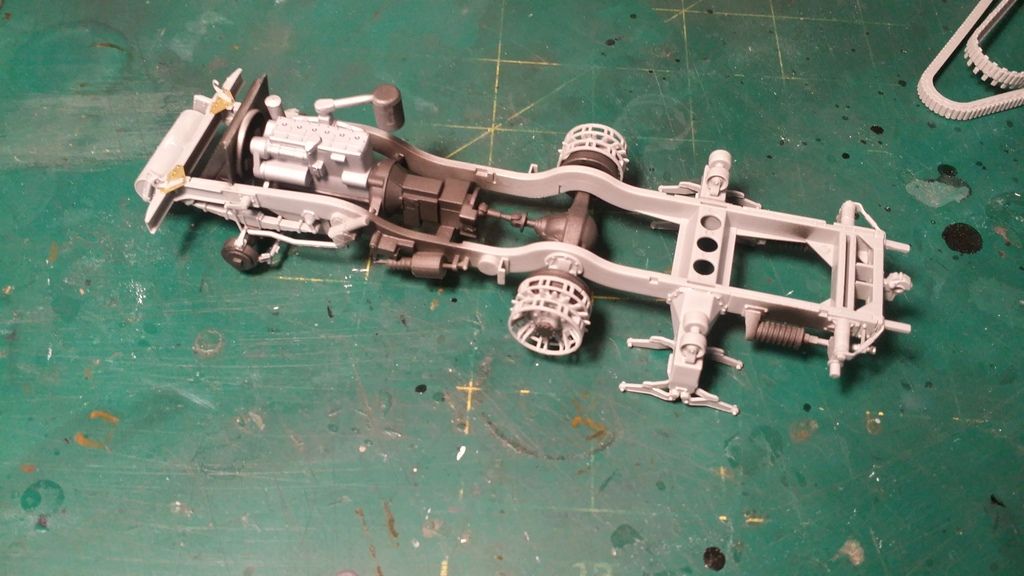
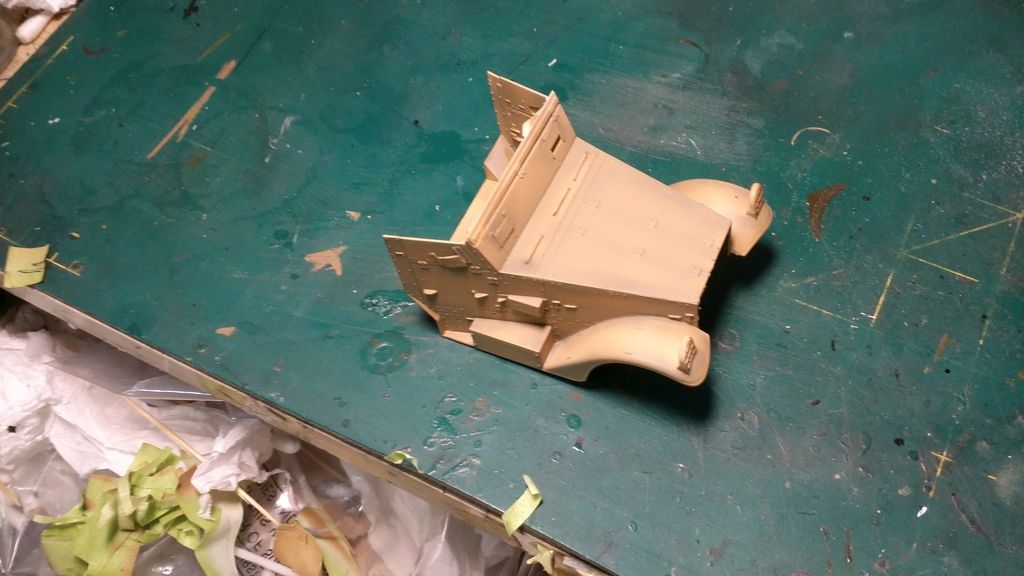
The chasis is almost done, but lots of detail work left to do. I will prime this tomorrow, and move on to painting the tyres wheels and tracks.
I hope you all like the post. All comments welcome.
This is my entry into the GB. I know its a bit late, but I did start this kit two weeks ago. It has since stalled and I will try to smash it out in the next 5 days.
Build Plan
I will build this in the desert chamo scheme shown on the box art. As I have minimal time, I might not get to do much weathering.
Kit Details from www.scalemates.com
Brand: Dragon
Title: M2A1 Half-Track 2 in 1
Number: 6329
Scale: 1:35
Type: Full kit
Includes: Plastic sprues, Photoetch, Waterslide decals, Clear parts, Rope
Released: 2006 | Initial release - new tool
Decal options
- M2A1 Half Track

 US Army
1944 - M2 Half Track
US Army
1 Armored Div.
Tunisia | 1942
 - M2A1 Half Track
US Army
1941 - M2A1 Half Track
US Army
XX Corps 4023320-5
Belguim | 1945
 - M2A1 Half Track
US Army
1941
Kit Contents
The chosen marking option
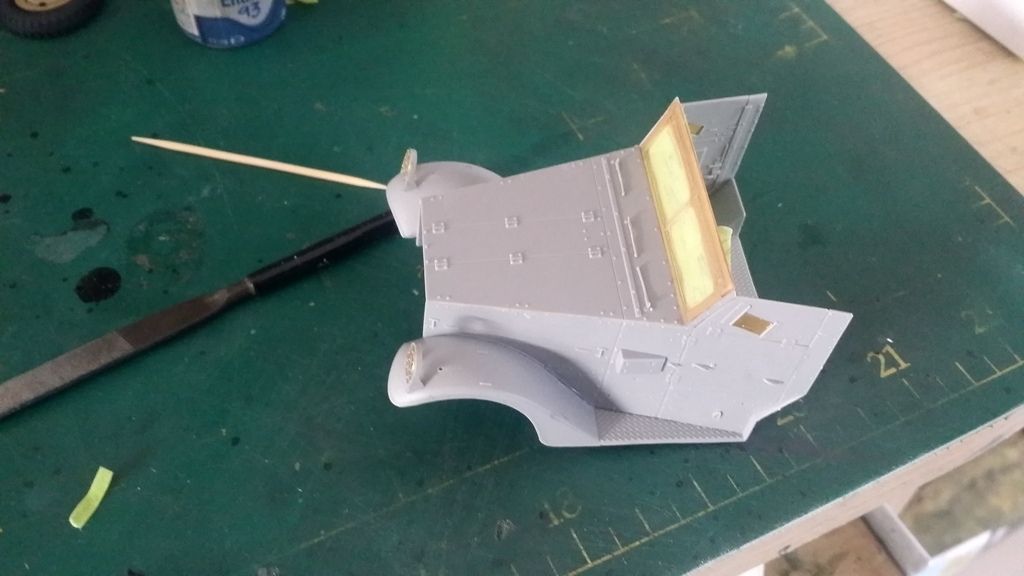
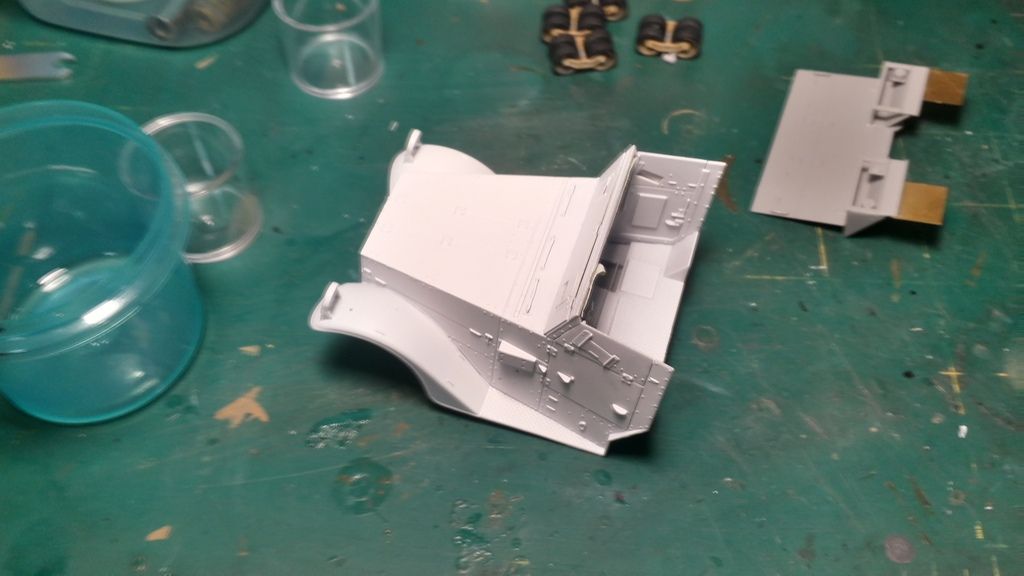
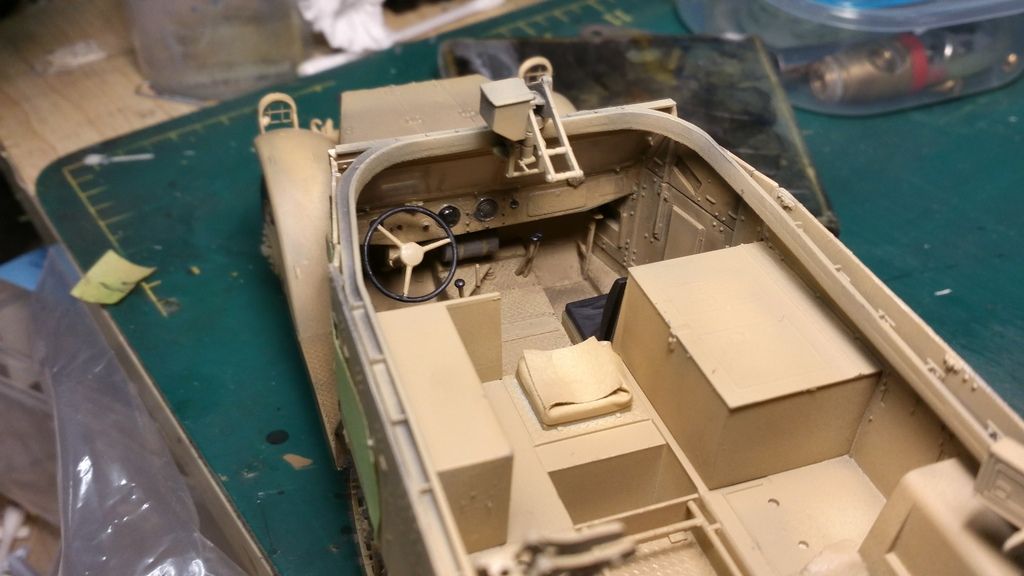
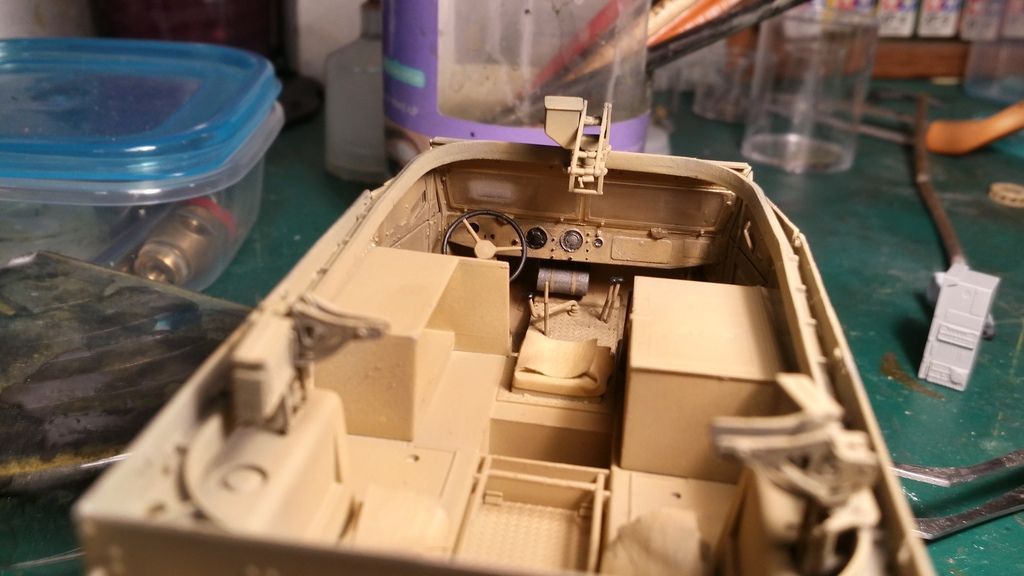
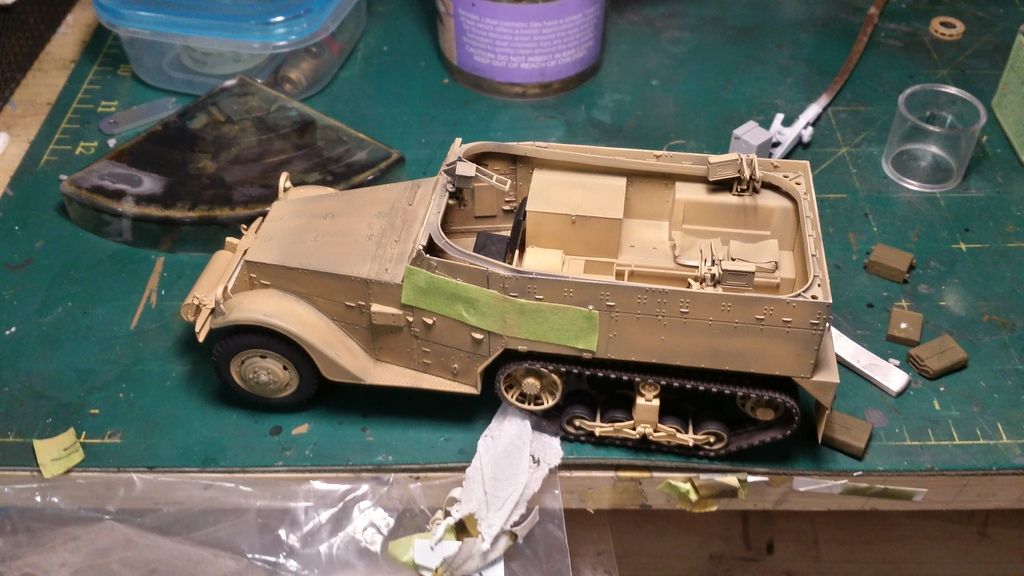
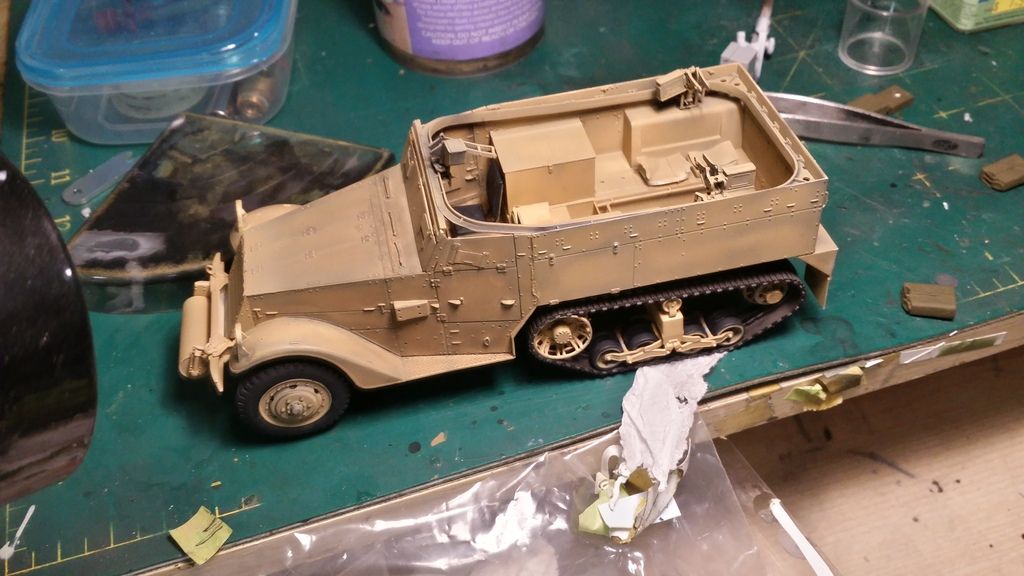
Here is the sprue I started working on
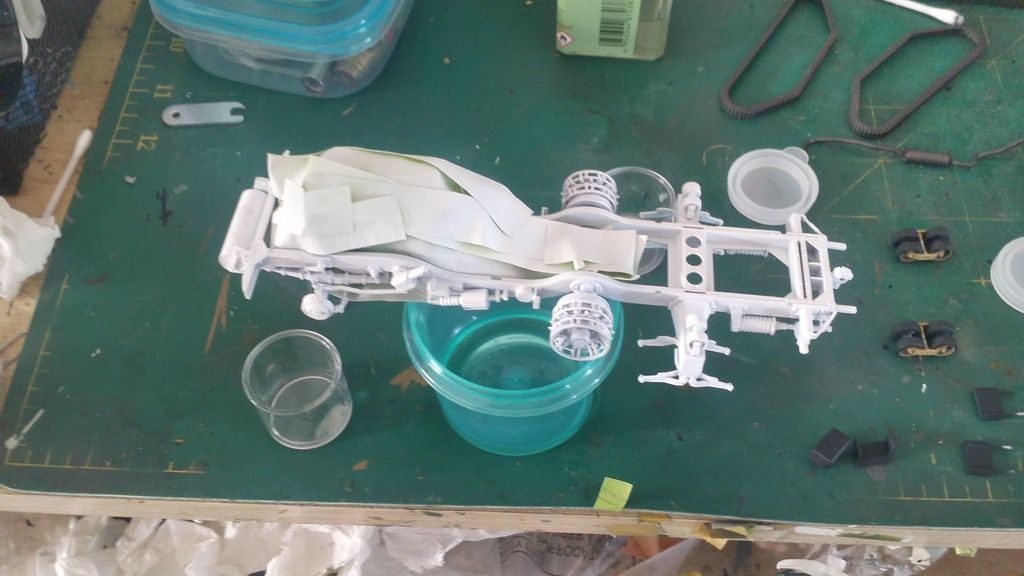
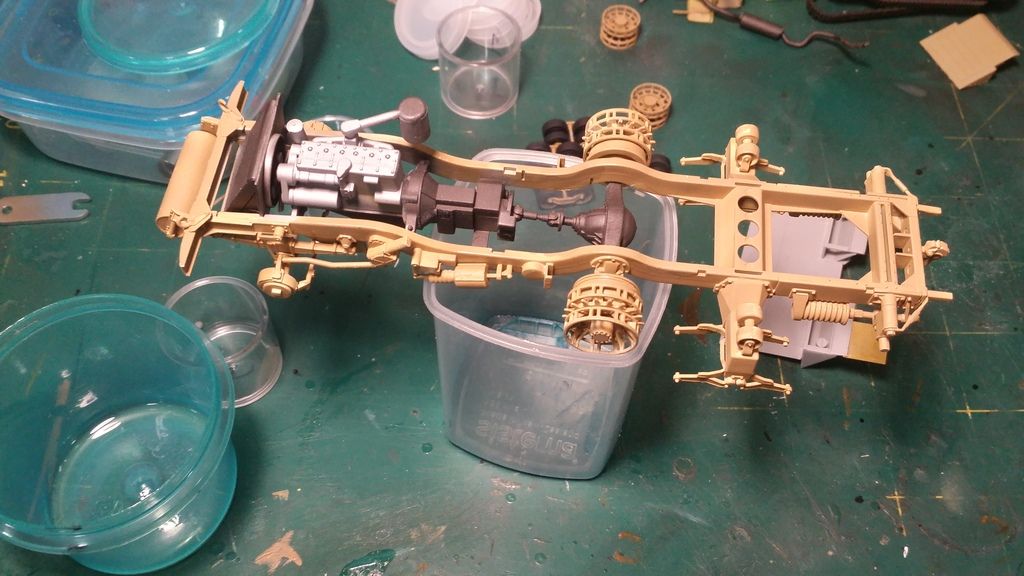
and here is where I am upto
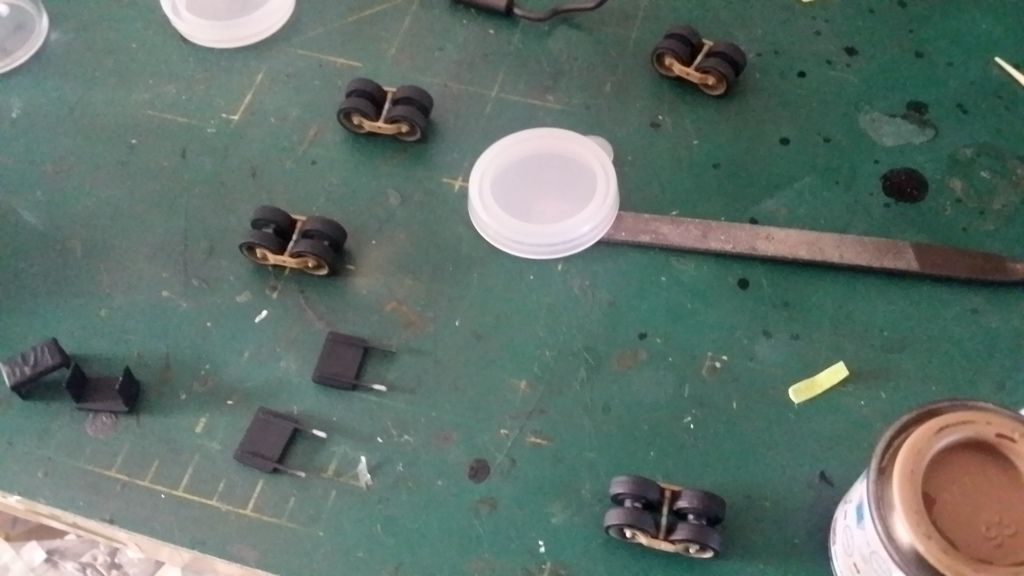
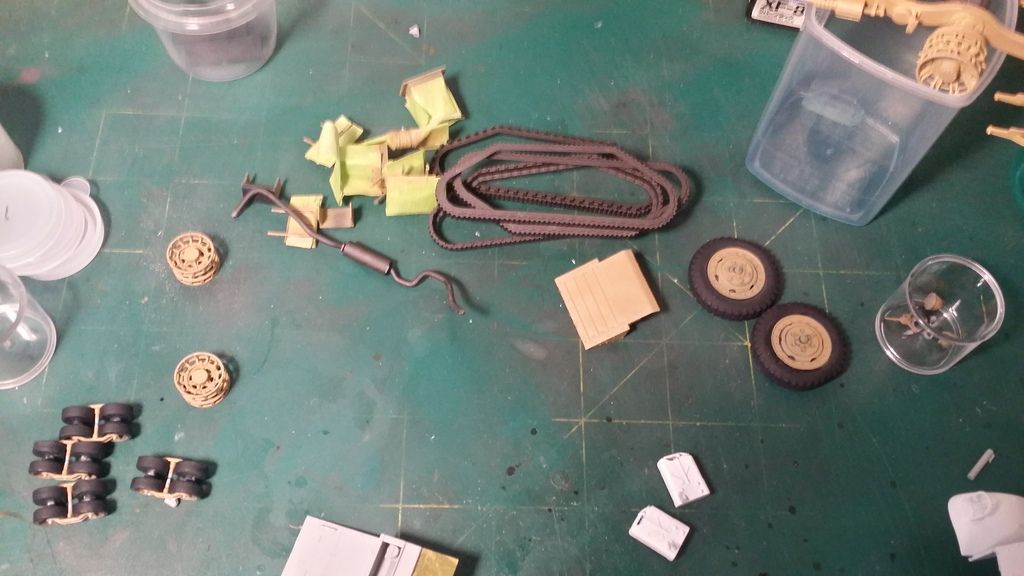
The chasis is almost done, but lots of detail work left to do. I will prime this tomorrow, and move on to painting the tyres wheels and tracks.
I hope you all like the post. All comments welcome.


Comment