Scale Model Shop

Collapse

DaveCov's Airfix 1/72 Supermarine Spitfire IX (02081)

Collapse
X
 
  • Time
  • Show
Clear All
new posts
  • davecov
    SMF Supporters
    • Jul 2014
    • 841
    • Dave
    • Stow, Scottish Borders

    #1

    DaveCov's Airfix 1/72 Supermarine Spitfire IX (02081)

    As I said in the GB chat thread, this coming Sunday (3rd July 2022), I will have been a member of Scale Models Forum for eight years. I have never participated in a GB on this forum. To put that right and to celebrate my 8th anniversary as a member, I would like to tag along in this GB.

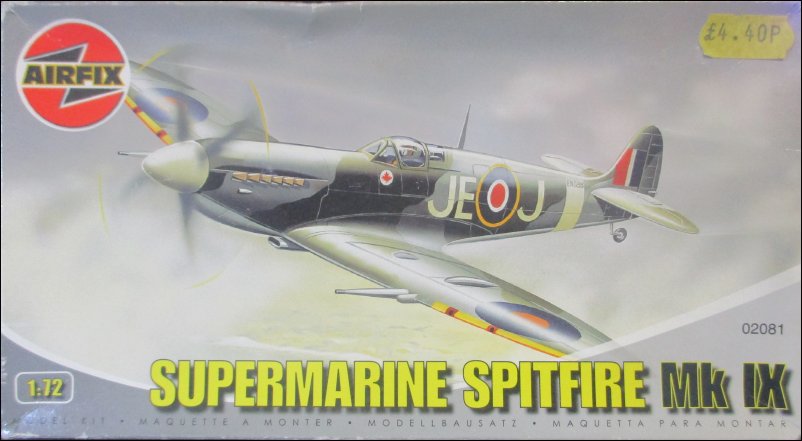
    My choice is one of the oldest-tooled Spitfires (originally released 1959) and which I last built in the early Seventies when it was in a polybag and moulded in light blue plastic and before a slight tooling change in 1975 when the pilot was altered. This is the 2005 boxing that I will be building:

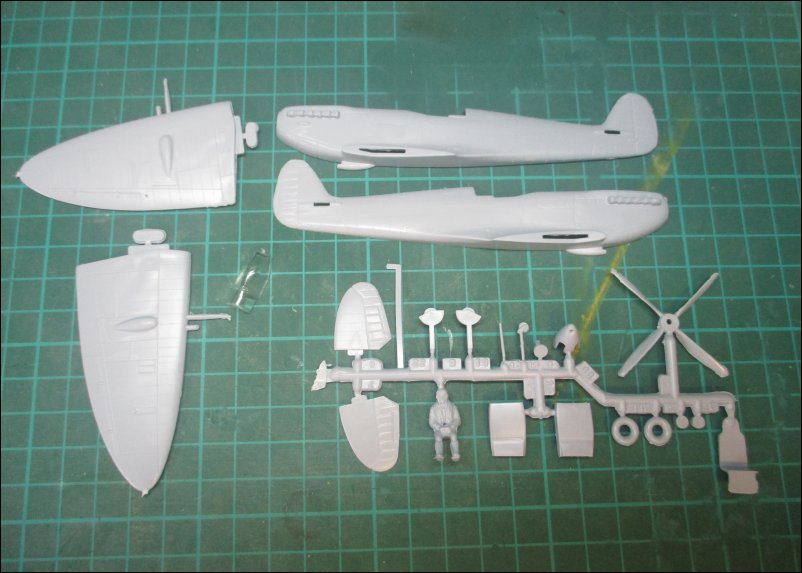
    The 22 parts are moulded in a medium grey plastic. As would be expected from such an old mould, the parts have a lot of flash and seams to sort out:

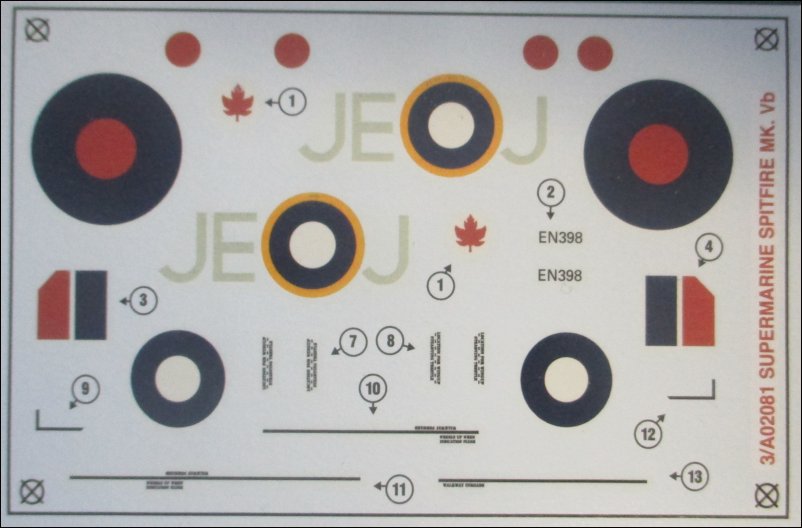
    The decals are crisply printed and in register and show markings for RAF ace James Edgar "Johnnie" Johnson:

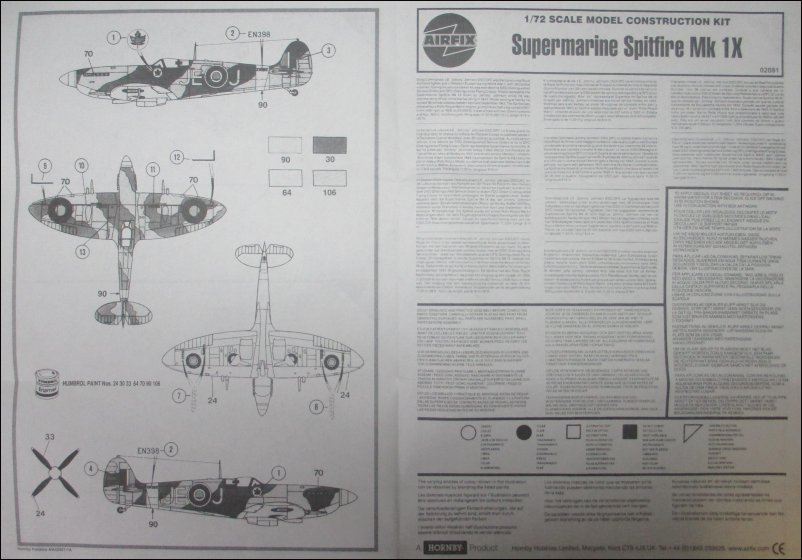
    Instructions are printed on both sides of an A3-sized sheet of paper. On one side there is a history of the subject with advice for assembly along with a monochrome painting profile with reference to Humbrol paint numbers:

    The other side of the instructions contains four sections detailing assembly. Of particular note is the specified dihedral diagram in Section 2:
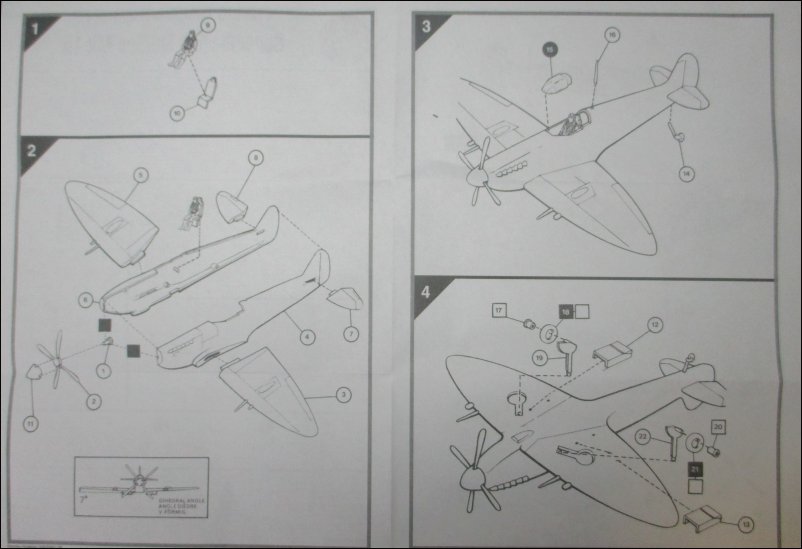

    It is my intention to do this as an OOB build and I will be putting aside my airbrush and brush-painting instead.

    That is all for now.

    Dave
    DaveCov - Founder of The Airfix Tribute Forum 2006
  • colin m
    Moderator
    • Dec 2008
    • 8927
    • Colin
    • Stafford, UK

    #2
    A true classic build, nice one Dave.

    Comment

    • The Smythe Meister
      • Jan 2019
      • 6248

      #3
      Good stuff Dave....
      .... Gotta love that Box art
      Andy

      Comment

      • davecov
        SMF Supporters
        • Jul 2014
        • 841
        • Dave
        • Stow, Scottish Borders

        #4
        Thanks lads.

        Having originally thought that this was to be an OOB build, once I started looking at the parts, I realised that I had to make bit of an attempt to tidy it up a bit.

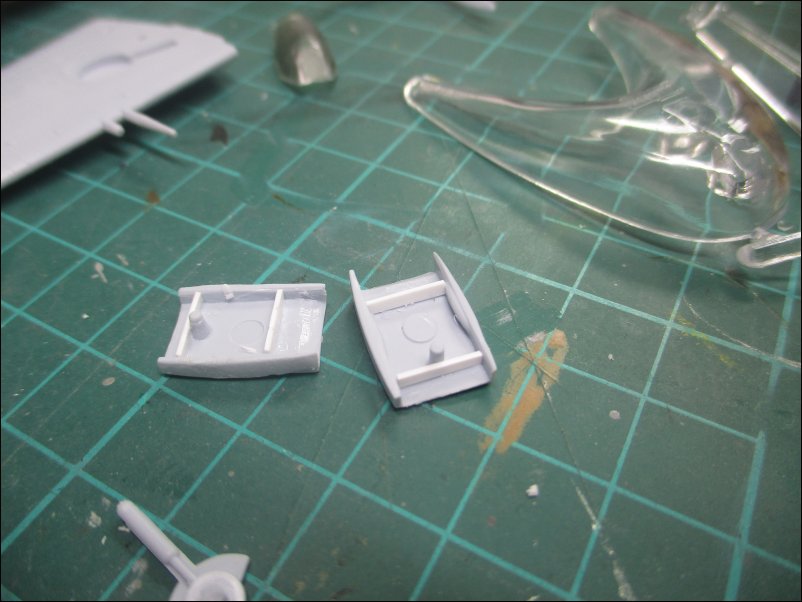
        First piece of work was to do something with the "see-through" radiators. I removed the rear pins and glued plastic card strips front and rear:


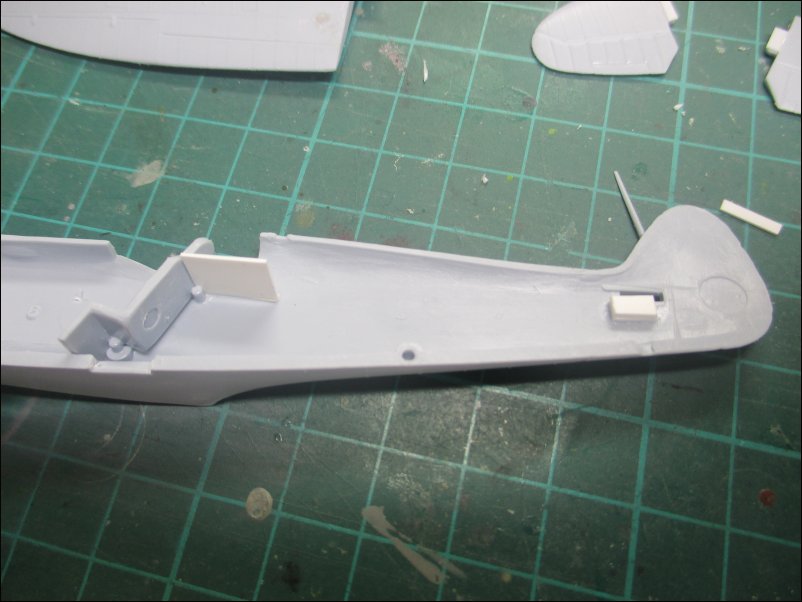
        The tailwheel leg is very long and to prevent it from travelling up too far inside the fuselage, I glued a plastic card stop above the hole for the tailwheel leg:


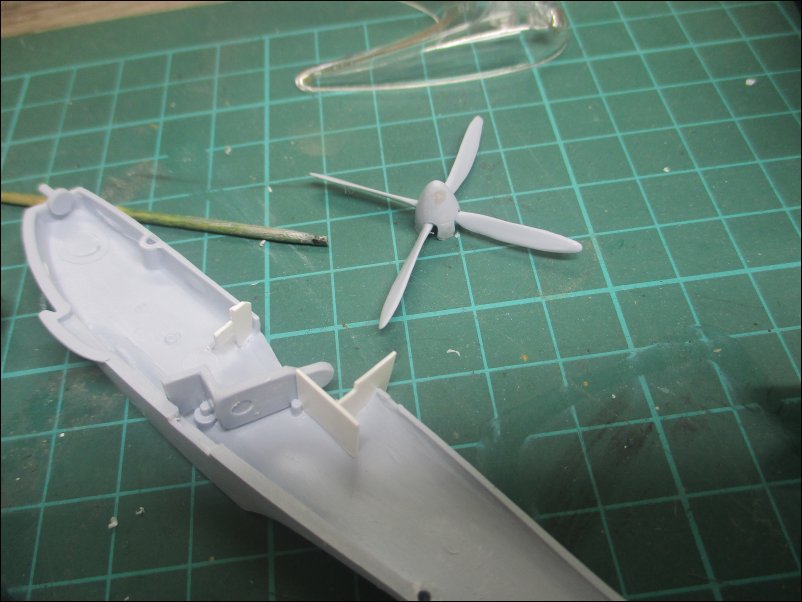
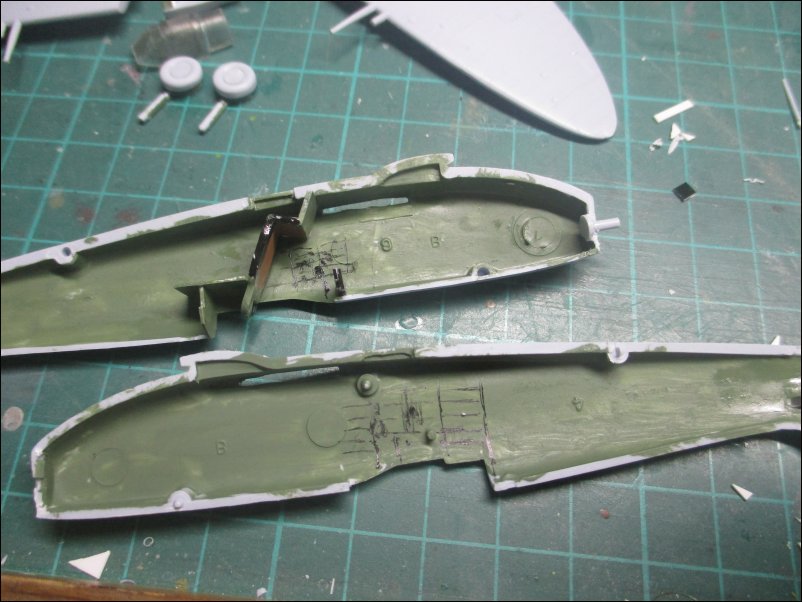
        I added some plastic card detail in the cockpit:


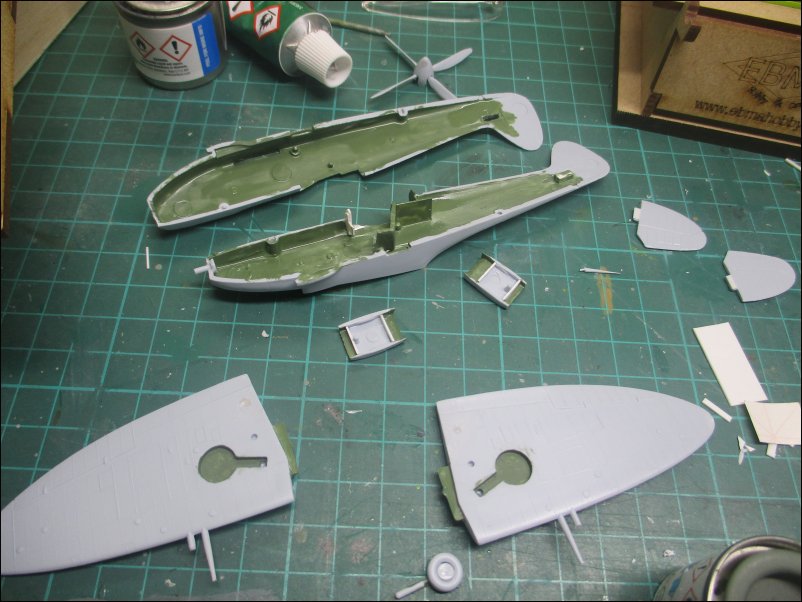
        I brush-painted H78 Matt Cockpit Green:


        The seat "leather" was painted and I added some rough detail to the cockpit using a pen:


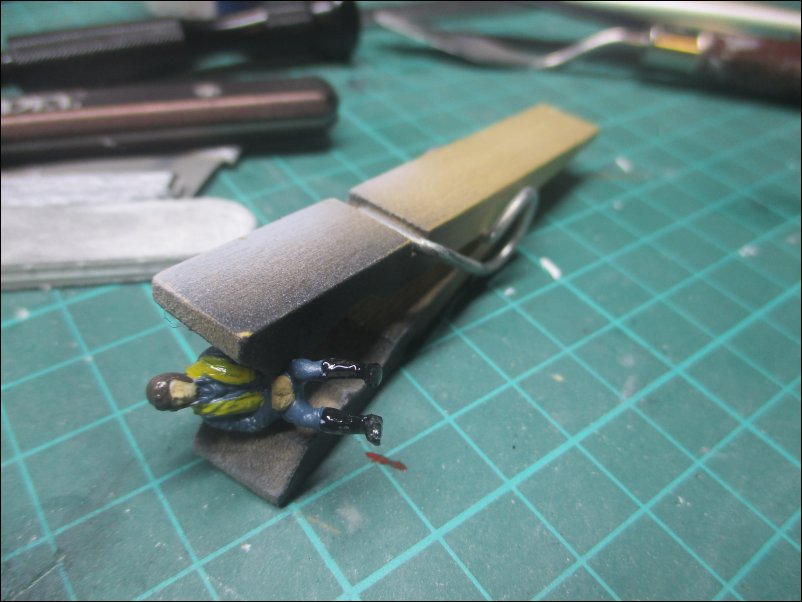
        Putting the plane to one side, I started painting the pilot:


        That is all for now

        Dave
        DaveCov - Founder of The Airfix Tribute Forum 2006

        Comment

        • Geoffers
          SMF Supporters
          • Jan 2017
          • 1918
          • Geoff
          • Shropshire

          #5
          Good start Dave :thumb2:

          Geoff.

          Comment

          • Tim Marlow
            SMF Supporters
            • Apr 2018
            • 19027
            • Tim
            • Somerset UK

            #6
            Nice start Dave. Just found an (must be pushing fifty) old version of this in my stash….it’s in the hard plastic version of the poly bag….same version as this one, but with less upmarket packaging….

            Comment

            • adt70hk
              SMF Supporters
              • Sep 2019
              • 10503

              #7
              Nice start Dave!!

              Comment

              • davecov
                SMF Supporters
                • Jul 2014
                • 841
                • Dave
                • Stow, Scottish Borders

                #8
                Thanks everybody :thumb2:

                More progress to report.

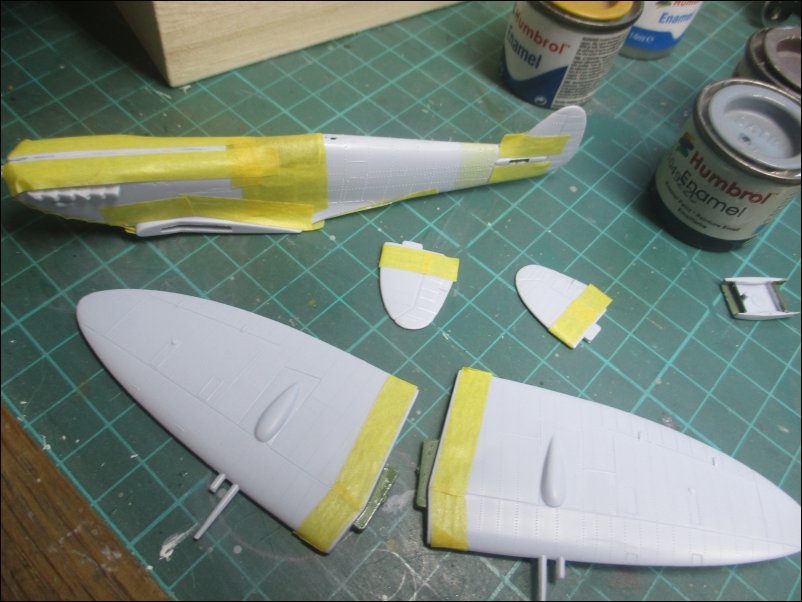
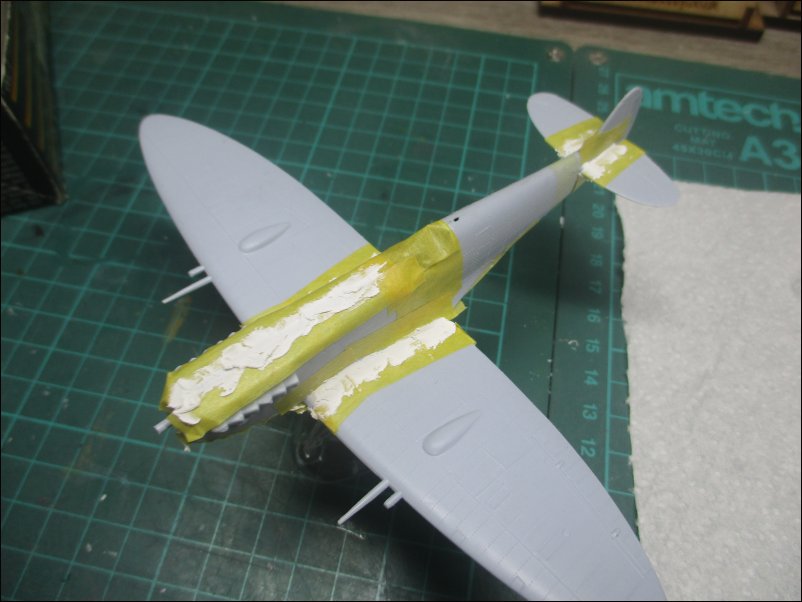
                I glued the pilot onto the seat and joined the fuselage halves. I then masked off the areas where I would be applying filler later on in the build. It is easier to mask off before the wings and tailplanes are attached:


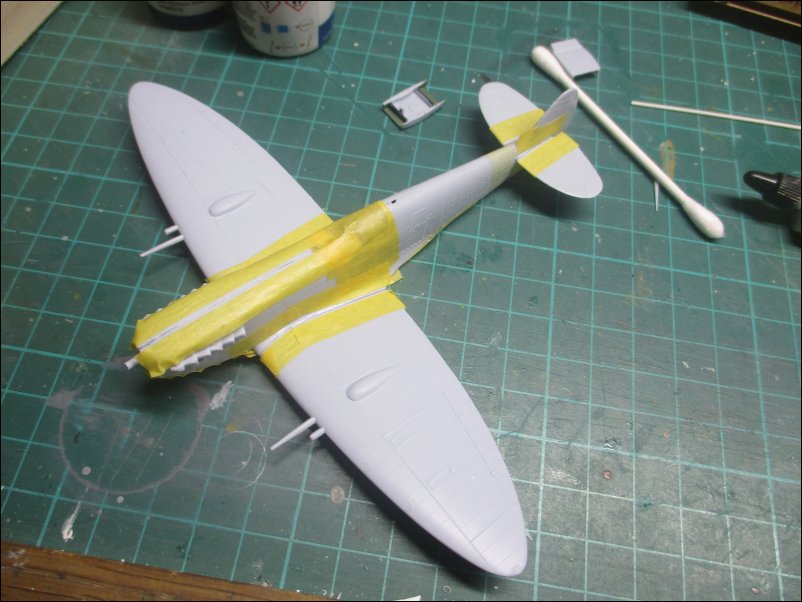
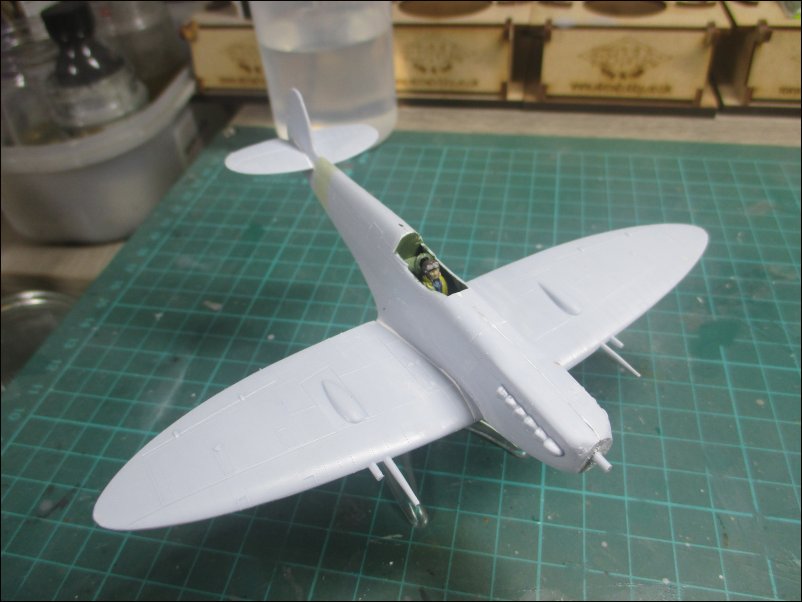
                Wings and tailplanes were glued to the fuselage:


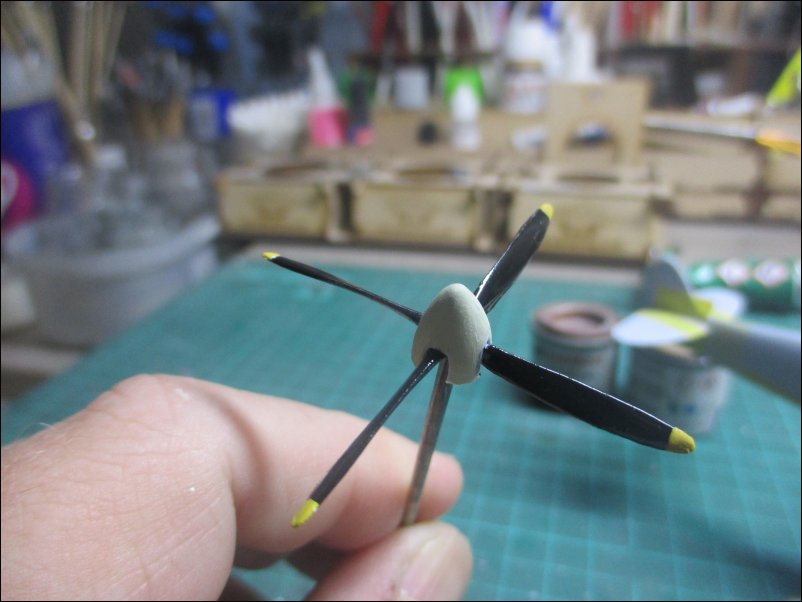
                The propeller blades and spinner were painted:


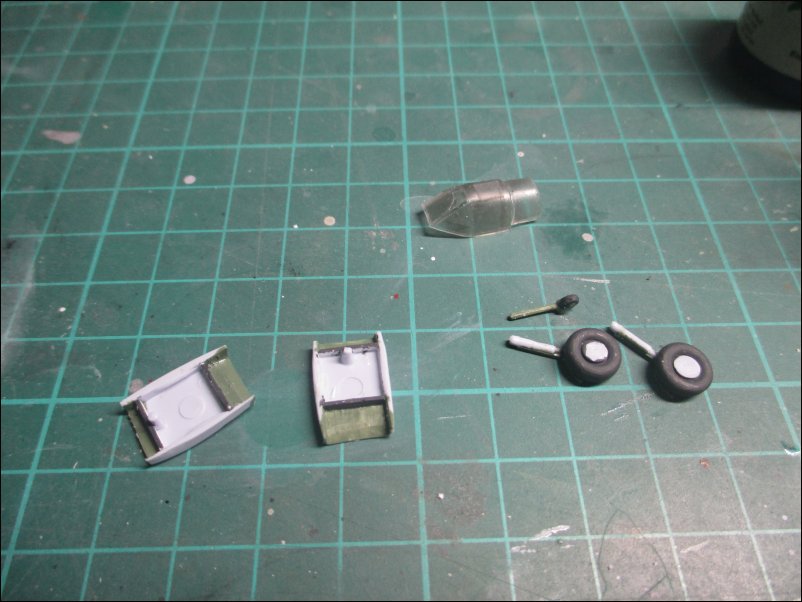
                The plastic card inserts in the radiators were painted H67 Matt Tank Grey as were the tyres:


                That is all for now

                Dave
                DaveCov - Founder of The Airfix Tribute Forum 2006

                Comment

                • adt70hk
                  SMF Supporters
                  • Sep 2019
                  • 10503

                  #9
                  Coming on nicely Dave!!

                  Comment

                  • The Smythe Meister
                    • Jan 2019
                    • 6248

                    #10
                    Yes,progressing pretty quickly too
                    Good idea about masking off around the areas where you're going to apply filler....
                    .... I hadn't thought of that,as you'll see in my update of my build later this evening
                    Andy

                    Comment

                    • adt70hk
                      SMF Supporters
                      • Sep 2019
                      • 10503

                      #11
                      Originally posted by The Smythe Meister
                      Yes,progressing pretty quickly too :smiling3:
                      Good idea about masking off around the areas where you're going to apply filler....
                      .... I hadn't thought of that,as you'll see in my update of my build later this evening
                      Andy
                      My thoughts exactly!!! A great idea!

                      Comment

                      • davecov
                        SMF Supporters
                        • Jul 2014
                        • 841
                        • Dave
                        • Stow, Scottish Borders

                        #12
                        Thanks everybody. :thumb2:

                        Time to get the filler out. The joins were given a liberal covering of Plastic Putty:


                        After sanding the filler, I removed the masking tape and cleaned up the joins with a damp cotton bud:


                        It is now ready for painting.

                        That is all for now

                        Dave
                        DaveCov - Founder of The Airfix Tribute Forum 2006

                        Comment

                        • davecov
                          SMF Supporters
                          • Jul 2014
                          • 841
                          • Dave
                          • Stow, Scottish Borders

                          #13
                          Another little update.

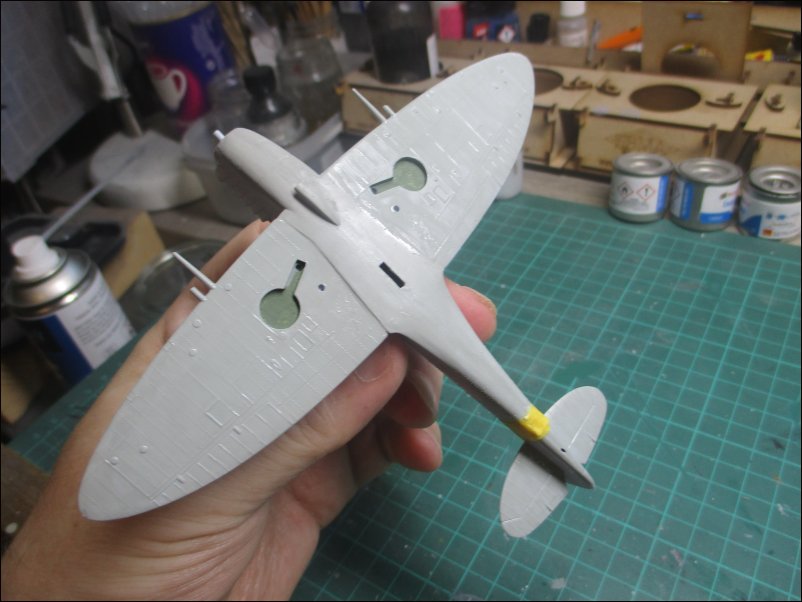
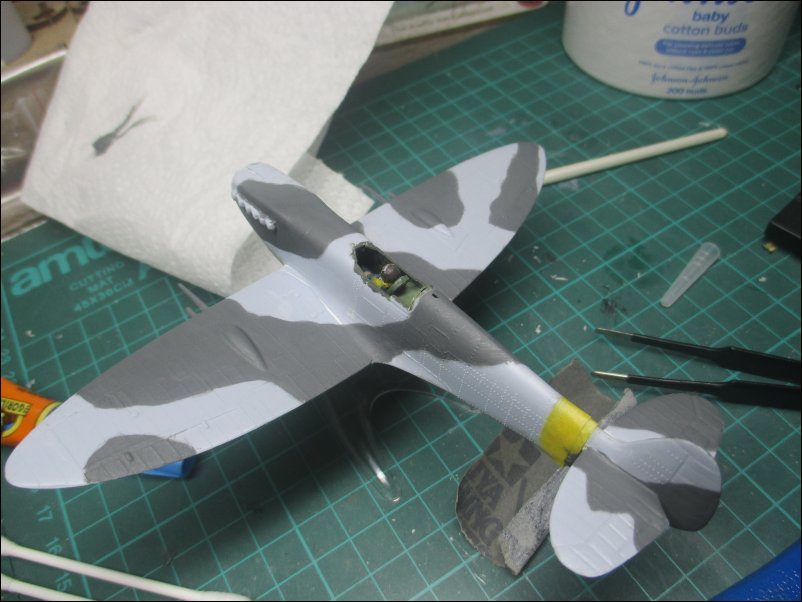
                          Progress has slowed down because I am brush-painting and leaving the paint to cure properly before the next coat. Here is the second coat of H64 Matt Light Grey that was done two days ago:


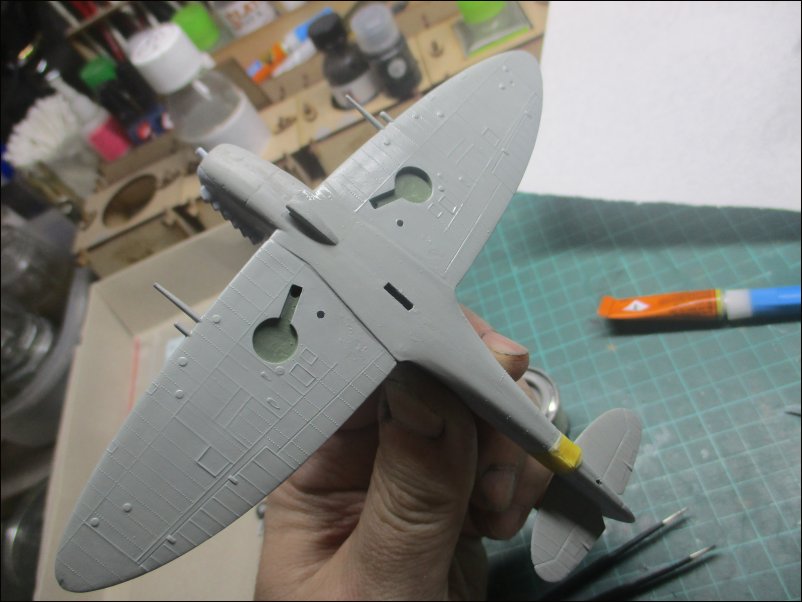
                          Here is the third and final coat H64 Matt Light Grey that was applied last night and I am pleased with the result. Tomorrow I will start on the camouflage scheme:


                          That is all for now

                          Dave
                          DaveCov - Founder of The Airfix Tribute Forum 2006

                          Comment

                          • davecov
                            SMF Supporters
                            • Jul 2014
                            • 841
                            • Dave
                            • Stow, Scottish Borders

                            #14
                            It has been almost two weeks since my previous post but there hasn't been much to show as I have been away from home for a while.

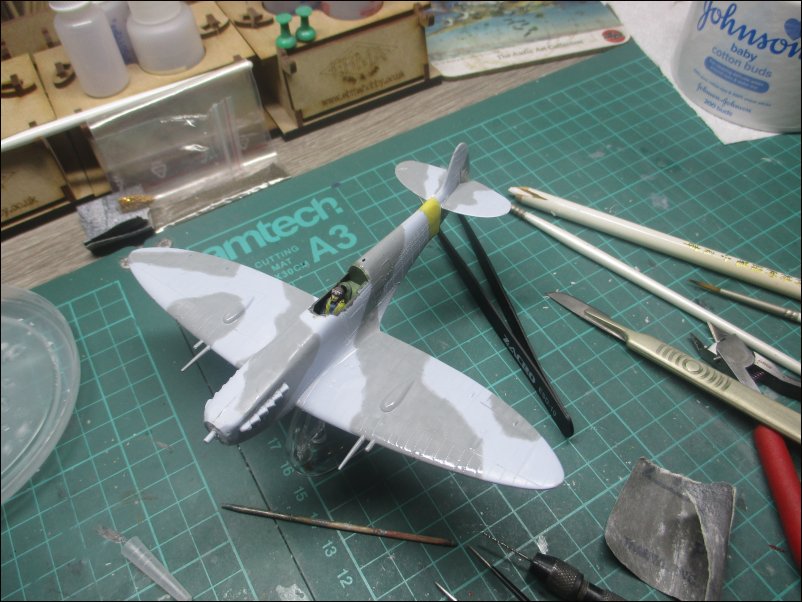
                            I did get back to painting eventually and over the past couple of days have applied FOUR thin coats of H165 Satin Medium Sea Grey. My use of H165 was really to lessen the amount of H106 Matt Ocean Grey that I needed to use:


                            After the H165 had dried, I applied the first of two coats of H106 Matt Ocean Grey. Once the second coat has dried, I will begin painting the green camouflage:


                            That is all for now

                            Dave
                            DaveCov - Founder of The Airfix Tribute Forum 2006

                            Comment

                            • davecov
                              SMF Supporters
                              • Jul 2014
                              • 841
                              • Dave
                              • Stow, Scottish Borders

                              #15
                              More painting to report now.

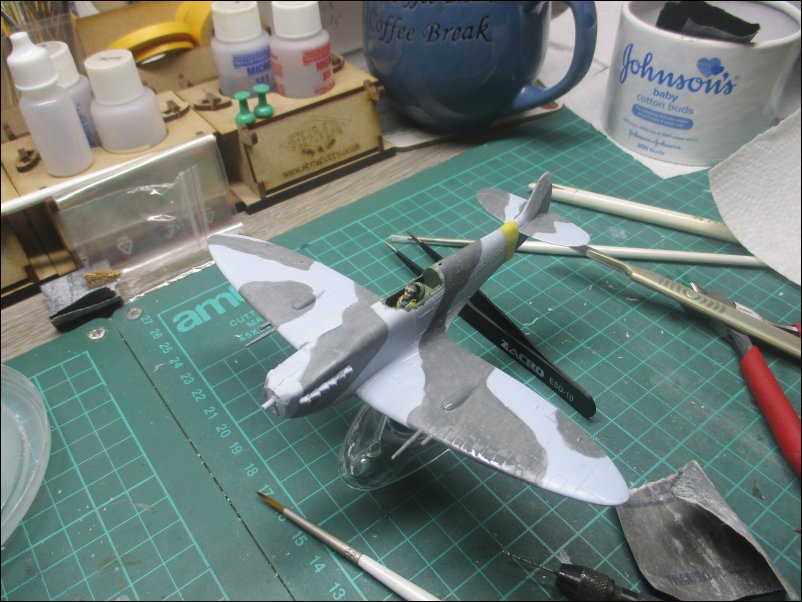
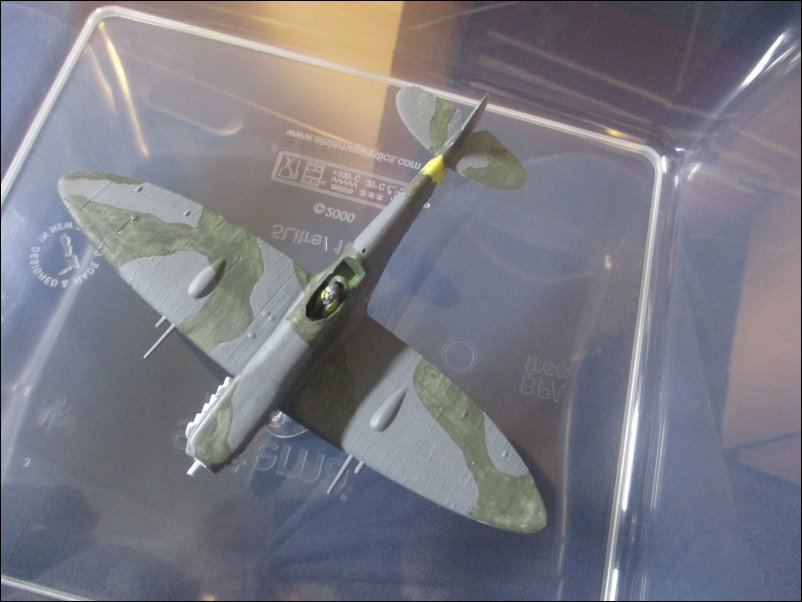
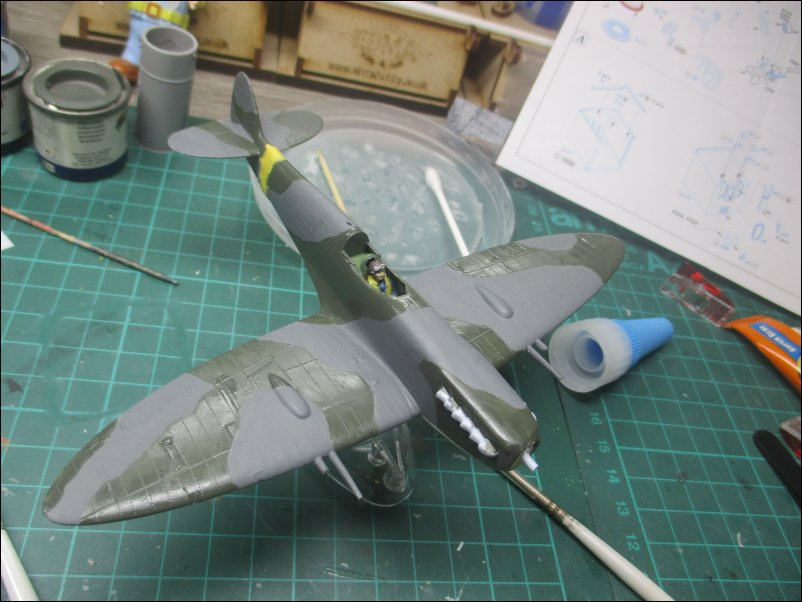
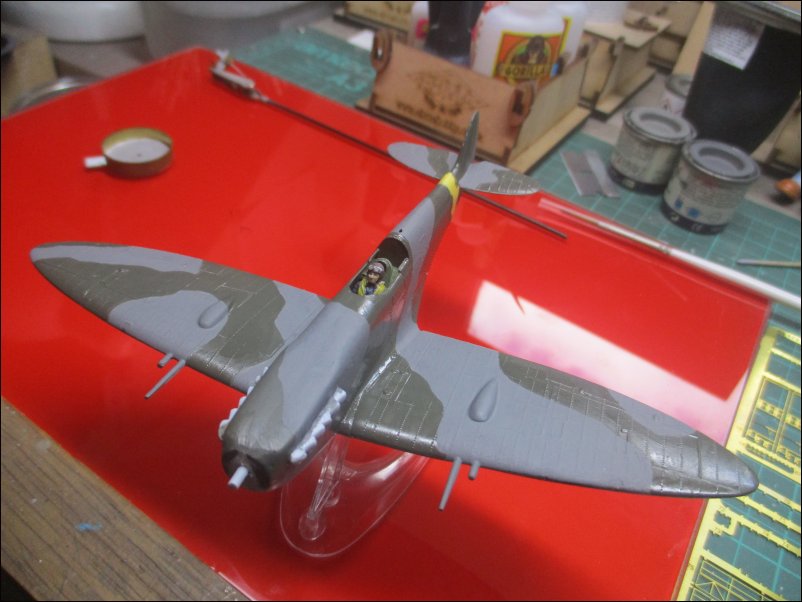
                              The second coat of H106 Matt Ocean Grey was applied and I felt that I wouldn't need a third:


                              It was then time to apply the first coat of green, in this case, H163 Satin Dark Green. I would need at least one more coat:


                              The second coat was applied but I felt that a third coat would be needed:


                              The third coat of green was applied and I can now look forward to finishing the minor painting such as exhausts, gun ports, leading edges etc:


                              That is all for now

                              Dave
                              DaveCov - Founder of The Airfix Tribute Forum 2006

                              Comment

                              Working...