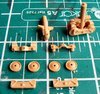
Further construction - the road wheels/bogies
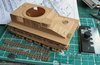
These bits go to make up one bogie
View attachment 304558
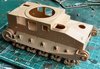
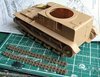
And ten of these have to be made.....................
View attachment 304559 All pretty small, some will need additional clean up, they're too small for me until I've assembled them!
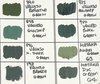
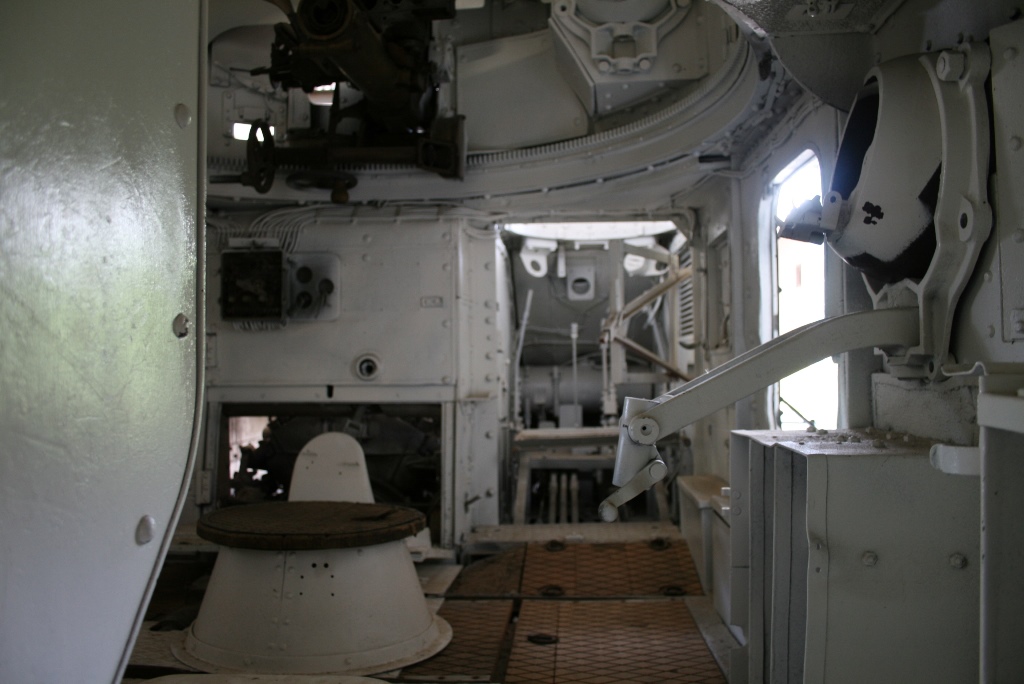
Jakko - I've been unable to find any reference to the colour of the original 1924 production models - other than 'green', so really it's going to be best guess!
Dave
These bits go to make up one bogie
View attachment 304558
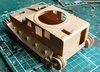
And ten of these have to be made.....................
View attachment 304559 All pretty small, some will need additional clean up, they're too small for me until I've assembled them!
Jakko - I've been unable to find any reference to the colour of the original 1924 production models - other than 'green', so really it's going to be best guess!
Dave