Bit of a large update. I got carried away and forgot to post progress.....
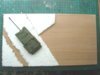
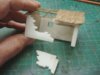
I've stuck some rough polystyrene to the base to raise the ground level to form a small ditch.
View attachment 114283
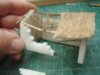
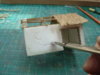
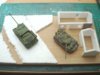
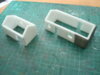
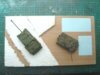
I then layed the bits on the base to check if things looked in proportion.
View attachment 114284
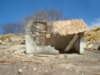
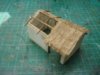
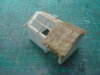
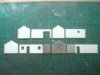
As I've shown on previous buildings I've made, I designed a humble farm dwelling and barn on paper and transferred them to 'You know what!'. The grey area is a wooden lean to cum extension.
View attachment 114285
View attachment 114286
View attachment 114287
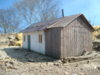
I decided to make a start on the barn. Gern's coffee stirrers for the roof spars and twine for the roof thatching. I noticed these primitive 1940's buildings had very little roof timbers and were very roughly made.
View attachment 114288
First bit of weathering.....
View attachment 114289
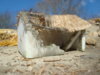
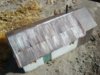
Doing the shell damage. Be brave and just cut where you fancy. I always make the building complete. That way I know the rubble will be almost the right amount.
View attachment 114290
Here is the bit cut out.
View attachment 114291
Then just put your fingers on the model and push down until you are happy with the damage....sorry about the disgusting thumb nail, I've been in the garden!!
View attachment 114292
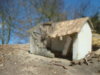
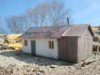
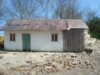
Here are shots of the more or less finished barn structure. Note the large lump that used to support the barn opening. That's how it fell, so that's how it'll stay.... It all looks a bit naked without rubble though!
View attachment 114293
View attachment 114294
View attachment 114295
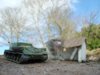
Here is the ISU-122 passing by....
View attachment 114296
I hope you approve of this early stage and sorry for the long update post. I'll remember next time.....
Cheers,
Ron

")

")