G
Guest
Guest
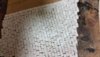
Hi Monica, Can you explain in more detail how you make your cobble stones. Thanks Derek


hope this helps you,Derek\ said:Hi Monica, Can you explain in more detail how you make your cobble stones. Thanks Derek
")
")
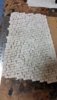
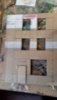
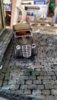
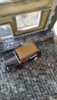
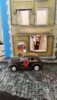
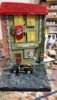
 The cobbles look almost real
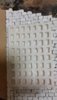
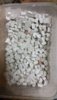
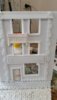
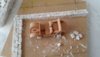
I do use a mold to make the stones,but as you can see,I have to use white glue,and glue each one down,\ said:Looks great I really like the cobbles, the mold must be a big help and it must be less time consuming to produce the cobble stones


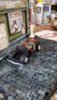
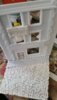
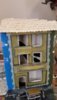
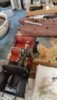
 add a little more ,but thats so its seen,
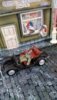


scalemodelling.co.uk is a privately operated online discussion forum. All content posted by members reflects their own views and opinions and does not necessarily represent those of the forum owners or administrators. While reasonable efforts are made to moderate content, no responsibility is accepted for user-generated material. By using this site, you agree to comply with UK law and the forum rules.