BulldogModels
Member
1/3
Hello everyone,
I am posting my WIP from last winter up, transferring my posts from Instagram. So please stick with my while I type everything up and try get the old brain going and remember what I did.
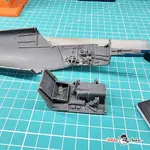
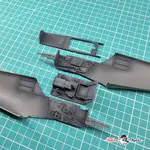
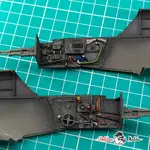
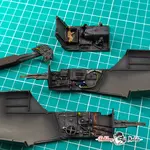
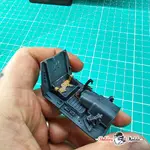
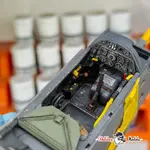
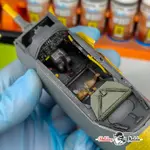
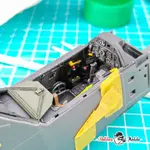
To kick things off though I am starting with my Airfix 24th scale BF 109.
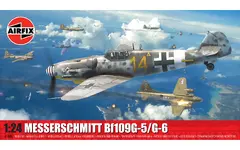
The project has been stalled since around March this year as me and the wife have been doing lots of work on our house and garden, which has left no time for models ... also the model room has been like a sauna this summer! But not things are cooling off and DIY projects are coming to a close, I am hoping to get back on the bench and crack along with this build.
I am waiting on some paints arriving now before I can progress any further though.
Part 1
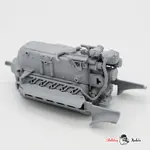
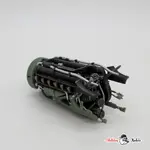
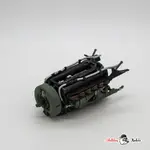
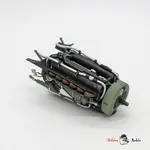
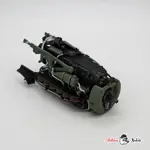
The first step of this kit has you build up the beautiful Daimler-Benz DB 605 A engine. This is a work of art in itself I must say, it went together with absolutely no problems. I like to try keep my builds in mini sub-assemblies as I progress, this just aids in painting.
You can see that some parts of the engine are held in place using a little Mig Ammo liquid mask so that I could test the fitment, you can also use PVA for this, but cleanup is much easier with the latex.
Once the general construction was finished, I filled and sanded any visible seam lines and then painted the engine using Mr.Primer Surfacer 1000 and then finished up with Tamiya Semi-Gloss Black (X-18). I like to do this as it helps to highlight if anything still needs attention before cracking on with the main painting.
Nothing to exciting with the painting, The kit instructions call for Humbrol paints, but I am not a fan. So I kept it to Tamiya Paints. I am not addressing weathering or anything at this stage of the build, the engine will be left separate from the Airframe till all painting is complete. Then when I have decided on a weathering direction, I will adjust the engine to suit the final vision.
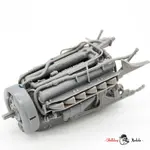
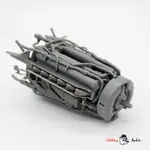
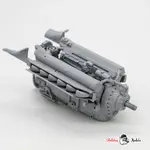
That's it for Part 1. Once I get my photos organized again, I will post up Part 2 of the build.
Hope you all enjoy
I am posting my WIP from last winter up, transferring my posts from Instagram. So please stick with my while I type everything up and try get the old brain going and remember what I did.
To kick things off though I am starting with my Airfix 24th scale BF 109.
The project has been stalled since around March this year as me and the wife have been doing lots of work on our house and garden, which has left no time for models ... also the model room has been like a sauna this summer! But not things are cooling off and DIY projects are coming to a close, I am hoping to get back on the bench and crack along with this build.
I am waiting on some paints arriving now before I can progress any further though.
Part 1
The first step of this kit has you build up the beautiful Daimler-Benz DB 605 A engine. This is a work of art in itself I must say, it went together with absolutely no problems. I like to try keep my builds in mini sub-assemblies as I progress, this just aids in painting.
You can see that some parts of the engine are held in place using a little Mig Ammo liquid mask so that I could test the fitment, you can also use PVA for this, but cleanup is much easier with the latex.
Once the general construction was finished, I filled and sanded any visible seam lines and then painted the engine using Mr.Primer Surfacer 1000 and then finished up with Tamiya Semi-Gloss Black (X-18). I like to do this as it helps to highlight if anything still needs attention before cracking on with the main painting.
Nothing to exciting with the painting, The kit instructions call for Humbrol paints, but I am not a fan. So I kept it to Tamiya Paints. I am not addressing weathering or anything at this stage of the build, the engine will be left separate from the Airframe till all painting is complete. Then when I have decided on a weathering direction, I will adjust the engine to suit the final vision.
That's it for Part 1. Once I get my photos organized again, I will post up Part 2 of the build.
Hope you all enjoy
Last edited: