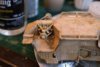
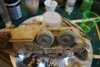
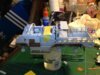
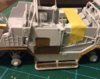
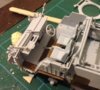
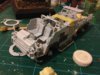
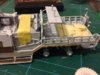
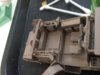
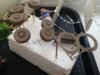
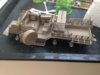
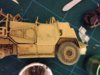
Started adding the brass;
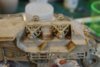
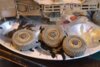
View attachment 244016
View attachment 244017
View attachment 244018
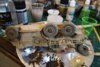
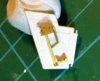
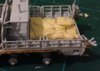
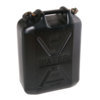
And just ordered this stowage set -
http://www.redzebramodels.co.uk/#!Coyote1/zoom/ciaa/i45y9q
Not the best photos, will sort out more at weekend
Steve.
View attachment 244016
View attachment 244017
View attachment 244018
And just ordered this stowage set -
http://www.redzebramodels.co.uk/#!Coyote1/zoom/ciaa/i45y9q
Not the best photos, will sort out more at weekend
Steve.


")
")
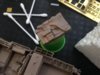
 , only been about 3mm long its a nightmare to try and find it, mind I reckon if i leave it for a few days the carpet monster will throw it back up