Bigfoot57
Active member
- Joined
- Jun 24, 2015
- Messages
- 1,216
- Location
- Weston Super Mare
- First Name
- Colin
- Location
- Originally a small village outside of Reading Berkshire called Burghfield Common
1/3

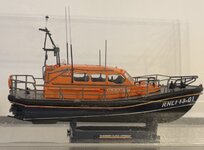
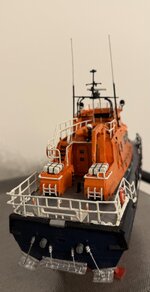
 filedata/fetch?filedataid=255817 So whilst waiting for the missing kit to the U 96 to arrive I built the Airfix 1/72 scale Shannon class lifeboat which was a very good kit letdown by it’s useless decals which seemed to disintegrate as soon as they hit the water if they were Cartograph they must’ve had a bad day when they made these they were so bad that there aren’t any on the port side as regards to serial numbers because they just disintegrated into nothing so I’ve only got the starboard side and the red and yellow and white demarcation lines are made from .5 mm brass rod painted and stuck to the side of the boat
Anyway this led onto the new construction which is the Airfix 1/72 scale Severn class lifeboat
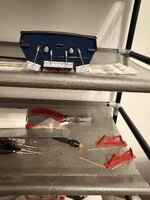
so the first thing I did was to wash the whole set of parts in soapy water as they have mould release agent on most of it and the paint would never have taken in the first place however it took five coats to get the depth of colour that I needed for the orange and blue so I don’t know if washing it made any difference at all
Next off was to start constructing the main hull which was an absolutely awful fit necessitating a fair amount of filler to be added and sanded smooth before you could proceed with the painting and like I said it’s took five coats
with this done well then started proceed to construct the rear of the boat. I don’t know what they’re called. I’d call them diving platforms Airfix didn’t bothered to tell you what they were either and that brings me to another complaint. The instructions are absolutely awful. As regards to what colour things should be painted. You have to search through the instructions further than where you are actually to get the colour of the part that you’re actually putting on at the time if that makes any sense
Next we come to the parts and the diving platform struts are too short either by design or short shot Either way, I think I’m gonna cut those off and replace them with .5 mm brass rod at least they will be the correct length
Attachments
-
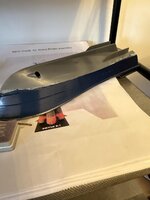 photo255809.jpg188.7 KB · Views: 0
 -
 photo255810.jpg290.9 KB · Views: 0
 -
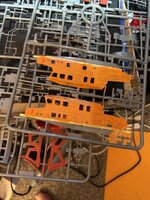 photo255811.jpg385.5 KB · Views: 0
 -
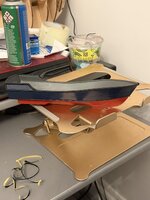 photo255814.jpg226 KB · Views: 0
 -
 photo255813.jpg195.8 KB · Views: 0
 -
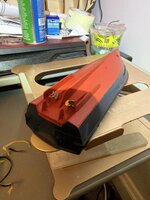 photo255812.jpg372.3 KB · Views: 0
 -
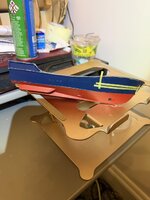 photo255816.jpg209.2 KB · Views: 0
 -
 IMG_5536.jpg345 KB · Views: 0
 -
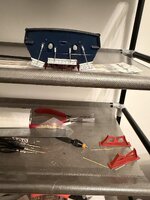 photo255818.jpg346.7 KB · Views: 1