G
Guest
Guest
So far............................
I just love changing things!
I just love changing things!

")
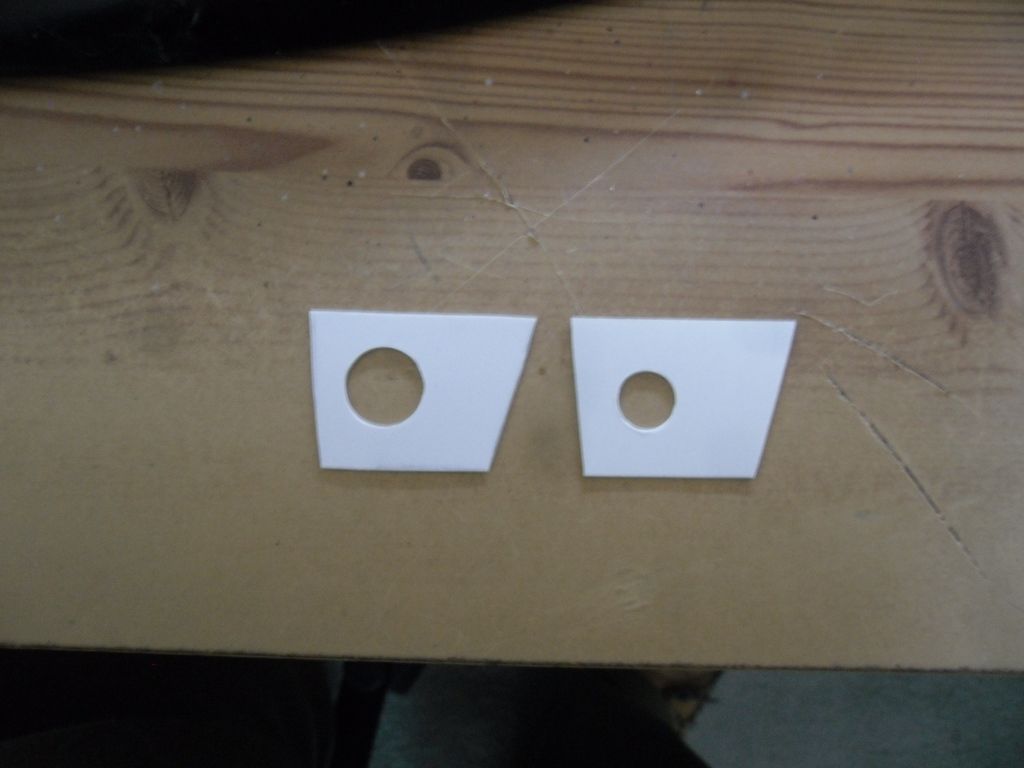
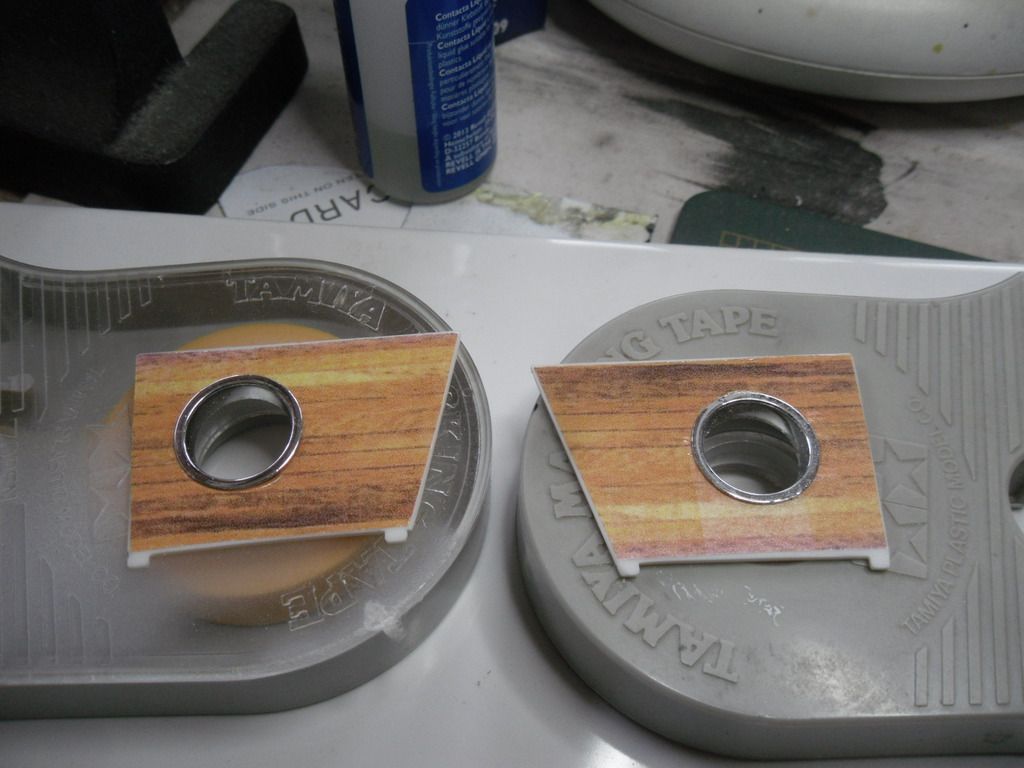
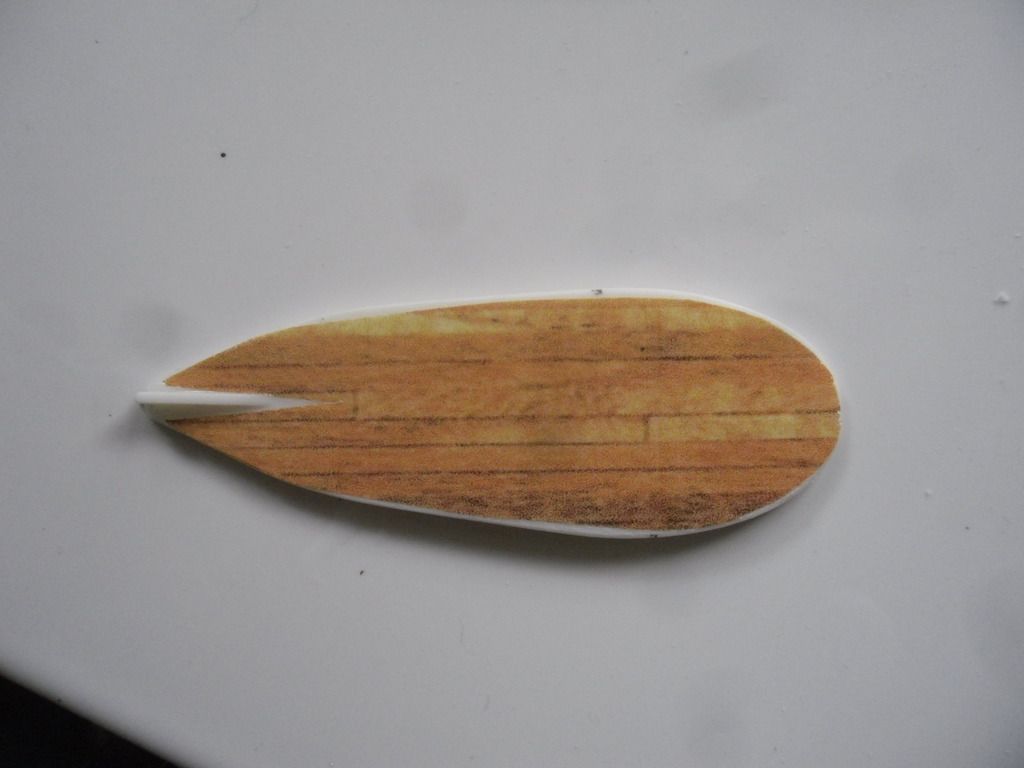
this is interesting and would like to know how you do it,very hard cutting cirles,yes I've worked out how to cut large precise cirles in plastic and add a type of trim ring to clean up the hole.

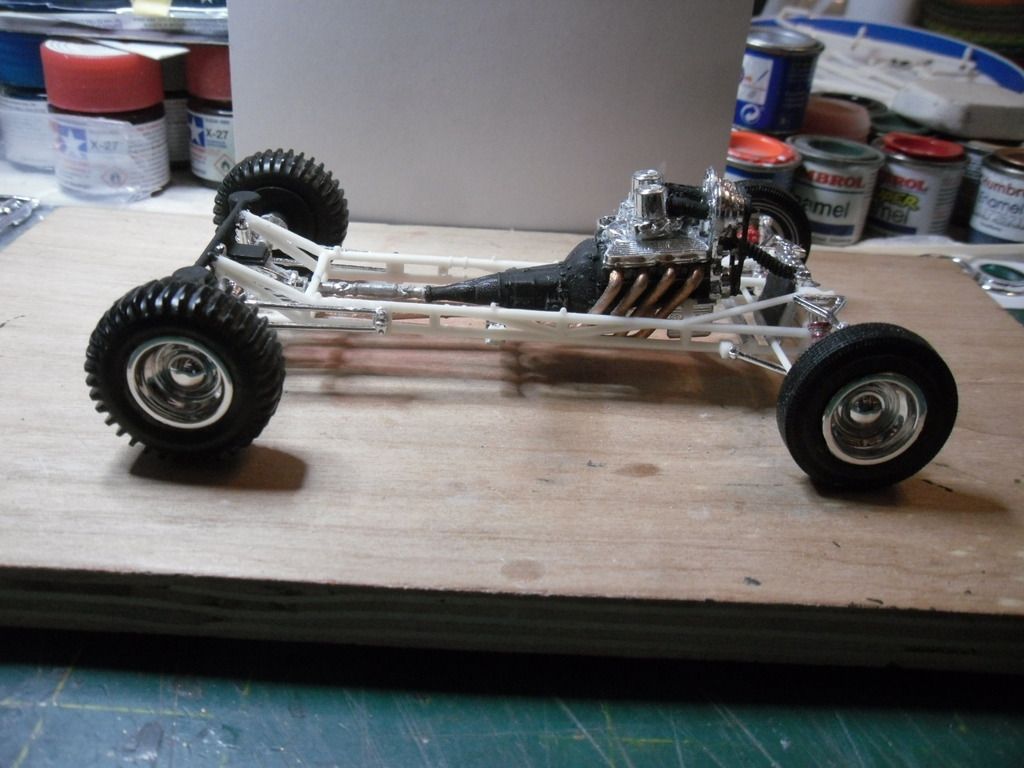
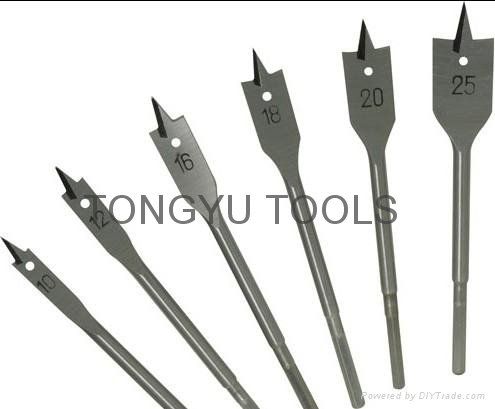
Right monica, secret stuff now! These are wood drills. You sort out what size you need to cut the hole, place the centre spike where you want the hole to be, but don't put it in a drill use your hands or a handle that will fit the shank. Now don't turn it clockwise, turn it anti clockwise or it will tear the plastic and leave a jagged hole. Use it like a craft blade cutting/marking a door out use the backside of the blade.this is interesting and would like to know how you do it,very hard cutting cirles,
ta,Patrick,for the run through,on this is,a great help,
will be waiting to see the pics,to go,with this all,
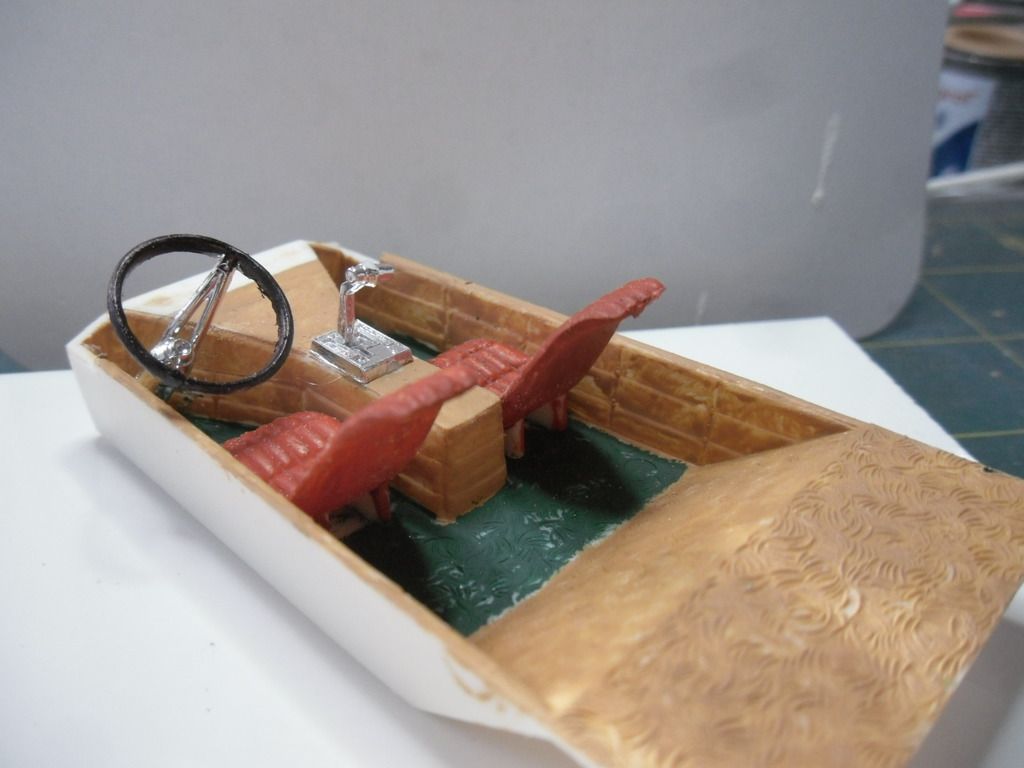
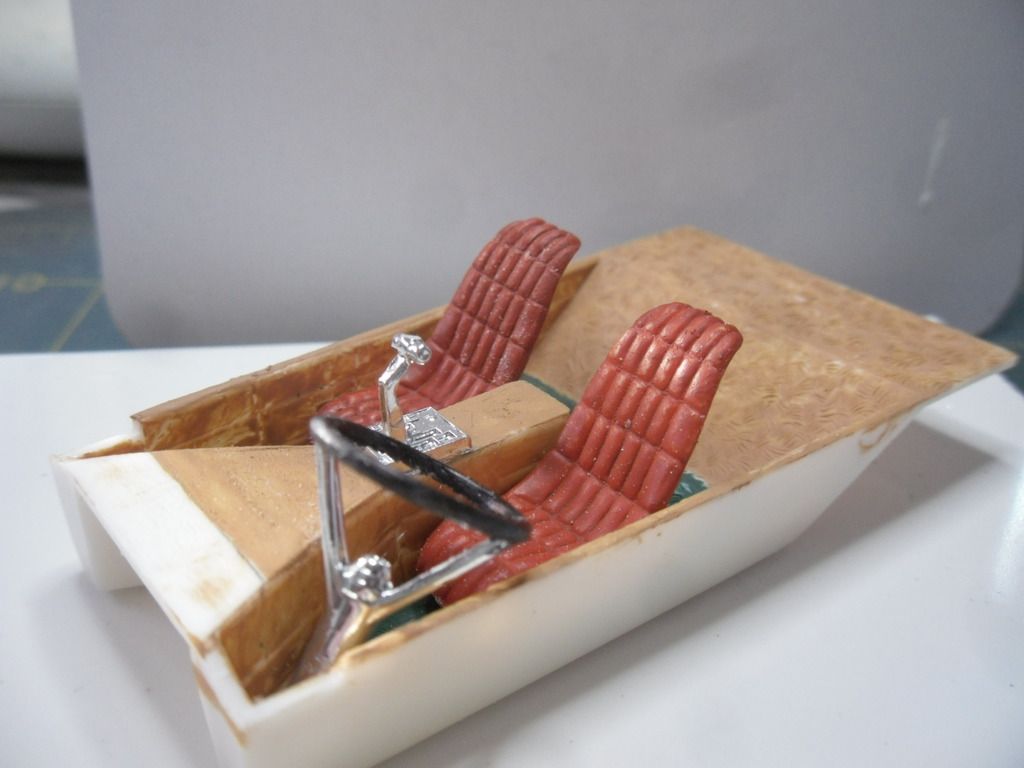
Er..................... well good question Monica, we'll have to see!coming along nicely Patrick,oh these,s colors oh my what will it look like,
---------------Er..................... well good question Monica, we'll have to see!

scalemodelling.co.uk is a privately operated online discussion forum. All content posted by members reflects their own views and opinions and does not necessarily represent those of the forum owners or administrators. While reasonable efforts are made to moderate content, no responsibility is accepted for user-generated material. By using this site, you agree to comply with UK law and the forum rules.