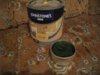
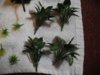
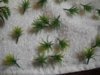
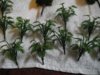
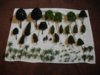
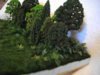
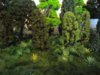
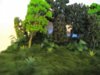
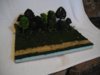
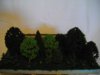
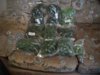
Finally! I got some time to do some building. Just a piece of MDF and 20mm polystyrene(Unlike Ron I don't eat pizzas so I have to buy my polystyrene  ) to give me something for the tree trunks to stick into, some faux fur and some really cheapo, cheapo trees and shrubs
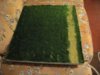
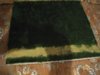
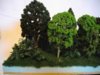
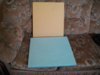
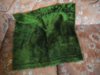
I got the faux fur as advised by a couple of guys here (thanks) and I'm happy with the colour I picked, but it looks too shiny. I don't want to use ordinary matt varnish as it will most likely make it look clumpy because the strands of fur will stick together. Has anyone any idea how I can tone down the gloss?
View attachment 257860View attachment 257861View attachment 257862
) to give me something for the tree trunks to stick into, some faux fur and some really cheapo, cheapo trees and shrubsI got the faux fur as advised by a couple of guys here (thanks) and I'm happy with the colour I picked, but it looks too shiny. I don't want to use ordinary matt varnish as it will most likely make it look clumpy because the strands of fur will stick together. Has anyone any idea how I can tone down the gloss?
View attachment 257860View attachment 257861View attachment 257862
")