Building Up Accessories
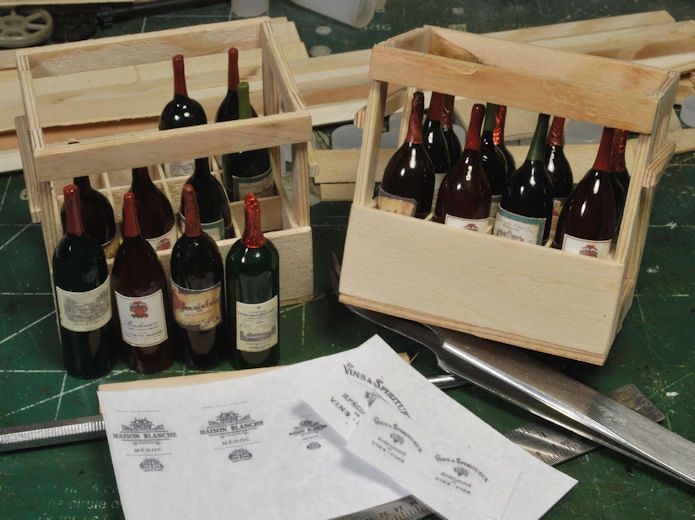
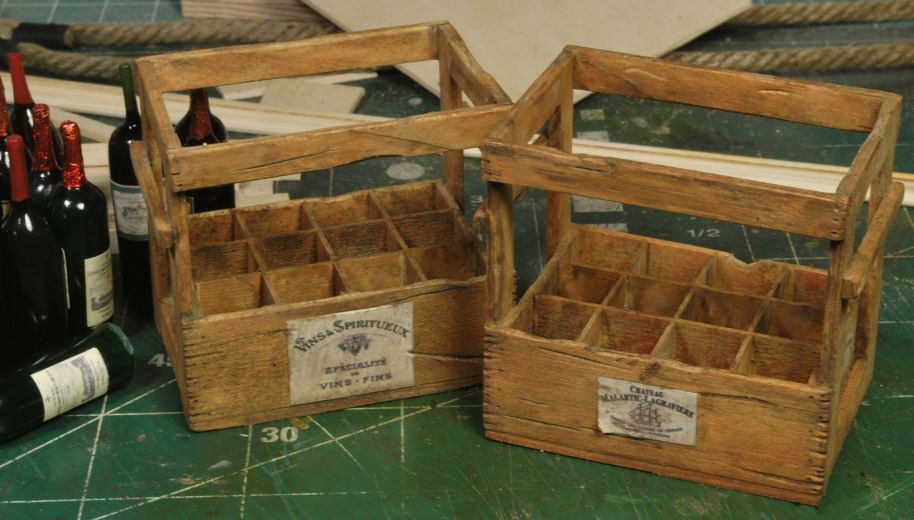
I’ve been busy building accessories that would be commonly found in a work shed/lean-to and I have decided to make this part of a winery. I’m not going full blown-out crazy, there isn’t enough room to add too much, but I can give it that flavor. The Harley will be taking up a lot of space, so I’ll be adding just enough tools to add interest and keep the eyes moving throughout the scene as much as possible.
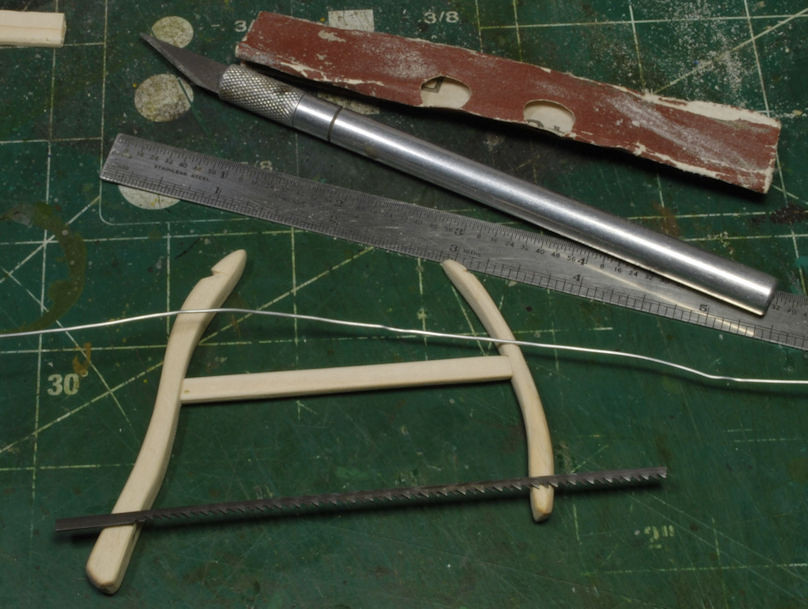
I built a buck saw using a broken scroll saw blade and wire with pine scrap as well as a few block and tackles. Looking on line once again at YT was a time saver, great tool. I’m still undecided how I will attach at least one of the B&T’s to the rafters, but the other will be on the deck.
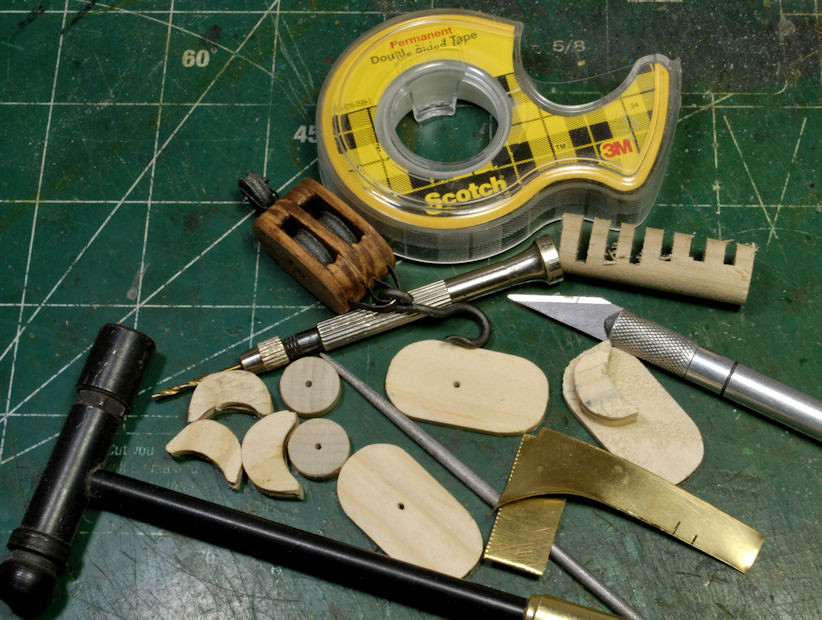
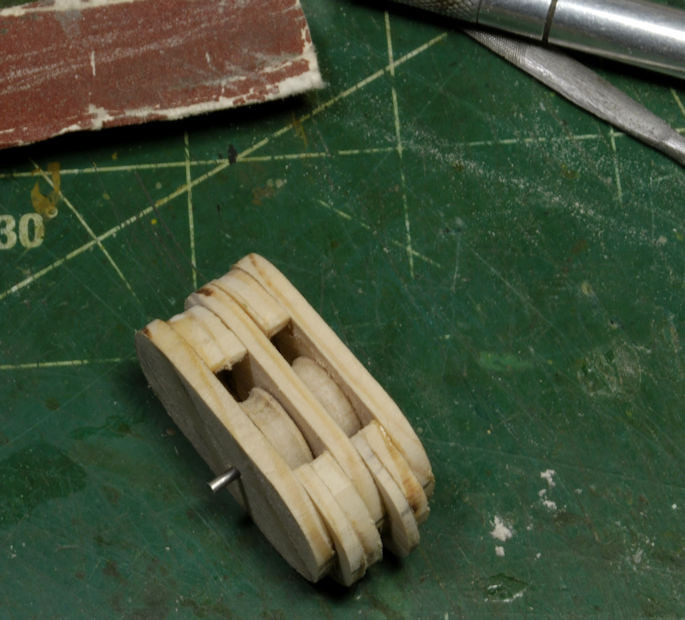
Looking over some photos of B&T’s I was able to come up with a simple design that would be practical for my need and easy enough to make using scrap pine and brass sheet strips plus some 12ga copper wire for the hooks.
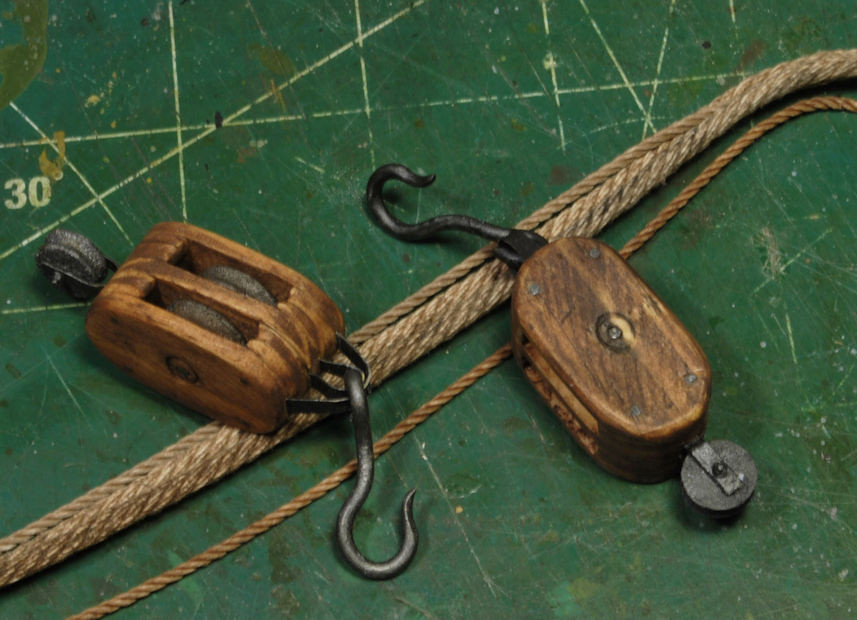
The rope for these B&T’s was first coated with water thinned Elmer’s Carpenter’s glue, then given a Burnt Umber oil wash to give it definition.
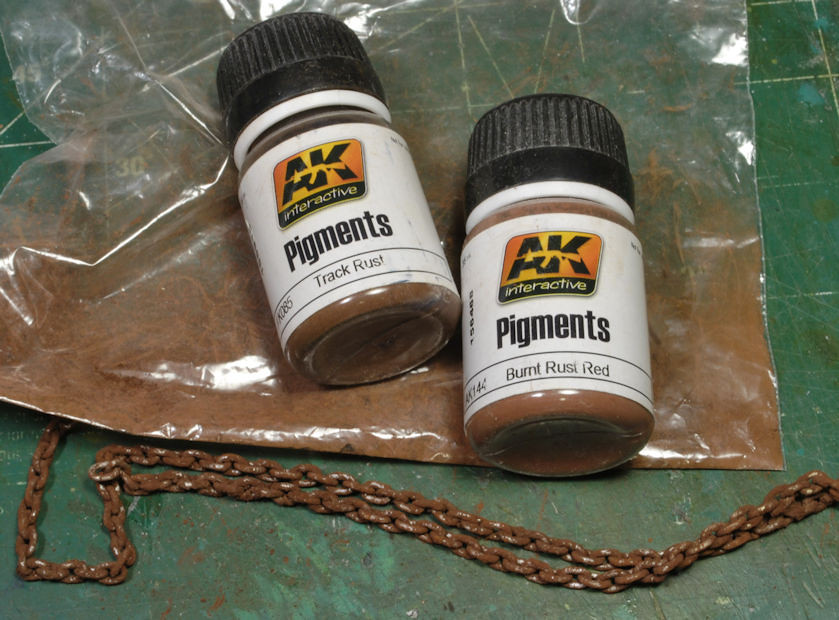
For the chain I used the old “shake and bake” method. Wet the cheap chain with black or Burnt Umber oil
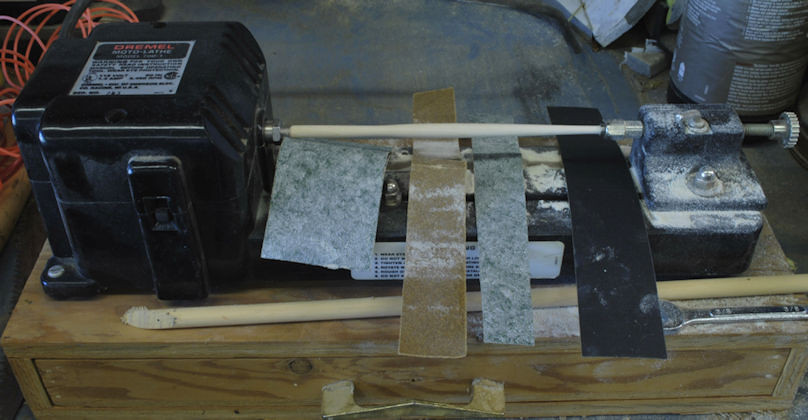
paints and drop into a sandwich bag with rust tone pigments, then shake it up. Once you pull the chain out of the bag give it a quick snap and most of the excess flies off. I’ll be going back over this chain with an old tooth brush to clean it up, touch up the rust tones, and finish it off. An old Dremel lathe was used to turn the shovel handle out of some dowel chunks. This unit is so weak it was easier to use the sand paper than try to turn it.
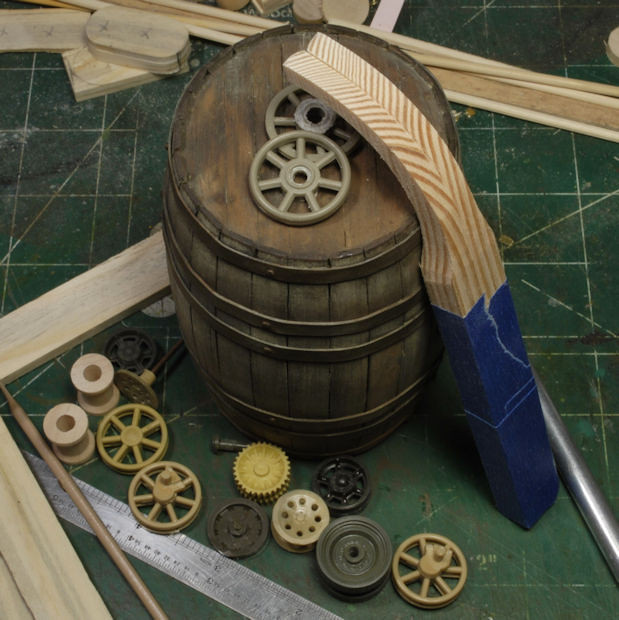
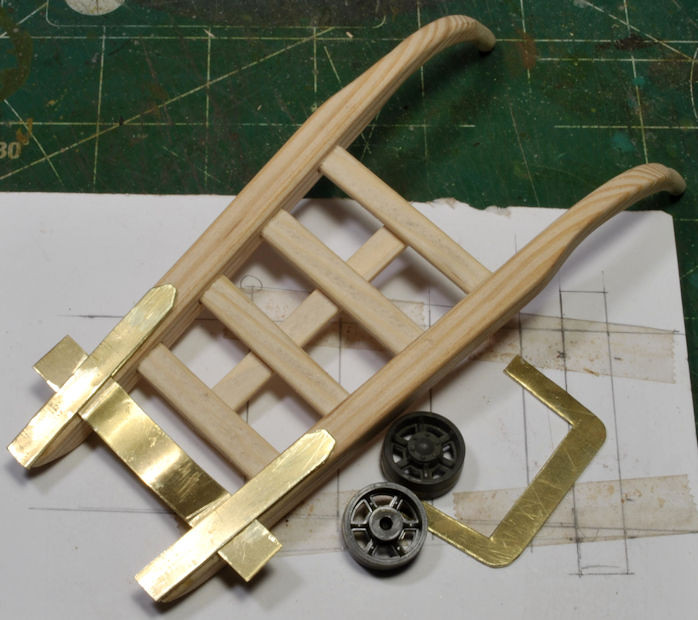
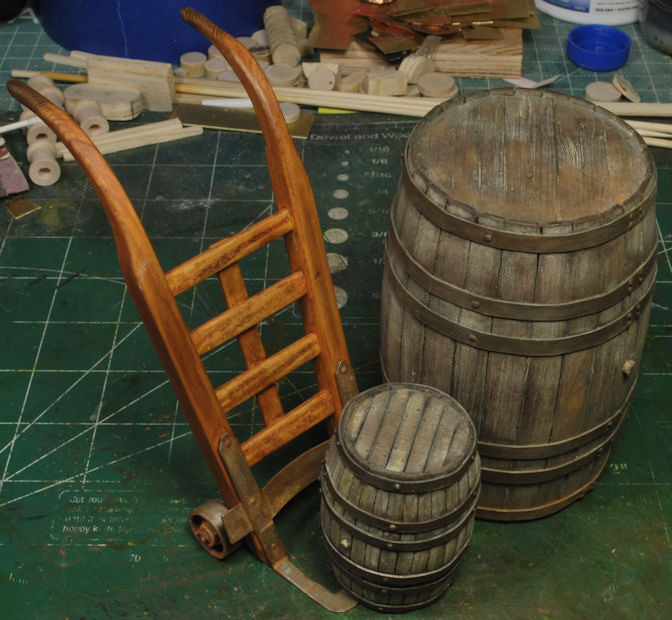
Next up, after weathering the wine barrel, I built a barrel dolly from pine scrape and shaped most of it on the belt sander. Cutting thicker sheet brass for the base and supports for the wheels was necessary. The wheels are rollers from a tank long ago scrapped and they were perfect for this purpose.
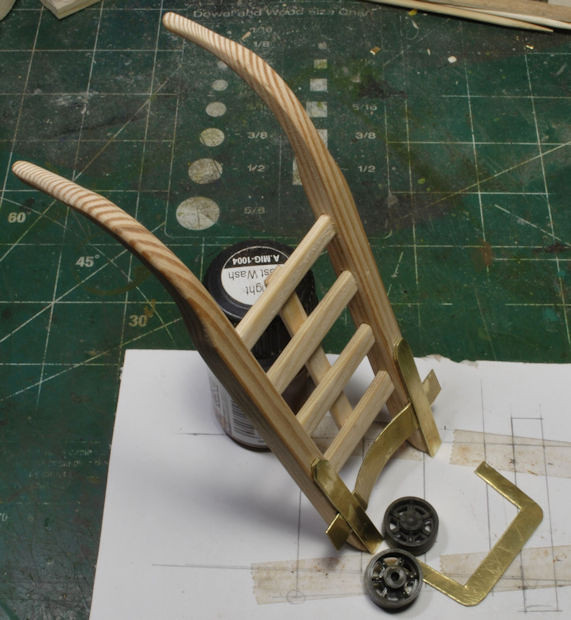
After making a grid pattern for the dolly layout it all went together rather quickly. I Dremel’d out the cross-member slots which made the assembly very sturdy. I soldered the base and support bars together before gluing the unit to the dolly frame. Then I followed up with pins down the supports to retain the brass base assembly.
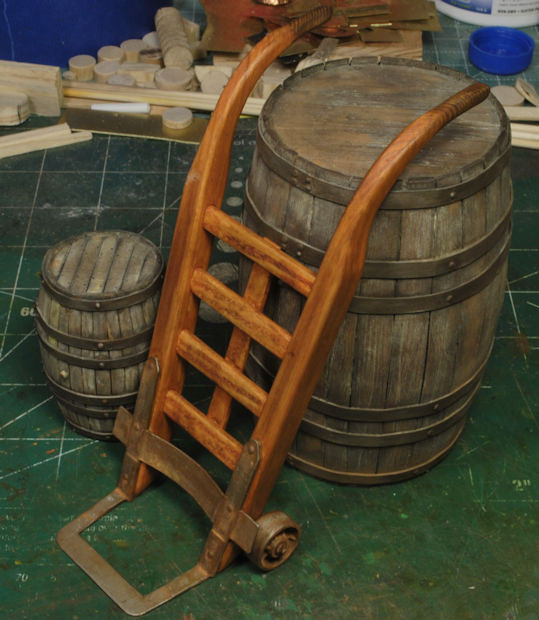
Once the brass was primed I painted the metal parts and wheels with
Tamiya’s Metallic Grey XF-56 and then painted the wood using Burnt Sienna oils. The standard rust and weathering applications were used to make the dolly look used and abused and now neglected.
So, with the major accessories made I will make a few more tools and give everything a good weathering. The dusting to mesh the accessories to the base will be the last step before securing each item in place.
More to follow soon and thanks for watchin. Cheers, Ski.

")


 .
.