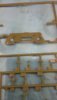
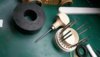
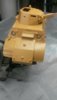
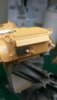
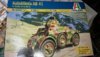
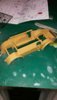
well started this today had this in my stash for ages so thought i would get it built just got to take some of the details of to add the pe..
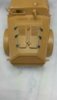
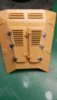
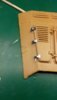
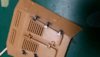
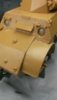
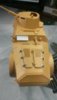
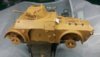
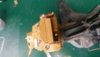
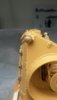
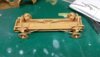
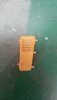
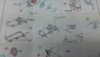
so far the kit is going together well so here is where im at
View attachment 250694
View attachment 250695
View attachment 250696
View attachment 250697
View attachment 250698
View attachment 250699
cheers for looking in lads
so far the kit is going together well so here is where im at
View attachment 250694
View attachment 250695
View attachment 250696
View attachment 250697
View attachment 250698
View attachment 250699
cheers for looking in lads
Attachments
-
 20160318_200532_resized_1_zpsrfig8by8.jpg2.7 KB · Views: 0
 -
 20160318_200553_resized_1_zpssjh73vdu.jpg2.4 KB · Views: 0
 -
 20160318_200610_resized_1_zpsilzl8jet.jpg2.2 KB · Views: 0
 -
 20160318_200638_resized_1_zpsfhzhm6jh.jpg1.4 KB · Views: 0
 -
 20160318_200628_resized_1_zpsj14ik1a2.jpg2.1 KB · Views: 0
 -
 20160318_200653_resized_1_zpsr4o4r0tp.jpg1.6 KB · Views: 0
")