Morning all. ")
I seem to have forgotten to update this thread, and quite a bit has been done.
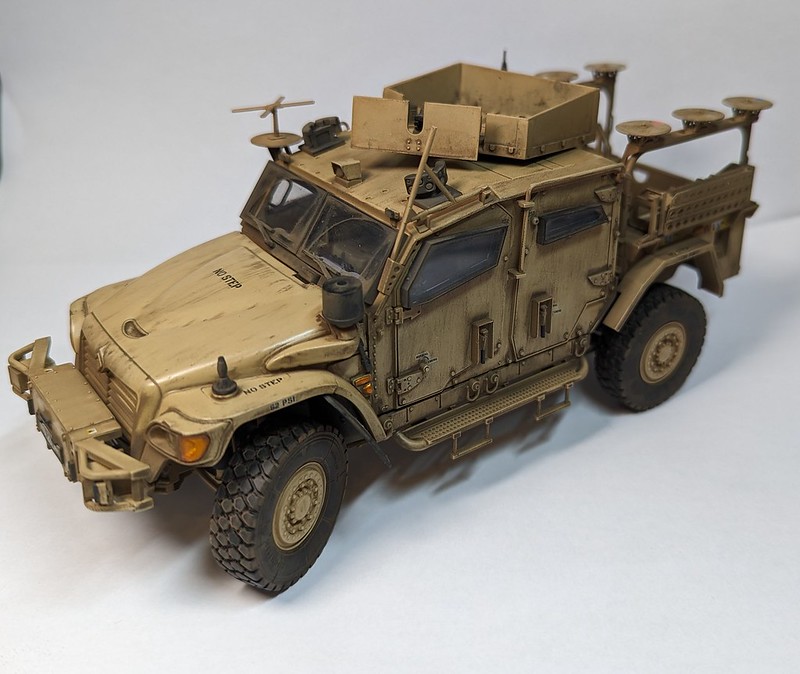
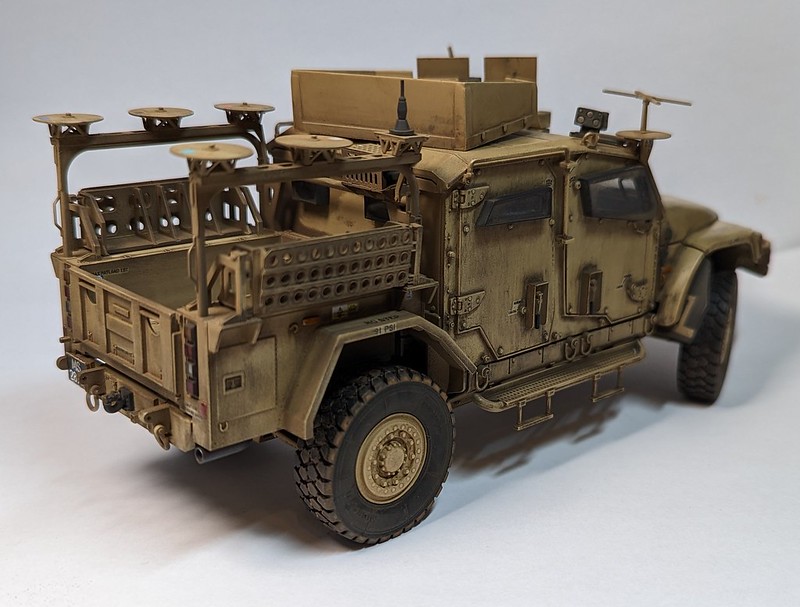
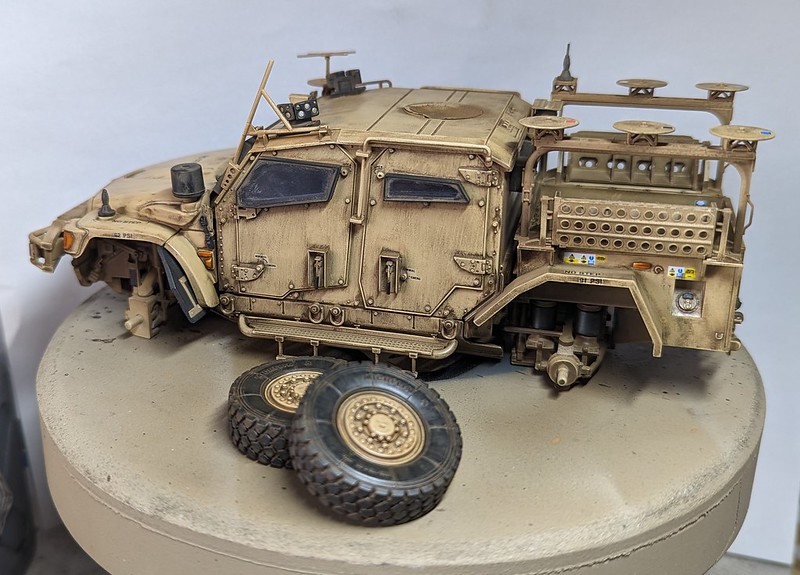
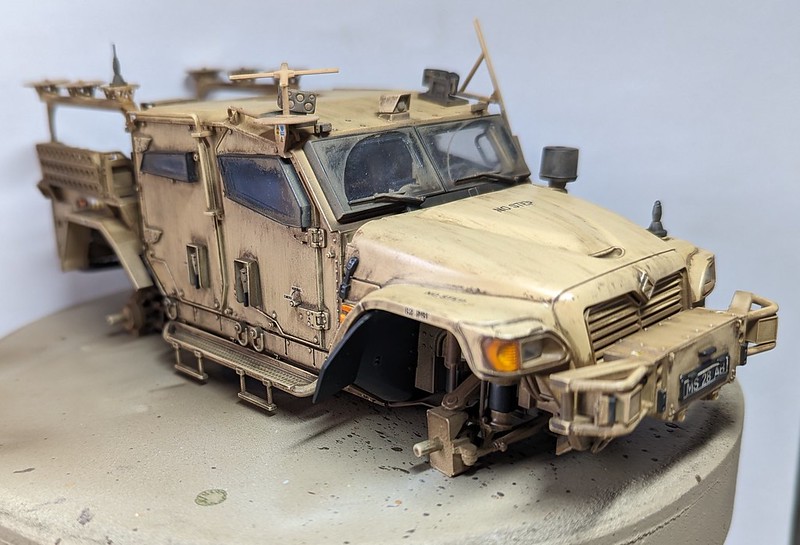
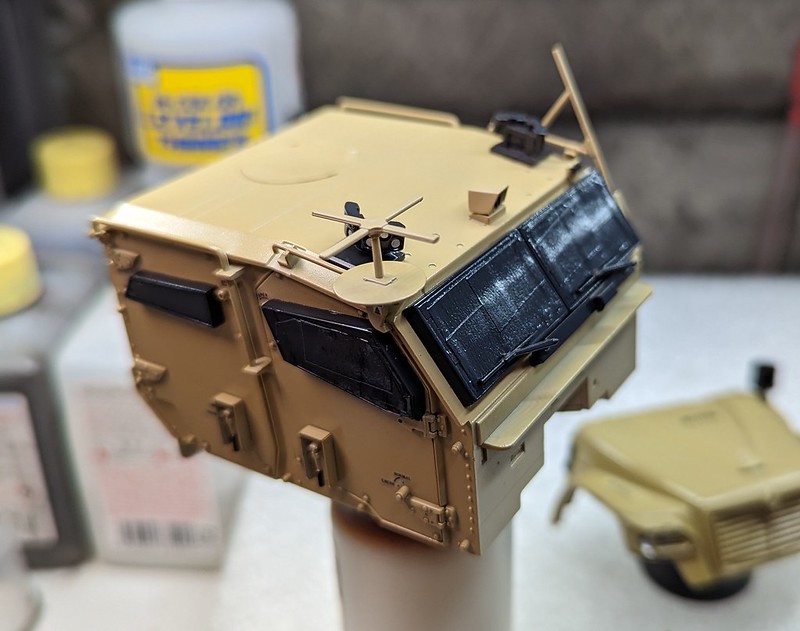
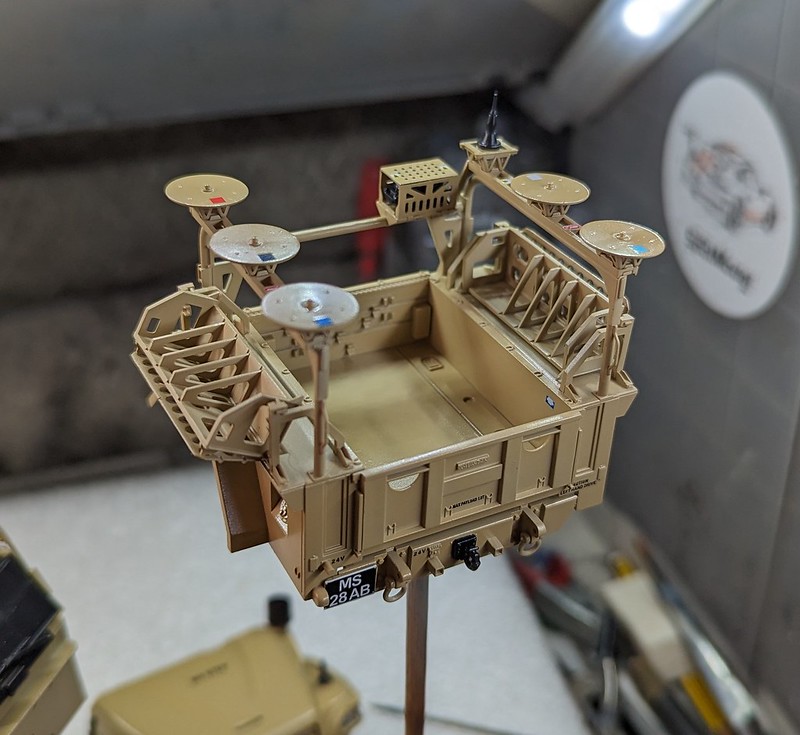
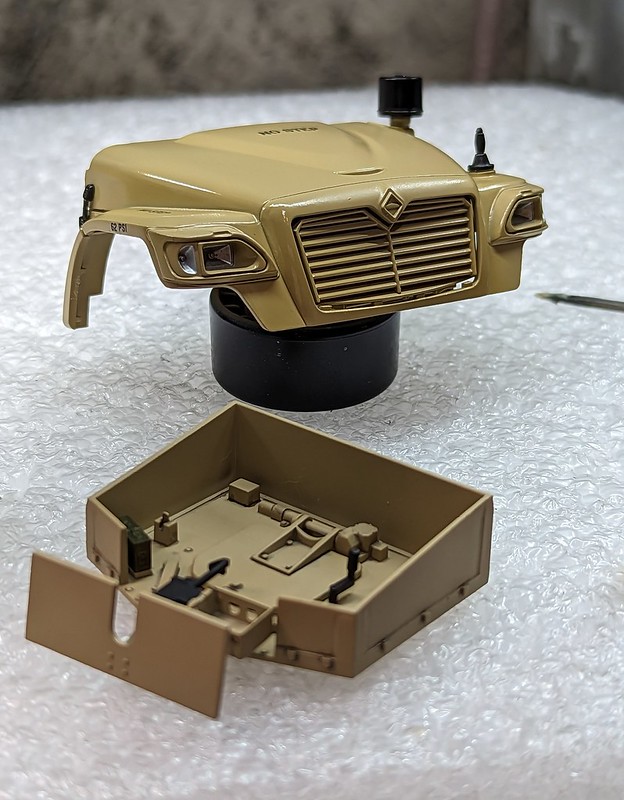
First up was finishing the exterior of the cab with various handrails, sensors, camera & lights. Next I built up the rear load bay and turret before getting the various decals applied. I found it amusing the number of health and safety placards that are on this vehicle. Finally everything was given a matt coat, which looks gloss in the pics as I had literally just sprayed it.
I've also painted all the other greeblies, so I can now get on with the fun part, weathering.
I seem to have forgotten to update this thread, and quite a bit has been done.
First up was finishing the exterior of the cab with various handrails, sensors, camera & lights. Next I built up the rear load bay and turret before getting the various decals applied. I found it amusing the number of health and safety placards that are on this vehicle. Finally everything was given a matt coat, which looks gloss in the pics as I had literally just sprayed it.
I've also painted all the other greeblies, so I can now get on with the fun part, weathering.
")