Thanks Stuart\ said:I have been watching the build and it's coming along nicely.
I know it's not a simple task but you make it look easy to scratch build.
The building looks great and the floor boards look perfect.
Great work real talent
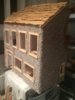
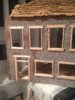
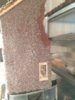
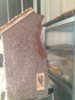
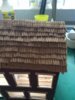
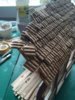
I'm really enjoying this build and although it's a first I think it's turning out pretty not bad. I've tiled the roof now and I'll let it set overnight
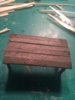
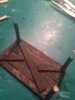
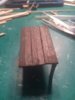
I've also put in another patrician wall downstairs. My wife has asked me to make some bits of furniture IE table and broken chairs, possibly do a rug or some ripped carpet ( I'm not building a dolls house but I can see where she's coming from
Wish me luck
Robert
") .......Jim
.......Jim")