


- Joined
- Dec 28, 2023
- Messages
- 2,927
- Location
- Swale Kent UK
- First Name
- Peter
1/3
More progress.....
Dry fit of the roof and bonnet.
Never held my breath so much as when I was doing the chrome edges around the frame, my sausage fingered, chimp like, shaky hands are not suited to such fine work, but we sort of managed it.....
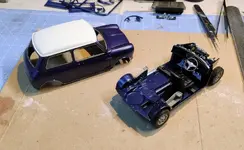
More of the interior done, front seat, rear side pockets, dashboard, decals on the dash, steering wheel, handbrake and gear lever.
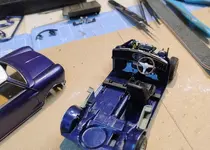
Most of the engine done, few little bits to add, carbs, etc.
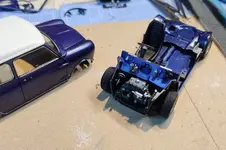
Carbs added... and rear seats and roll cage....
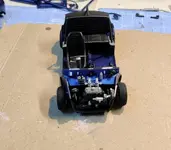
Side view of the interior....
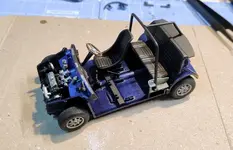
Other side view of the interior...
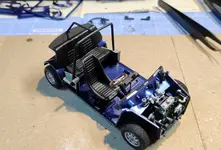
Slowly getting there....
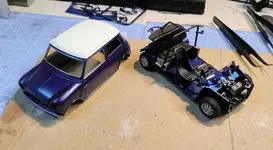
Hmmm, problem, but not sure what, the front wheels were way too high, eg: the bottom of the wheels were pretty much level with the bottom of the sump, so virtually no gap. I know these were low, but not that low. Had a close look and cannot see what the problem is, as far as I know the suspension, axle, wheels, brakes, etc were all fitted correctly.
So decied to take the nuclear option and chop the wheels off!
Will wait till its all fitted/finished then add the front wheels last, in what I approximate the correct position to be.
As I say not sure why they were so high, but I've obviously c*cked it up somewhere? It was deffo not right...
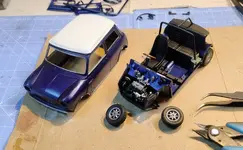
View into the dash, etc...
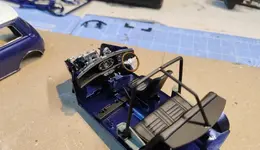
The main body shell, roof panel, bonnet and wheel arches are now drying after they had had their final Gloss coat. Don't know why but the paint has a few little marks on it, [Doh!] so maybe I should have clear coated them sooner, but hey ho.....
Exhaust now on and view of the underside....
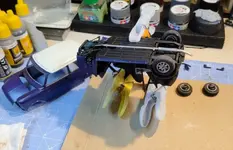
Dry fit of the roof and bonnet.
Never held my breath so much as when I was doing the chrome edges around the frame, my sausage fingered, chimp like, shaky hands are not suited to such fine work, but we sort of managed it.....
More of the interior done, front seat, rear side pockets, dashboard, decals on the dash, steering wheel, handbrake and gear lever.
Most of the engine done, few little bits to add, carbs, etc.
Carbs added... and rear seats and roll cage....
Side view of the interior....
Other side view of the interior...
Slowly getting there....
Hmmm, problem, but not sure what, the front wheels were way too high, eg: the bottom of the wheels were pretty much level with the bottom of the sump, so virtually no gap. I know these were low, but not that low. Had a close look and cannot see what the problem is, as far as I know the suspension, axle, wheels, brakes, etc were all fitted correctly.
So decied to take the nuclear option and chop the wheels off!
Will wait till its all fitted/finished then add the front wheels last, in what I approximate the correct position to be.
As I say not sure why they were so high, but I've obviously c*cked it up somewhere? It was deffo not right...
View into the dash, etc...
The main body shell, roof panel, bonnet and wheel arches are now drying after they had had their final Gloss coat. Don't know why but the paint has a few little marks on it, [Doh!] so maybe I should have clear coated them sooner, but hey ho.....
Exhaust now on and view of the underside....
Last edited:
