Hi Chaps
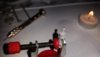
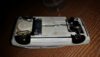
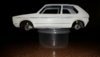
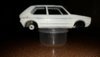
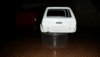
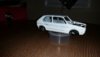
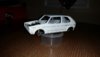
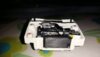
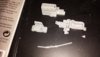
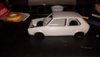
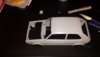
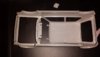
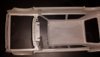
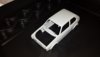
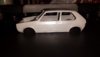
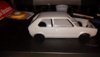
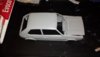
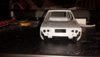
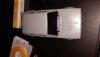
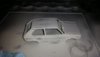
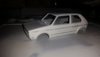
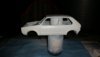
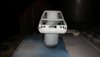
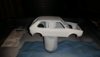
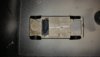
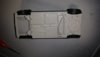
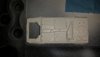
Well I have started up my hobby that I stopped when at the age of 14. Made quite a lot of progress on the car, but I am taking my time on it.
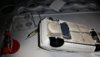
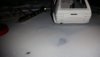
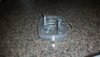
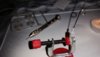
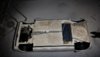
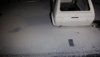
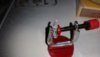
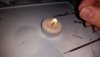
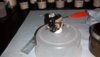
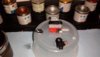
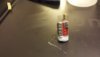
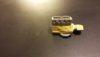
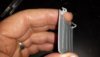
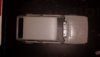
Here are some pics of the engine bay:
View attachment 95893
View attachment 95894
View attachment 95895
View attachment 95896
View attachment 95897
View attachment 95898
View attachment 95899
View attachment 95900
View attachment 95901
View attachment 208916
View attachment 208917
View attachment 208918
View attachment 208919
View attachment 208920
View attachment 208921
View attachment 208922
View attachment 208923
View attachment 208924
Well I have started up my hobby that I stopped when at the age of 14. Made quite a lot of progress on the car, but I am taking my time on it.
Here are some pics of the engine bay:
View attachment 95893
View attachment 95894
View attachment 95895
View attachment 95896
View attachment 95897
View attachment 95898
View attachment 95899
View attachment 95900
View attachment 95901
View attachment 208916
View attachment 208917
View attachment 208918
View attachment 208919
View attachment 208920
View attachment 208921
View attachment 208922
View attachment 208923
View attachment 208924
Attachments
-
 20141230_232610.jpg1.8 KB · Views: 0
 -
 20141230_231815.jpg1.9 KB · Views: 0
 -
 20141230_231750.jpg2.3 KB · Views: 0
 -
 20141230_231658.jpg1.8 KB · Views: 0
 -
 20141219_205723.jpg2.1 KB · Views: 0
 -
 20141219_202135.jpg2.3 KB · Views: 0
 -
 20141217_225315.jpg1.4 KB · Views: 0
 -
 20141217_205850.jpg1.3 KB · Views: 0
 -
 20141214_001853.jpg2 KB · Views: 0
")


")