Theme editor

Scale Model Shop

Scratchbuilt 1/72 Avro Aldershot

Thread owner
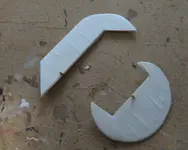
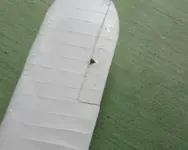
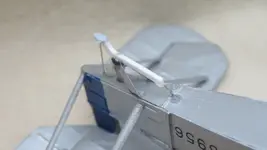
When I have elevator horns, I invariably use brass off cuts dug into the surface. I just know I'd knock plastic ones off just by looking at them!
IMG_3716.webpIMG_3720.webp
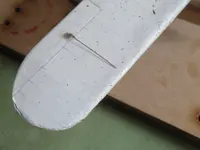
When it came time for rigging, I made them larger any, just by adding an other piece of brass alongside
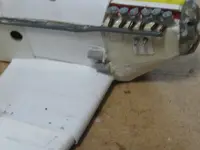
And this is the eventual result. MUCH later I realised there were actually two elevator horns below the wing
IMG_3725.webp
 
Last edited:
Thread owner
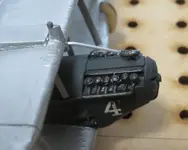
There are two small auxiliary generators on the nose, and a third underthe wing in front of the undercarriage. These were out of the way, so on they wentIMG_3718.webp
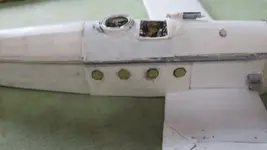
The windows are simple circles of clear acetate. They were masked before attaching as that was just easier. I first used canopy glue, then sped up the process with PVA. You'll see how successful THAT was later!
IMG_3721.webp
 
Thread owner
And now, struts! Well, it is a biplane, after all!
These are Aeroclub strut material, all cut to the same length, with brass rod pins to hold them in place
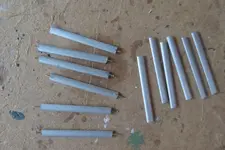
IMG_3722.webp
And then they're on. And straight into my new jig.
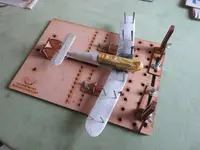
IMG_3723.webp
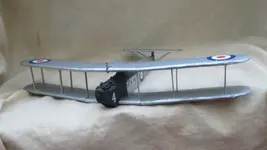
My last jig is a huge great thing, meant more for 1/48 and up, but this one is specifically 1/72, even with the gert slab of the Aldershot. I'd already sprayed the dark grey for the nose and upper fuselage. Luckily, the Humbrol silver covers well.
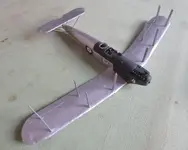
IMG_3726.webp
The 'plane number was Insignia White sprayed on first then masked before the dark grey. With the struts in place I could now drill all the rigging mounting holes
The masking strips at the back were to get the registration number straight, which is out of individual Modeldecal lettering. Also, the main roundels were on, so I could spray a semi-gloss varnish and handle with impunity
That was the plan. In retrospect, the fuselage roundels should have gone a little further back. There are a pair of cable runs above and below the exhaust pipes, which I REALLY should have fitted on before this stage.
They're on my damn sketch so I knew they needed fitting!
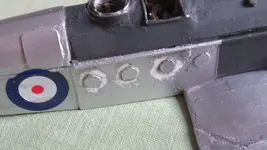
IMG_3727.webp
Here you can see what I mean about the glue residue, which I INSIST was invisible until I sprayed on the silver. Still, that's why I left the masks on!
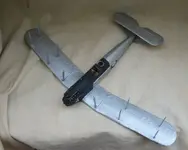
IMG_3728.webp
Now, all the little holes are drilled and we're well away!
 
Last edited:
Thread owner
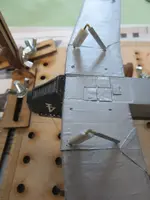
And on with the upper wing. I recently saw a guy building the old Airfix 0/400 on Youtube, and he uses PVA to attach the spars. Some I used CA, and squeezed, some were touched up with PVA. And some left little gaps which needed just a bit of filler to cover. For some reason, I've no photo of thatIMG_3729.webp
The cabane struts were an easy fit, and then a little bit of aluminium pipe to attach the header tank to the engine
IMG_3730.webp

IMG_3731.webp
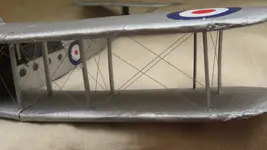
And it's rigging time! I still use Albion Alloy 0.2mm rod to rig, mainly because it strays straight, mostly, and can be bent at the mounts, relatively, easily. I now use the thick canopy glue I've got and PVa to attach, rather that CA now, as the latter always marked the silver, no matter how carefully and sparingly I used it. It holds pretty well (except observant viewers will notice on the completed thread one line has detached. Don't go and look now!)
IMG_3732.webp
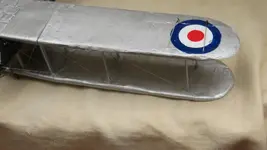
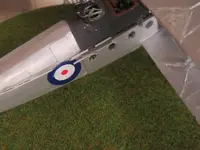
Like I said, there are two elevator horns below the wing. Still easier to attach it at this to work around the roundel in place. Though that did require a bit of touch-up as you can see
 
Last edited:
Thread owner
way above my skillset nice job so far
I dunno Kaci. I know for a fact I can't match your paint finishing for authentic metal effects. And those rally car transfers would give me nightmares. I have enough trouble keeping my fuselage codes straight
Not always successfully...
 
Thread owner
IMG_3734.webp
So, the overly complicated tail skid just bits of brass rod, strut material, plastic rod, and the end of a bomb cradle from a Ju.88
Note also, the blue for the rudder is actually ON the 'plane itself, because of the rudder 'horns'
IMG_3735.webp
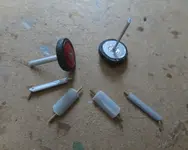
Finally, the wheels and u/c legs
IMG_3736.webp
This is the halfway point for the undercarriage, and the end of the build thread. I'm not going to go into the complexities of all the stuff that didn't go quite right, was poorly planned and eventually okay executed with the wheels and supports
Suffice to say, and this was what REALLY had me worried, the undercarriage supports the weight without collapsing, so, yay

If you've not already been and seen, the completed project is a already posted, over in the, would you believe, the Completed Aircraft Thread
Next up, the Hawker Horsley bomber and Hawker Woodcodk fighter. And a brace of Hurricanes...
 
Last edited:
Thread owner
THIS was supposed to be the last pic, but I managed to upload the wrong one, since deleted
IMG_3744.webp
These are the aluminium tube cable runs for the elevator cables, which I SHOULD have added before painting, and adding the fuselage roundels. Well, one last minor error...
 
Thread owner
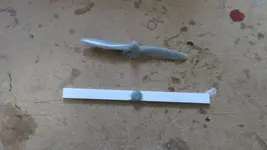
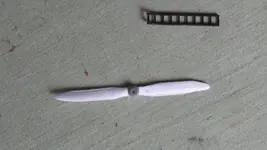
Except, of course, I also forgot the prop!
IMG_3739.webpIMG_3742.webp
So, the prop is simply a 40 thou strip, twisted, scraped, filed and sanded.
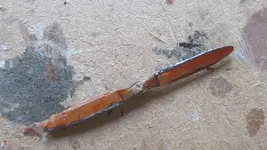
IMG_3743~2.webp
Then painted wood brown, an orange ink line wash over the top, the metal leading edge strip painted freehand

And FINALLY... well, just before the prop was added
IMG_3740-1.webp
Right. Done now
 
Back
Top