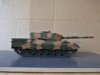
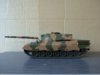
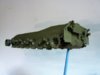
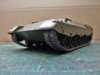
Here is another tank my Grandson gave me to build.
I've not much interest in modern stuff, but I'm chuffed he entrusts me to make it for him.
View attachment 282524
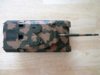
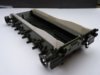
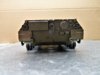
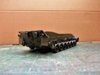
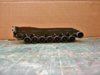
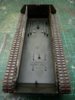
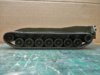
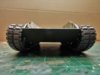
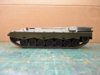
I made a start yesterday and did the back end, wheels etc. I won't bore you with shots of the wheels, we all know what they look like - and how many there can be.......
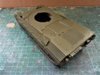
What I did find was a huge gap between the lower and upper hulls. If it were my model, I wouldn't bother filling it, but as it's for him, I want to do my best, so I used plastic card to bridge the gaping hole.
View attachment 282525
That's it so far.
Cheers all,
Ron
I've not much interest in modern stuff, but I'm chuffed he entrusts me to make it for him.
View attachment 282524
I made a start yesterday and did the back end, wheels etc. I won't bore you with shots of the wheels, we all know what they look like - and how many there can be.......
What I did find was a huge gap between the lower and upper hulls. If it were my model, I wouldn't bother filling it, but as it's for him, I want to do my best, so I used plastic card to bridge the gaping hole.
View attachment 282525
That's it so far.
Cheers all,
Ron

")

")


 !
!