G
Guest
Guest
Looking good Peter ")

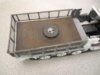
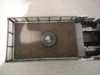
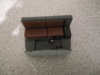
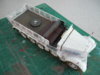
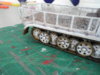
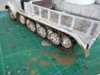
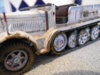
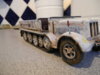
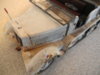
Easy..... It is rough surface. Grey Primer, a coat of Camo dark Brown, some of ``er indoors hairspray and a thin coat of Dark Blue Grey. A good scrub with a green scourer and two coats of Brown Mig Filter.......... One rusted iron surface............Job done.\ said:Hi peter
Been a while since I last saw this as I been in hospital a lot but heh you are making very good progress on this and out with the new look and giving it that rusted effect is really well done ( seems you got that just right eh )
I'll have to get that formula off you for future projects.
Awesome so far can't wait for more
Robert
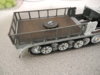
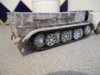
Thanks Si ......... Very much appreciated.\ said:Nice work Peter, that does look the business, great weathering too.
Si")
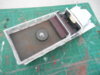
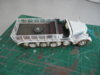
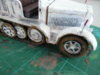
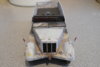
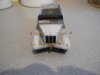
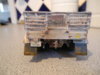
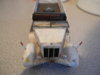
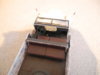
Thanks John........... Much appreciated......... Although I'm not 100% sure I haven't gone over the top with it.\ said:Looking real good like the white wash

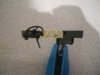
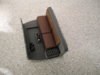
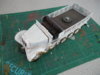
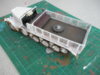
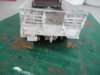
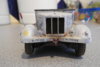
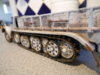
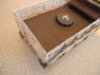
Oops silly me I never checked all pics ( 1000 pardons\ said:Thanks Robert ....... Comments much appreciated. If you mean the bit I've circled in red. They came in the kit and are on the tailgate of the model........ I think they represent the folded up ladders and ladder supports for when the sides are down. The kit gives both options on the ladders.
View attachment 124801 View attachment 124802


scalemodelling.co.uk is a privately operated online discussion forum. All content posted by members reflects their own views and opinions and does not necessarily represent those of the forum owners or administrators. While reasonable efforts are made to moderate content, no responsibility is accepted for user-generated material. By using this site, you agree to comply with UK law and the forum rules.