
Hello all,
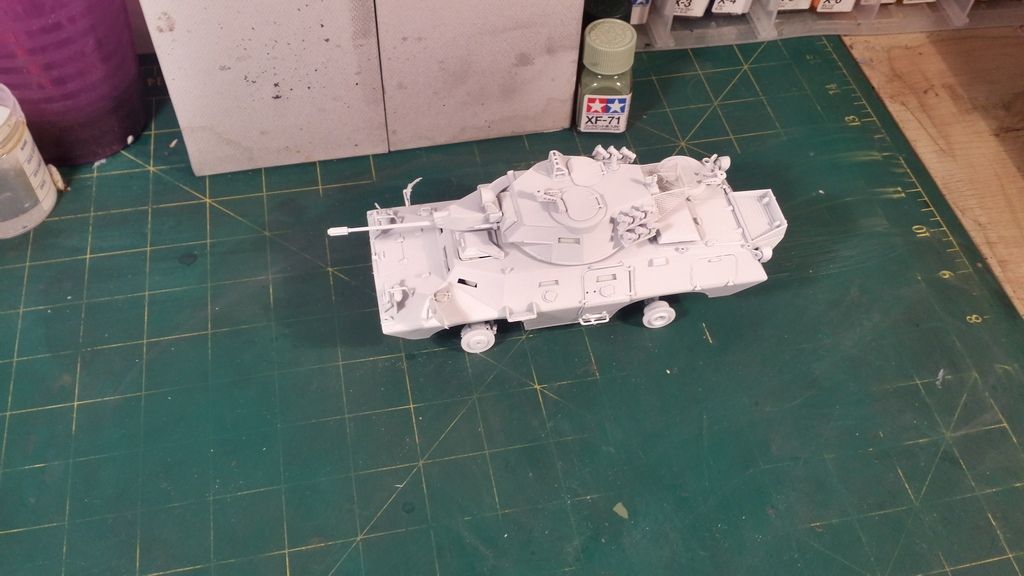
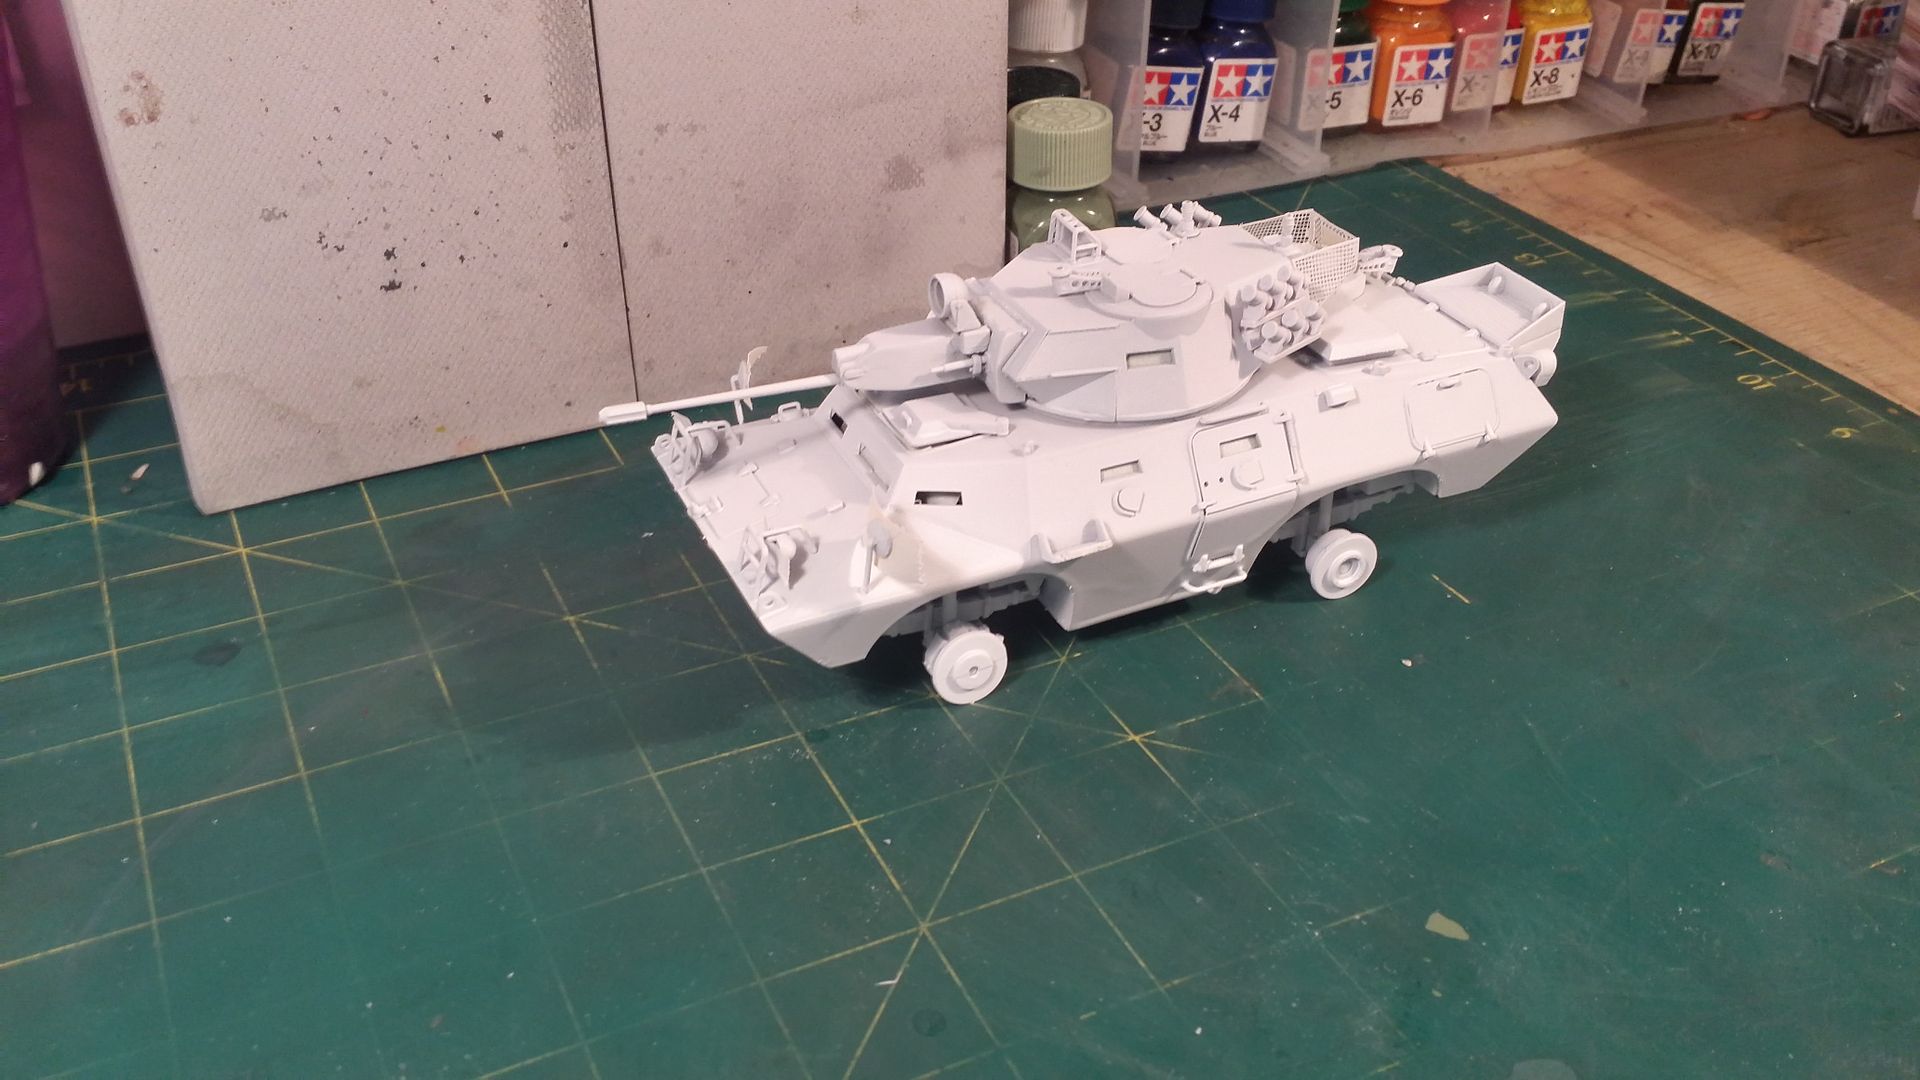
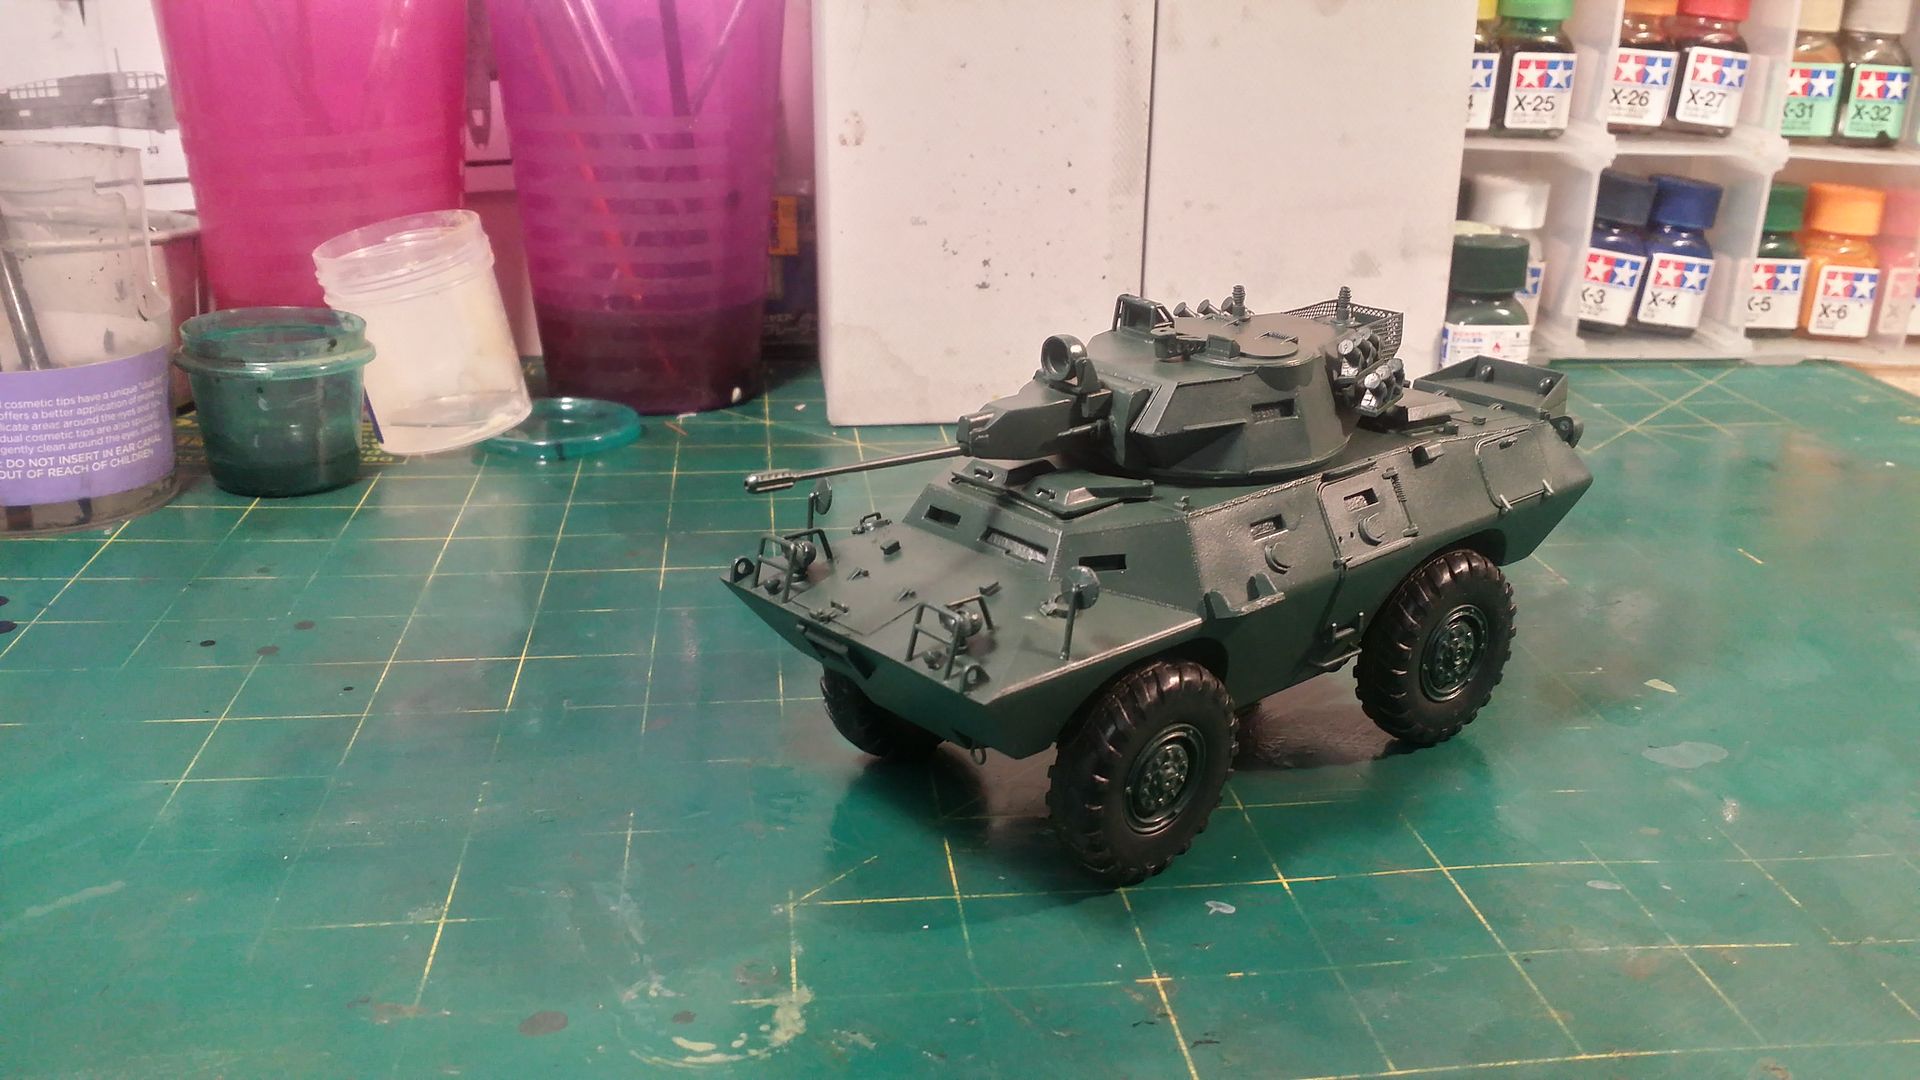
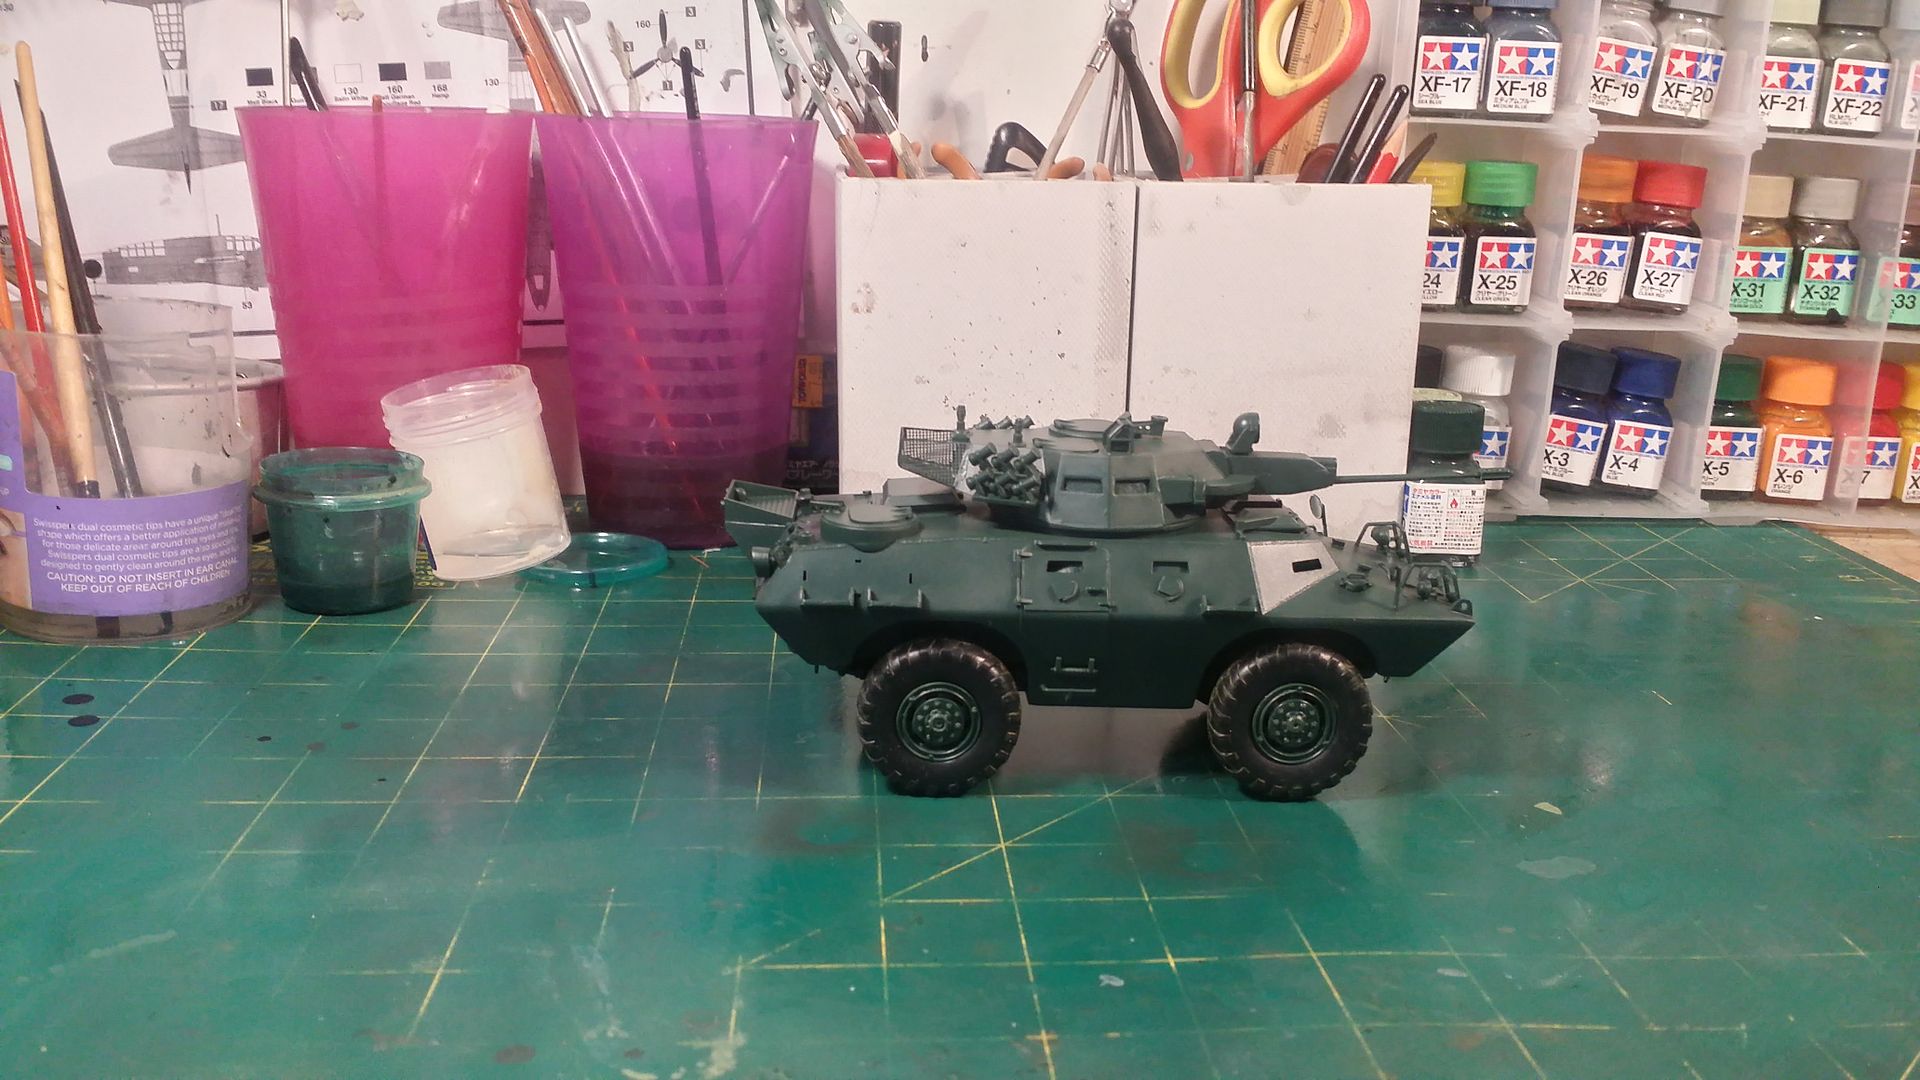
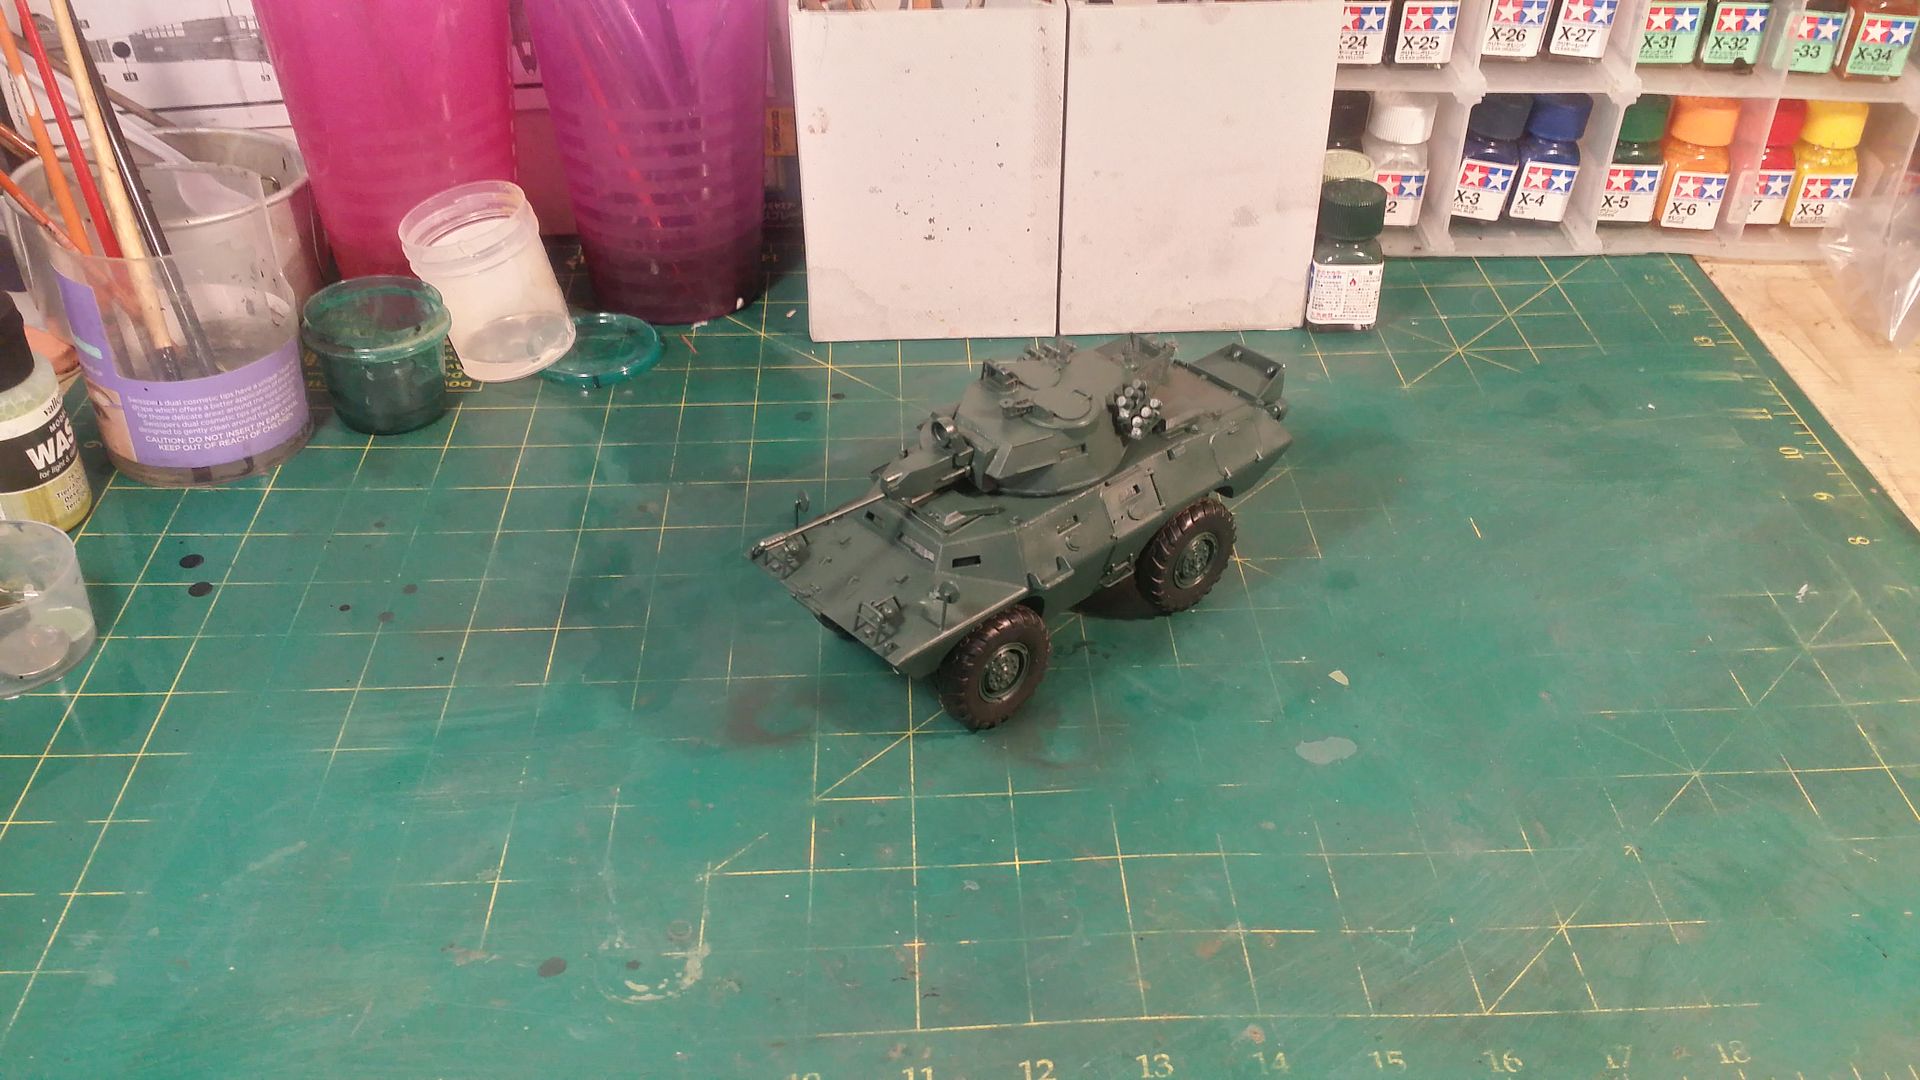
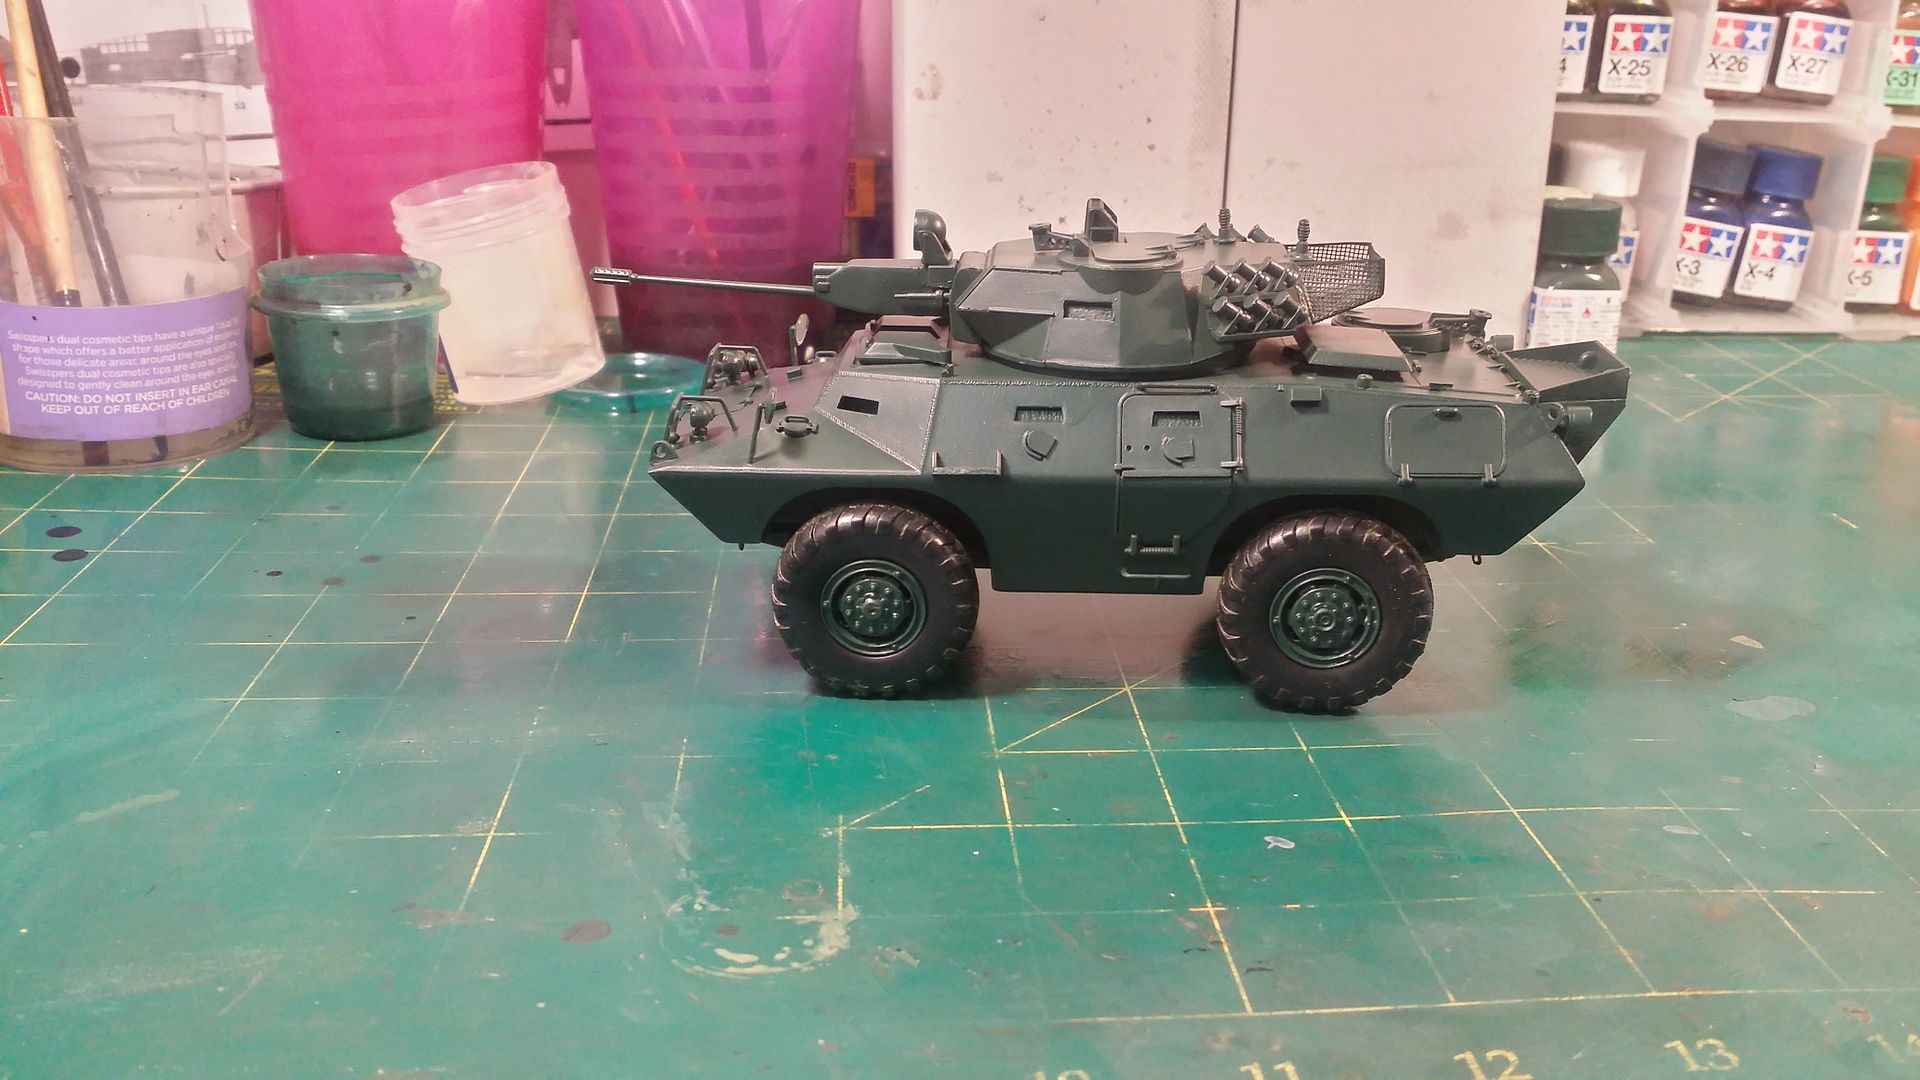
This is my entry into the "Wheeled Armour" Group Build. It is the Hobby Boss 1/35 V-150 Commando with 20 mm Cannon.
The Plan
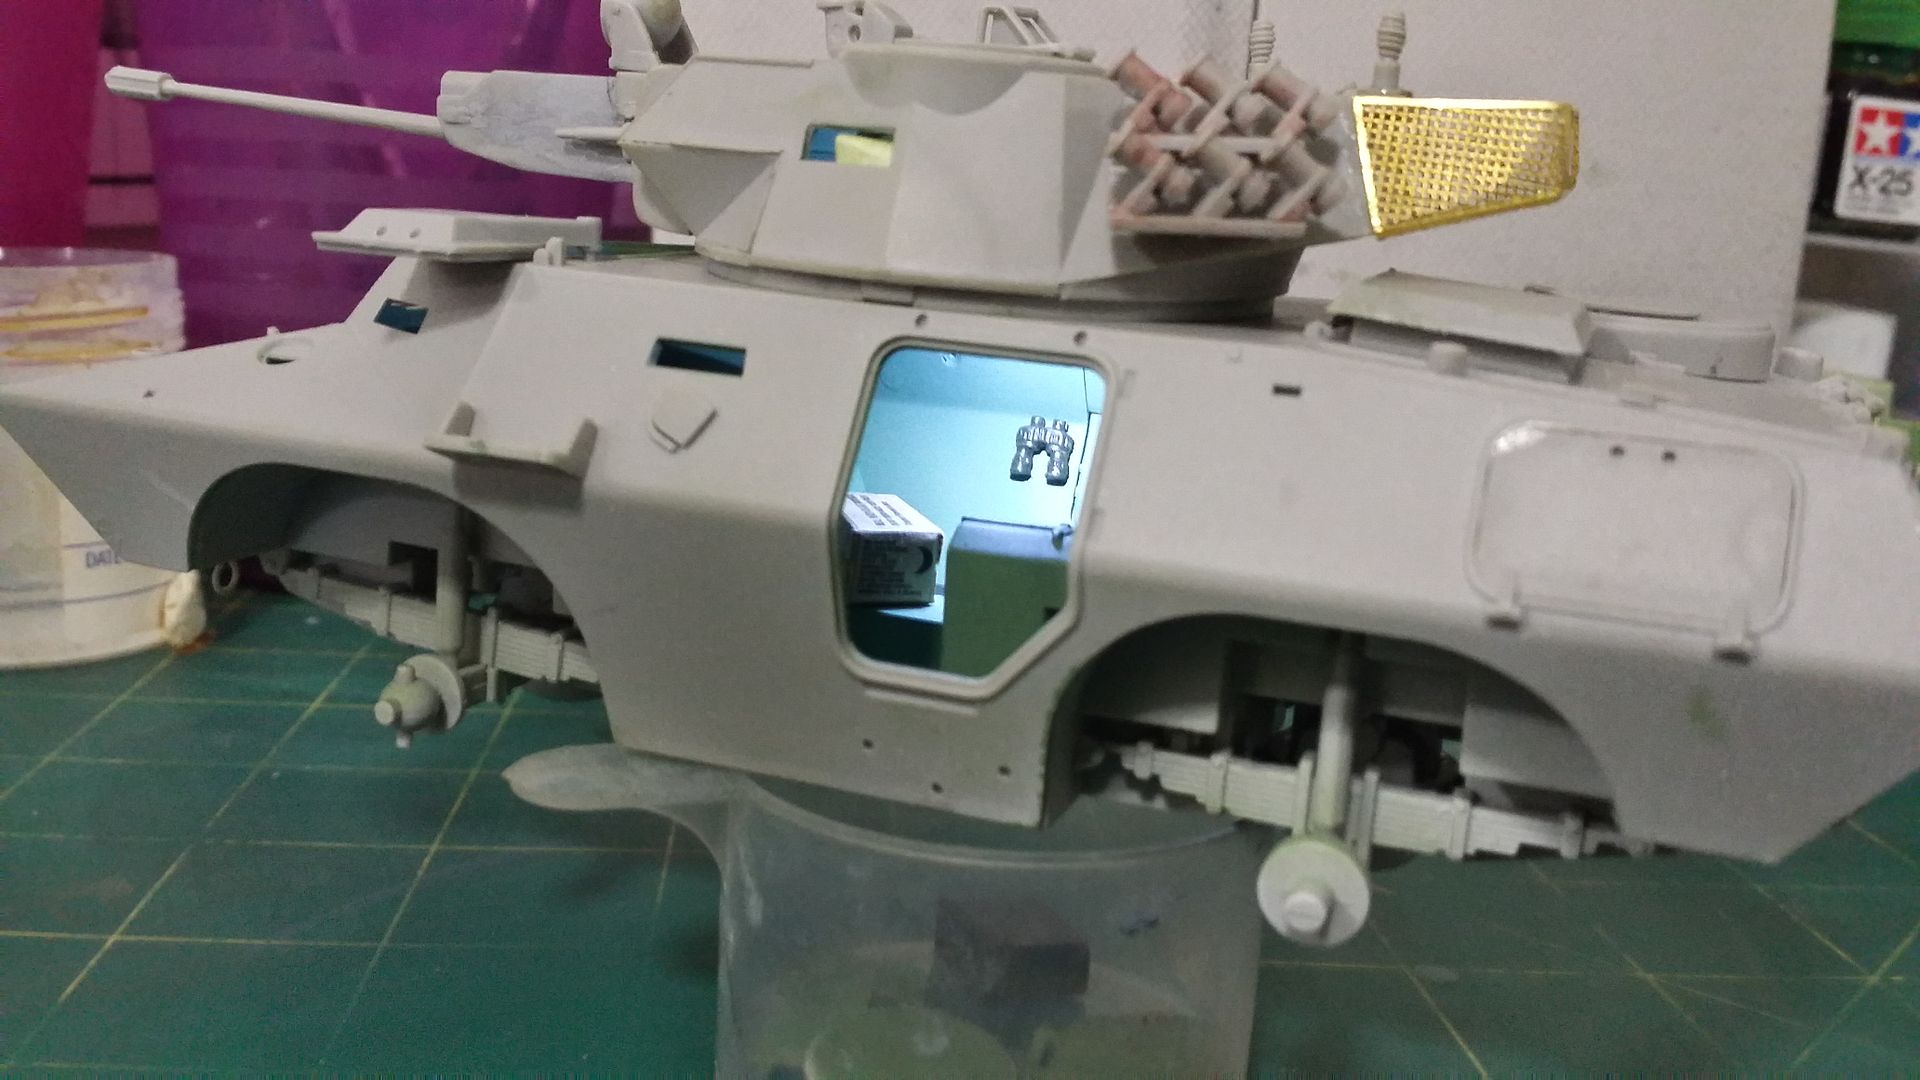
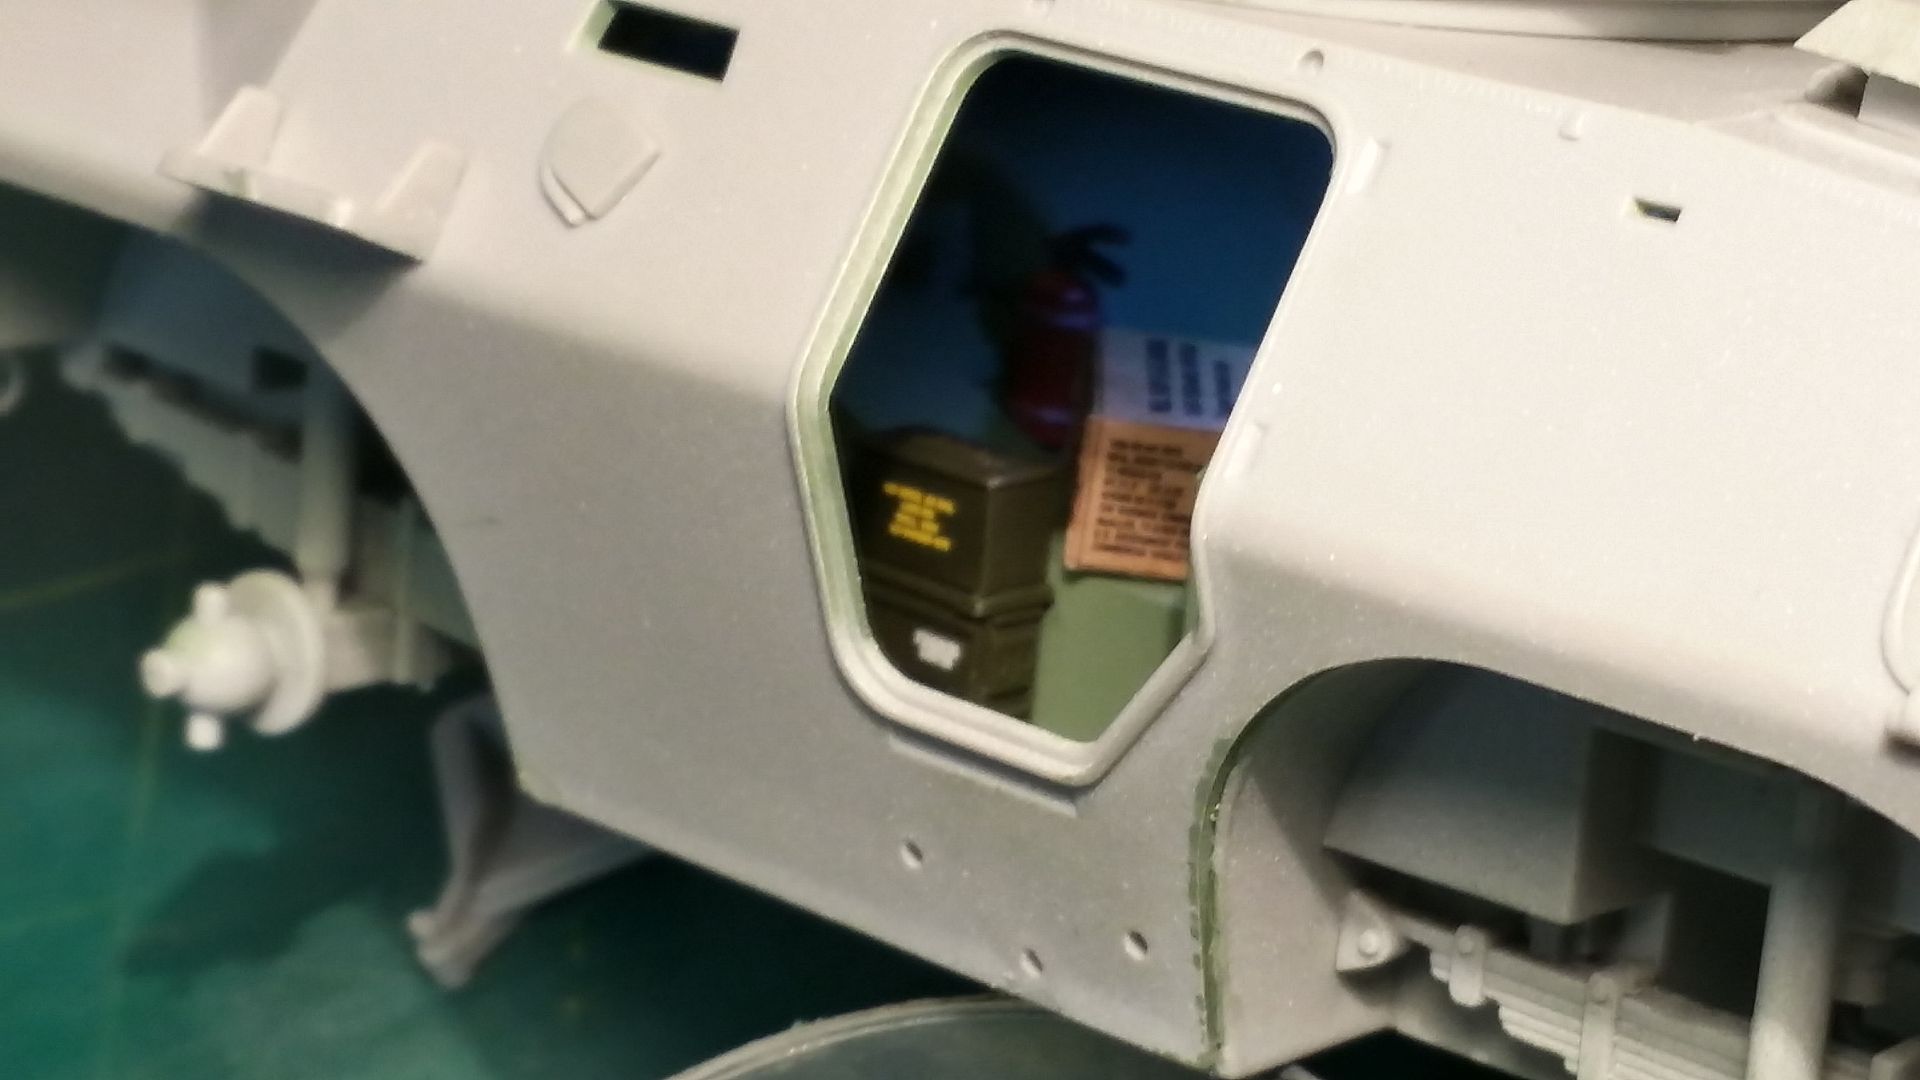
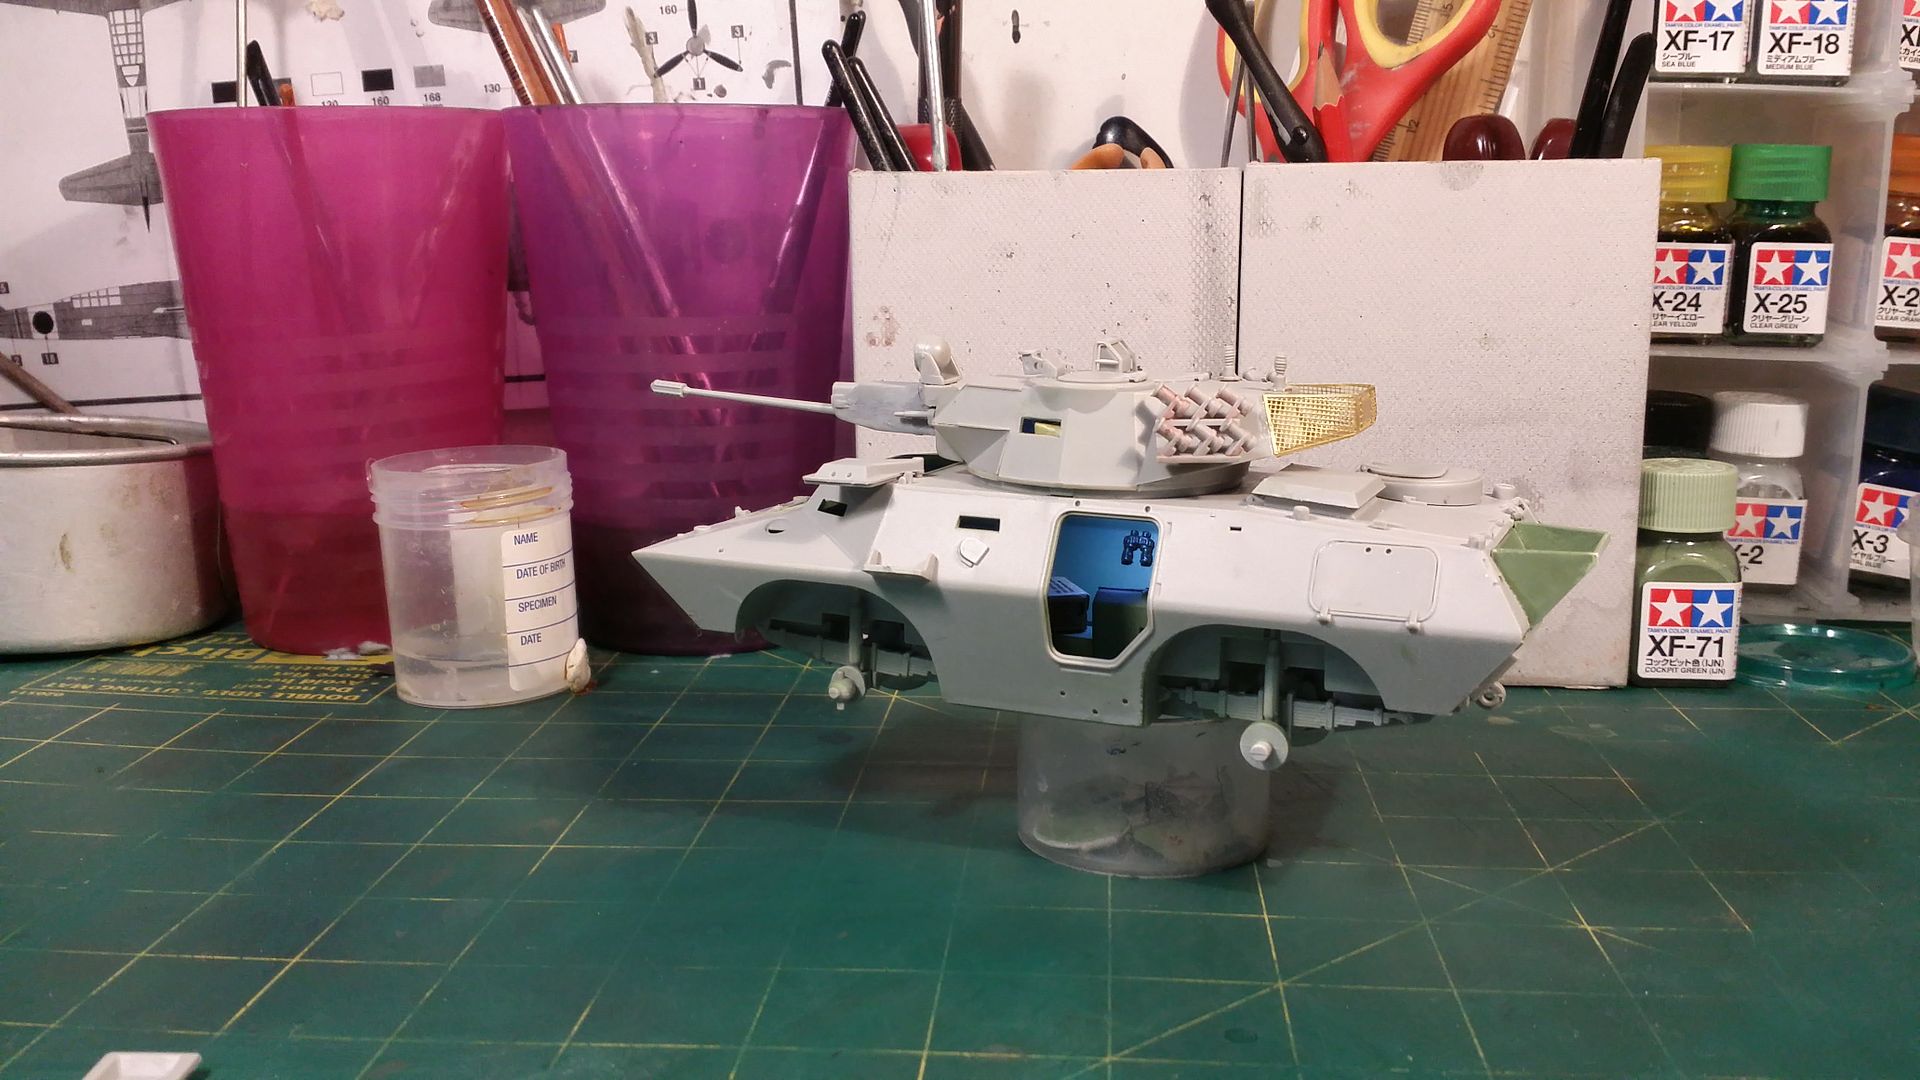
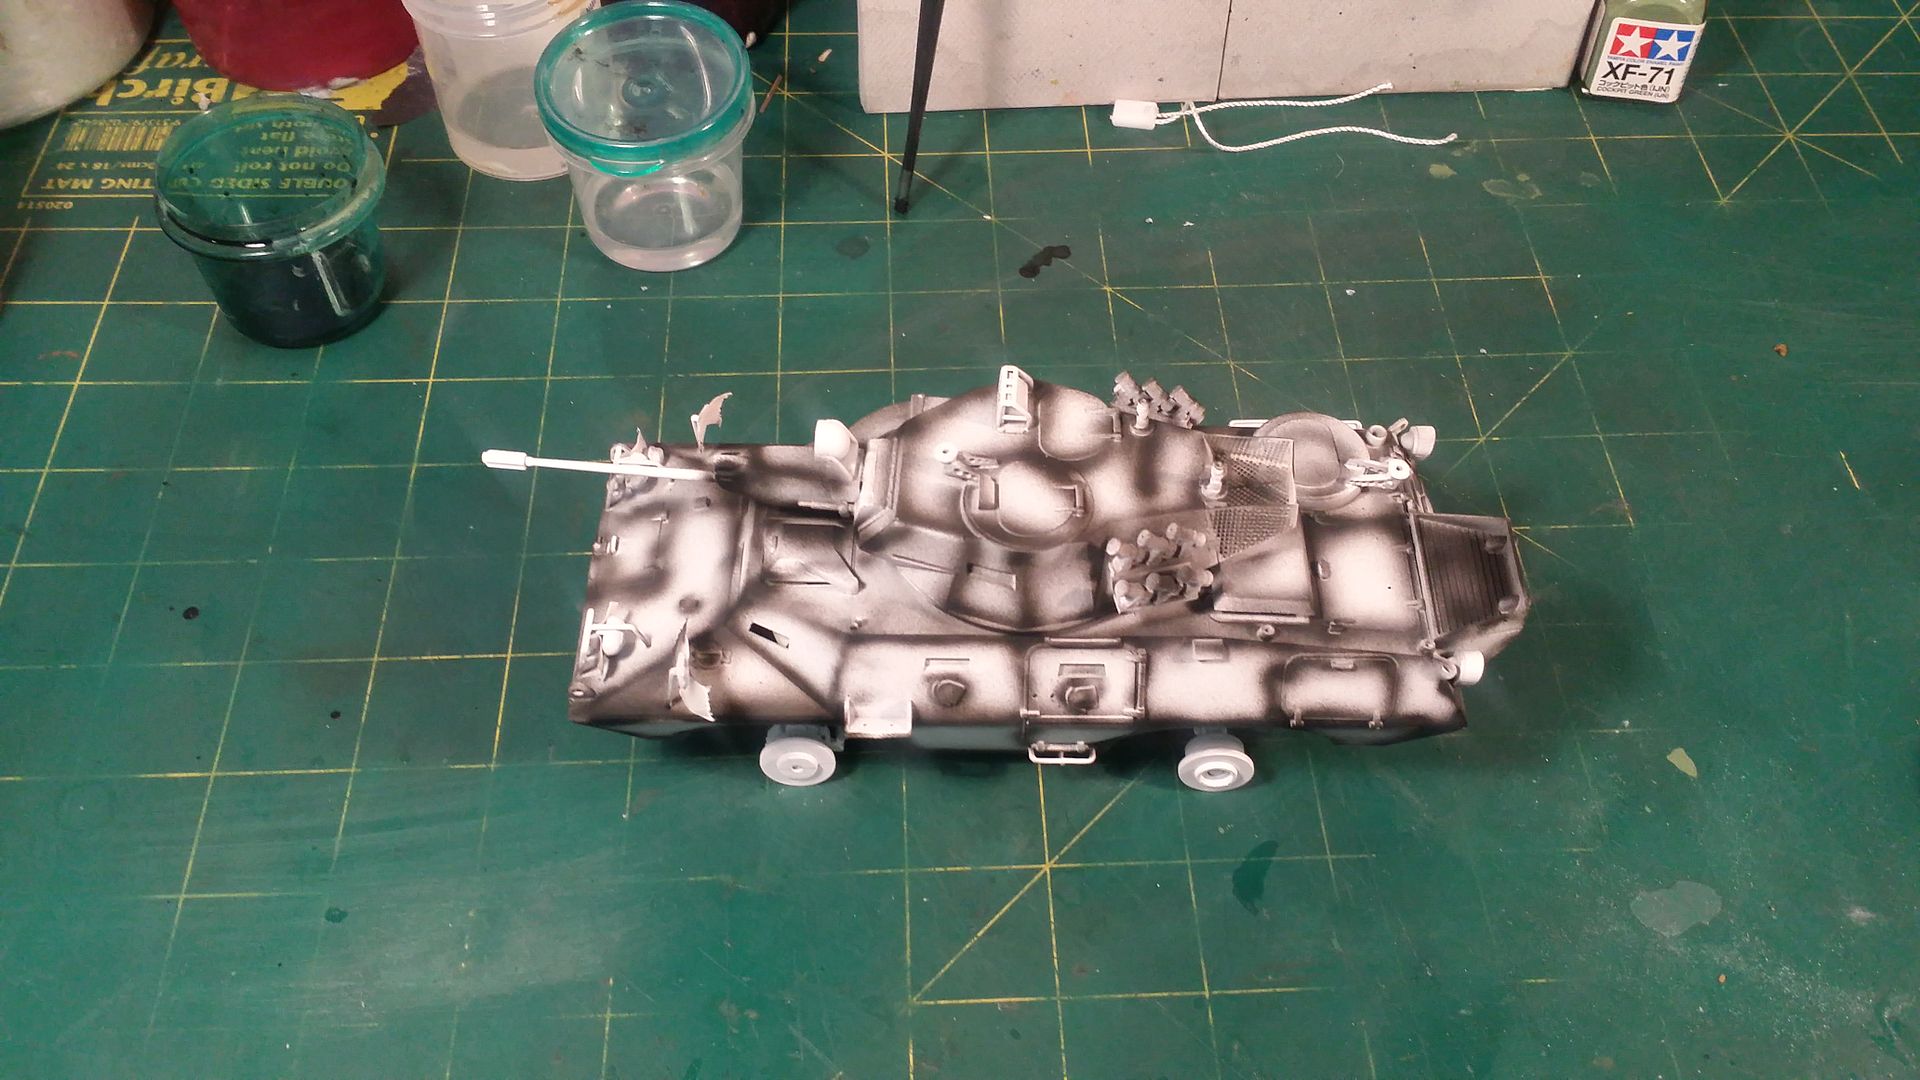
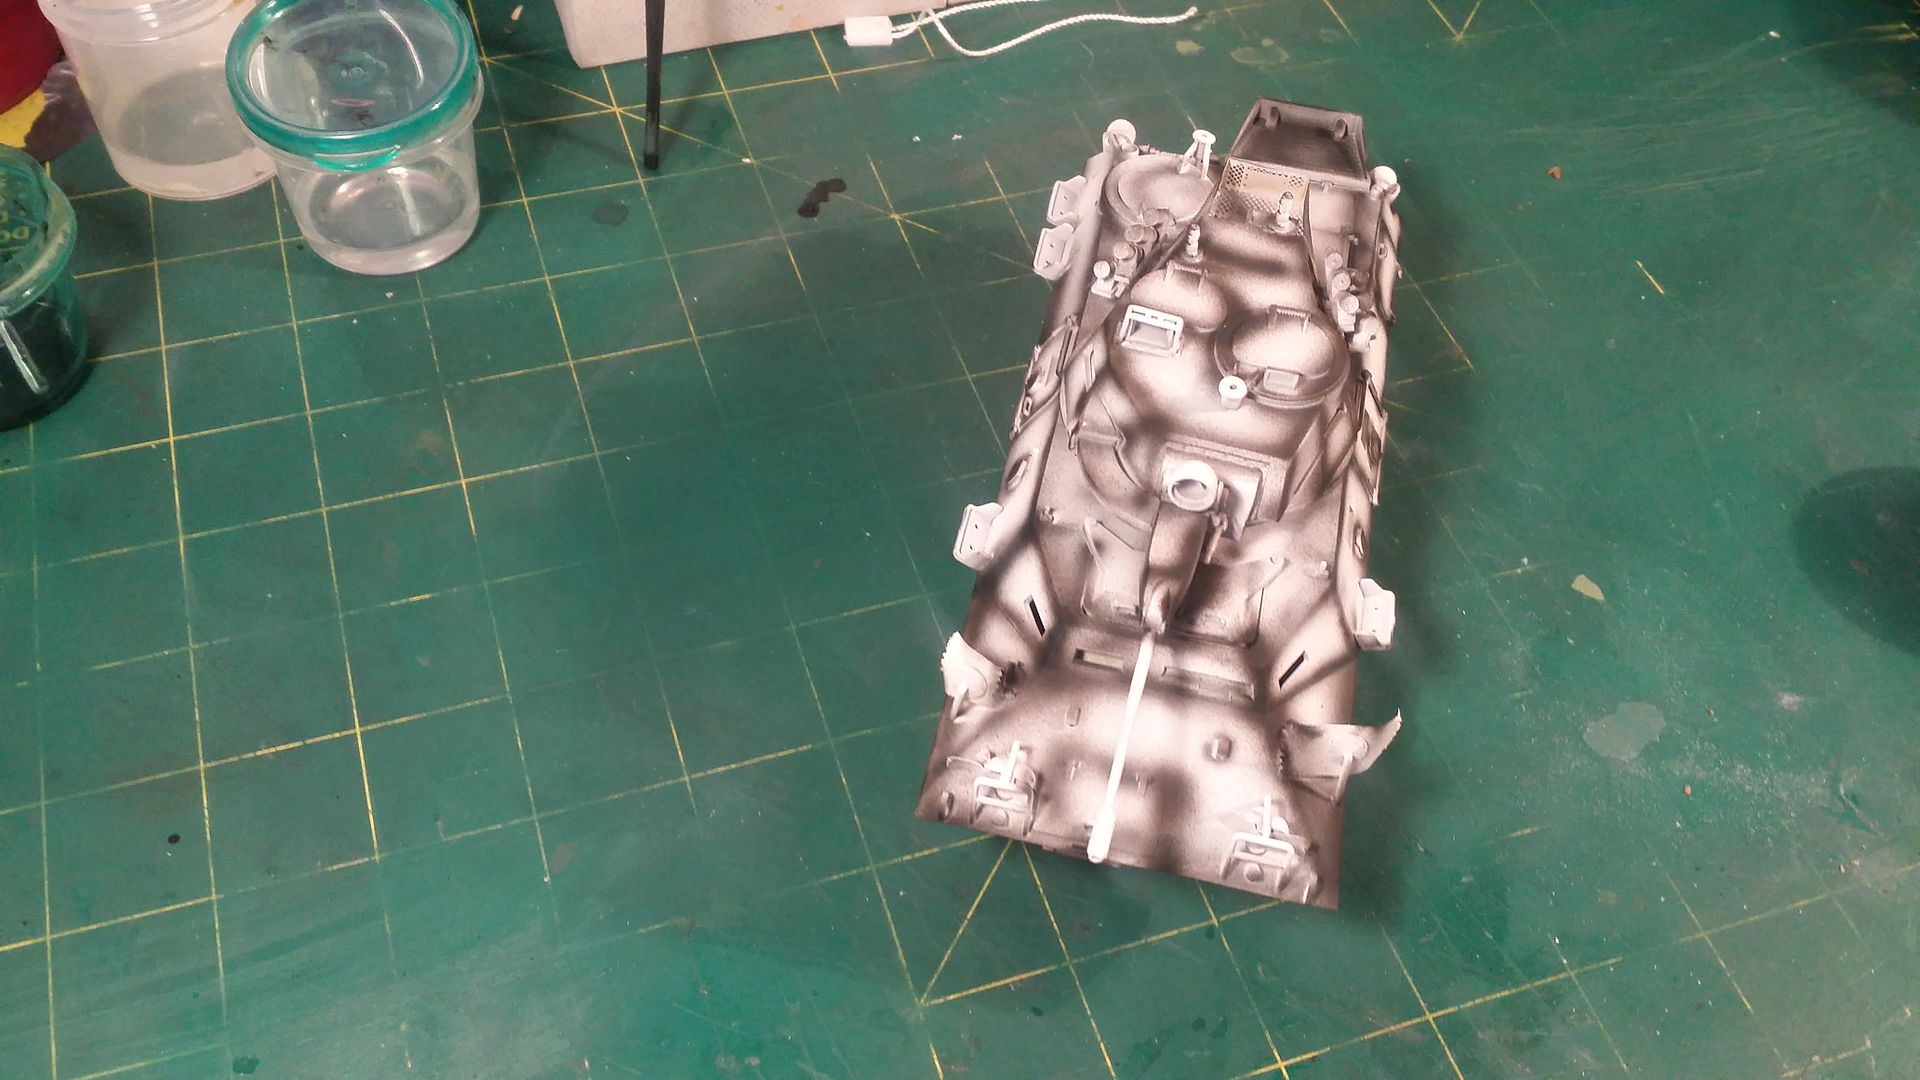
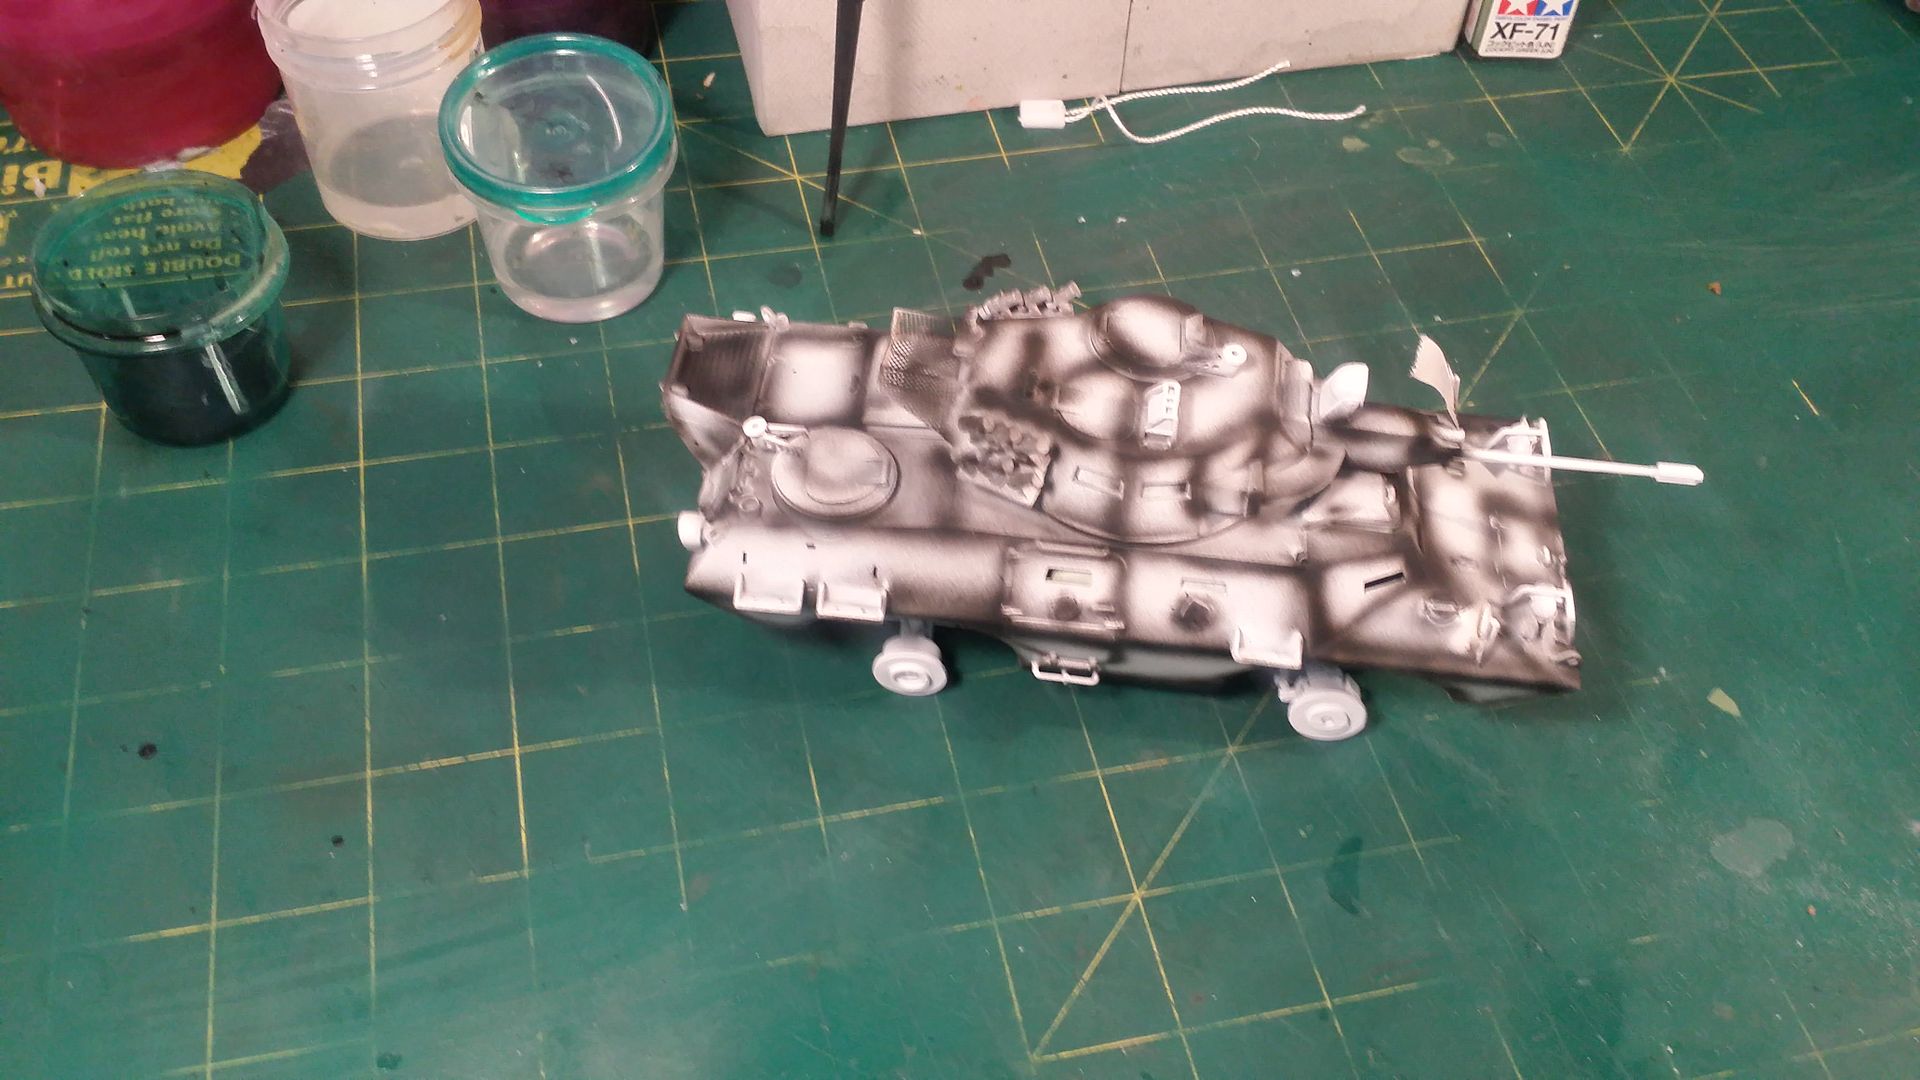
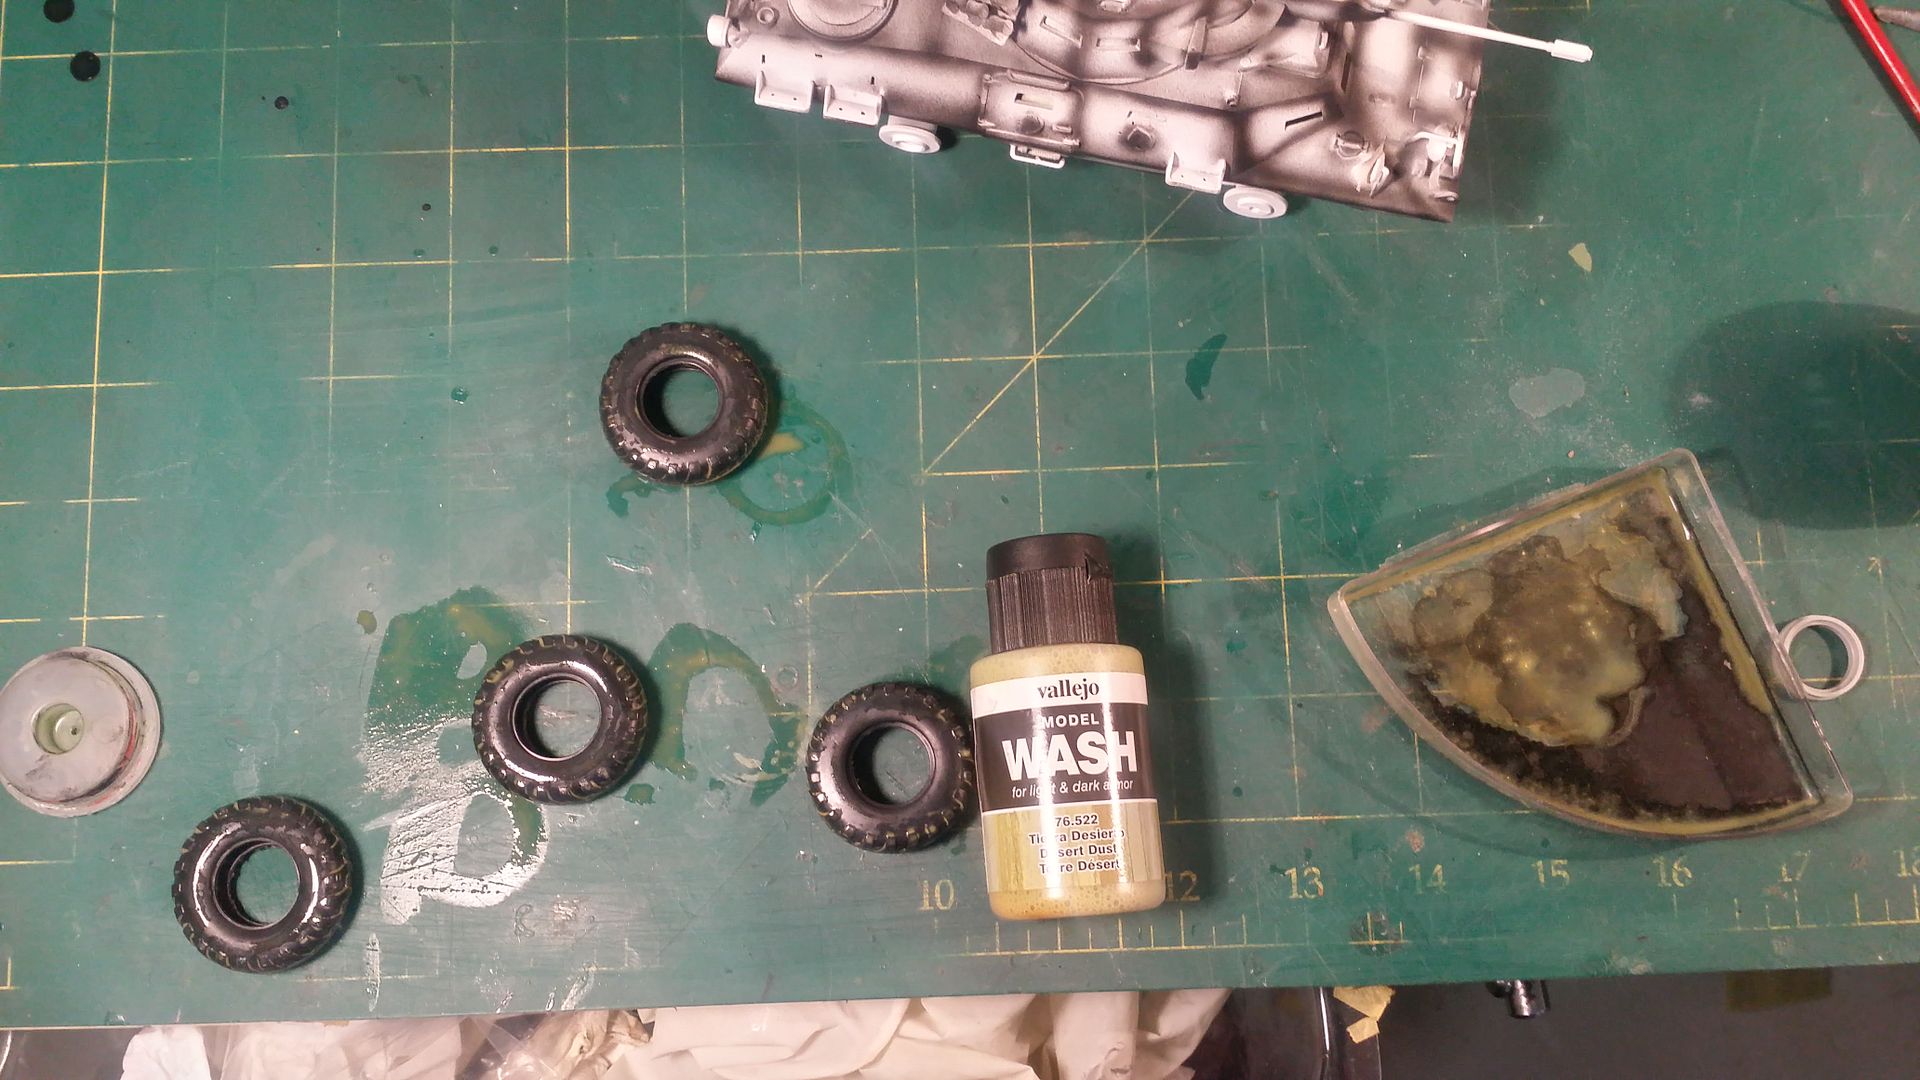
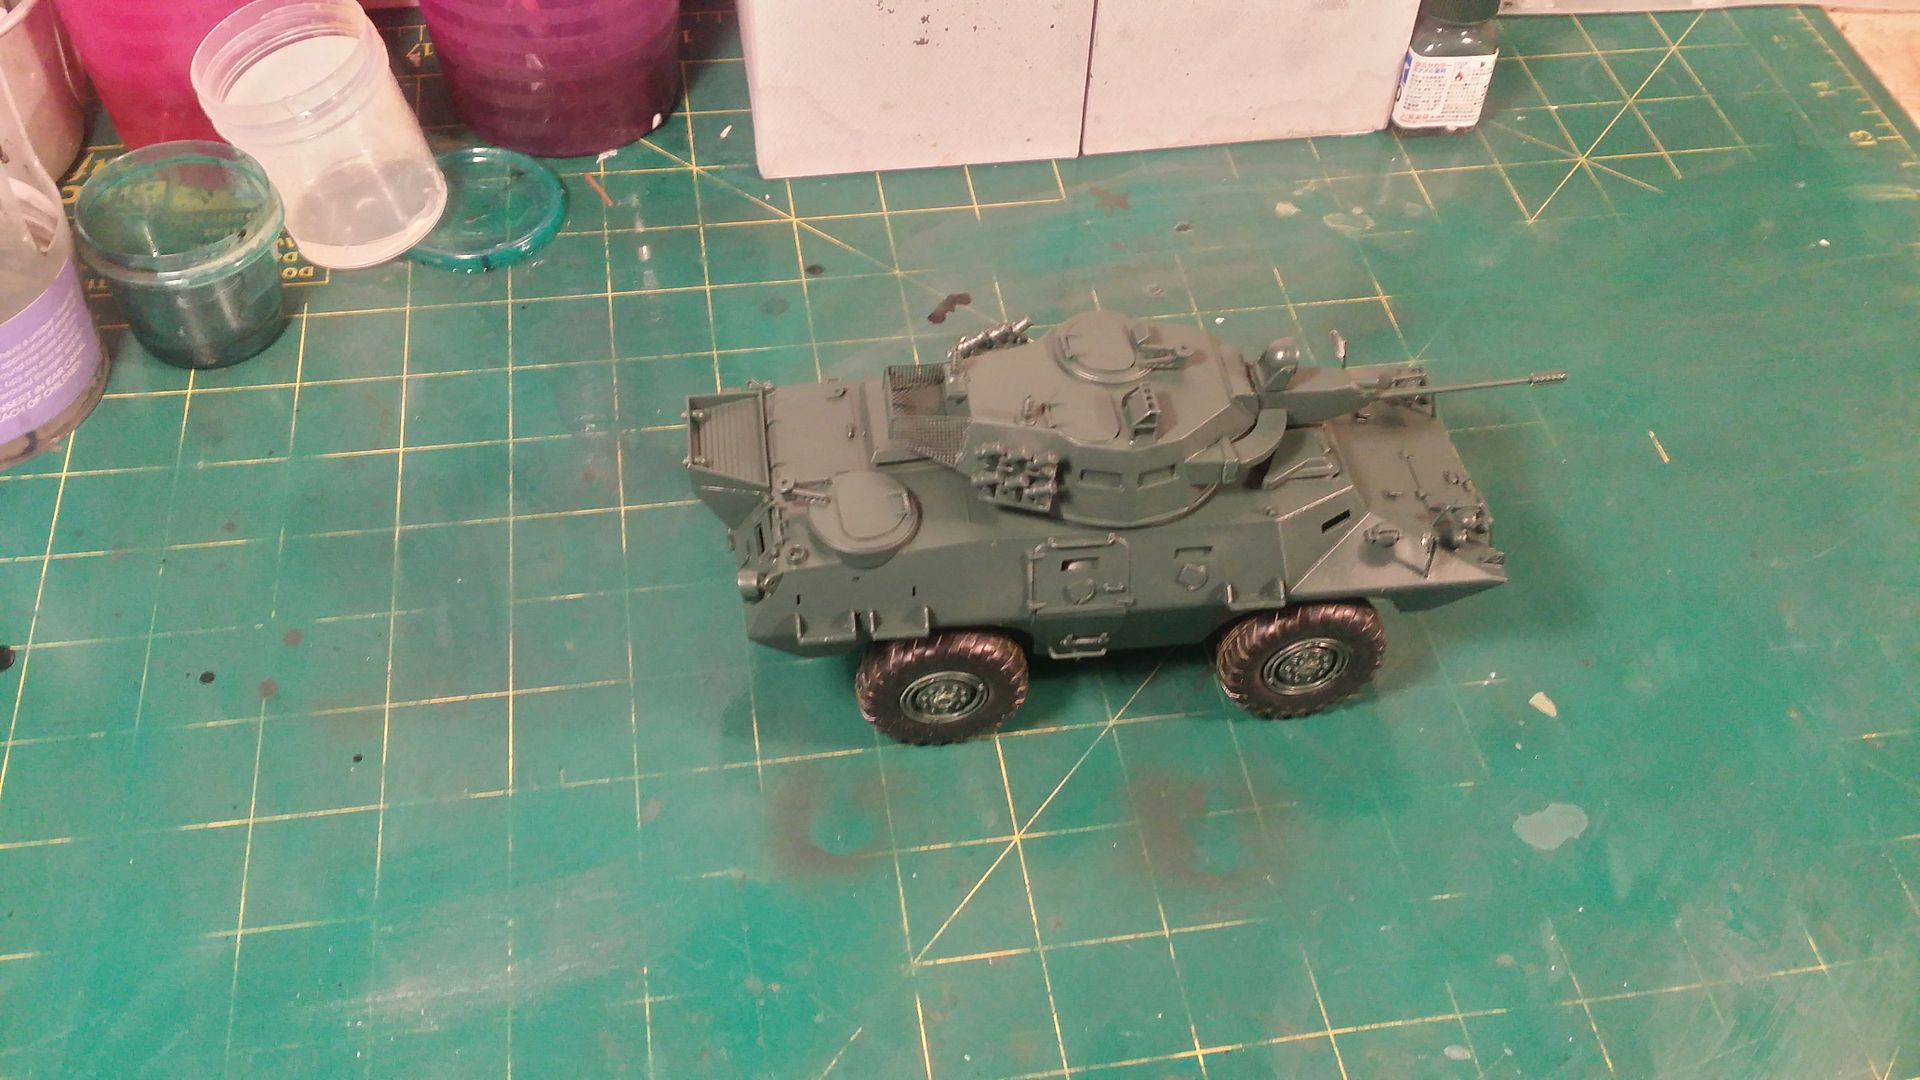
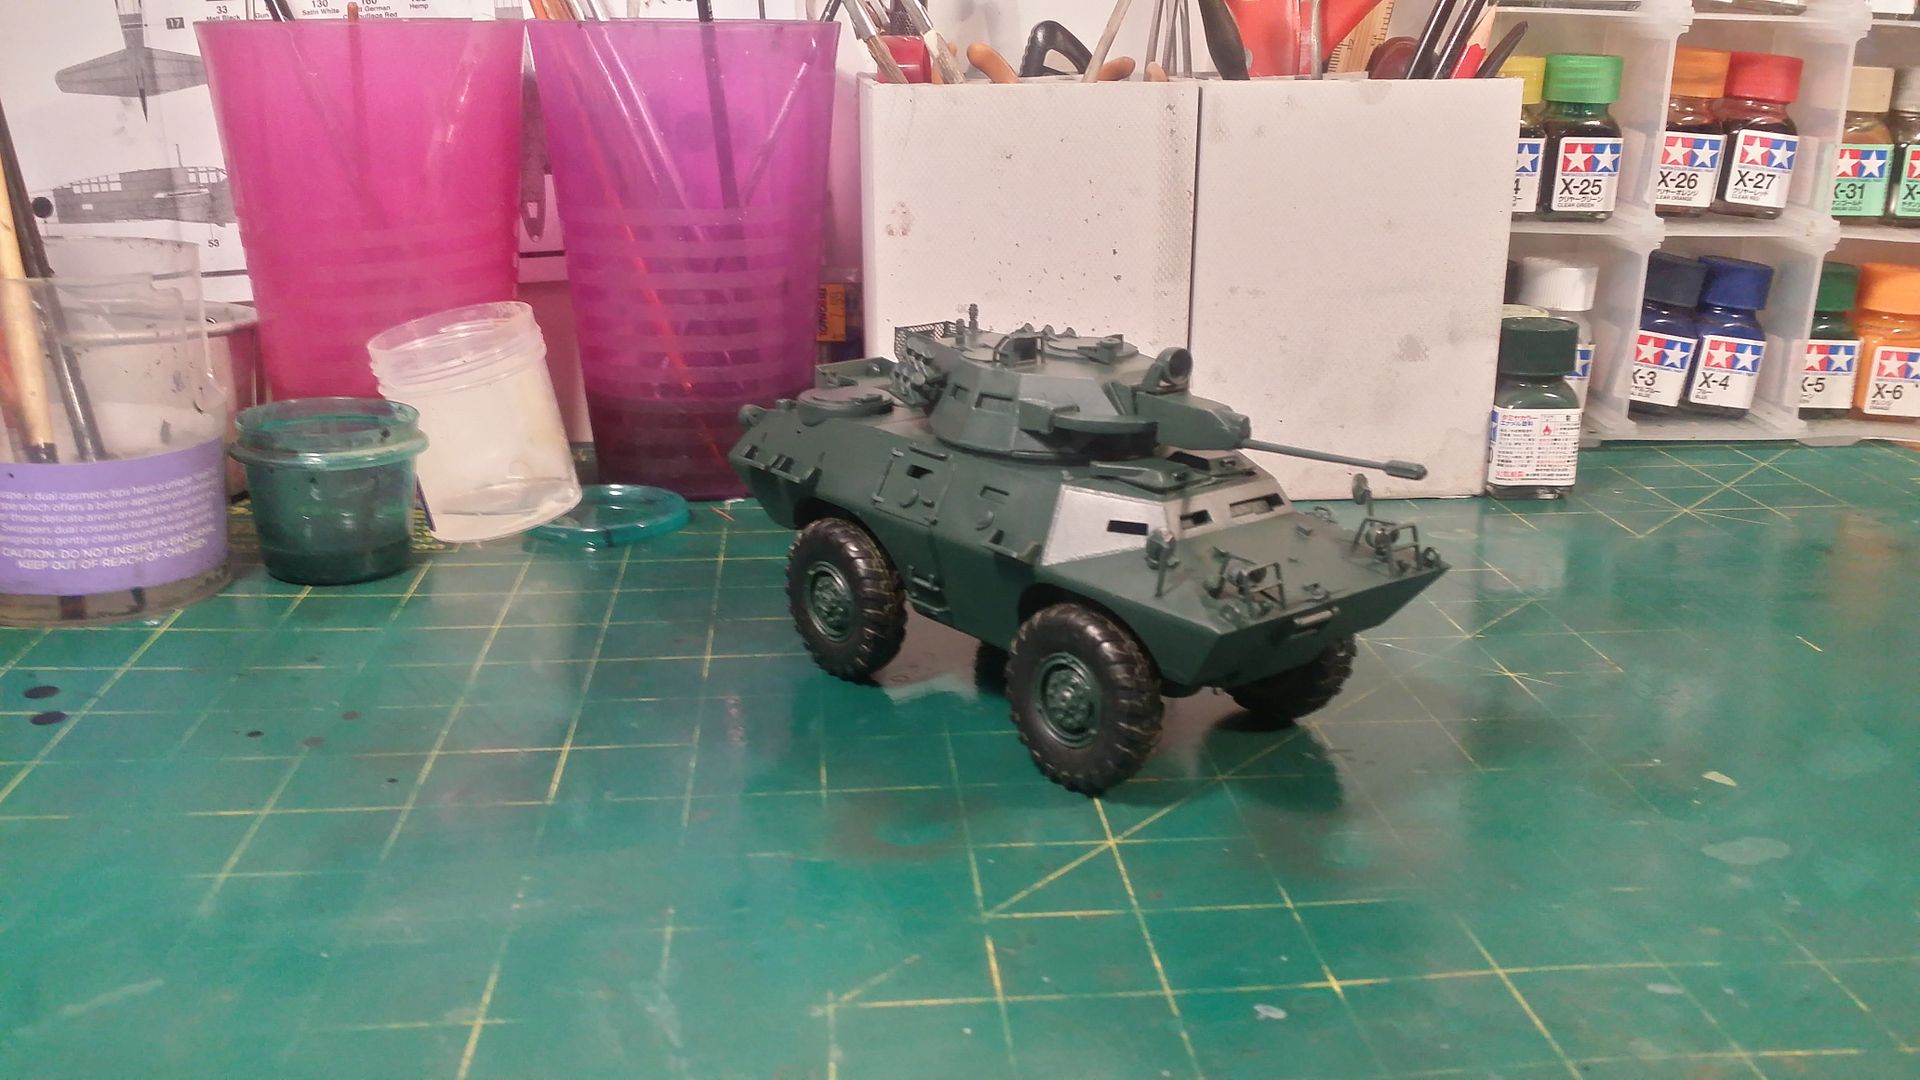
I am going to build the kit and will add some scratch building where needed. I might add stowage at the end of it, depends on how it looks. It will be painted based on the scheme shown on the box art. Weathering will be kept to a minimum, it will be done but I prefer the clean look, as if it is on standby at a military base. The biggest decision I will have to make is weather to keep the hatches open or closed.
Kit Details
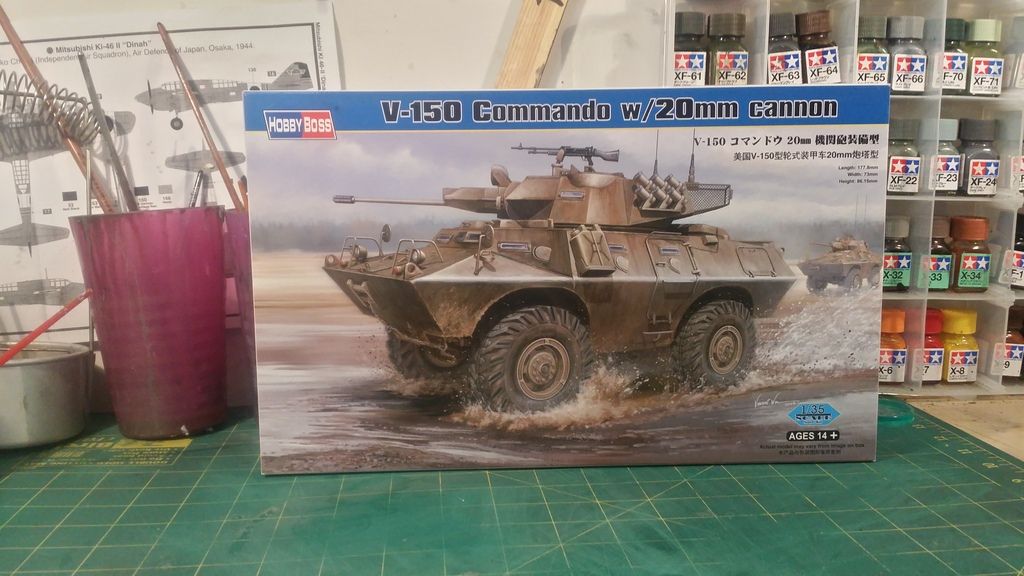
Kit Box Art
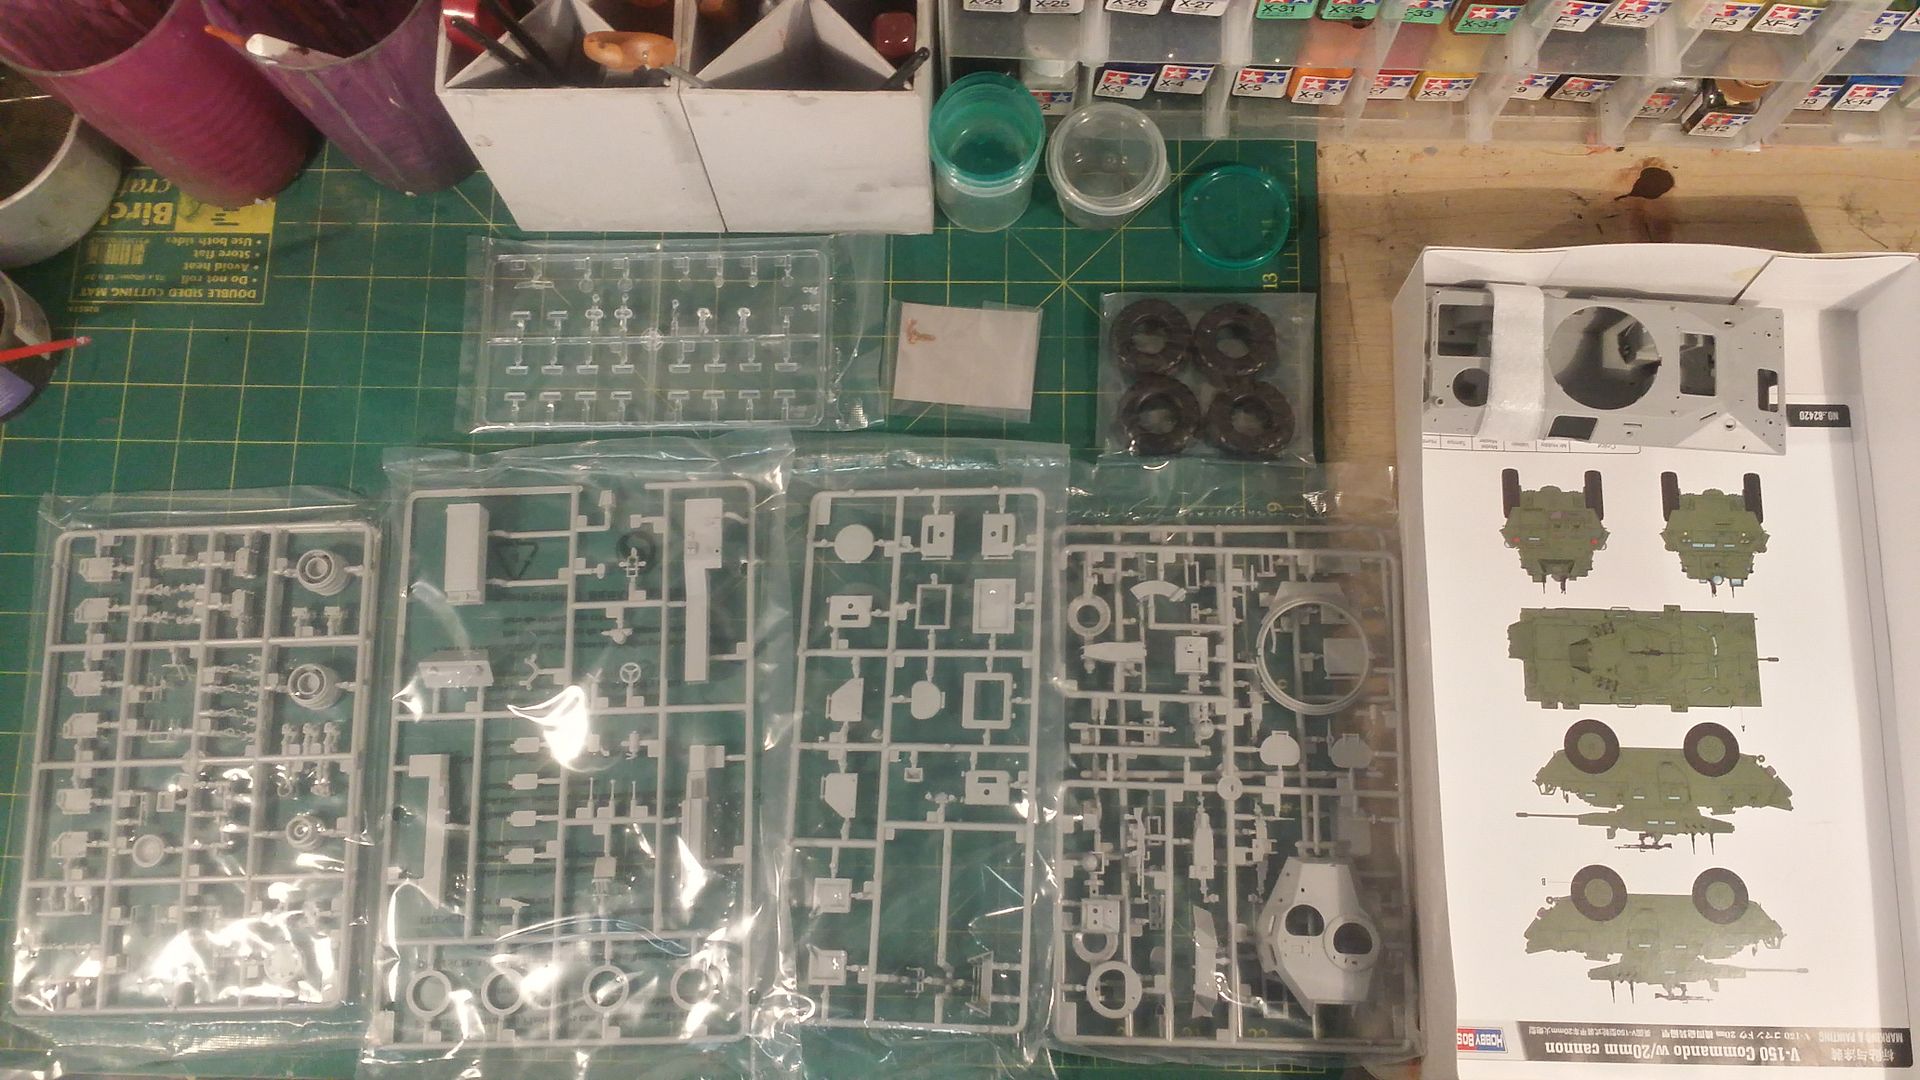
Kit Contents
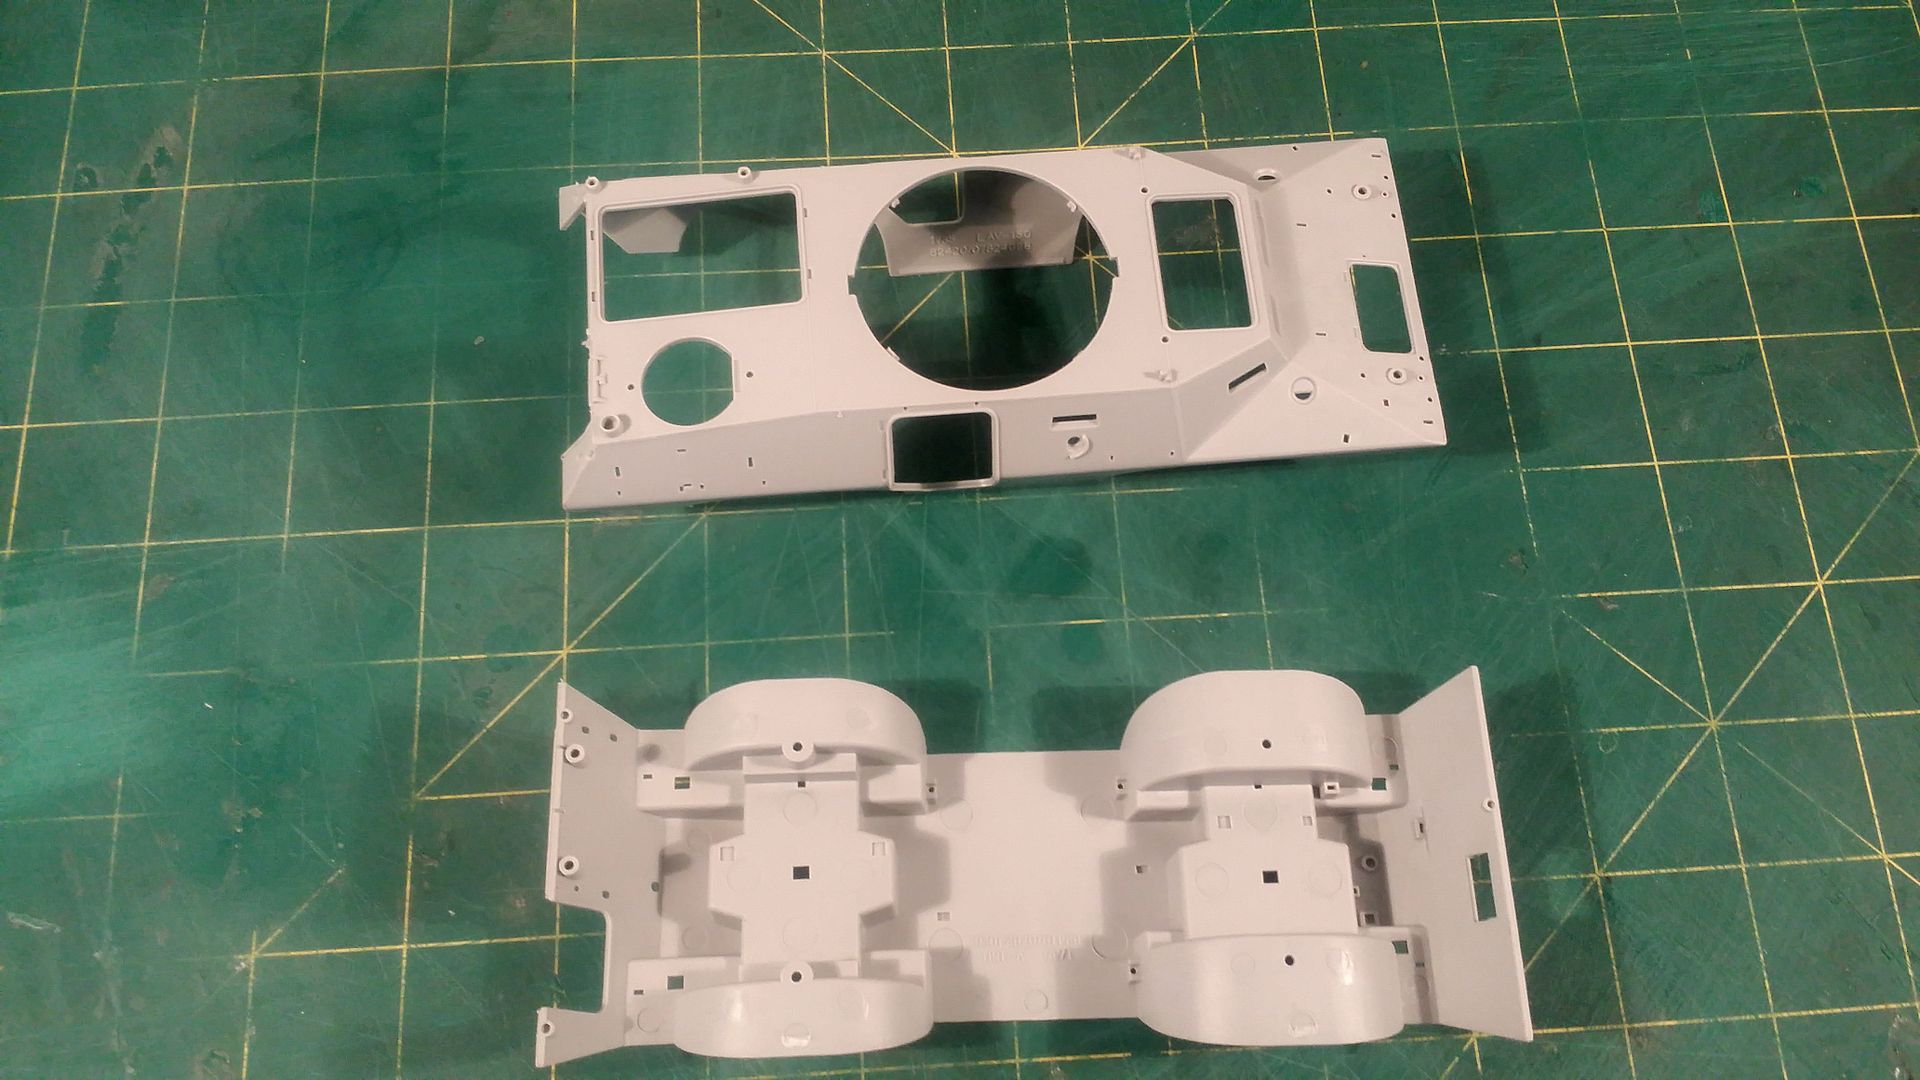
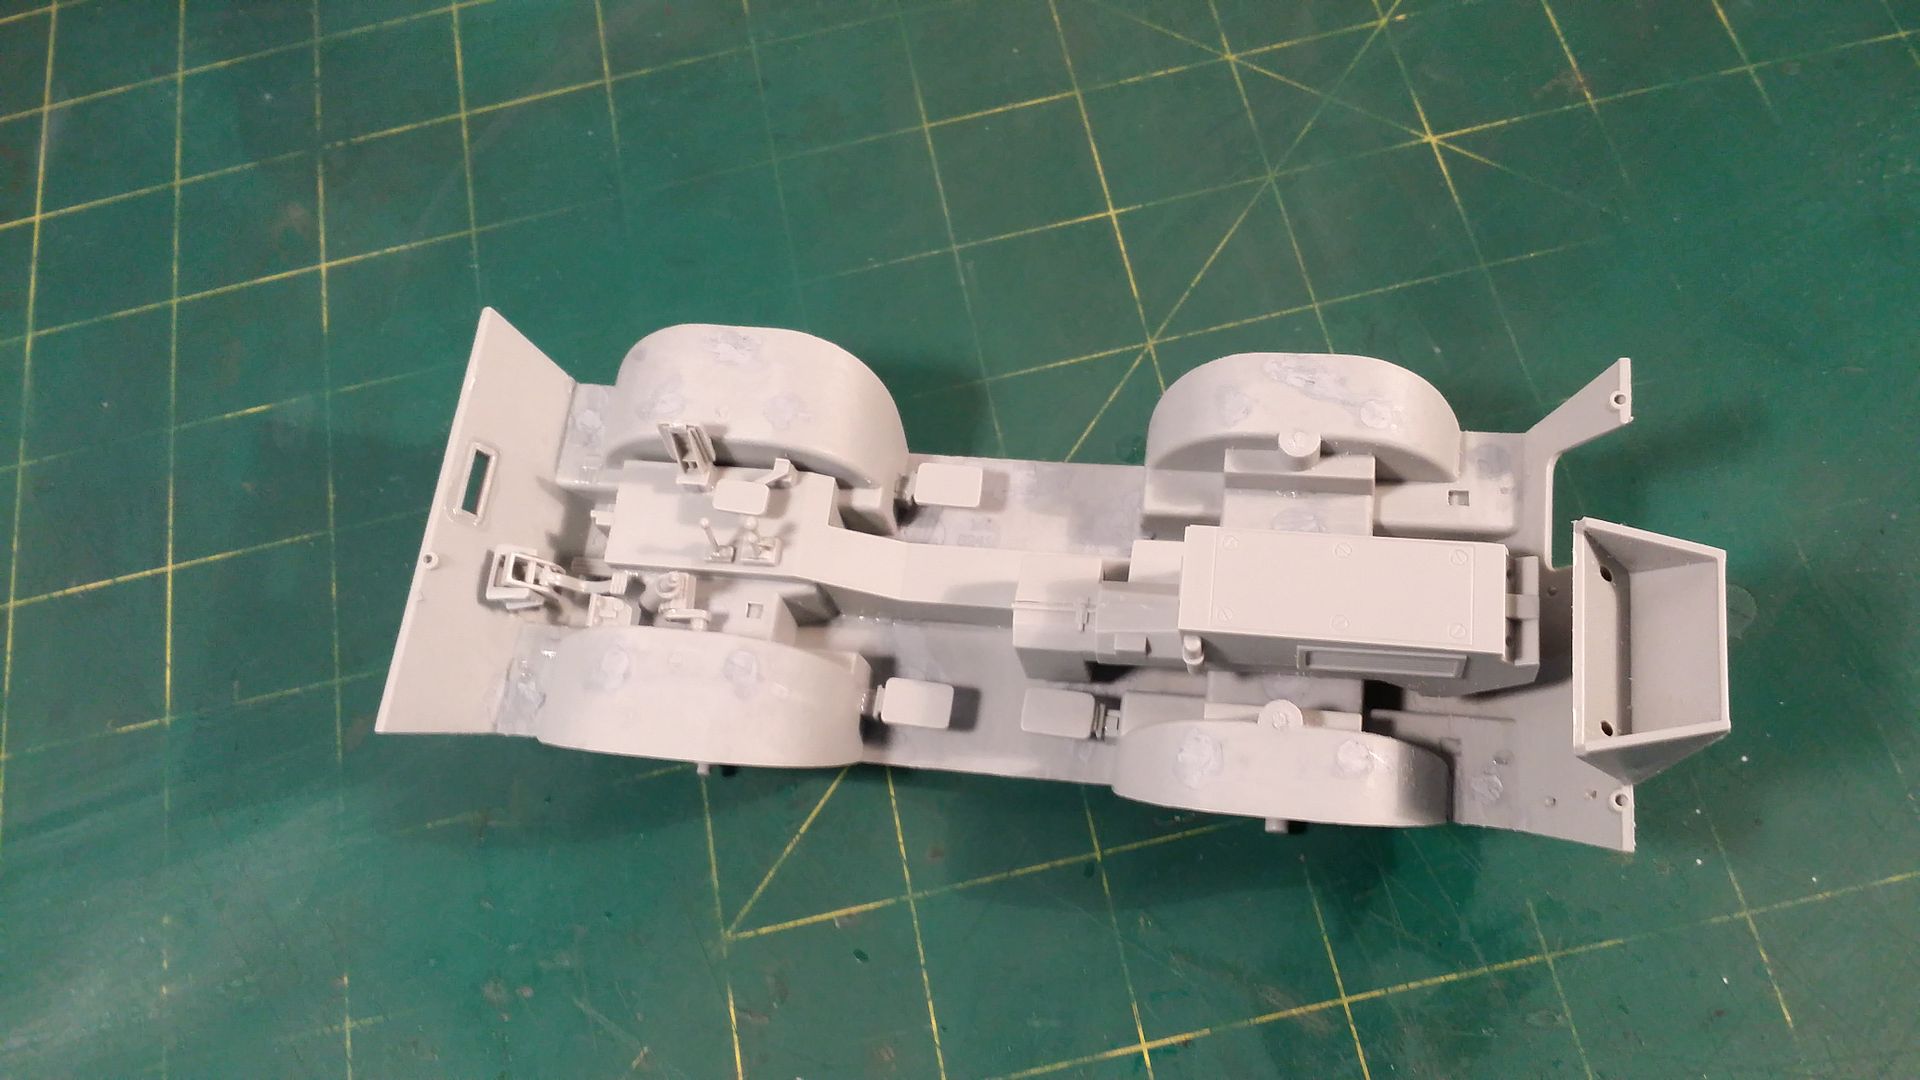
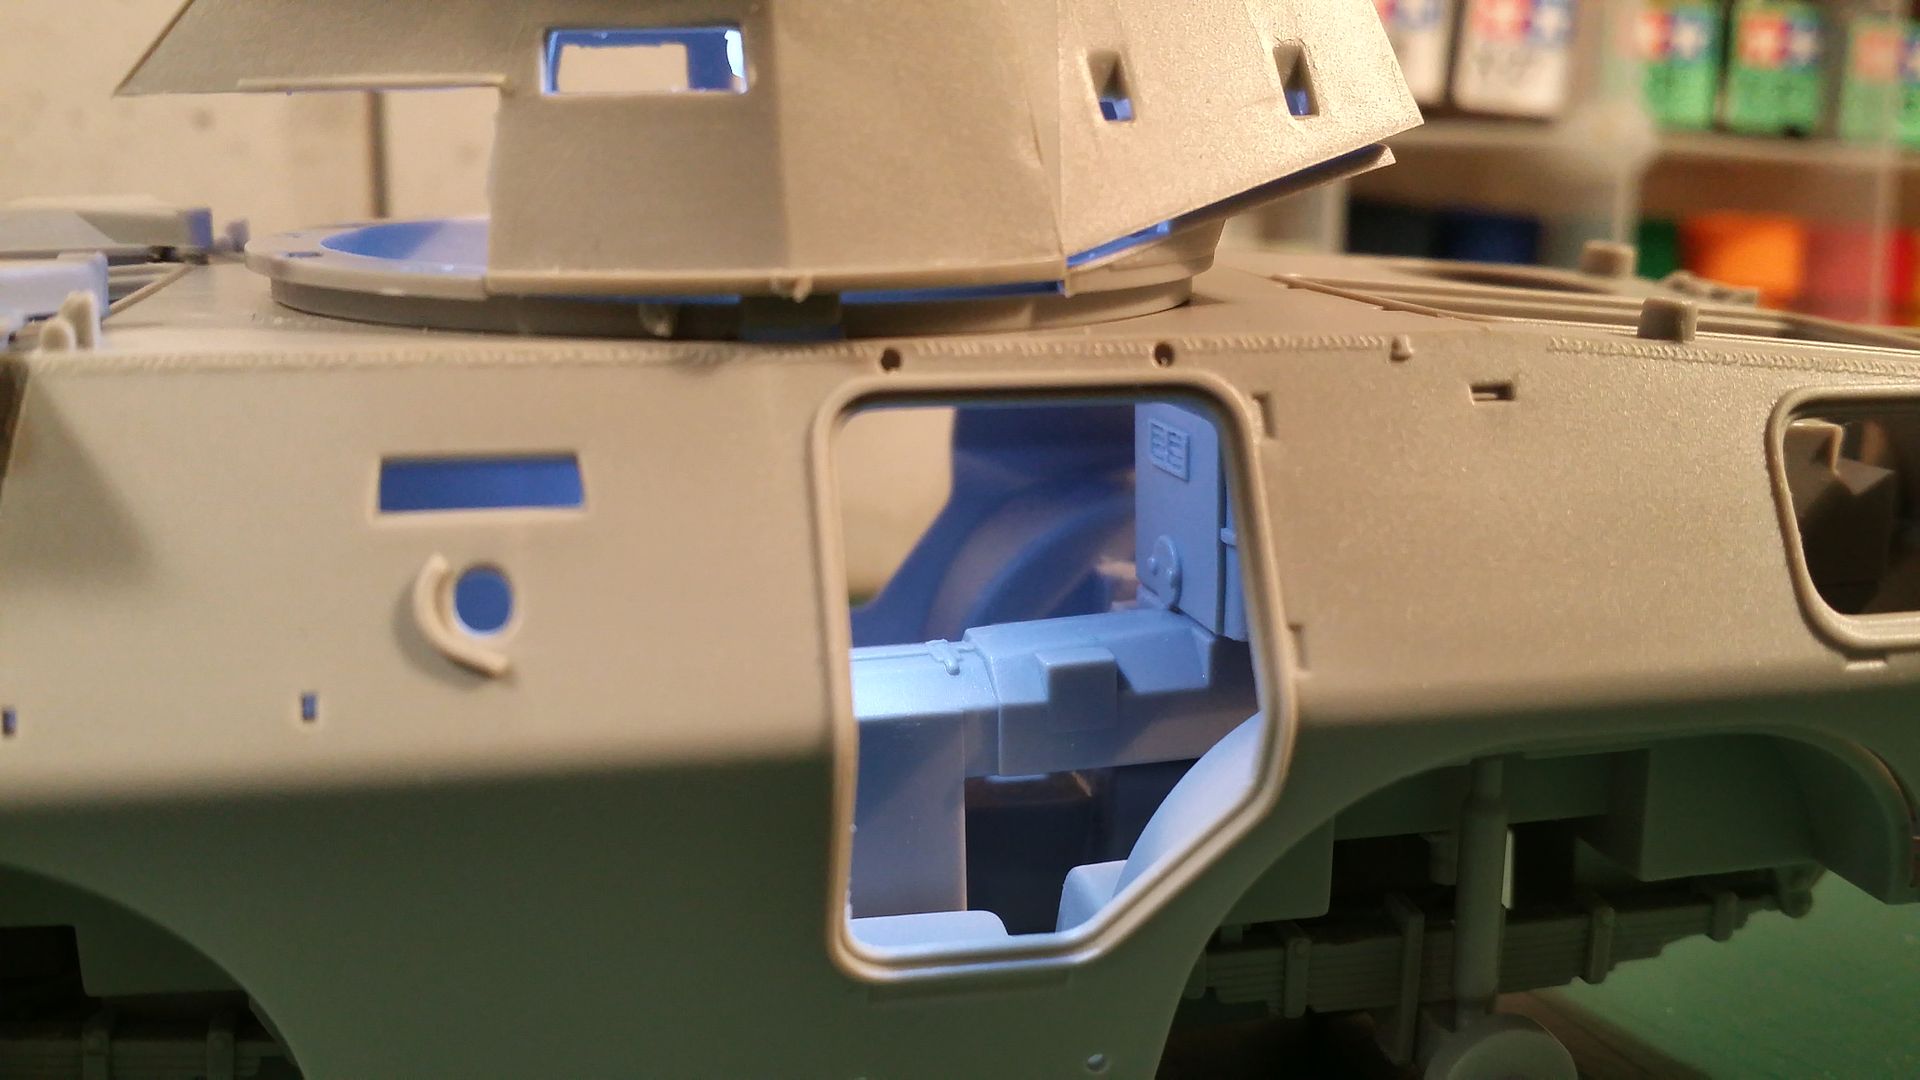
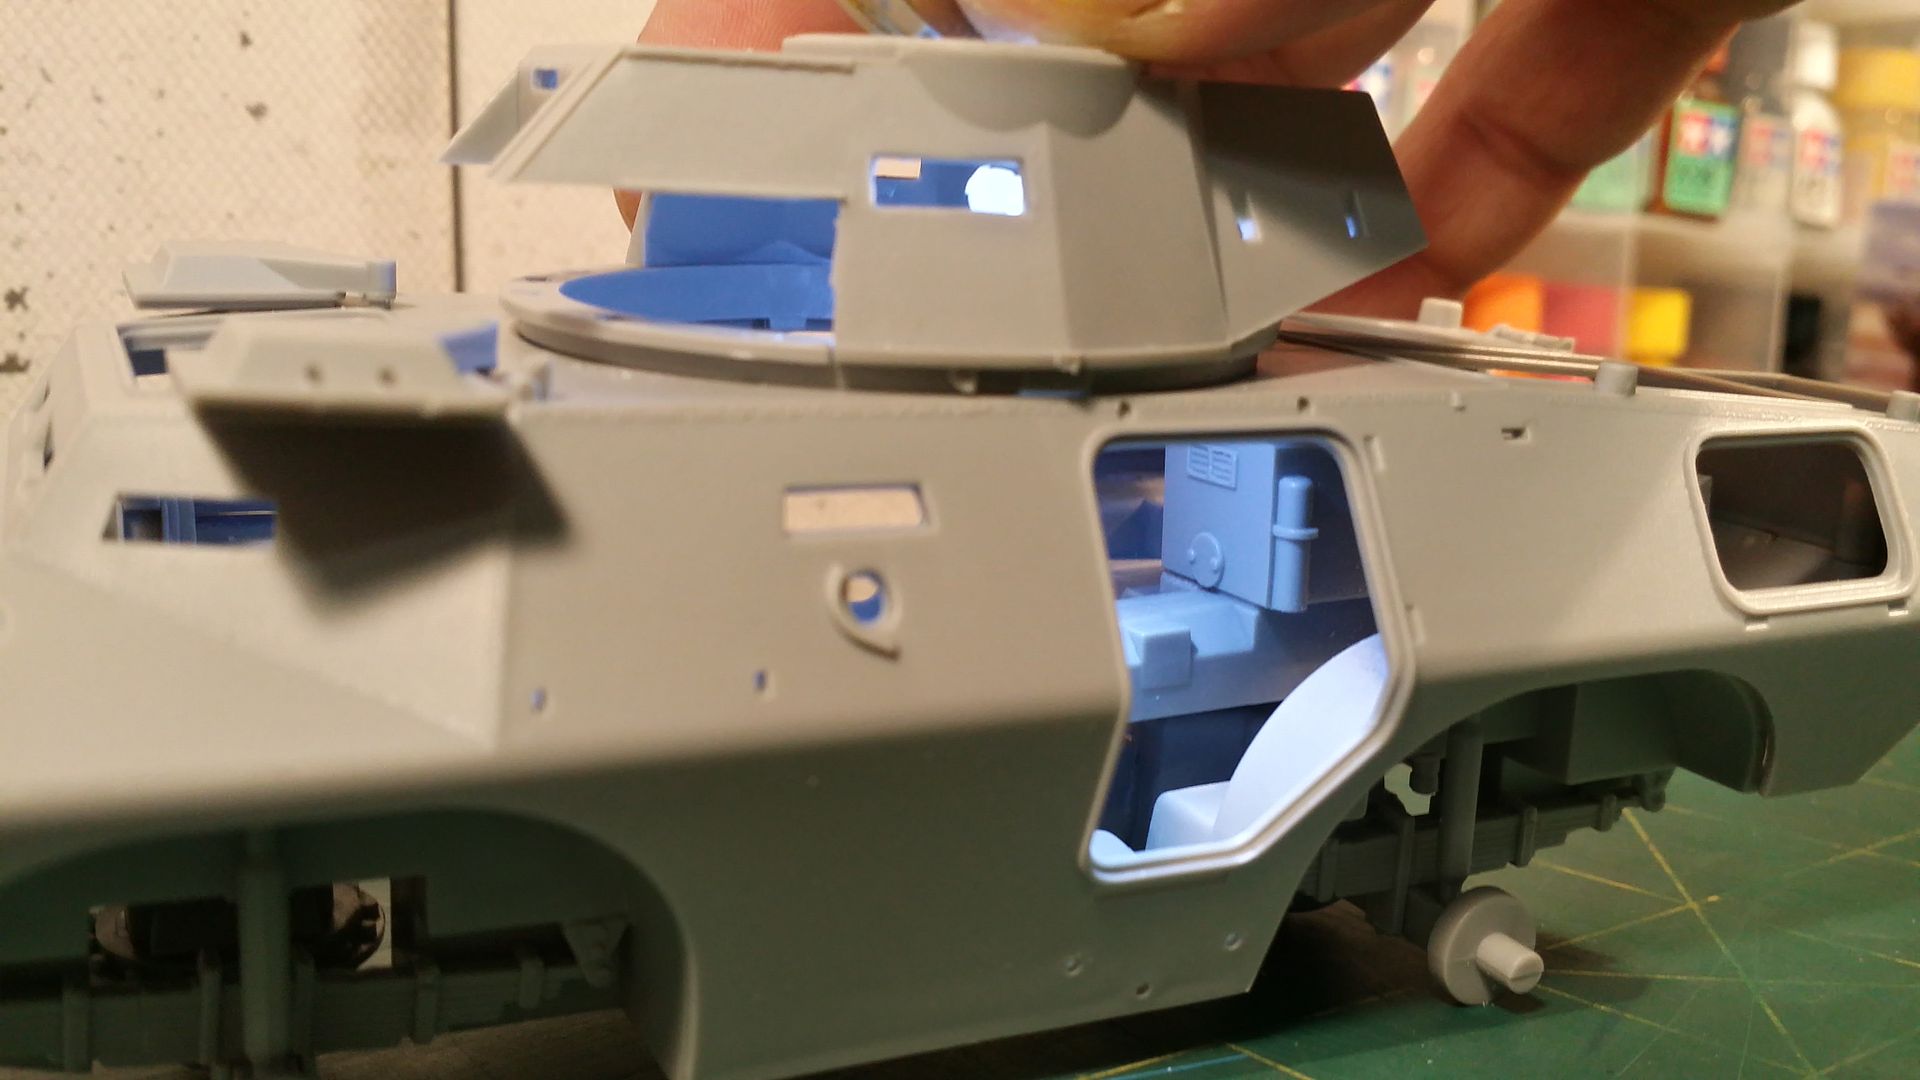
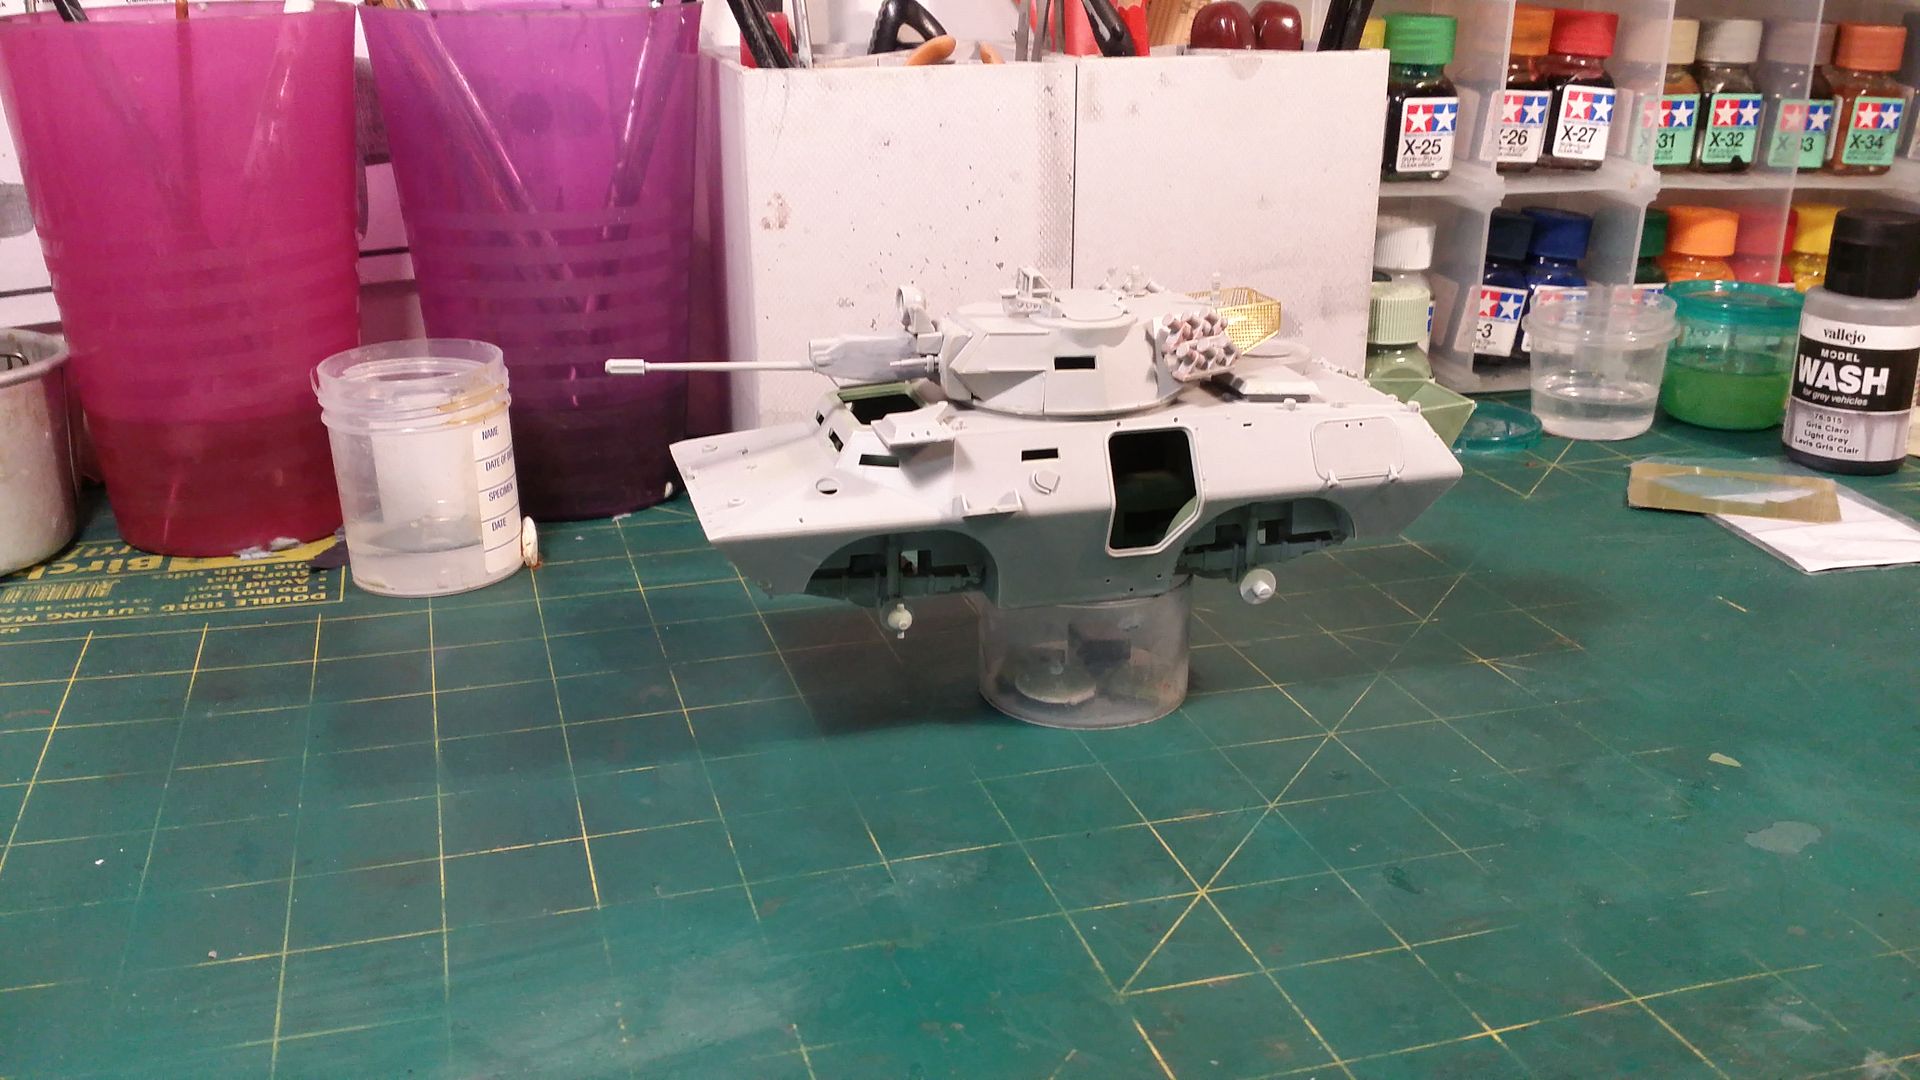
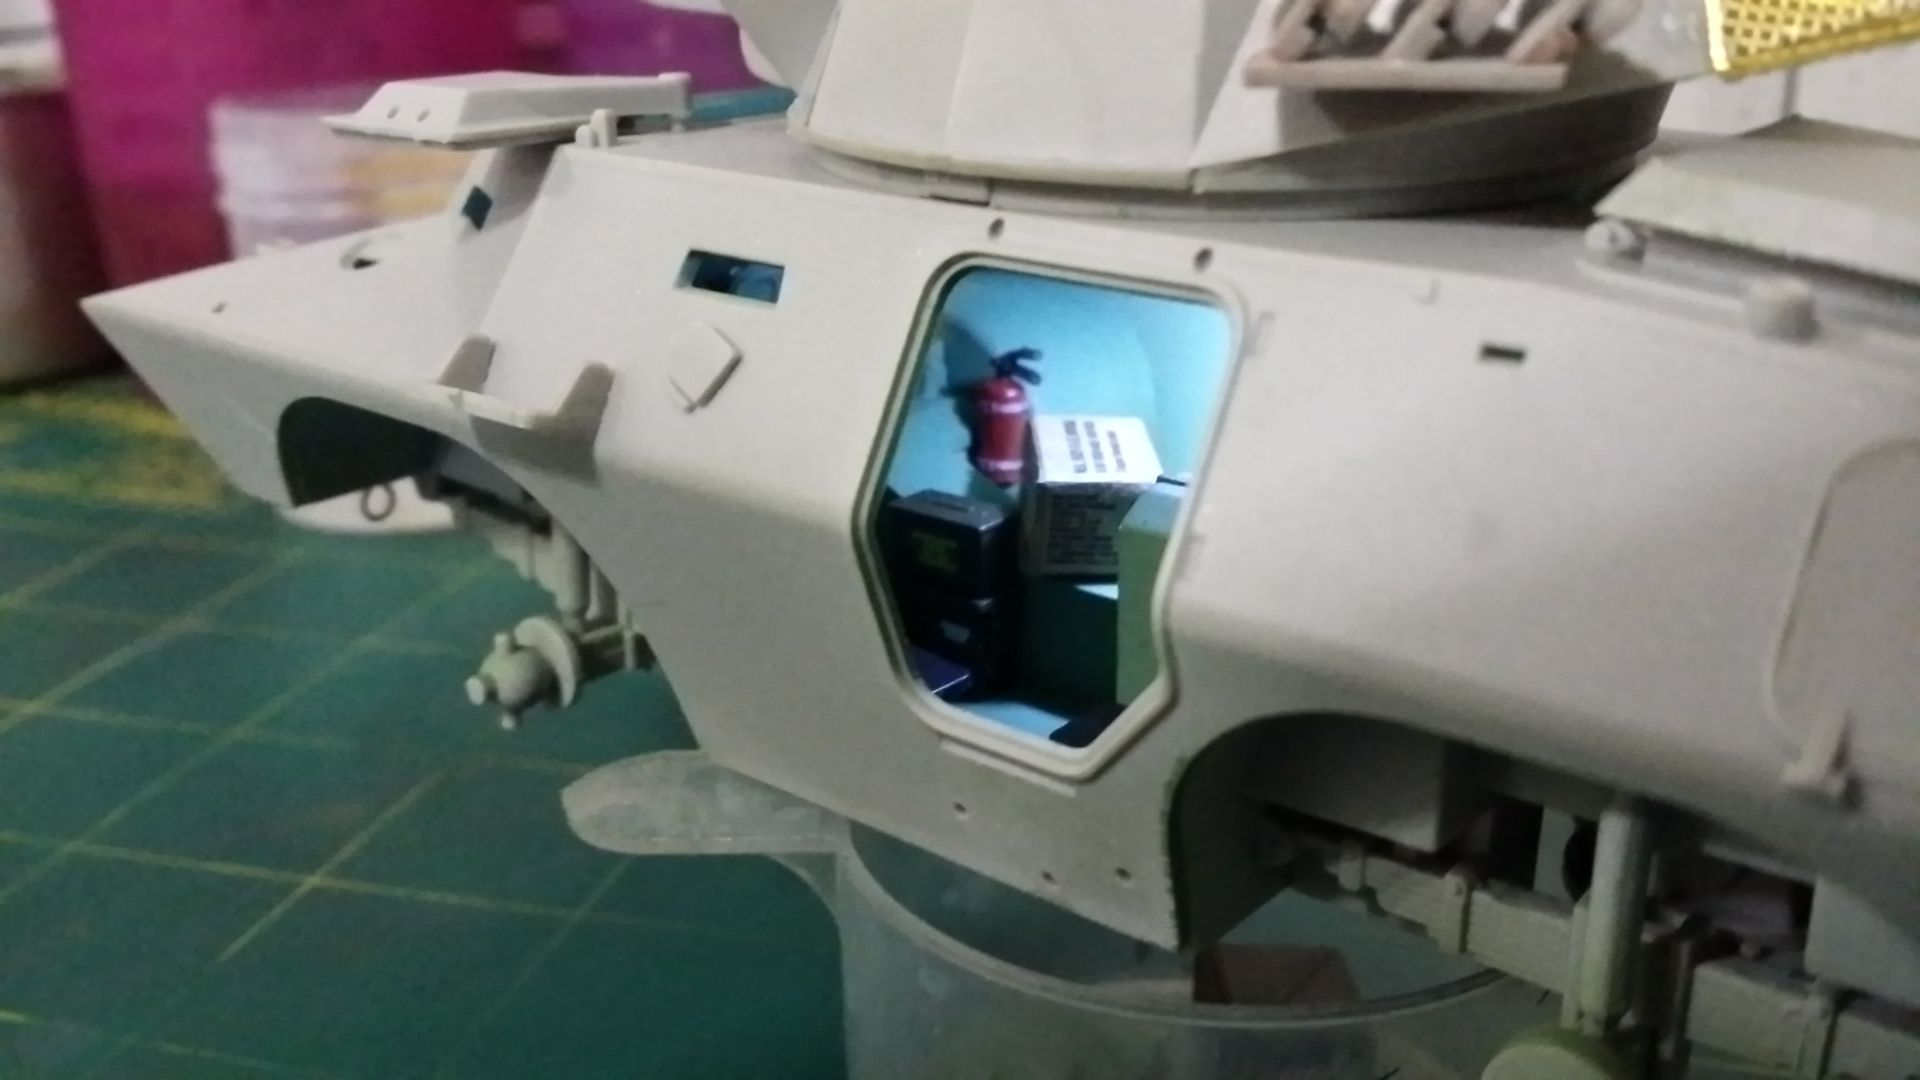
Upper and Lower Hull
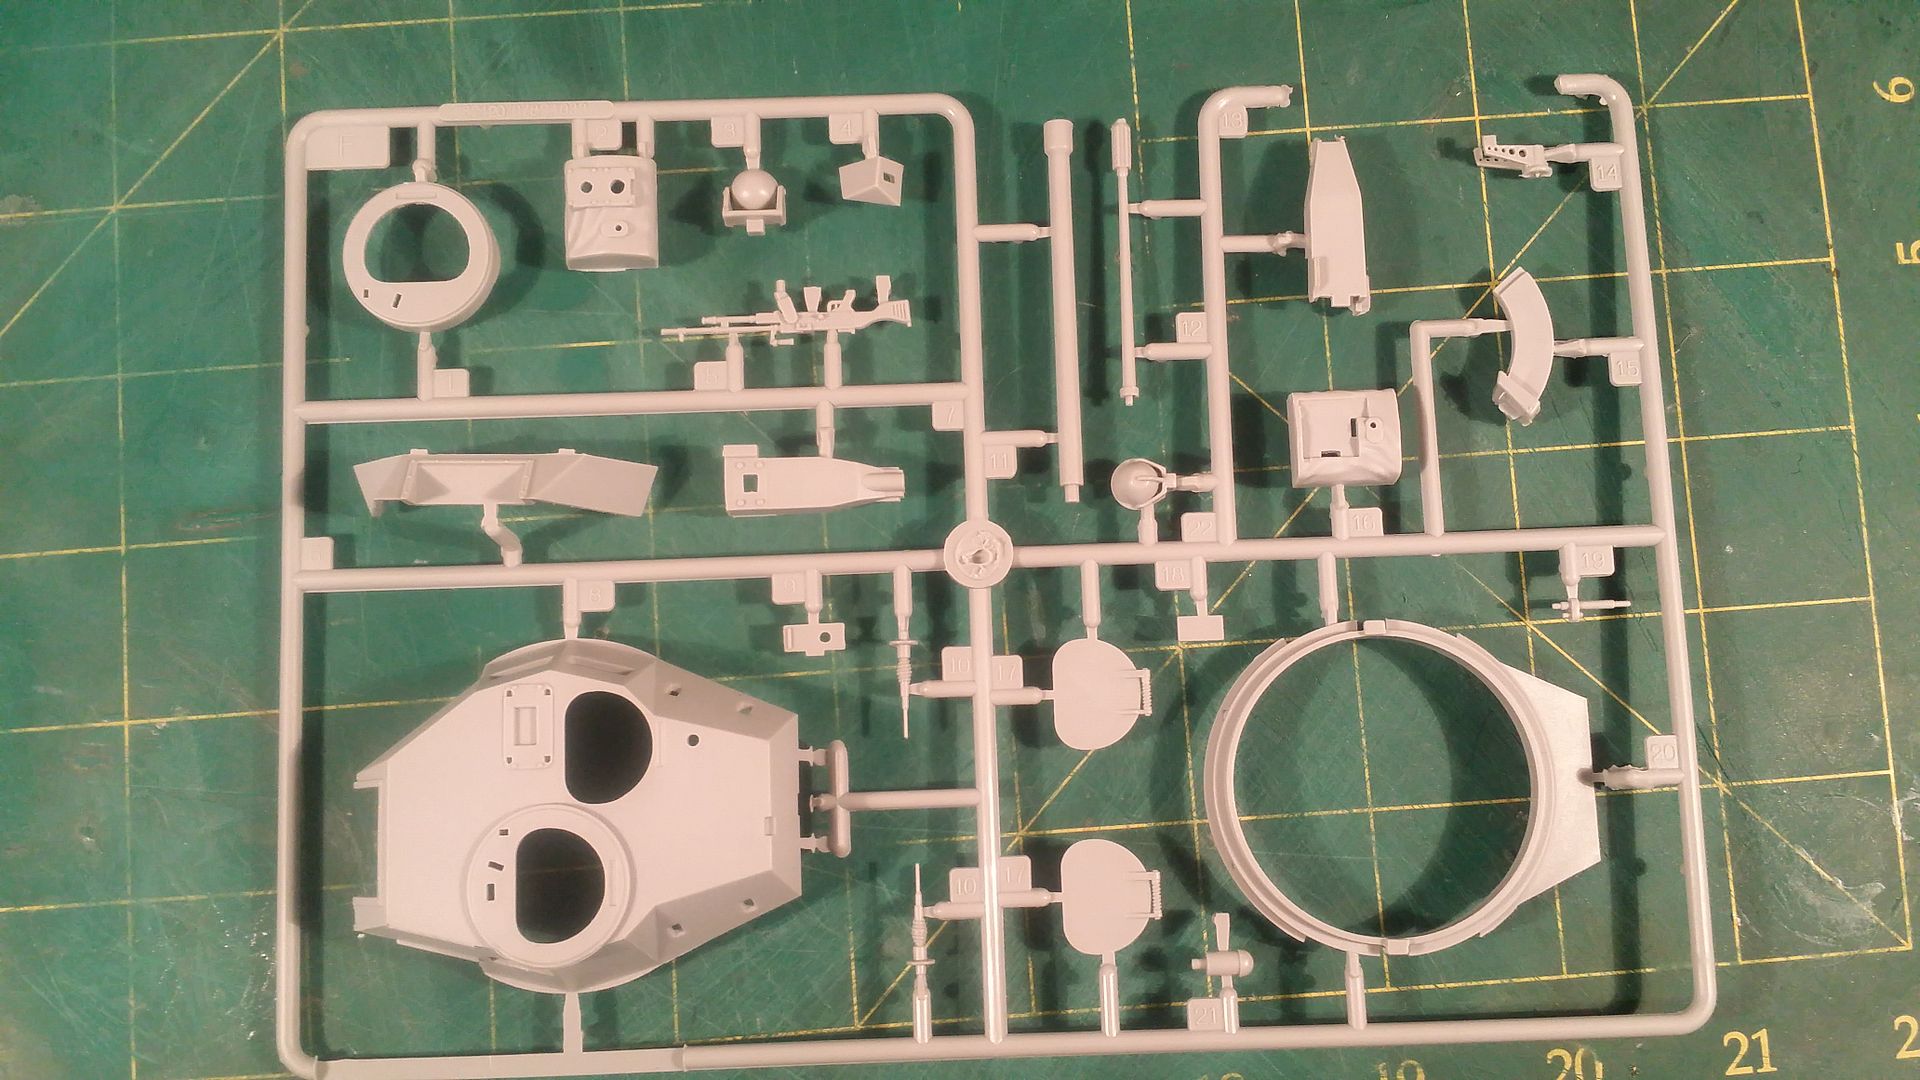
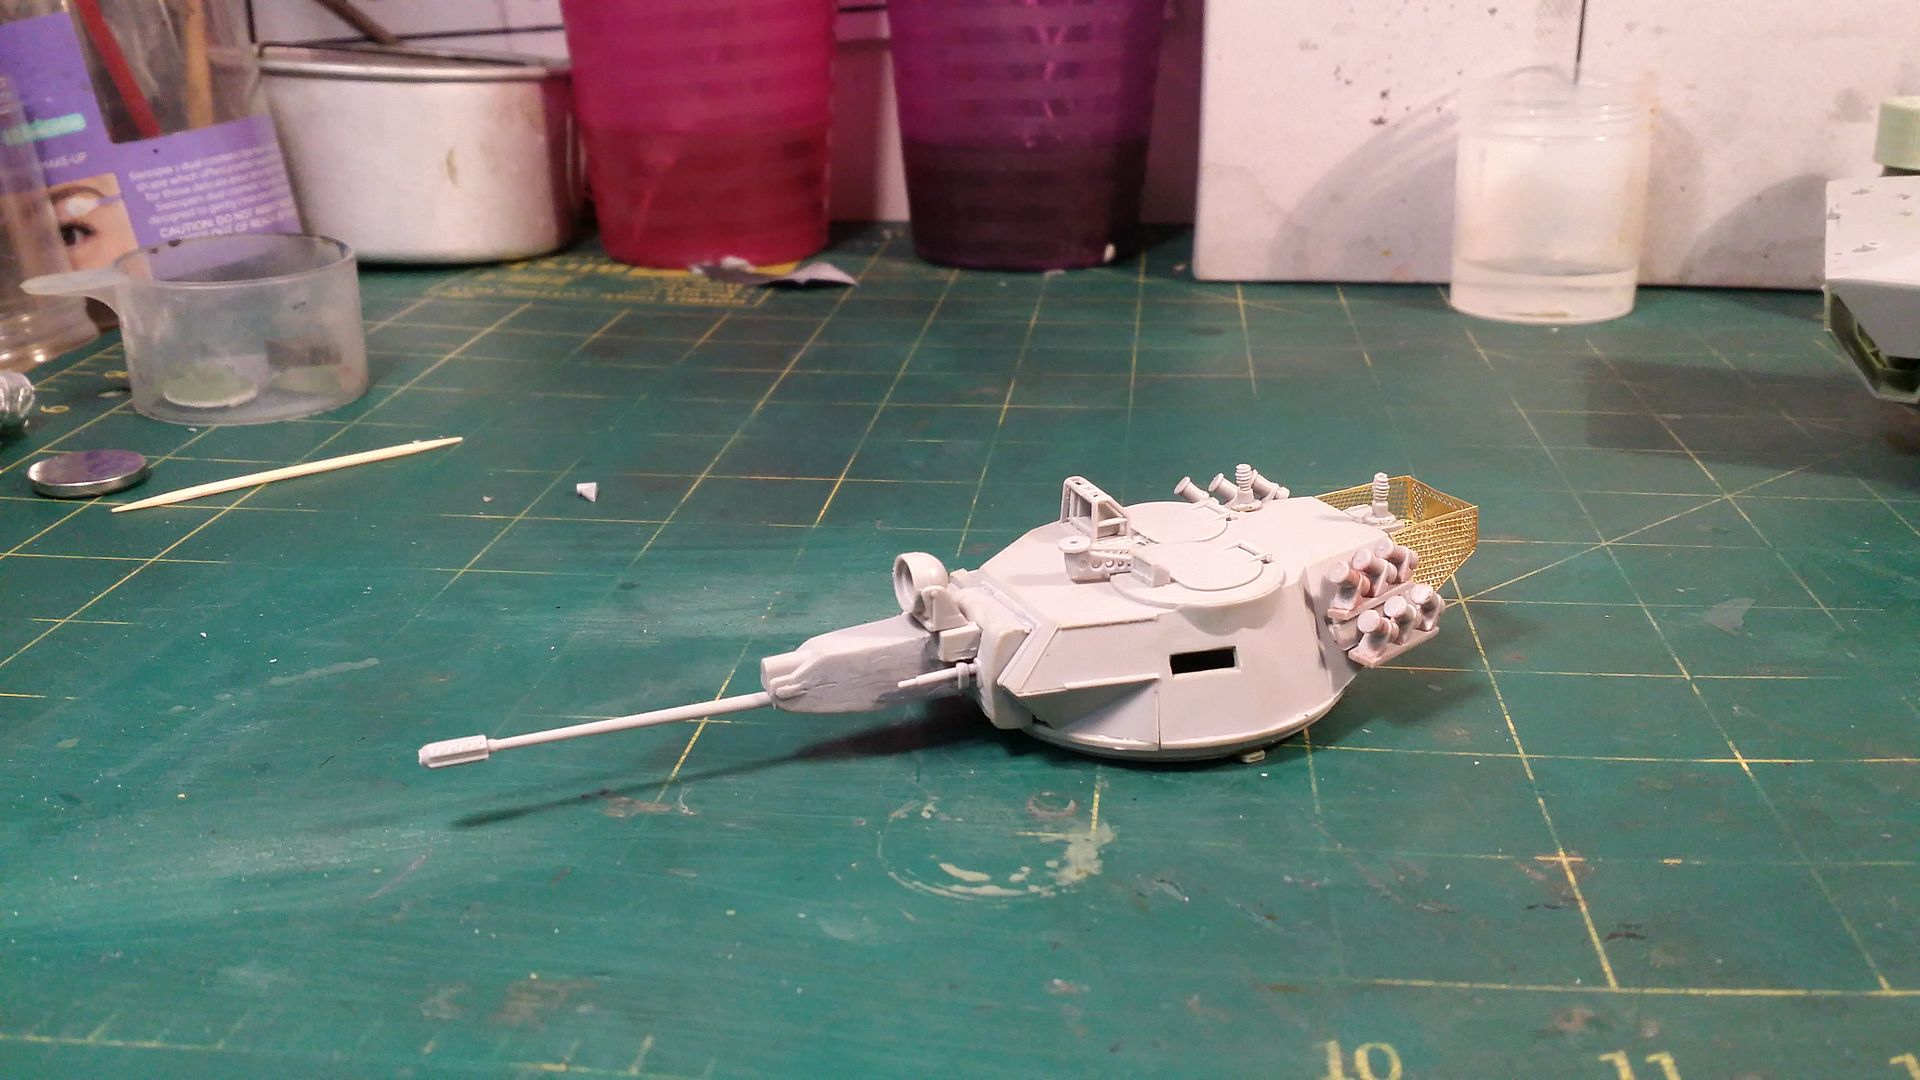
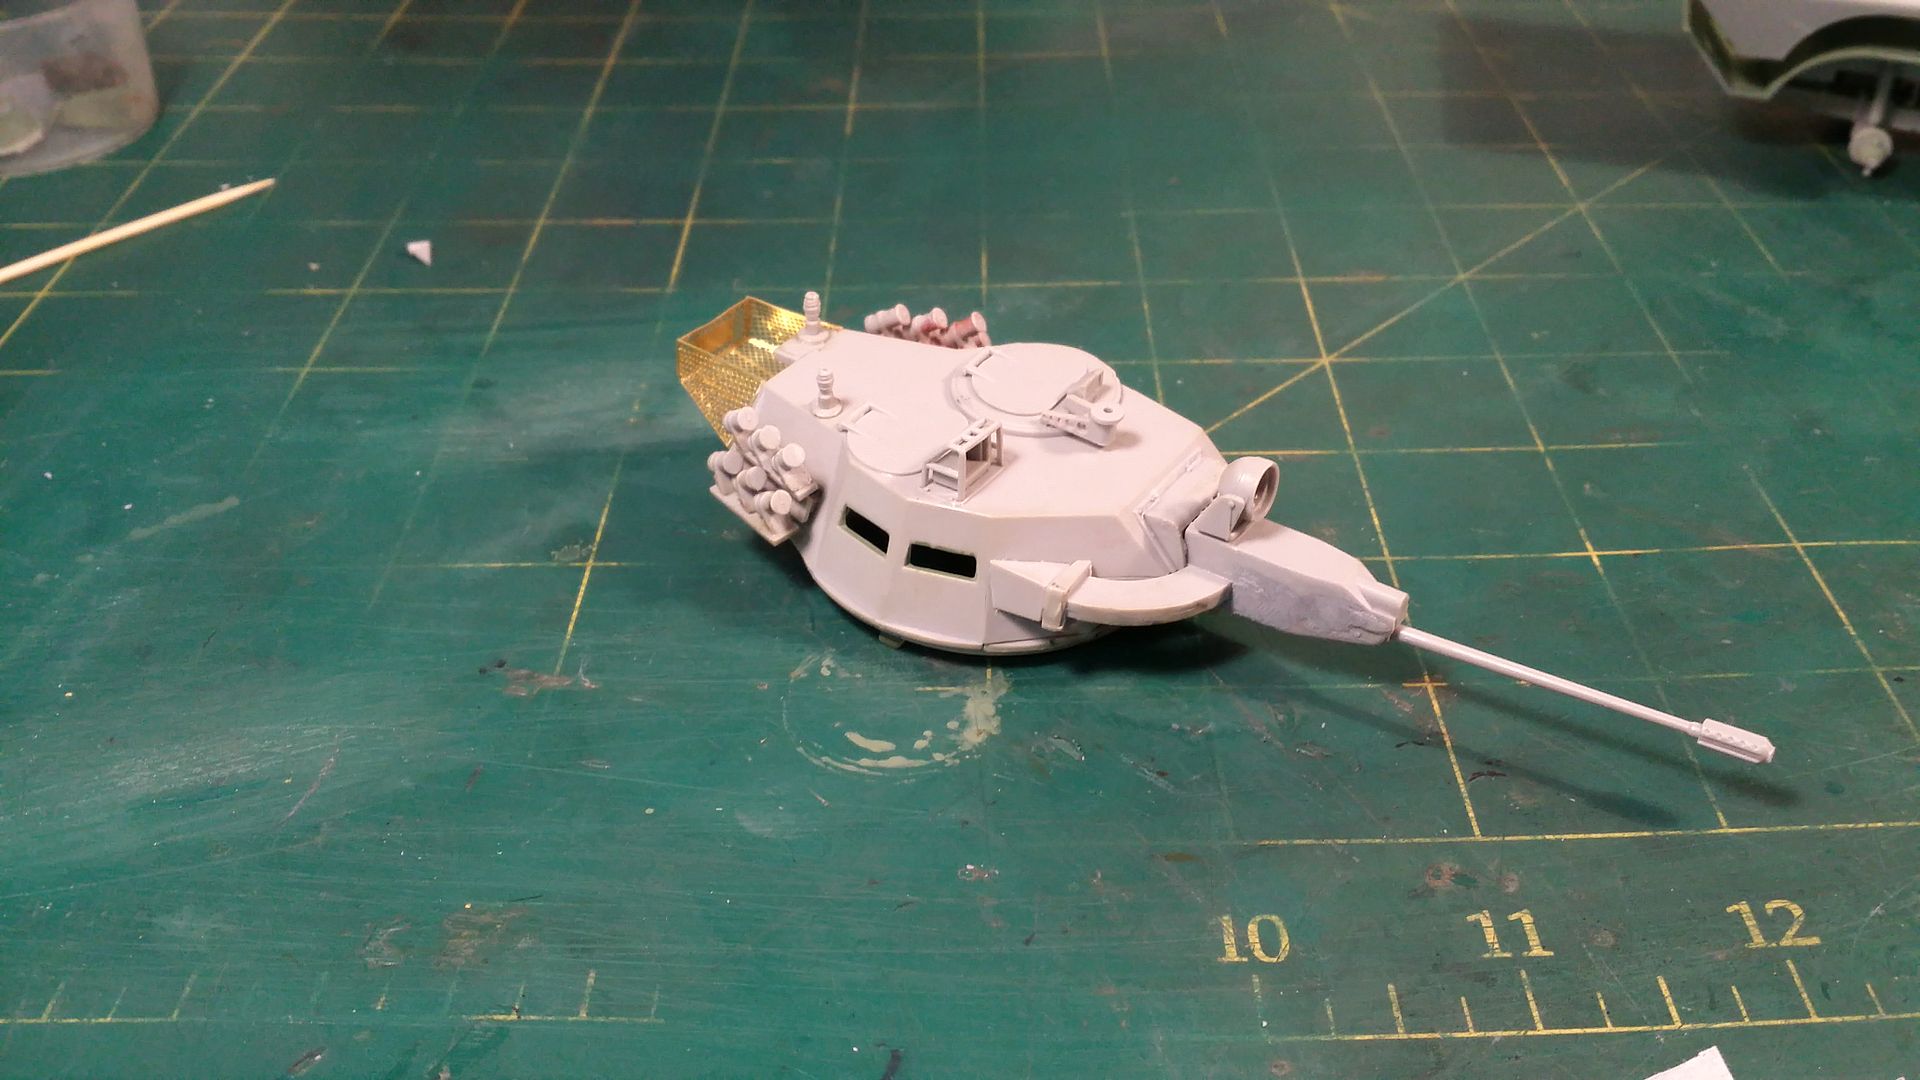
The Turret
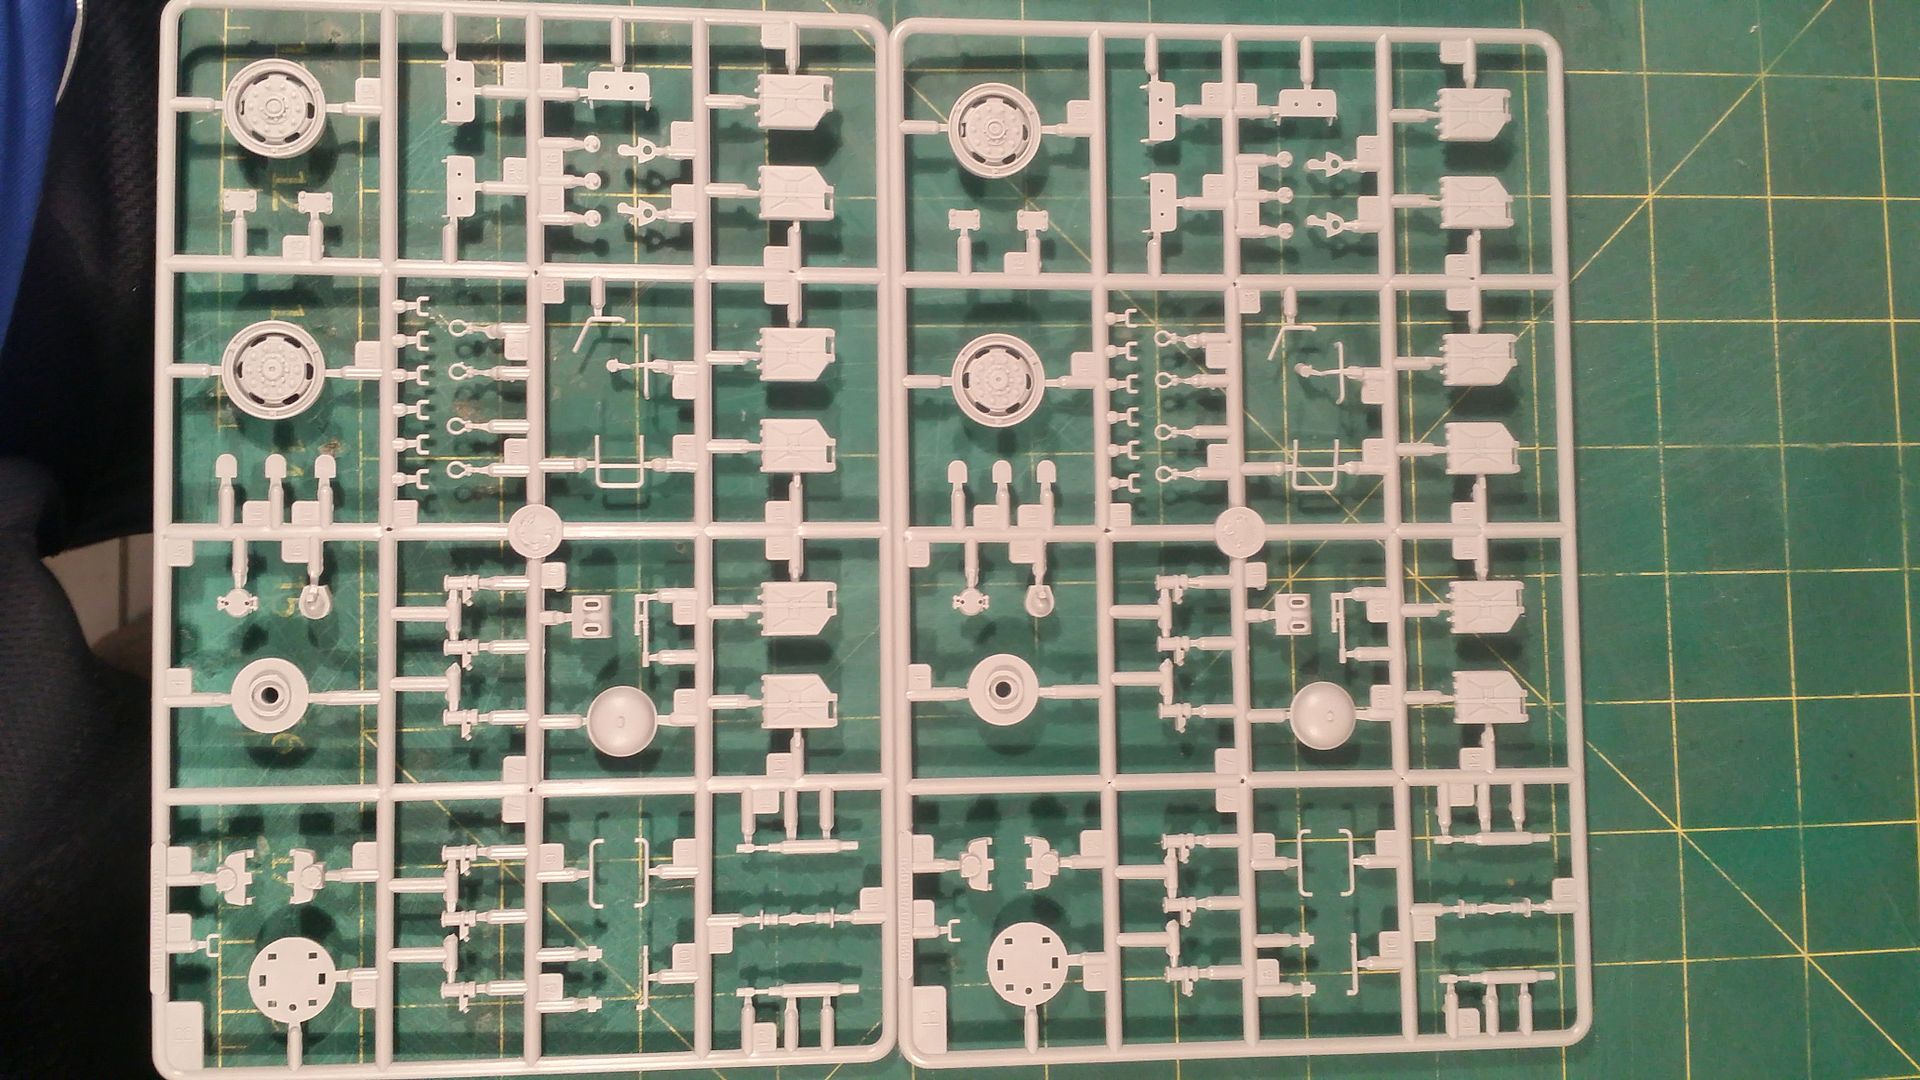
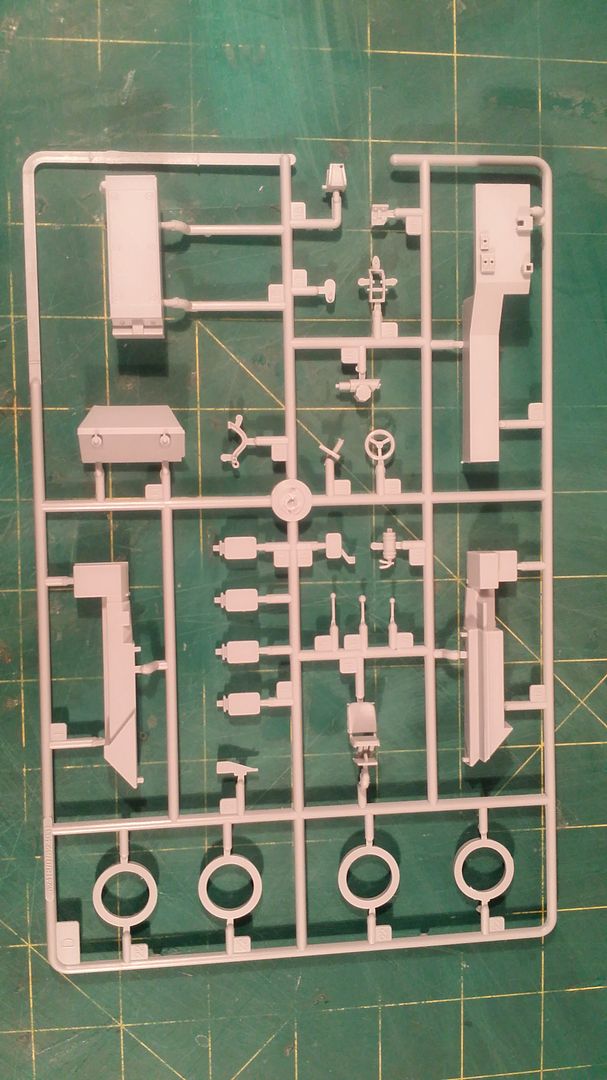
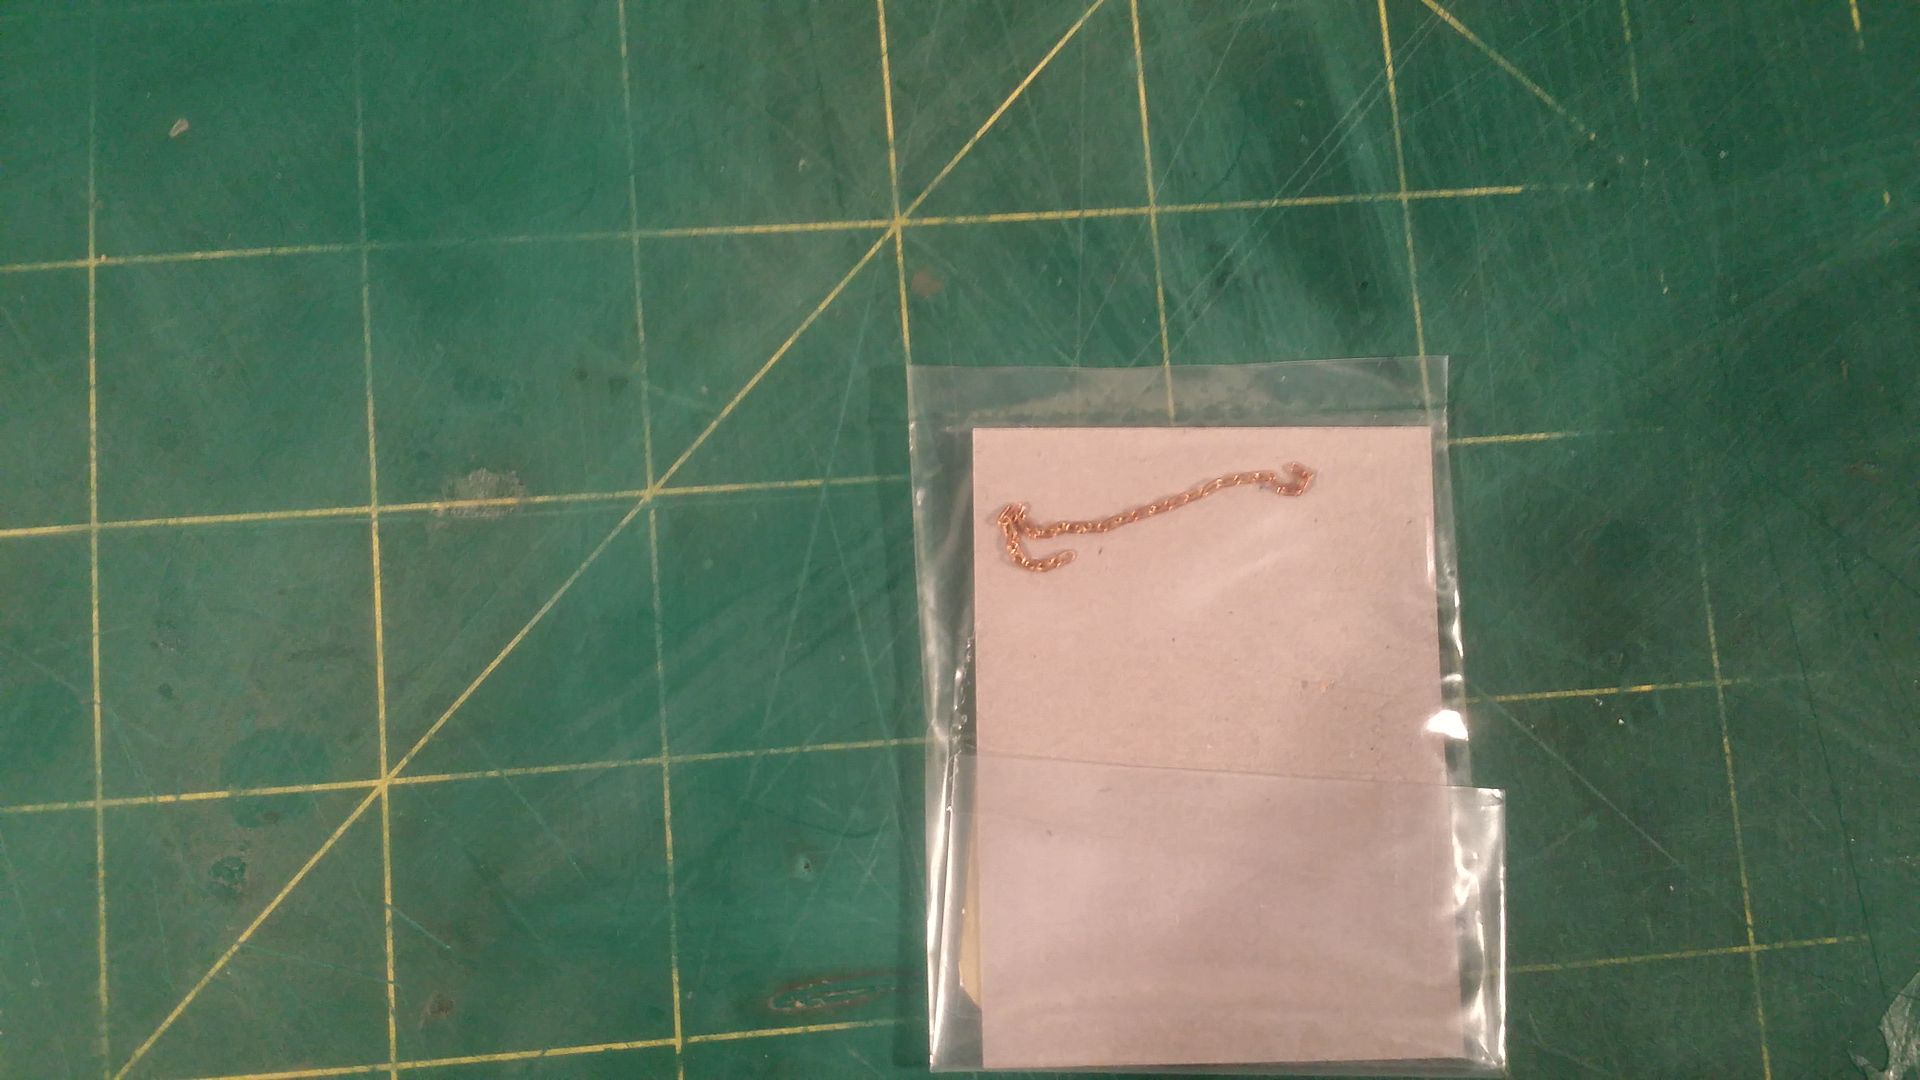
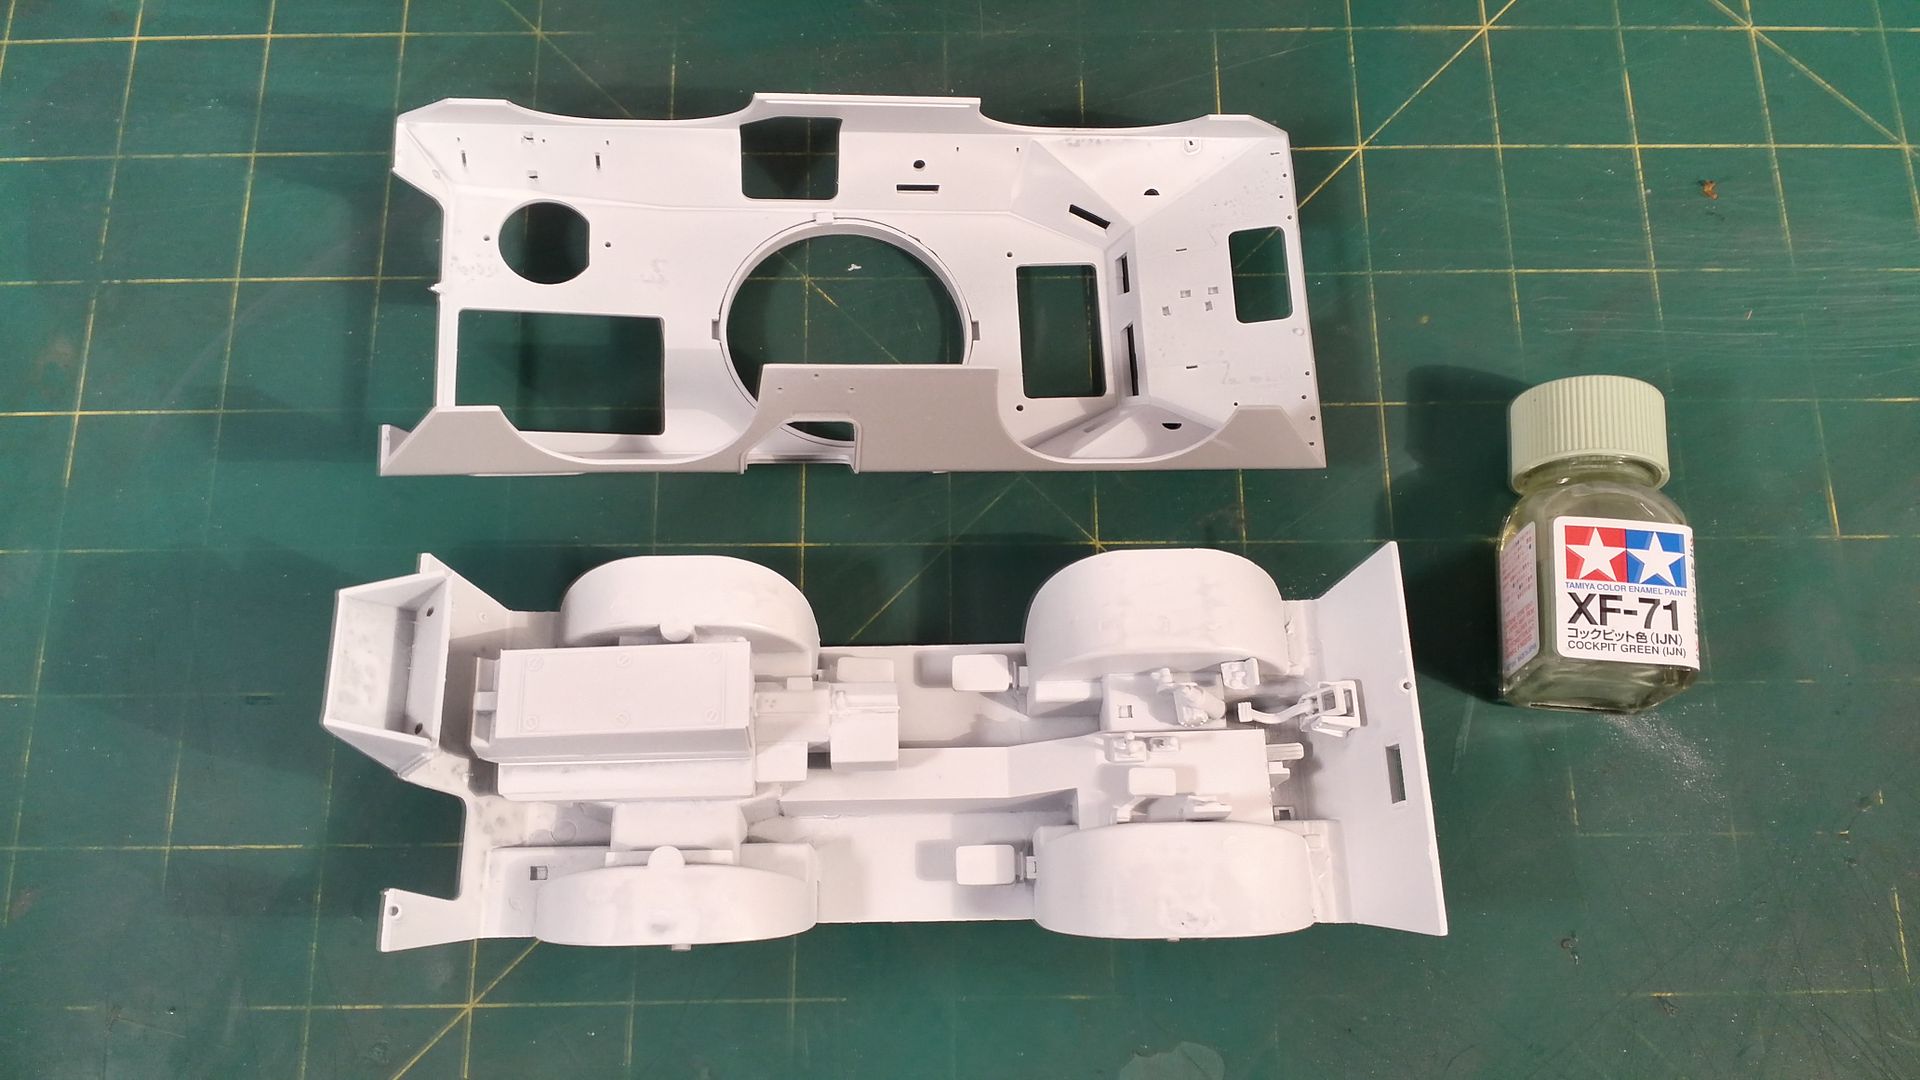
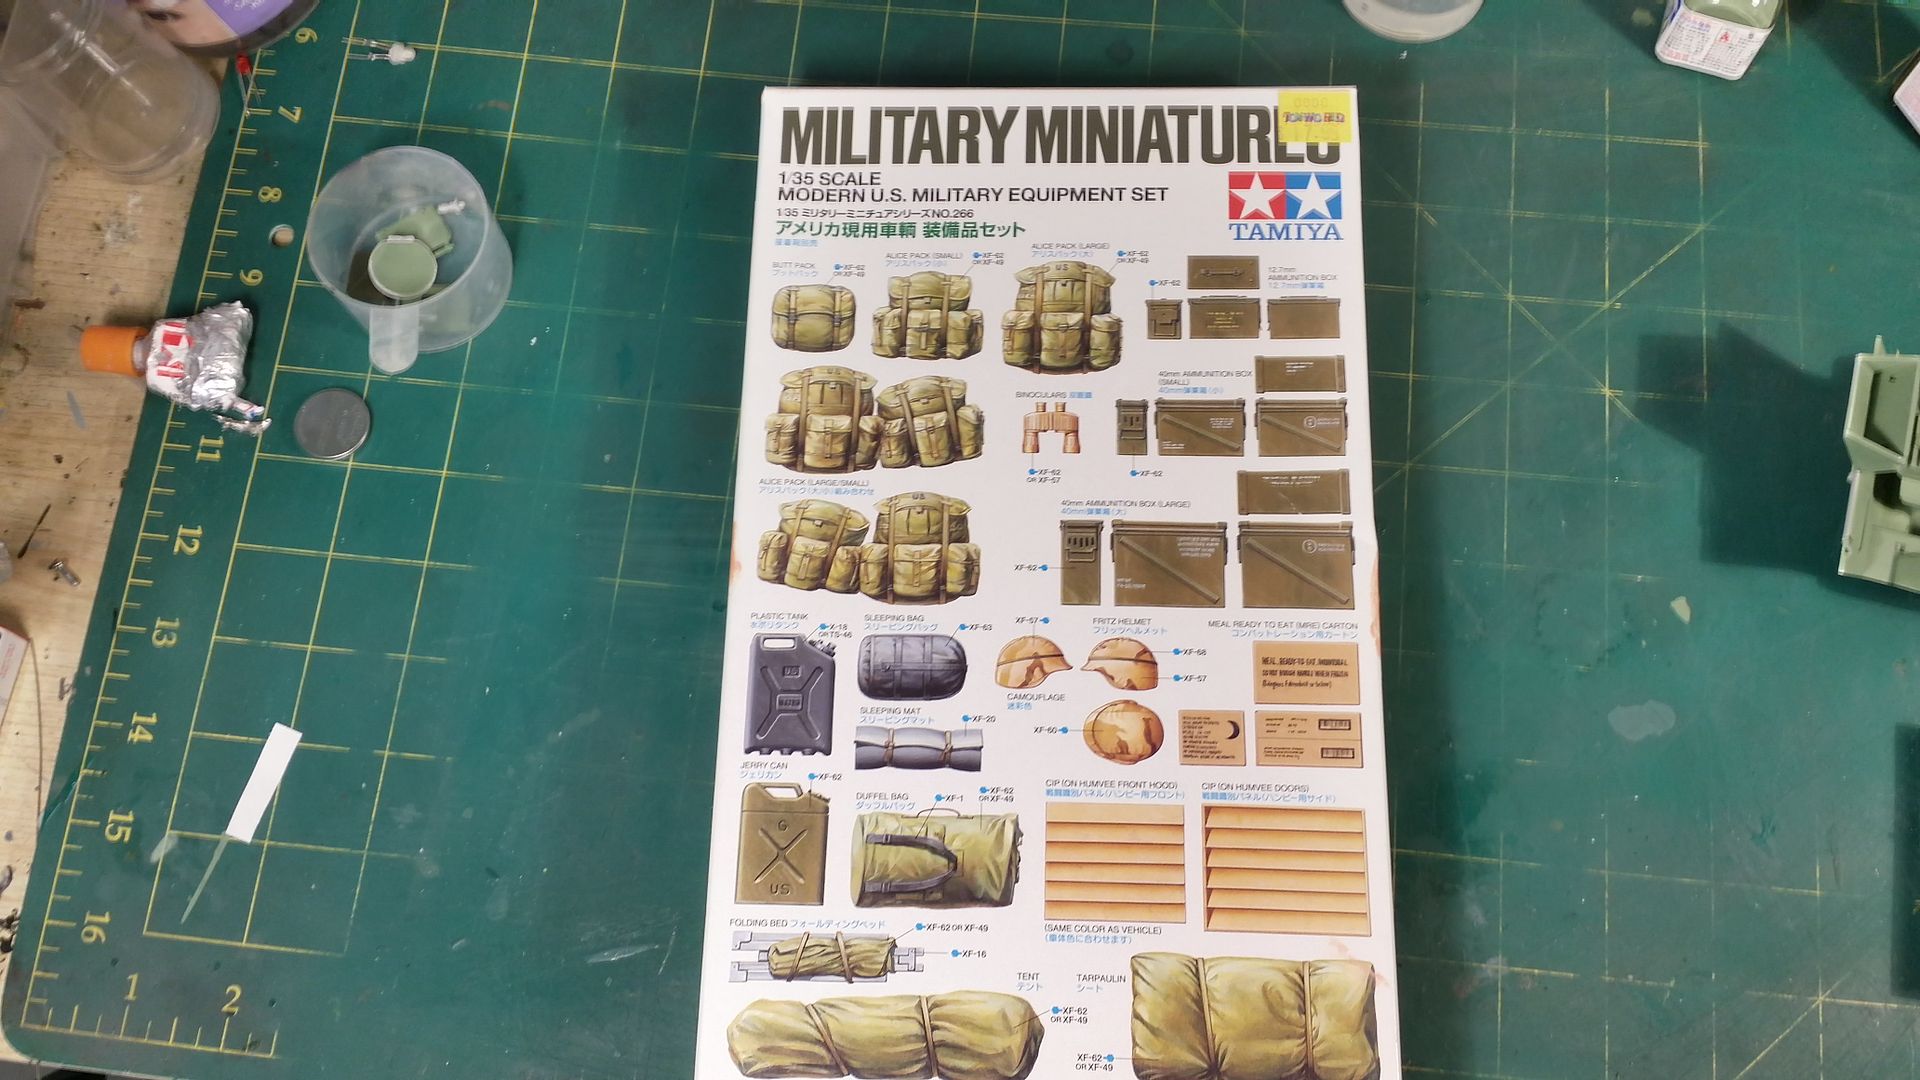
Other parts

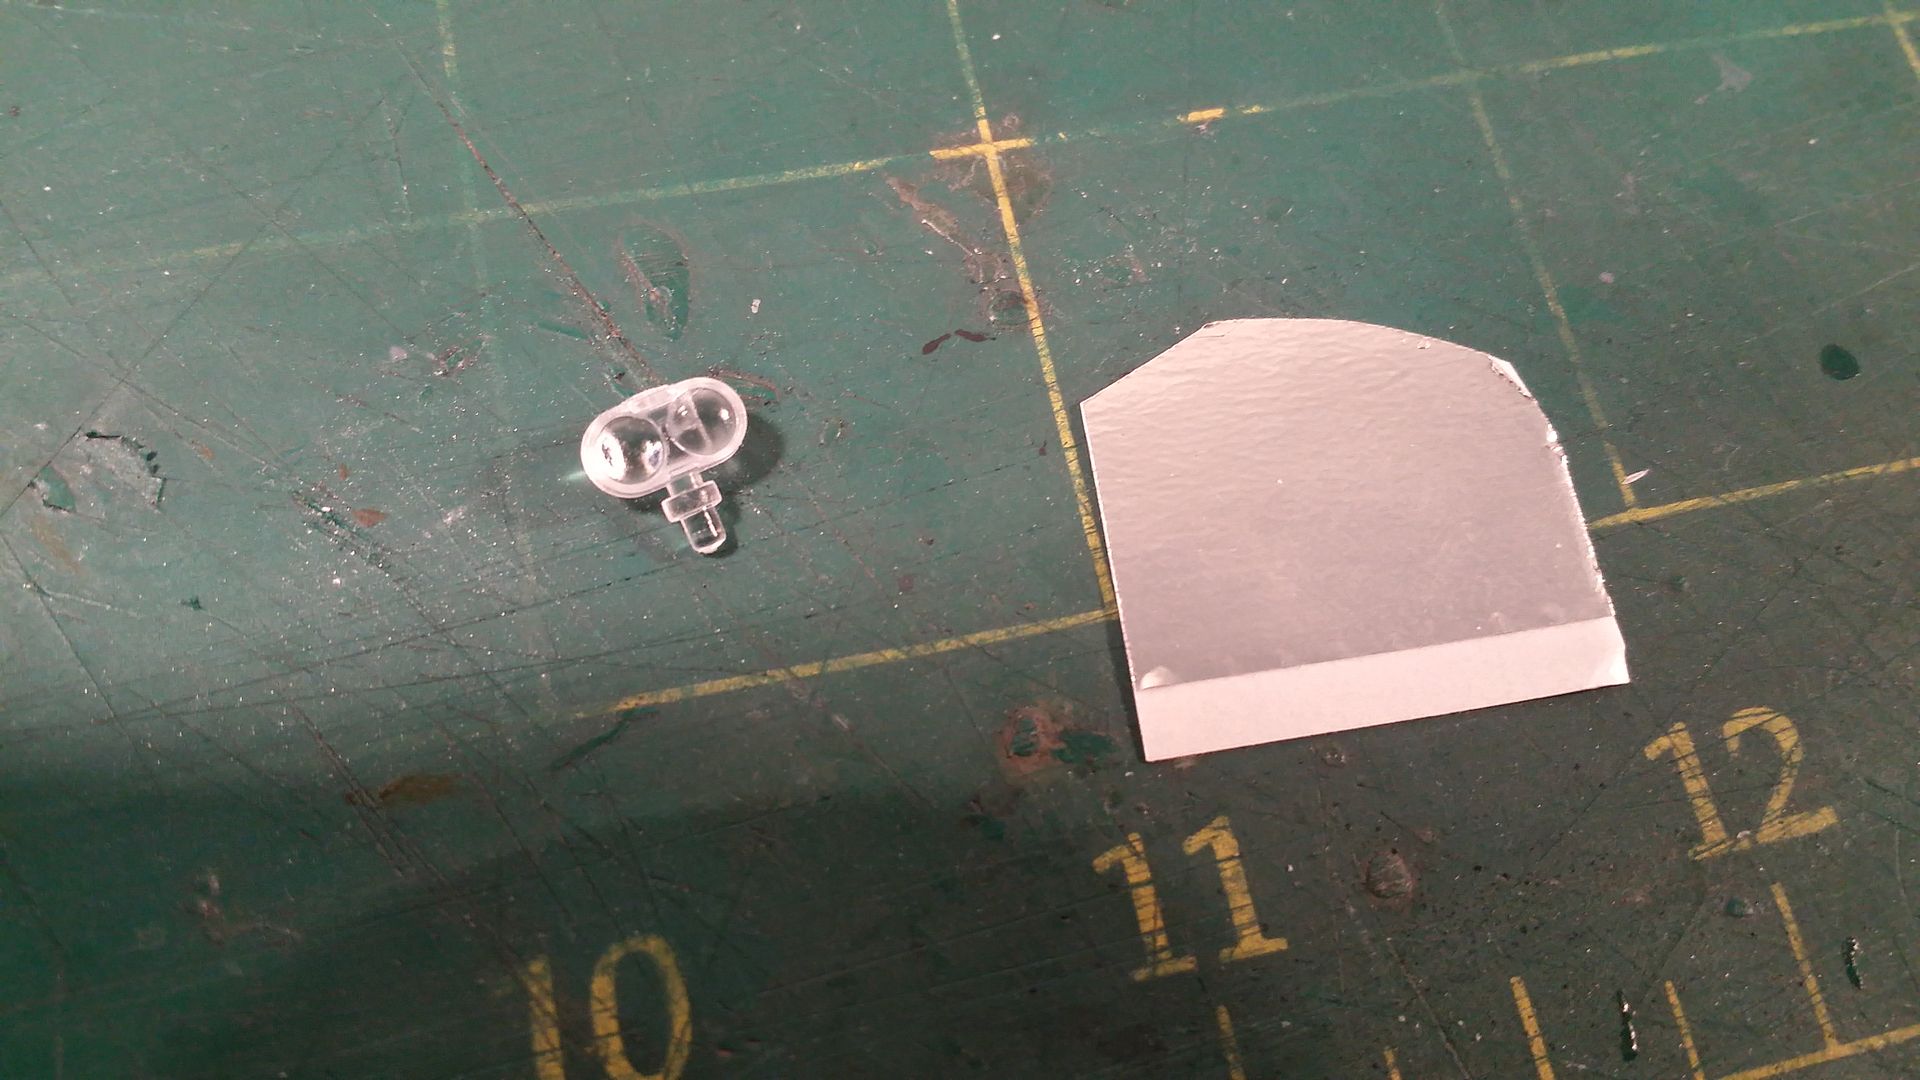
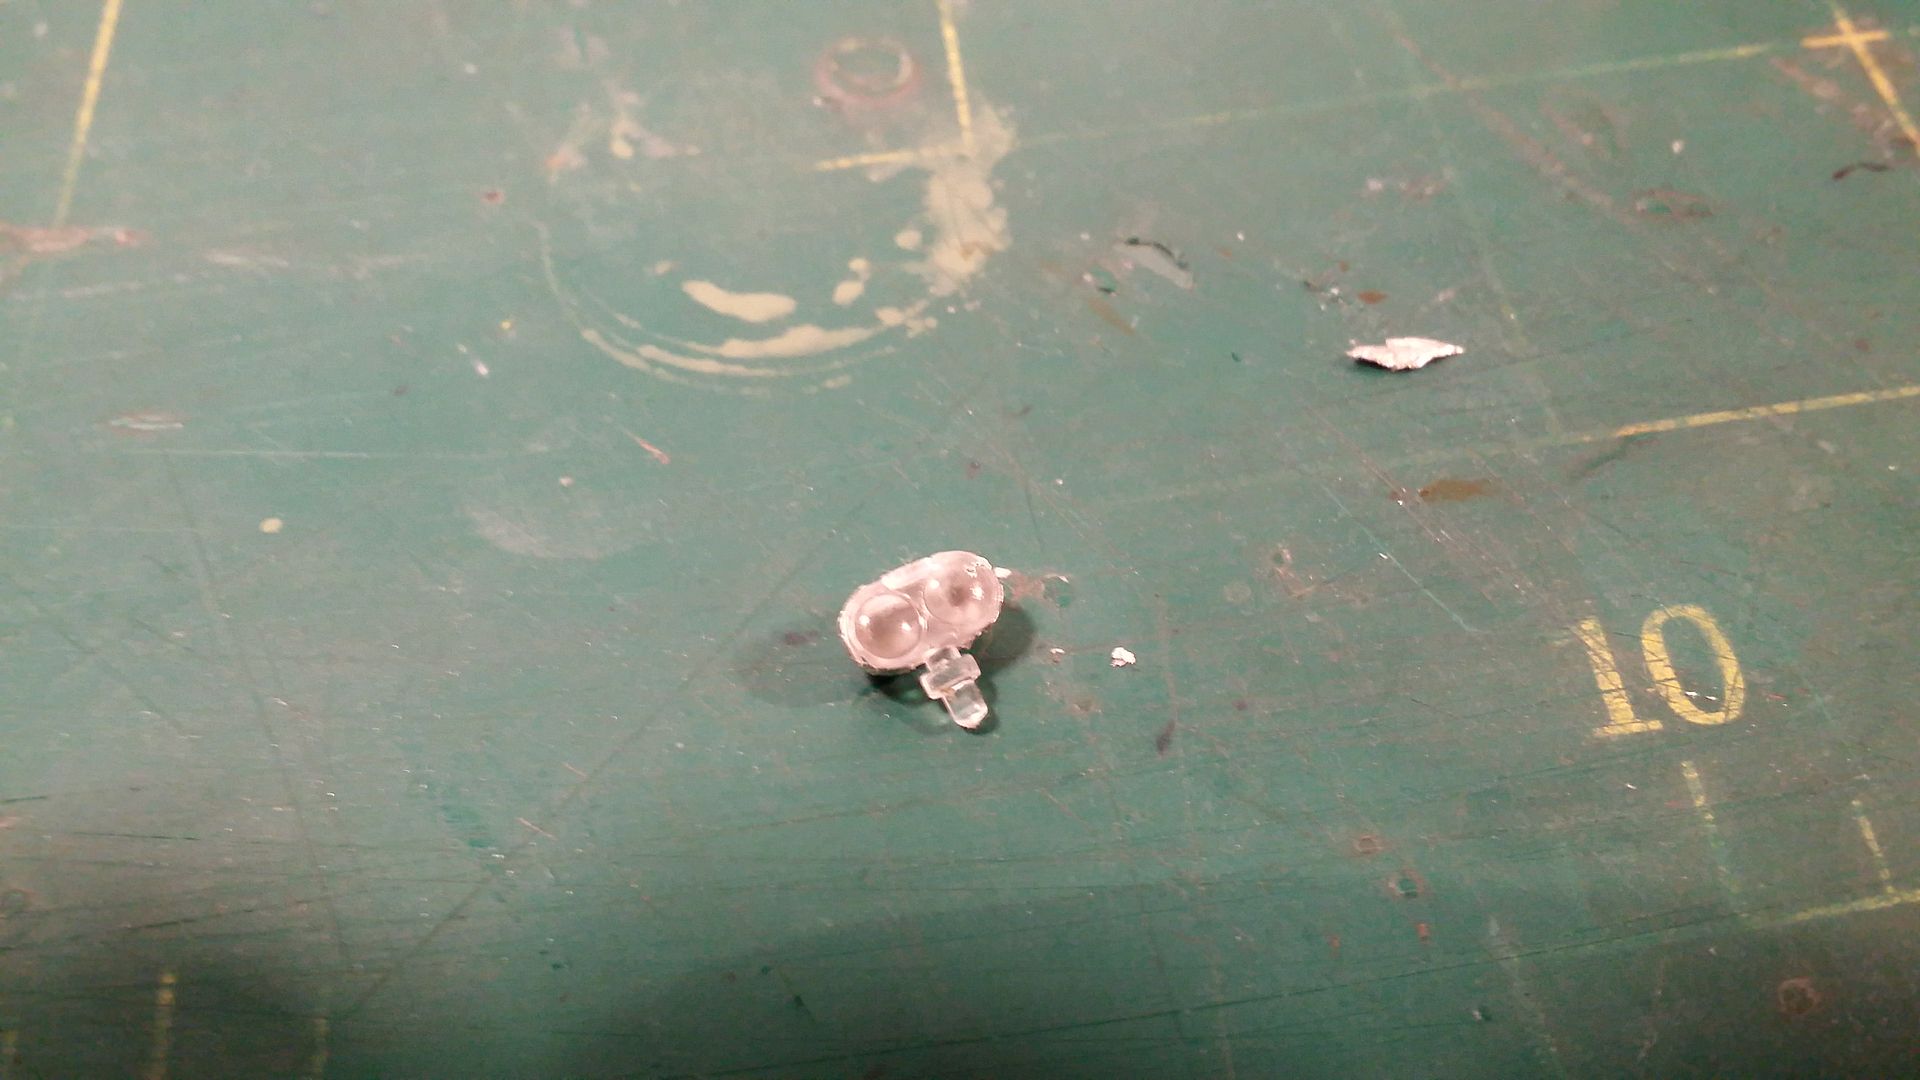
Clear Parts

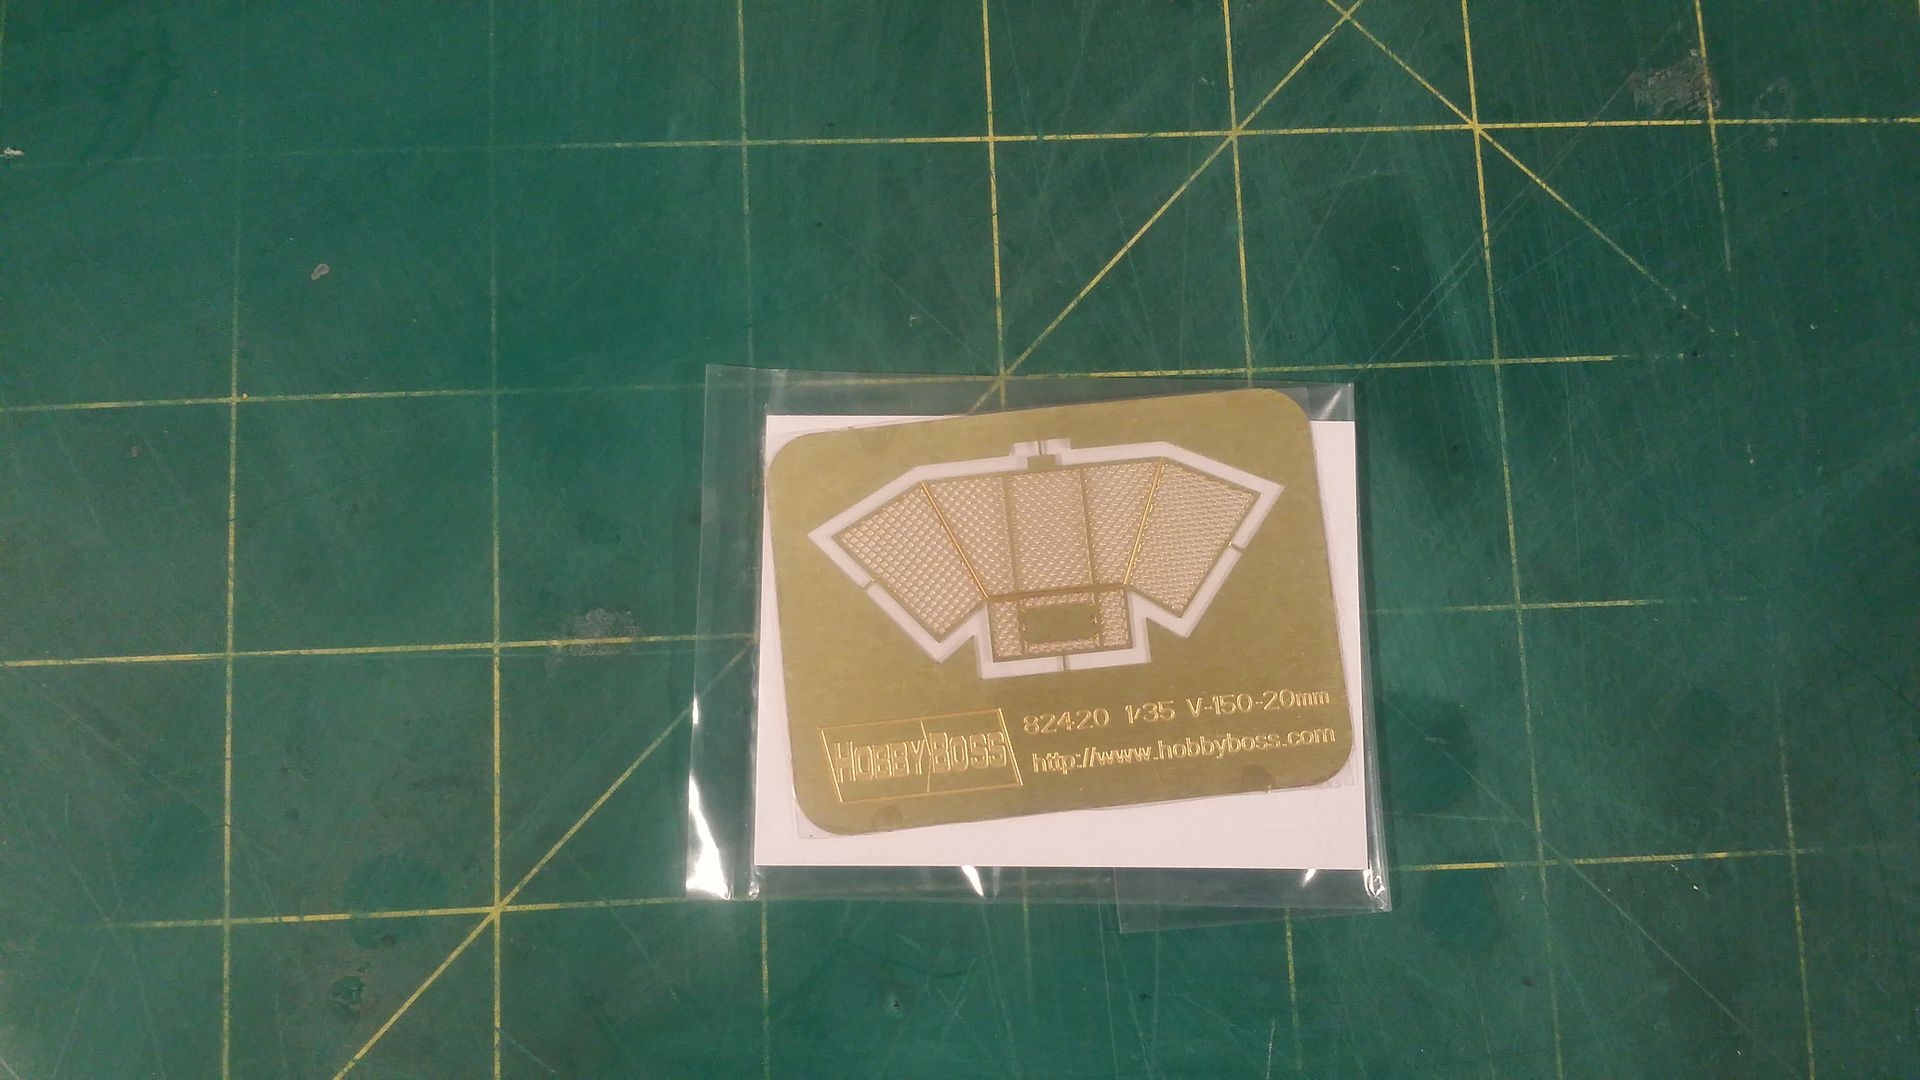
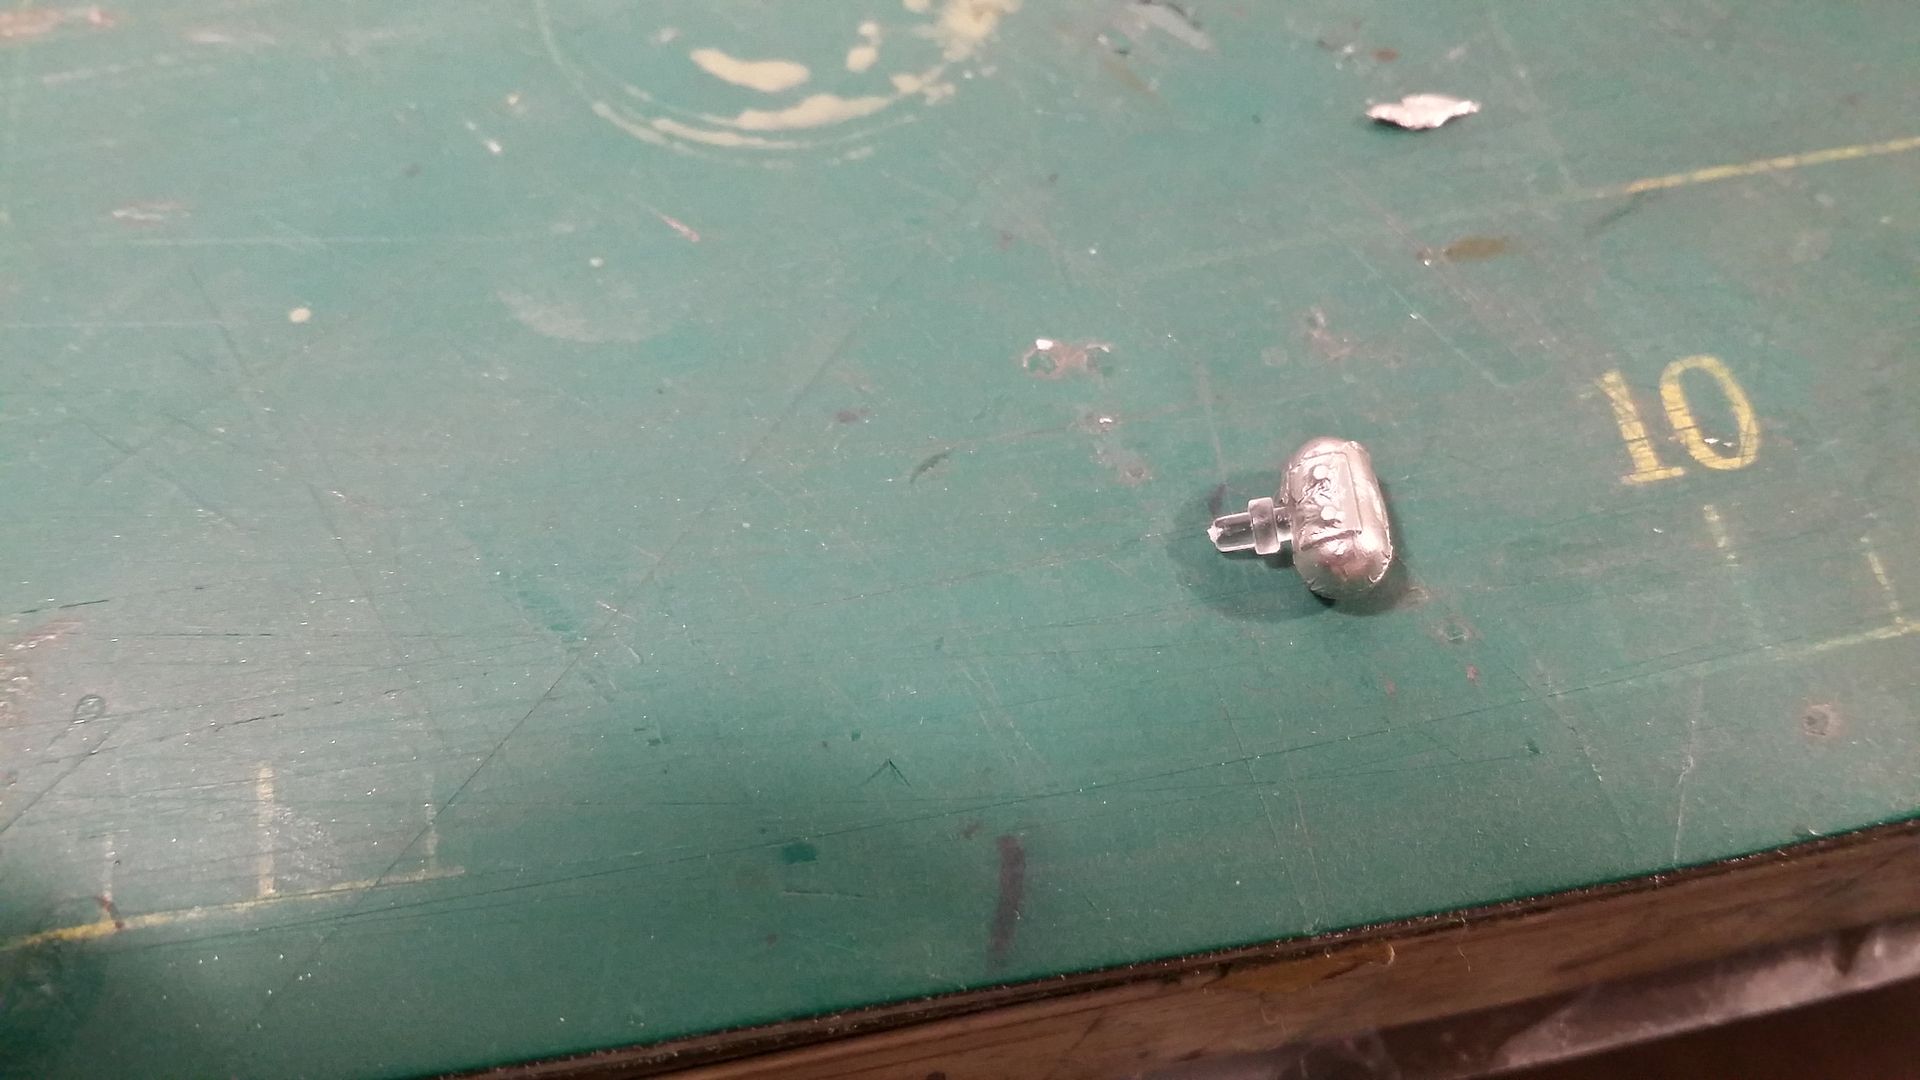
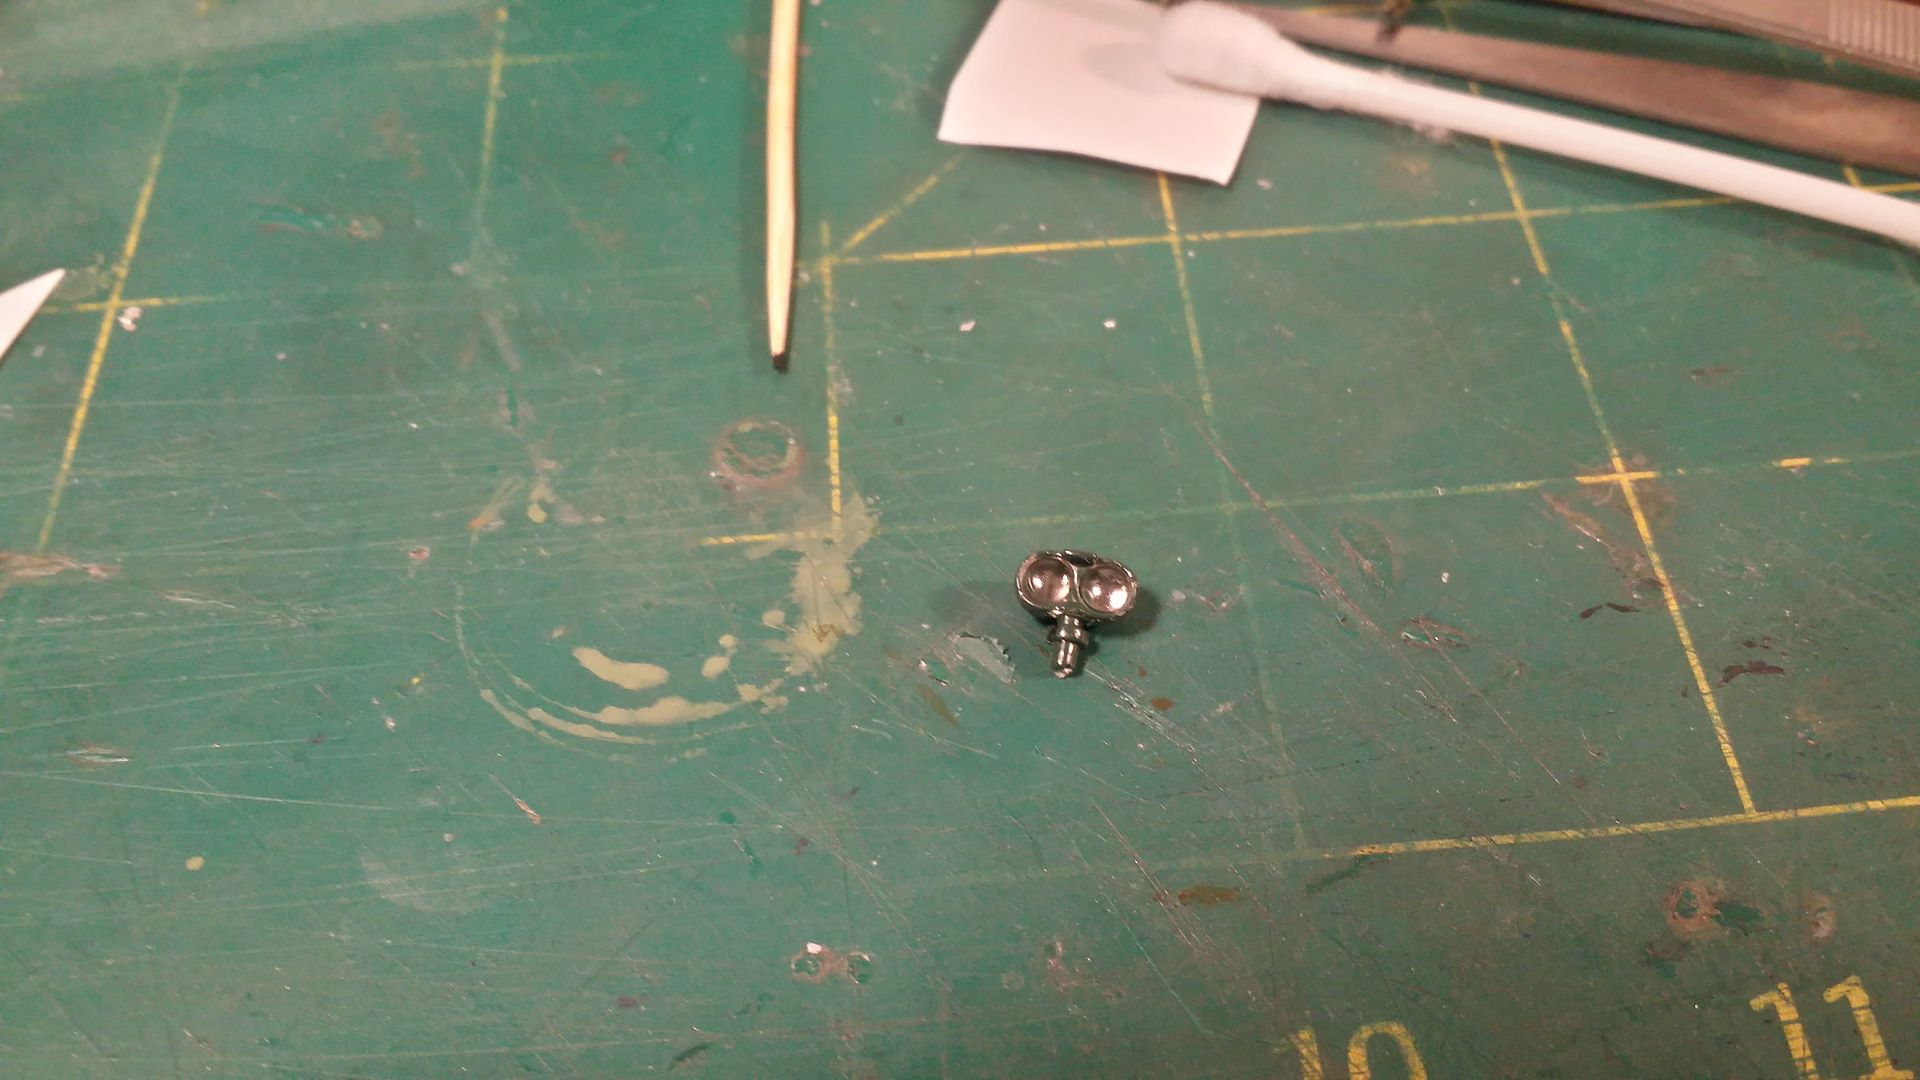
Photoetch parts
Tyres

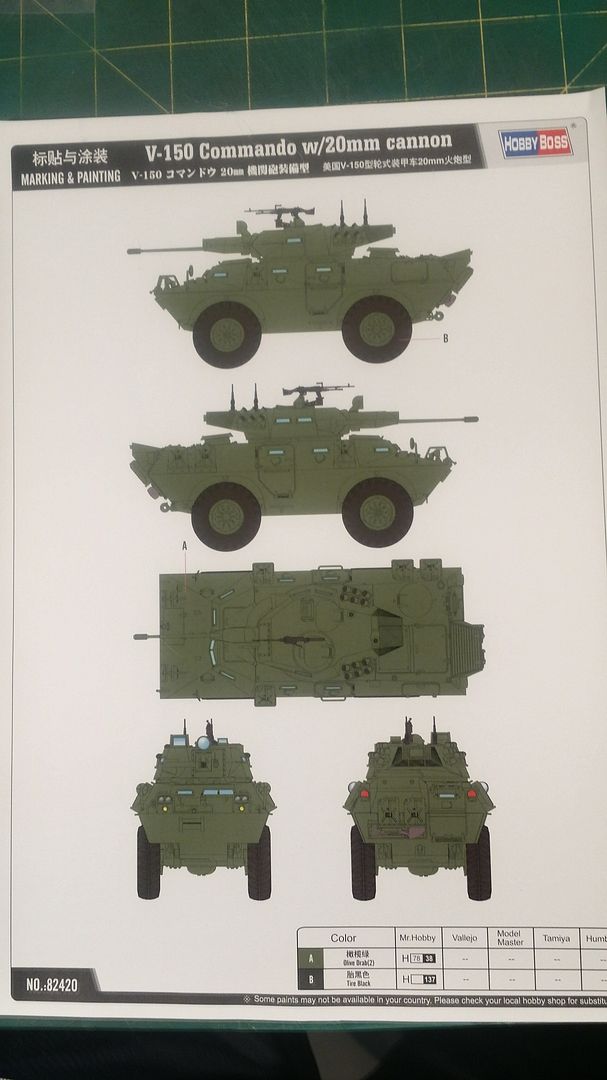
Paint Scheme
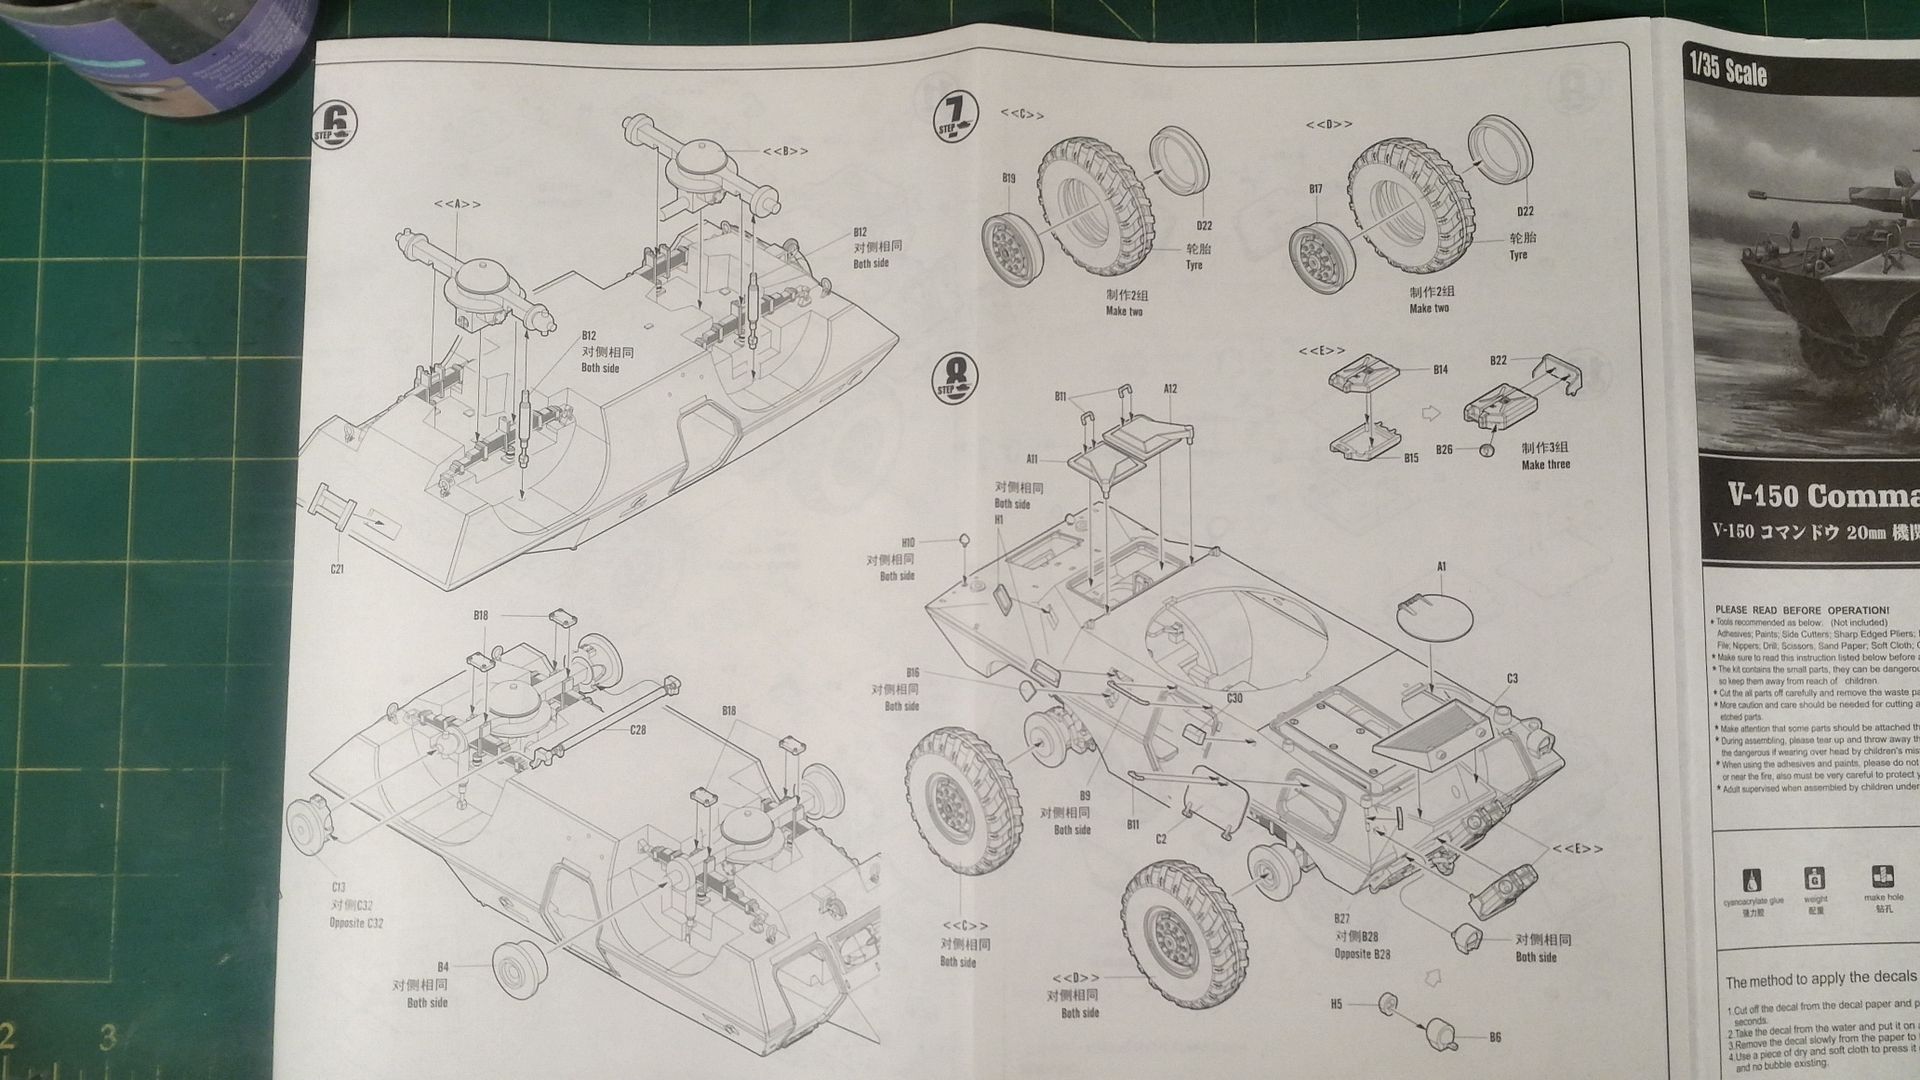
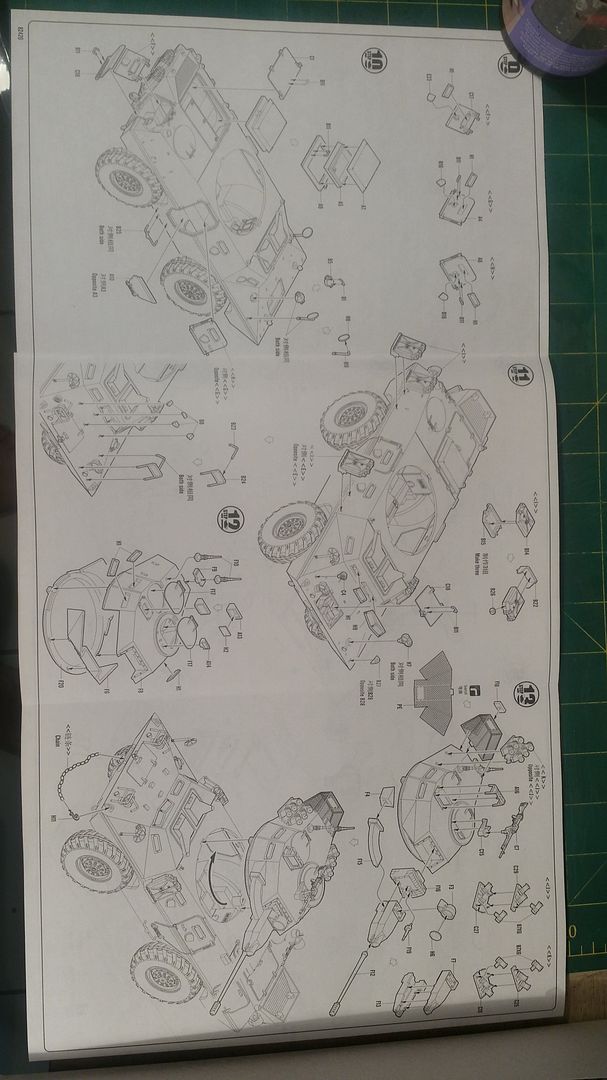
Instructions


Overall Initial Impression
Yes the kit had no decals. But the actual Vehicle didn't seem to have any markings. This is the probably the only issue with this kit, for the price this kit (I bought it for $14 AUD) is remarkably detailed. You get photoetch parts a detailed exterior and lots of detailed small parts. The hulls are also kept together by some kind of tape which doesnt damage the plastic. this is a nice touch. It seems that It should build up to be a very nice model.
As always, I hope you liked the post, and all comments are welcome. This is goodnight from my end and hope you all have a great day! (or a good night)
This is my entry into the "Wheeled Armour" Group Build. It is the Hobby Boss 1/35 V-150 Commando with 20 mm Cannon.
The Plan
I am going to build the kit and will add some scratch building where needed. I might add stowage at the end of it, depends on how it looks. It will be painted based on the scheme shown on the box art. Weathering will be kept to a minimum, it will be done but I prefer the clean look, as if it is on standby at a military base. The biggest decision I will have to make is weather to keep the hatches open or closed.
Kit Details
- Kit Name:
Hobby Boss 1/35 Commando w/20mm Cannon - Kit Product Number:
82420 - Kit History:
This Kit was released in 2009 and is based on Hobby Boss kit 82418 - the M706 released in 2008 but with updated parts. - Marking options:
One option but with no actual markings colored in Olive Drab. There are no decals with this kit. - Scalemates link:

Kit Box Art
Kit Contents
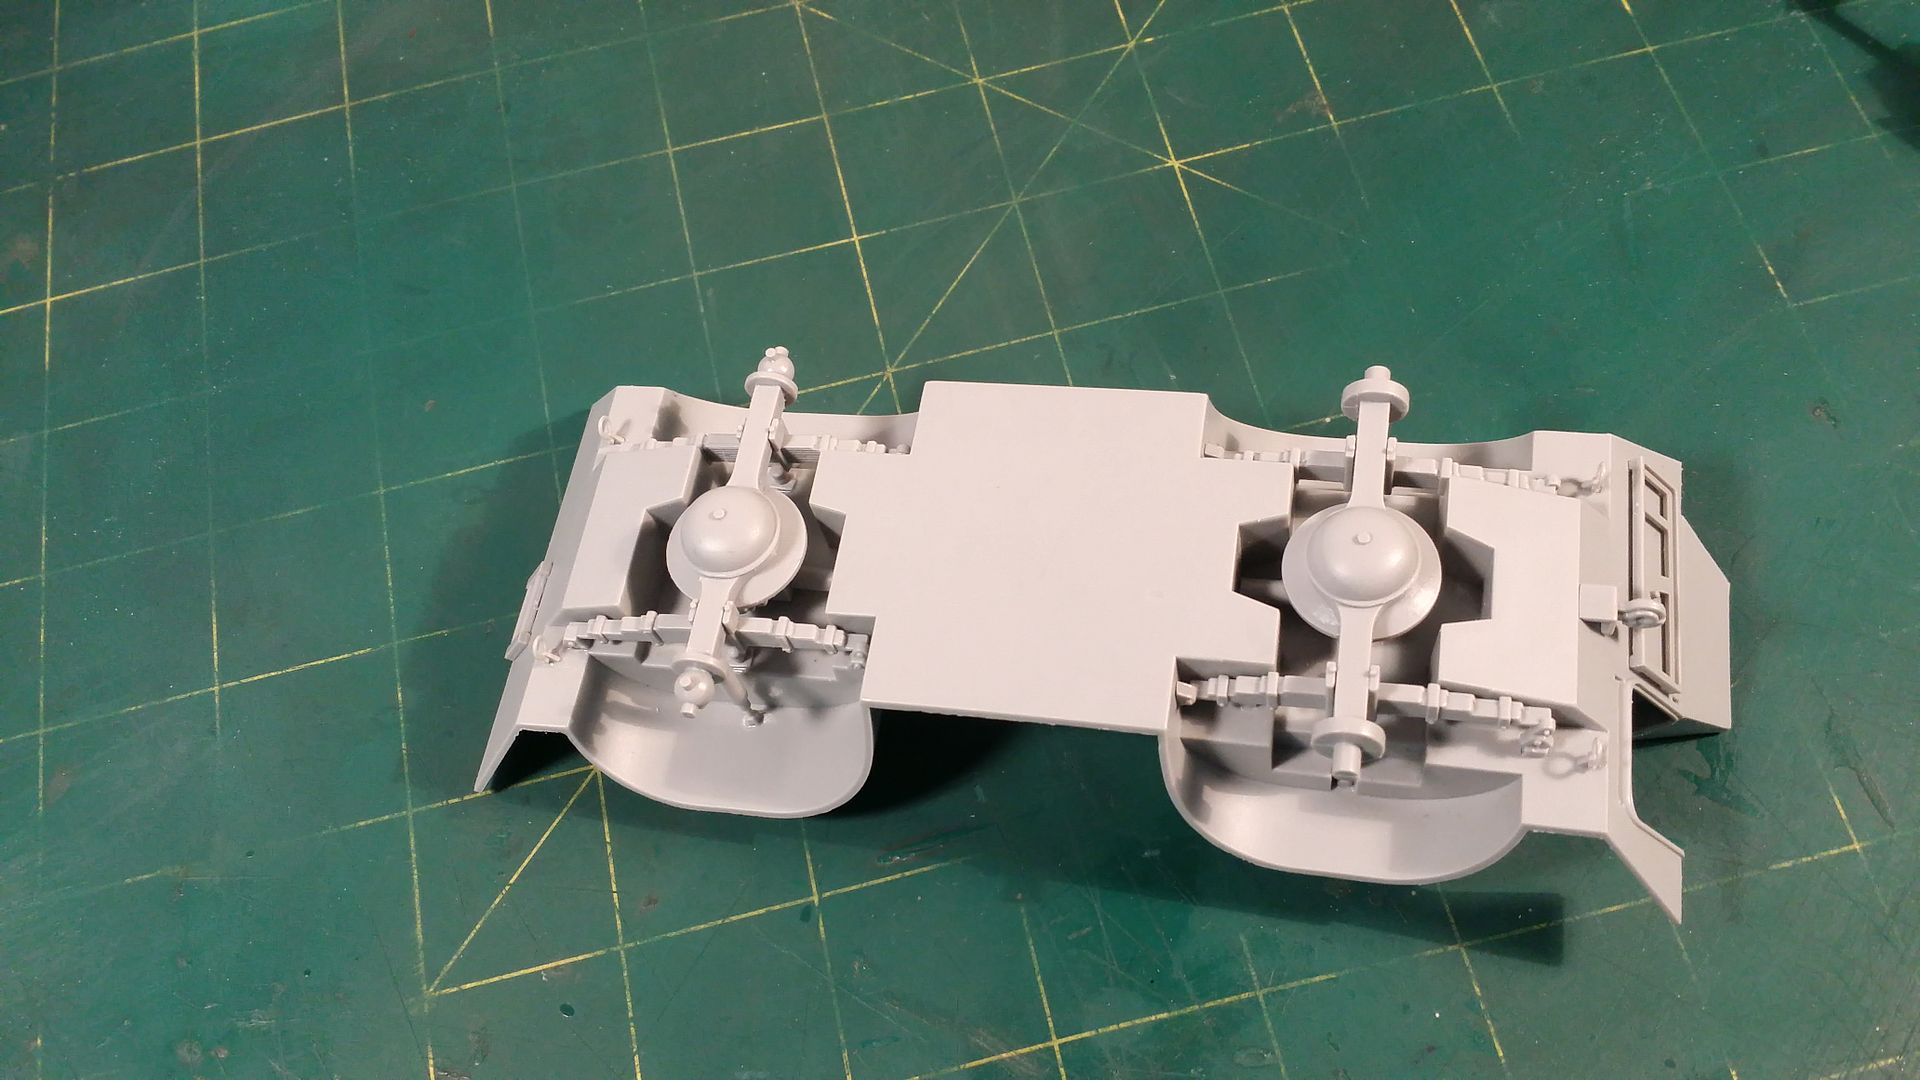
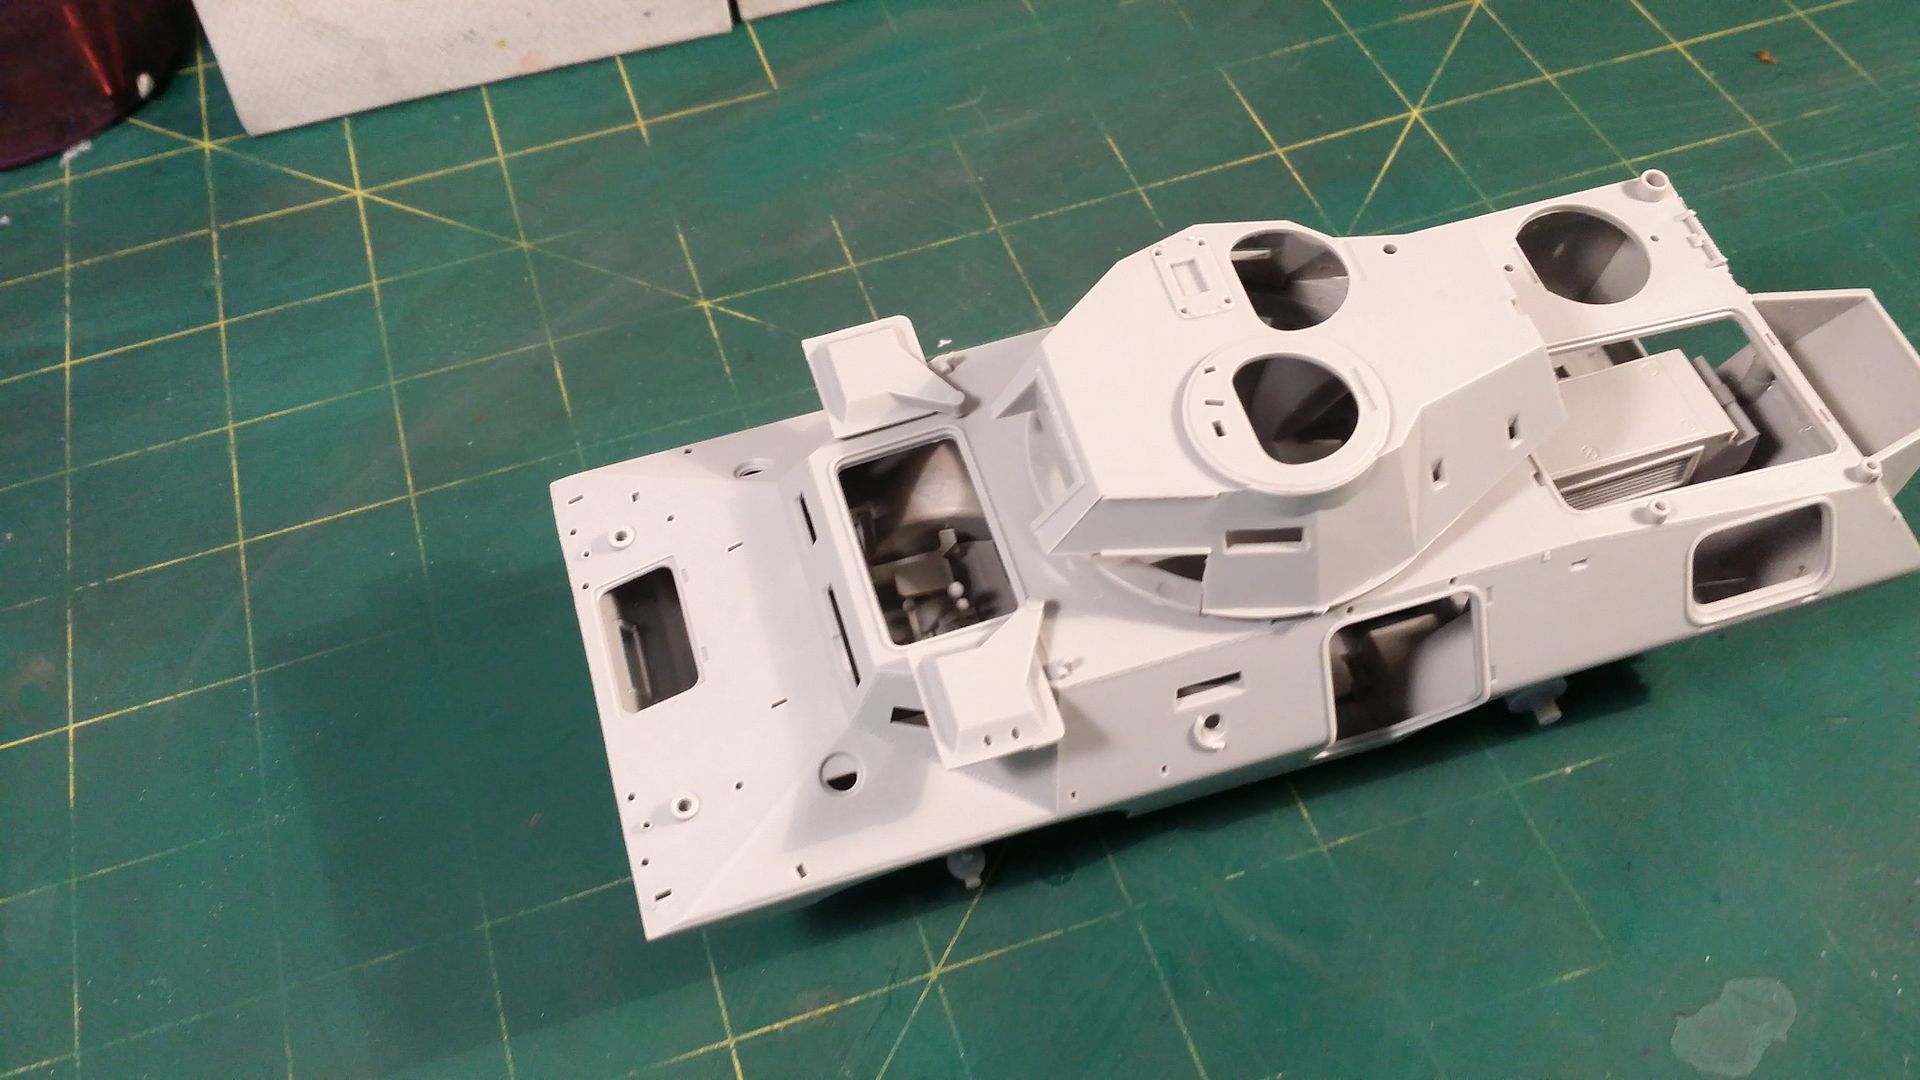
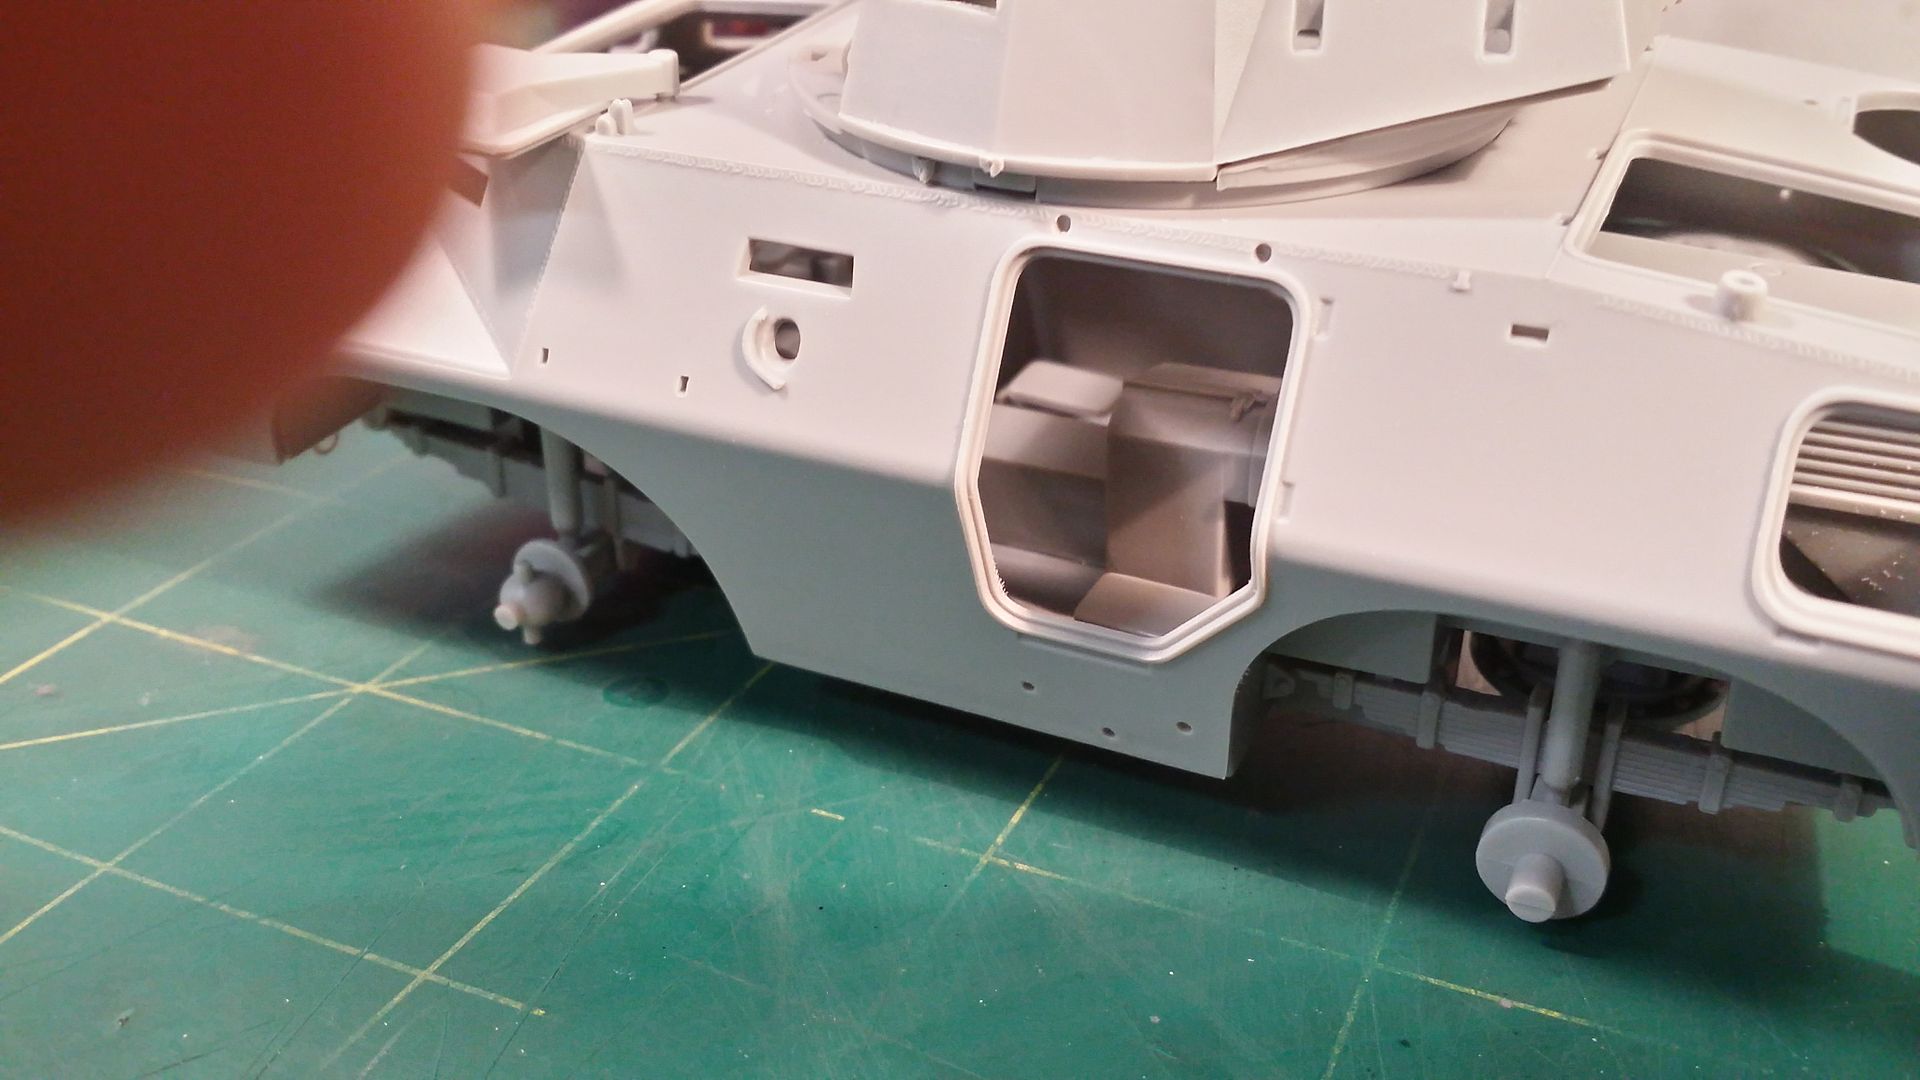
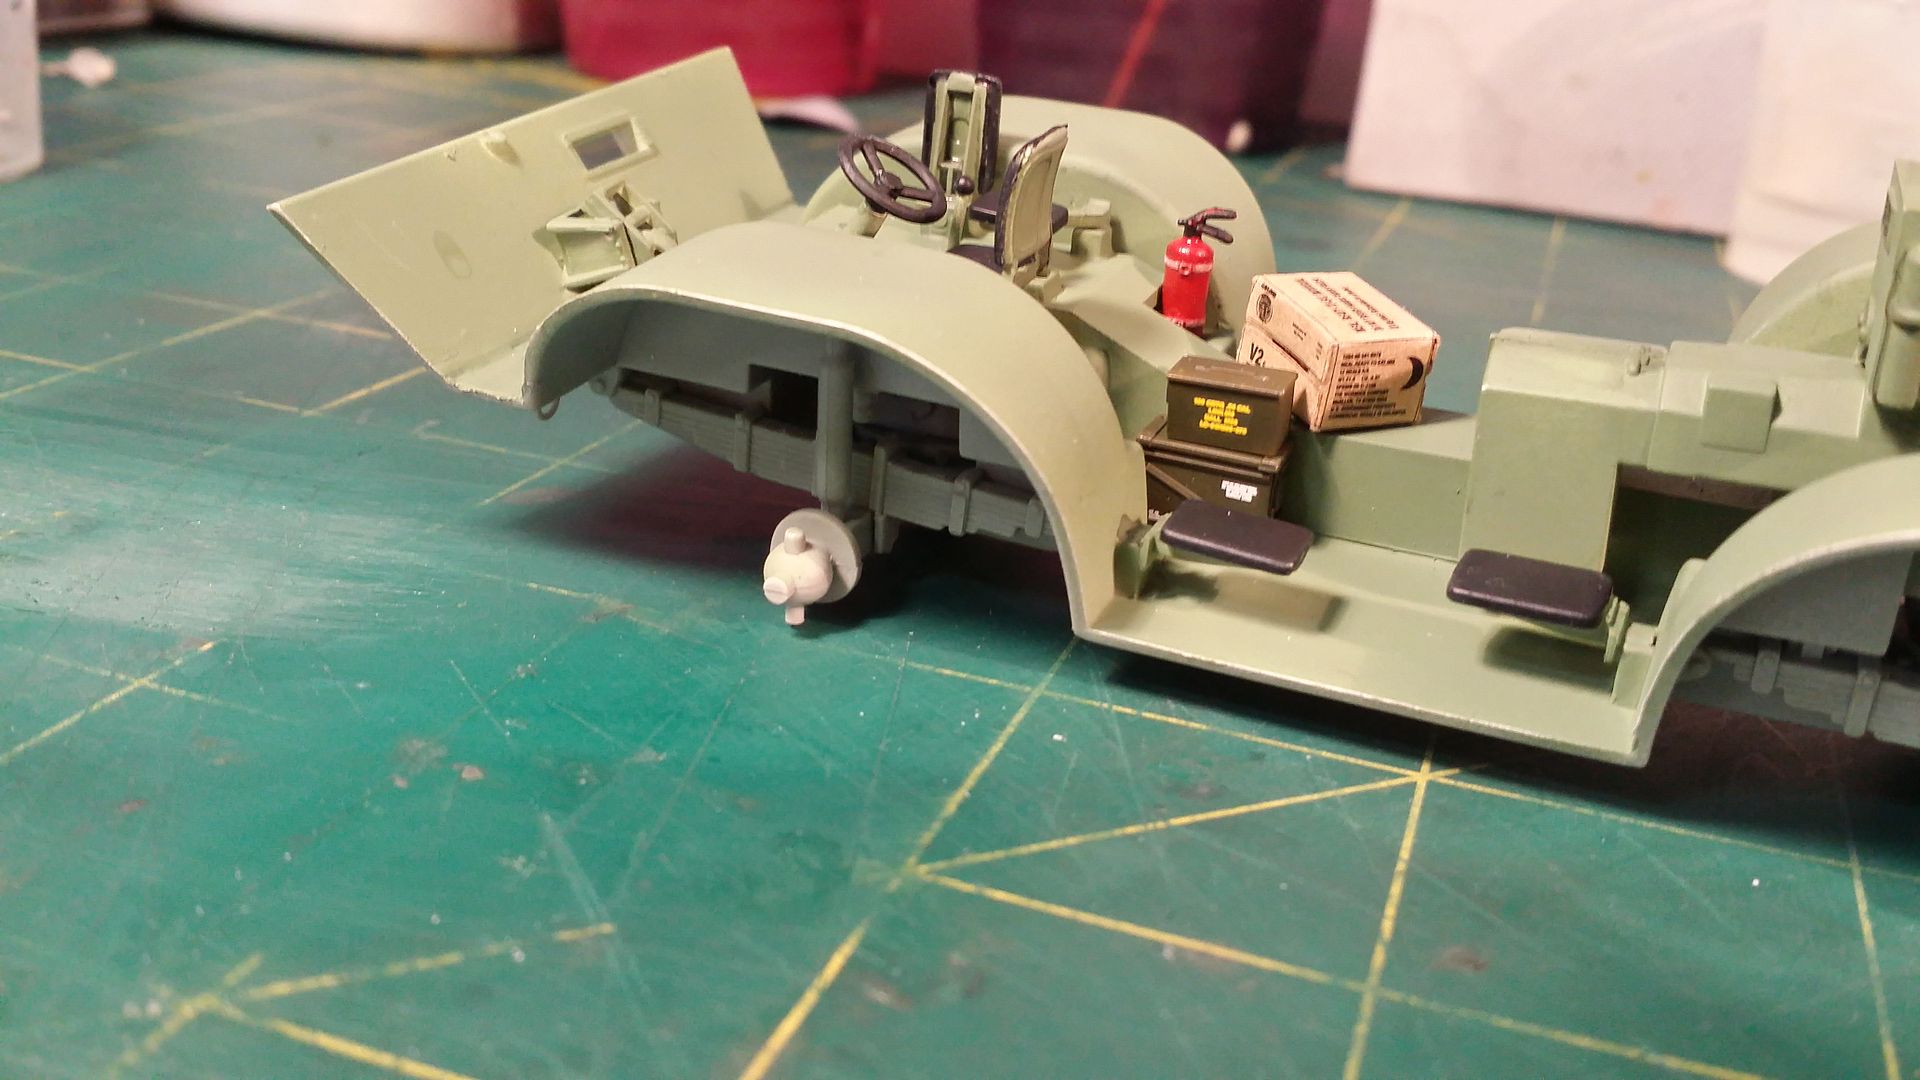
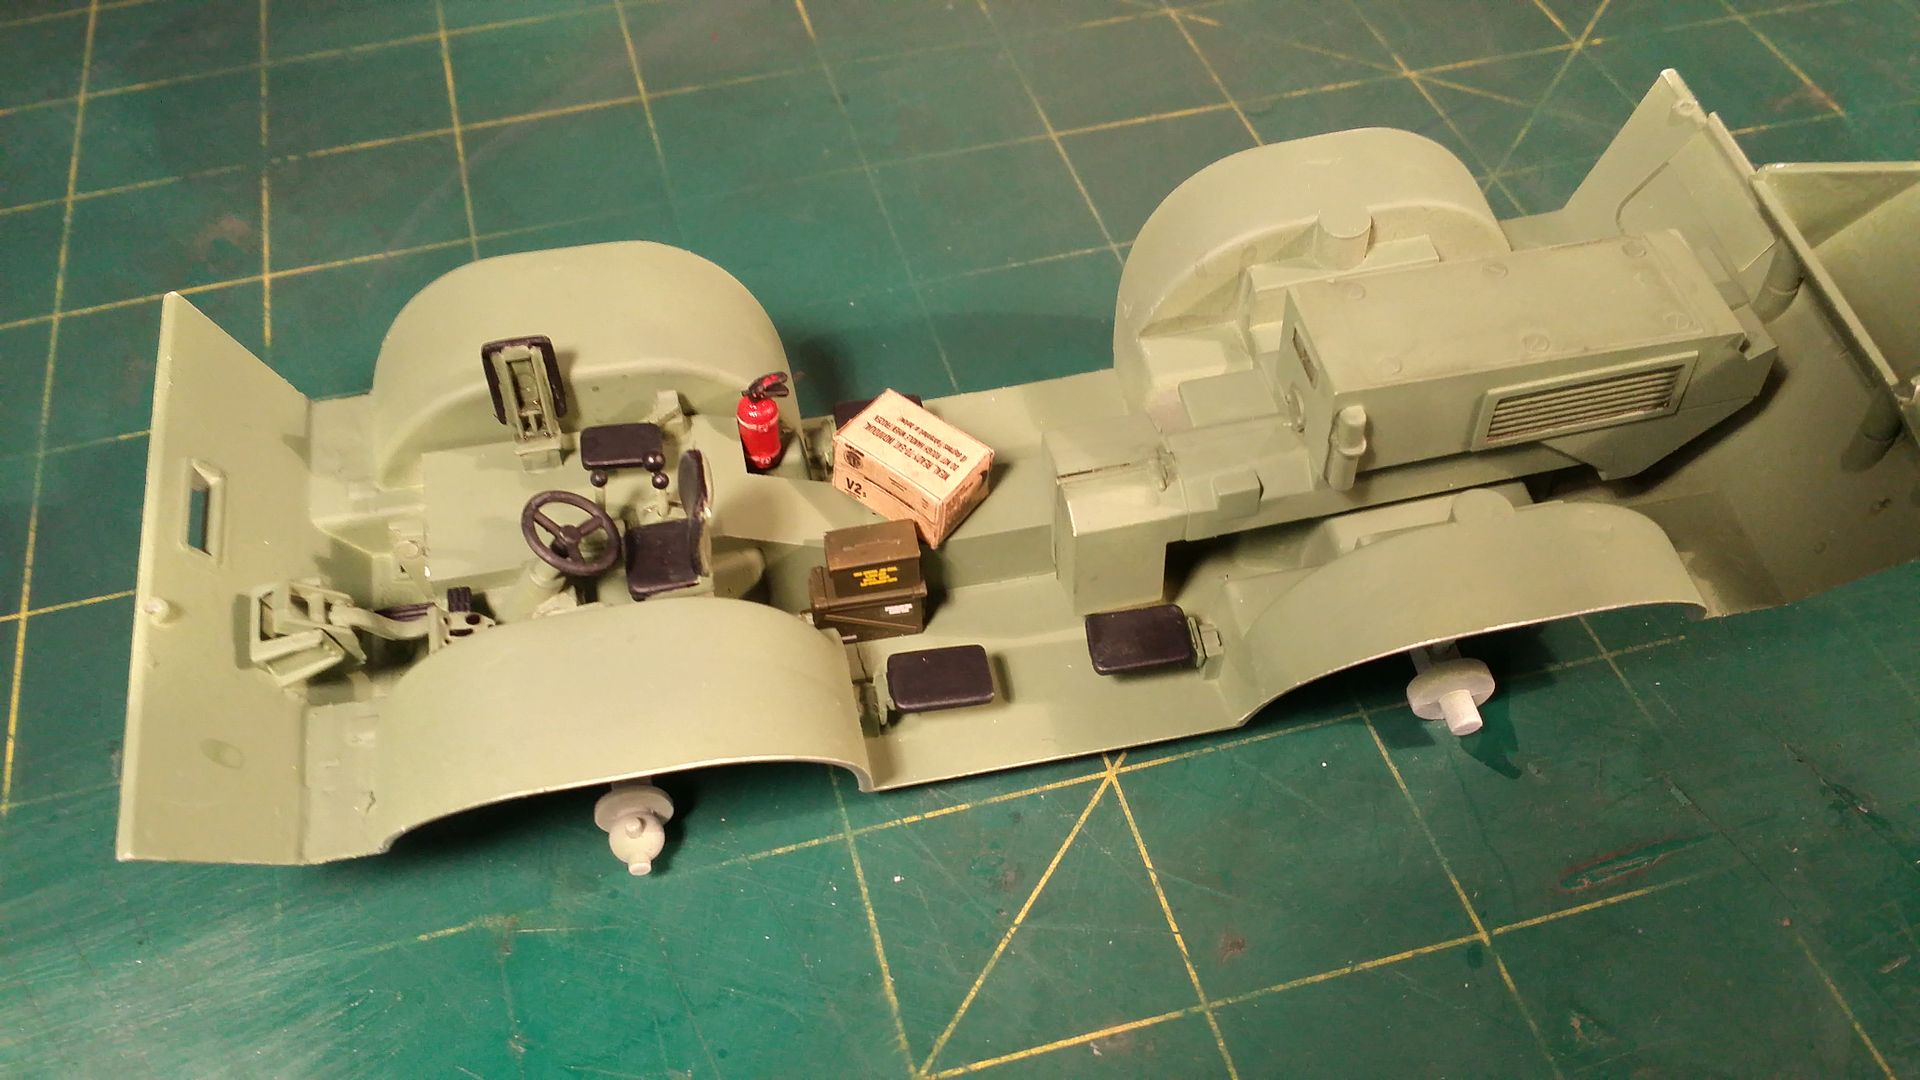
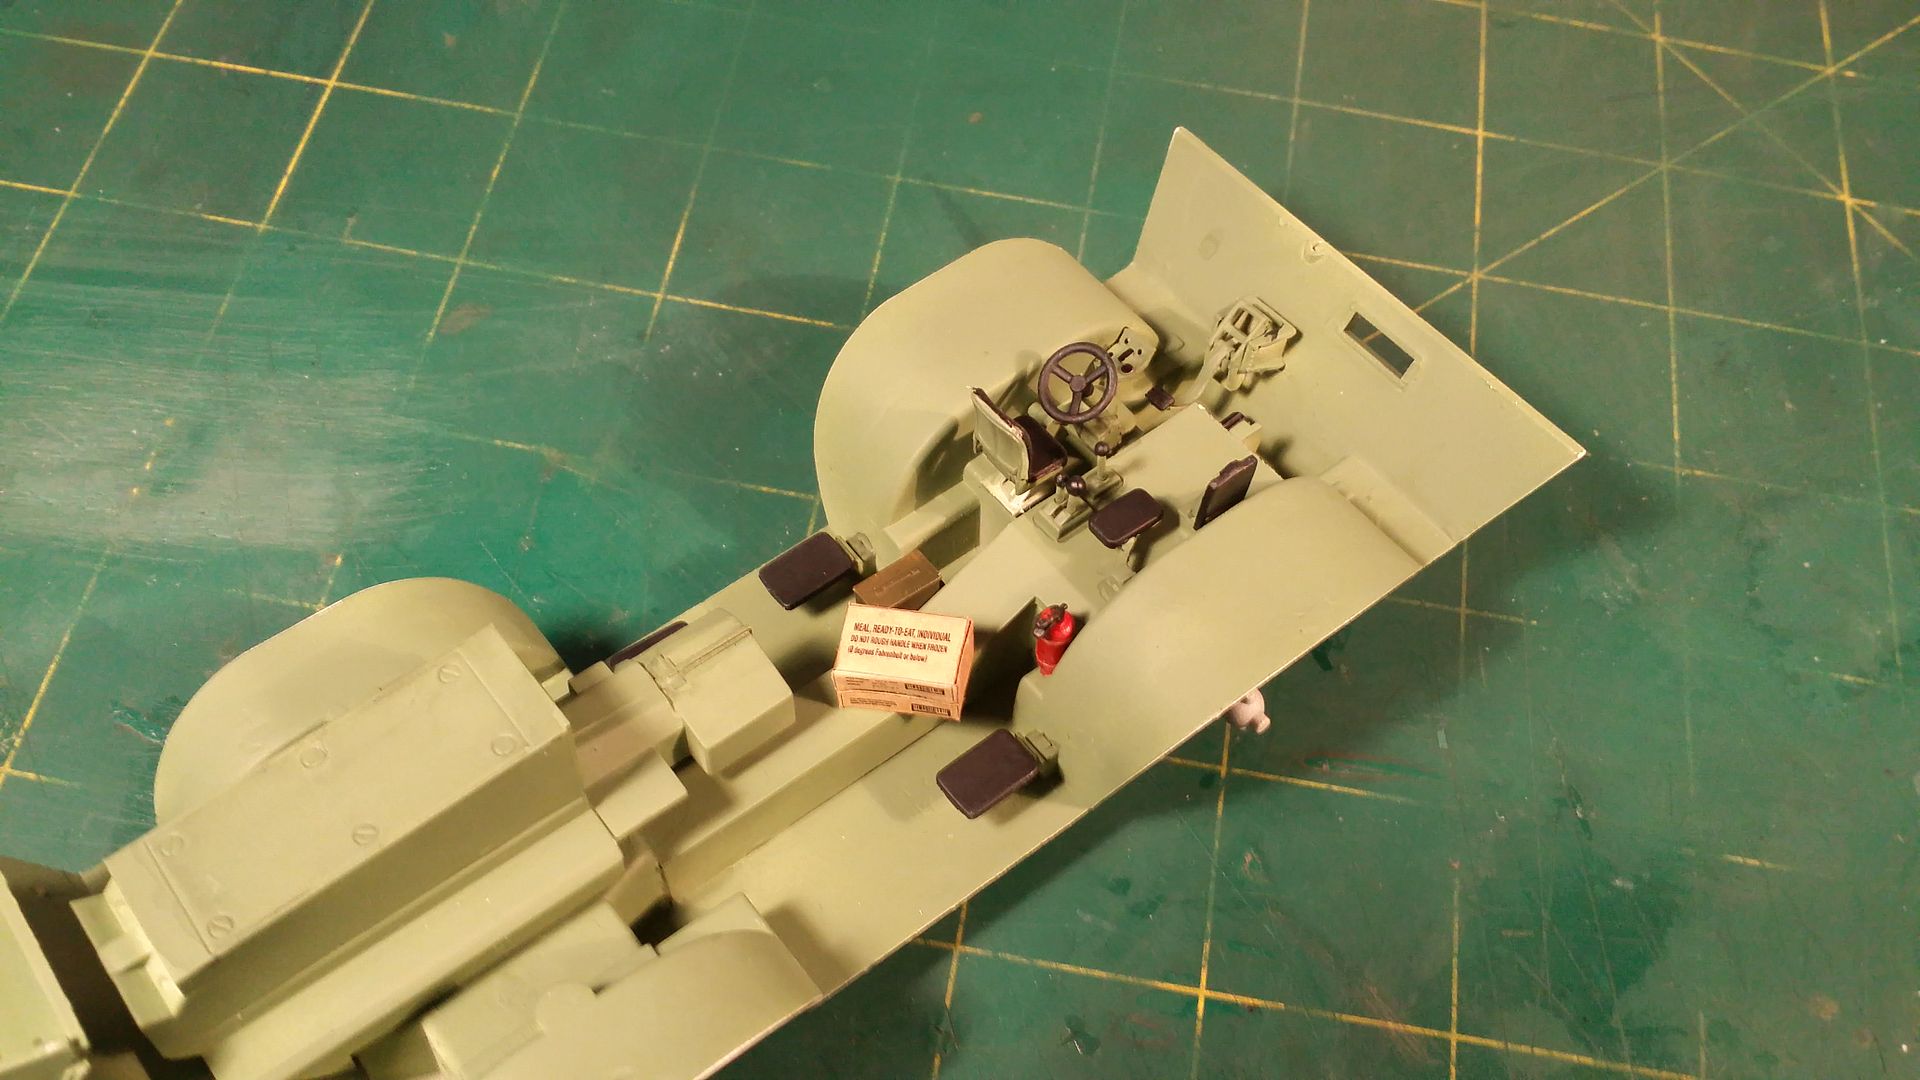
Upper and Lower Hull
The Turret
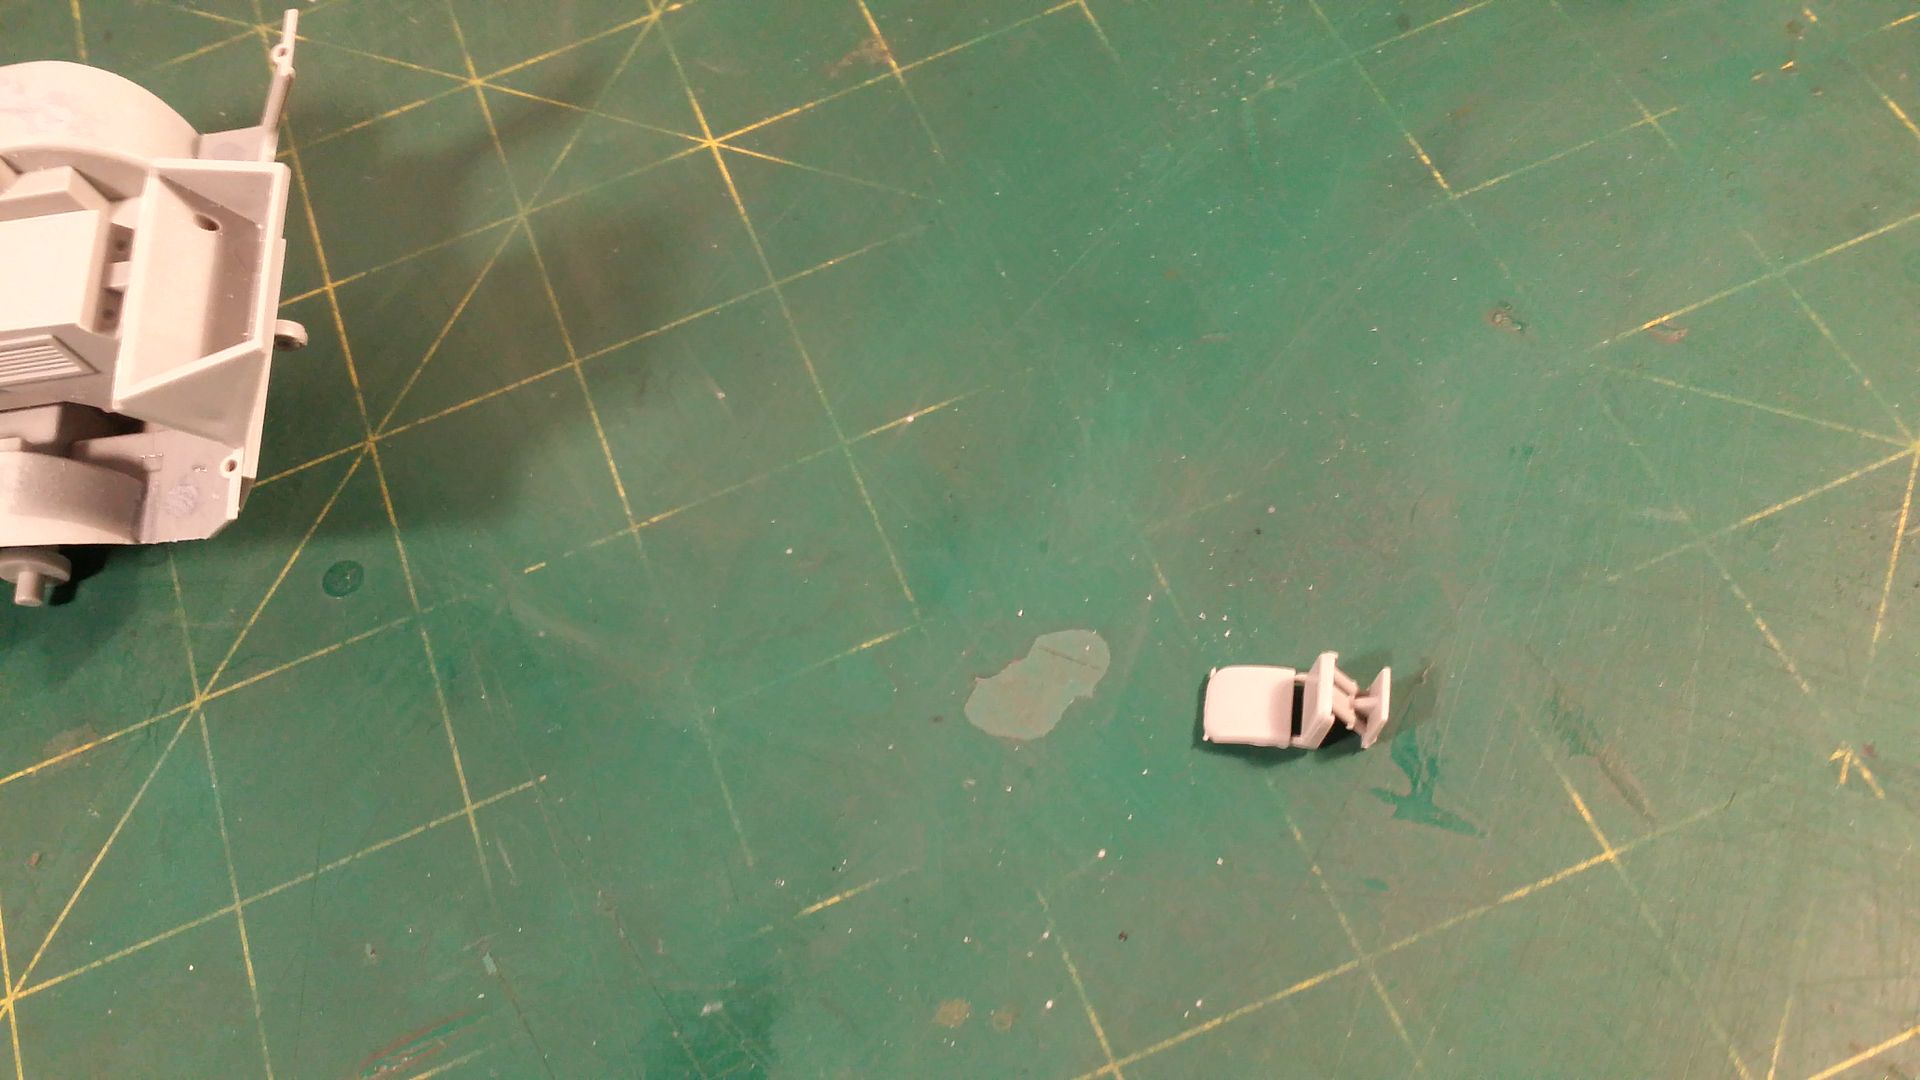
Other parts
Clear Parts
Photoetch parts
Tyres
Paint Scheme
Instructions
Overall Initial Impression
Yes the kit had no decals. But the actual Vehicle didn't seem to have any markings. This is the probably the only issue with this kit, for the price this kit (I bought it for $14 AUD) is remarkably detailed. You get photoetch parts a detailed exterior and lots of detailed small parts. The hulls are also kept together by some kind of tape which doesnt damage the plastic. this is a nice touch. It seems that It should build up to be a very nice model.
As always, I hope you liked the post, and all comments are welcome. This is goodnight from my end and hope you all have a great day! (or a good night)


Comment