


This is my attempt at building something in the style of our old friend Ron.
Right, this is certainly no easy task for me. But, as we all know, Ron could knock up a dio, out of any bits and pieces he had lying around. So that's what I'm going to attempt.
I haven't bought anything extra for this task, even the old Mk 1 Escort has been in the stash for years.
'We found a classic' is the basis of this story, Ron often added stories to his dio's so this is mine.
There have been rumours of an old MK1 Escort lost at the back of some old industrial yard, and finally, after many days / months searching, it's been found.
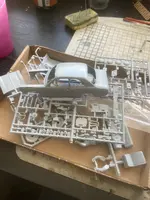
The center piece, will be this old Escort.
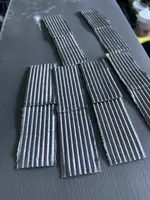
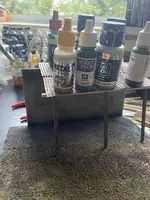
These are corrugated iron sheets - honestly, they are.
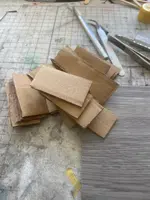
Trying to find inspiration
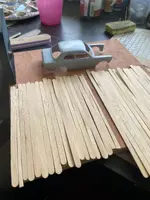
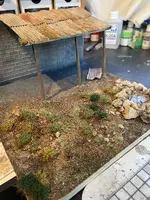
Then finally, a bit of an idea appeared. A block wall will be the back of the unit. With a bit of an old lean to, attached to the wall. I think !
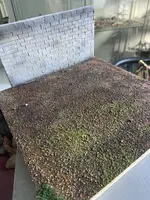
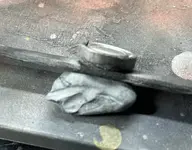
First things first, I need a wall. This is a bit of old flooring, covered in Pollyfilla, then as it started to set, I marked it up to represent the blocks.
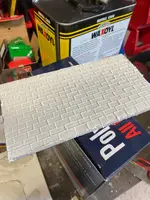
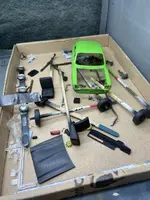
As my wall dries, I might have a look at the Escort. The funny thing here is, I don't actually have to build it, the car might have been partially dismantled ?
Right, this is certainly no easy task for me. But, as we all know, Ron could knock up a dio, out of any bits and pieces he had lying around. So that's what I'm going to attempt.
I haven't bought anything extra for this task, even the old Mk 1 Escort has been in the stash for years.
'We found a classic' is the basis of this story, Ron often added stories to his dio's so this is mine.
There have been rumours of an old MK1 Escort lost at the back of some old industrial yard, and finally, after many days / months searching, it's been found.
The center piece, will be this old Escort.
These are corrugated iron sheets - honestly, they are.
Trying to find inspiration
Then finally, a bit of an idea appeared. A block wall will be the back of the unit. With a bit of an old lean to, attached to the wall. I think !
First things first, I need a wall. This is a bit of old flooring, covered in Pollyfilla, then as it started to set, I marked it up to represent the blocks.
As my wall dries, I might have a look at the Escort. The funny thing here is, I don't actually have to build it, the car might have been partially dismantled ?


 That's looking superb, truly in the style of Ron

