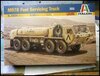
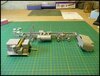
Started on this tonight.
View attachment 388847
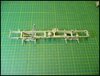
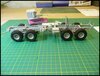
View attachment 388848
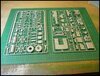
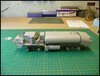
View attachment 388849
Looks to be a reasonable build with the usual bit of care to get all the axles lined up.
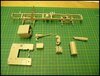
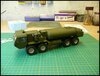
View attachment 388850
I am thinking of going with the alternative green/black /brown camo scheme, but that may change.
Andy.
View attachment 388847
View attachment 388848
View attachment 388849
Looks to be a reasonable build with the usual bit of care to get all the axles lined up.
View attachment 388850
I am thinking of going with the alternative green/black /brown camo scheme, but that may change.
Andy.