Theme editor

Scale Model Shop

1/12 1966 Ford GT 40

Thread owner
A little more progress.
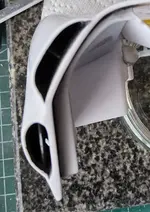
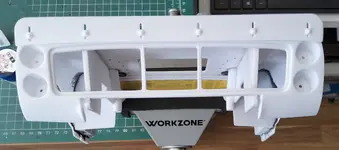
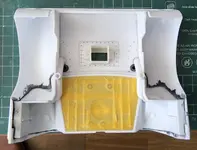
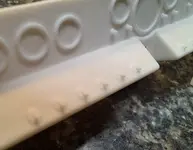
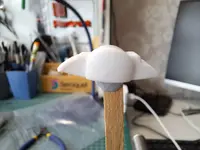
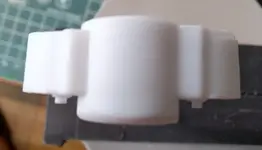
The engine lid mounted brake cooling snorkels were too horizontal so added 2 mm card to base and sanded the trailing edge back to original level with gentle slope to the front thereby raising the opening 2 mm - hard to see in the photo.
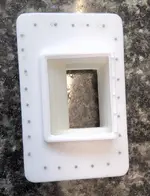
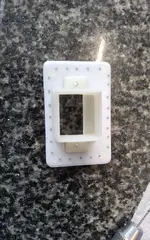
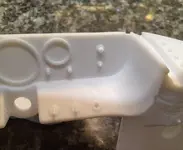
Tarted up the oil filter housing which was open and made provision for connectors and hoses later. filedata/fetch?filedataid=255470
wAAACH5BAEKAAAALAAAAAABAAEAAAICRAEAOw==
filedata/fetch?filedataid=255469
wAAACH5BAEKAAAALAAAAAABAAEAAAICRAEAOw==
​ ​
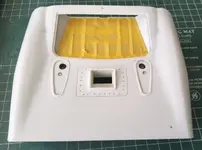
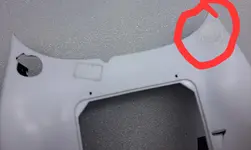
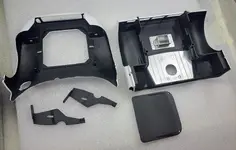
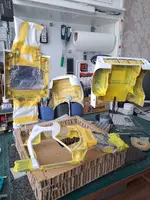
Carefully opened the louvre vents on the roof and busy now opening the air intakes on the side of the engine clamshell.
Thanks for looking and the reactions and comments.
filedata/fetch?filedataid=255472
wAAACH5BAEKAAAALAAAAAABAAEAAAICRAEAOw==
filedata/fetch?filedataid=255473
wAAACH5BAEKAAAALAAAAAABAAEAAAICRAEAOw==
filedata/fetch?filedataid=255471
wAAACH5BAEKAAAALAAAAAABAAEAAAICRAEAOw==
 
Thread owner
Resurrection of an old thread and a build put on the back burner for numerous reasons.
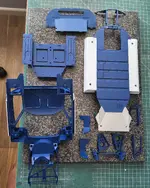
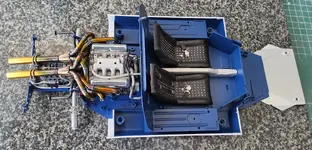
After many many hours of drilling, filing, fillng and sanding I eventually got some paint on the chassis/ monocoque.
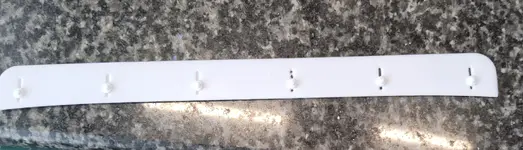
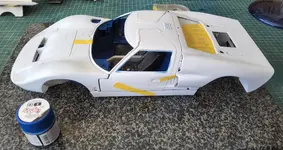
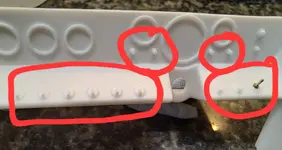
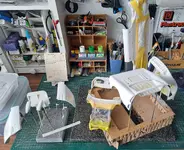
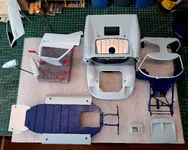
Opened up all 4 vents on the engine cover and the roof vents. Drilled and filed out the rear spoiler adjustment slots, applied numerous missing rivets on the engine clamshell and dry fitted various bits and bobs. Feel like I am getting somewhere at last some 120 hours into the build.
20260804_084827.webp20260804_084501.webp20260804_084543.webp20260809_165140.webp20260809_165607.webp20260809_170131.webp20260809_170622.webp20260809_170705.webp20260809_170813.webp20260804_084625.webp
 
Thread owner
Thanks all for the positive comments, there is still alot to do and many hours of masking, painting and dealing ahead but am determined to finish it to the best of my abilities.
 
Thread owner
Quick update.
Filled in the N/S fuel filler as it wasn't present on the 1966 LM cars.
20260813_140412.webp20260813_140407.webp
Painted the inside of both clamshells semi gloss black, used Tamiya LP5 for the first time and was mightily impressed although it does pong a bit.
20260813_140253.webp
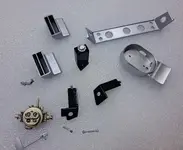
Painted bits and bobs in various silver/ gold shades and gloss black.
20260813_140022.webp
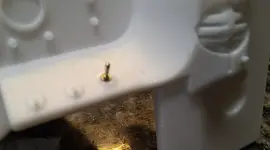
As its too hot to paint I made a tentative start on the dashboard. The moulded in toggle switches are rudimentary at best so I removed the switch lever, drilled a 0.8mm hole and inserted an after market turned replacement which looks 100% better - just held in with PVA for the photo - only 12 more to do.
20260813_135301.webp20260813_135310.webp20260813_135139.webp20260813_135204.webp
 
Thread owner
Just finished modifying the dashboard without going overboard.
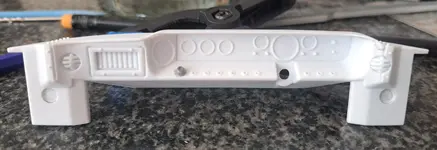
All holes drilled for metal toggle switches (only 9 not 13 as I first thought) and scratch built rheostat switch added.
20260814_134951.webp

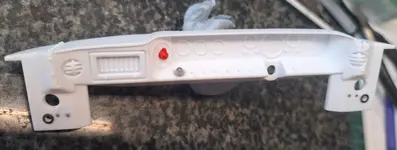
Further work involved drilling access holes, the smaller ones will have the PE ring painted black to simulate a grommet through which electric cables will pass. Added some missing rivets. The red greebly is an attempt at a master kill switch which is placed where the speedometer normally sits. The LM cars had no speedo but were recorded at 205 MPH down the old Mulsanne Straight, the RPM was restricted to 5500 to conserve the engine.
20260814_150014.webp

Quick question, if you stretch clear sprue does it remain clear? Just asking because the fuse box on the left of the dash is crying out for proper glass fuses.
Thanks for looking.
 
Thread owner
After many, many, many hours of masking eventually got the white primer applied.
After flatting down will paint the Arcadian Blue and will NOT be remasking for it but will have to do it all again for the clearcoat after decals applied.
20260817_141721.webp20260817_173758.webp
 
yep ive built 8 1/12 scale cars full can of mr surfacer black, full can of ts paint and almost 2 cans of super clear per car
 
Thread owner
Whilst waiting for the primer to be fully cured I decided to tackle the brake calipers.
Before:
20260818_141643.webp20260818_141611.webp
20260818_141558.webp
After:

20260818_141717.webp20260818_141743.webp
20260818_141804.webp

Added fluid connection fitting, bleed nipple, caliper fluid connector pipe and extra assembly bolts.
Only 3 more to do.
 
Back
Top