While waiting for paint to harden then discovering I have run out of flat black the bench would be empty for at least three days. That will not do, so...
View attachment 426439
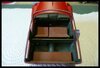
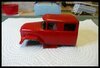
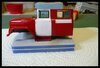
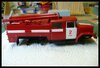
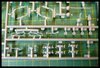
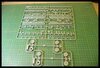
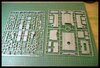
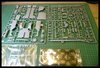
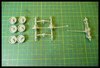
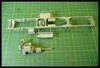
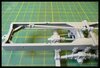
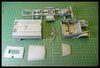
Sprue shots.
View attachment 426440
View attachment 426441
View attachment 426442
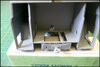
Very clean mouldings with no obvious flash and very well detailed small parts.
View attachment 426443
View attachment 426444
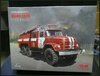
I think this will be a very interesting build.
Andy.
View attachment 426439
Sprue shots.
View attachment 426440
View attachment 426441
View attachment 426442
Very clean mouldings with no obvious flash and very well detailed small parts.
View attachment 426443
View attachment 426444
I think this will be a very interesting build.
Andy.


 ,
,")