G
Guest
Guest
Looking good Joe, sounds like this will not be your First & Last AFV build.... ") .
.
John.
.John.
 .
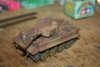
.Enjoying ti so far so probably will experiment with some other vehicles too. Thanks for the comments chaps and chappette\ said:Looking good Joe, sounds like this will not be your First & Last AFV build....
That's a handy tip. Not sure it would work here though.\ said:I normally use the smallest stapler ...
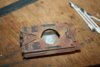
Hey Aaron, cheers for the support. There are pins but the holes they pass through are very thin at the edges so I can't push them through without ruining the holes. I'm going to get this done today i reckon.\ said:Not too far from done aye? What Matt varnish do you use?
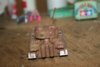
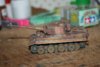
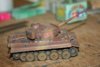
Thanks Patrick, nice to know I'm on the right track (no pun intended). Glad you are liking what you see so far.\ said:That's looking really good Joe - bigger than 1/72, which is always a good sign I think!
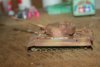
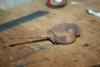
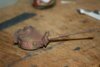
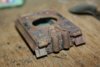
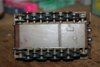
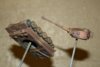
You've probably done the tracks by now, but I use superglue to hold them together & to add sag, I apply the glue & then stuff bits of household sponge under the sponsons to press the track against the roadwheels.
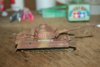
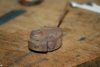
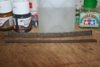
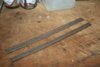
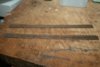
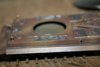
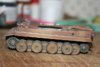
When I built my "Morser Karl" it had the rubbery tracks .......... I painted and muddied mine before I fitted them.and hid the join nicely under one of the road wheels.\ said:Patrick or Aaron, do you think a dark grey or light black wash with a light rust wash over the top do the trick? I'm about to paint the tank and will do some more on the tracks while it dries. Or is it advisable to apply the wash after they are fitted. There is going to be some touch ups required afterwards because of the heat method of linking the track ends but I can probably hide that on the bottom.
scalemodelling.co.uk is a privately operated online discussion forum. All content posted by members reflects their own views and opinions and does not necessarily represent those of the forum owners or administrators. While reasonable efforts are made to moderate content, no responsibility is accepted for user-generated material. By using this site, you agree to comply with UK law and the forum rules.