Theme editor

Scale Model Shop

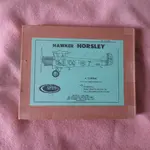
Contrail 1/72 Hawker Horsley vacform

Steve-the-Duck

Active member
SMF Supporters
Joined
Jul 3, 2020
Messages
1,872
Reaction score
253
Points
63
First Name
Chris
Location
Medway Towns
1/3
Thread owner
The Horsley was a large day bomber, entering service in 1926 to replace the Fairey Fawn. It was later adapted to carry torpedoes, and even served out in the Far East until replaced by Vildbeests in 1935. It could be said to be the 'uncle' f the Hawker Hart series of light bombers

This is an OLD Contrail vacform, actually the first vac I've ever completed. Observant viewers may have noticed the finished beast with pics of my scratchbuilt Aldershot
I thought I'd post a quick build thread separately
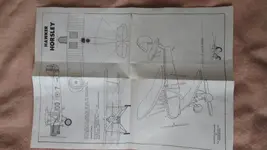
IMG_3293.webpIMG_3296.webp

IMG_3294.webp
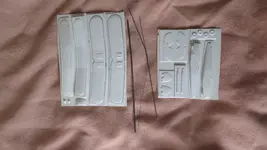
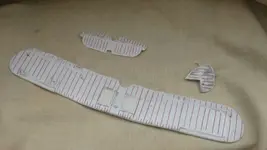
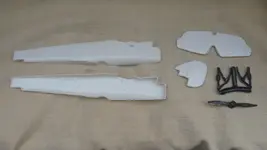
All the kit parts, including the strut material. No transfers were included in the kit, but that was no real loss
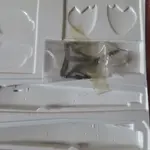
IMG_3295.webp
These are all the small injection parts, of which I think I only used the prop
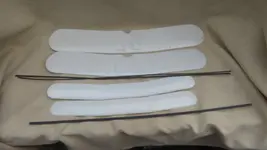
IMG_3448.webp
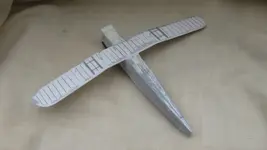
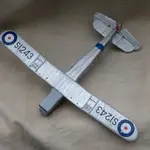
Wings cut out. I must have sanded them thin four or five times before I was happy with the thickness
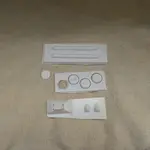
IMG_3449.webp
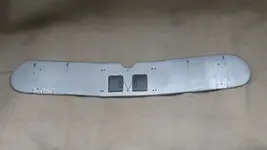
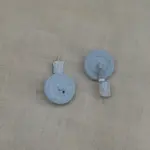
These are all the vac parts I ended up not using. The wheels were too small, the seats the wrong shape, the torpedo pointless as I had a couple of later marks from two different Beaufighters.
The radiator piece was too damaged to even think about usingIMG_3447.webp
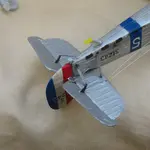
Missed this one. The tail and rudder finished to the right thickness. The prop was usable, but the undercarriage legs were no use as they were too flat
 
Last edited:
Thread owner
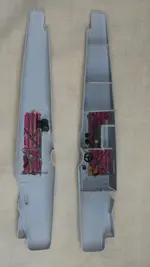
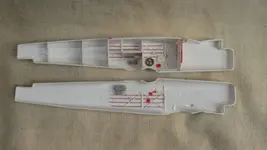
Always start with the fuselage interior. The layout is inspired by my Montex resin Fairey Fawn, as there are precisely NO cockpit pics of the Horsley I can find
The radio set is out of an AModel Hart, which will eventually mutate into a Hart trainer
IMG_3450.webp
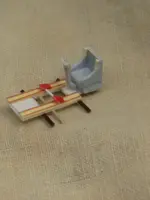
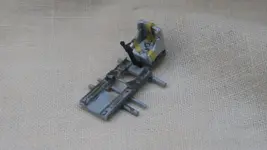
The pilot seat is asymetric, mounted on the starboard side. Once it was actually in place, it still wasn't far enough over. Inspiration this time is the Hawker Fury cockpit, and the seat is out of ubiquitous Airfix Ju.88s. I must get another Ju.88 A4 to do an Italian one...
IMG_3451.webpIMG_3452.webpIMG_3454.webp
And paint on, with seat belts from Tamiya masking tape. I always do the insides red, as per Swordfishes and Harts
IMG_3457.webp
I found an online build, where the used micro rod in indented rib detail to make them stand out m ore. Labourious, to say the least. But it did paint well
After having to peel off the first pass of grey undercoat

Next time I do something like this, I'm going to go with the scribed 10 thou sheet for skinning. Not that I've got anything else this big in the offing
 
Fabulous stuff steve ,its a very brave man who takes on a vac form ( something I’ve yet to do :eek: )
Great progress so far , cockpit and wings are looking excellent
 
Thread owner
Fabulous stuff steve ,its a very brave man who takes on a vac form ( something I’ve yet to do :eek: )
Great progress so far , cockpit and wings are looking excellent
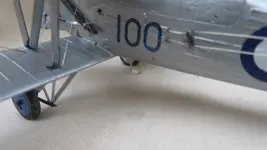
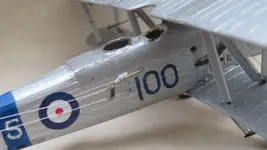
Well, technically, the Horsley was finished before the Aldershot, but I will get around to the finished pics once I'm done here

So this was about the time things went a little astray.
I added bomb racks, even though it was going to be carrying a torpedo. The bomb-aimer's hatch was an easy addition, but I didn't take any pics of the radiator in construction. Soon after this, I discovered the wing wasn't central, so it had to come off and be re-positioned 3 mil to the right
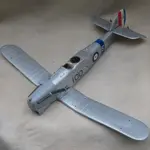
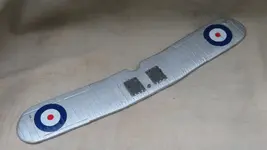
IMG_3456.webpOn with the paint, rattle can silver, and all markings on. Roundels are Xtradecal, numbers are Ventura. I left it until this stage before opening up the gunners position, to save a bit of masking, and then had to shove the pilot's seat over a couple of mil just to be in the right place The squadron badge is a modified Modeldecal piece from the Harts/Hinds set. The squadron numbers are black, painted over with an appropriate blueIMG_3459.webp
Usually, it's the top wing that gets fully finished first. Lots of little details added here, the gun sight out of a Hart, exhaust pipes from rod, header tank from strut stuff
IMG_3461.webp
The upper wing tanks had a few catches and vent pipes added
IMG_3462.webp

IMG_3460.webp
And this was the underside finished. Note the roundels are a bit damaged, which keeps happening to a smaller and smaller degree, but they touch up well with paint
 
Last edited:
Thread owner
So, finally, the top wing went on fine. The kit includes two card formers for strut placement, which is a damn good idea. If you don't have a jig. Which I do doubly so now

Tail skids are always fun on these things, as the photos never quite show them in enough detail
IMG_3474-1.webp
So, the wheels in the kit are way undersized. So, off to the Ju.88 bits stash again, bit of shaping and thinning, and we're there
IMG_3473.webp
The step is just a loop of brass rod and a strip of plastic. Of course, it's a disaster waiting to happen that the 'plane is already rigged by this stage!
IMG_3475.webp
Then there's the auxiliary generator in it's stowed position
IMG_3476.webp

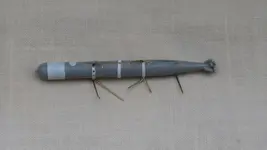
And finally, the torpedoIMG_3483.webp
I had a torp out of an old Airfix Beaufighter TF.X, but I went with one from the Hobby 2000 ex-Hasegawa Beaufighter I. That 'plane will appear sometime, in Italian war-prize scheme
Fortunately, one of the photos I have of the Horsley shows the torp and cradle in great detail. Took a while getting the brass bits for the cradle to fit right

Speaking of that photo, after the 'plane was practically done, I found my Bookazine on Interwar bombers, which showed all sorts of little details, like windows and vents, that I just had to add
Research first, then build!

The finished article pics will post later in the completed section
 
Back
Top