It's a good job I don't have too many holidays. I'd be catching up with Graham in terms of the number of kits I get through!
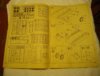
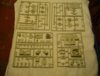
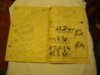
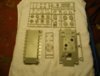
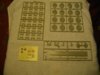
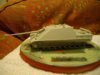
Here's what I'm doing for my second GB. I may very well put this in a simple dio.
Gern
View attachment 25716
View attachment 25717
View attachment 25718
View attachment 25719
View attachment 25720
View attachment 25721
View attachment 25722
View attachment 25723
View attachment 138242
View attachment 138243
View attachment 138244
View attachment 138245
View attachment 138246
View attachment 138247
View attachment 138248
View attachment 138249