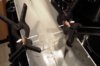
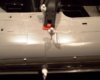
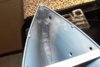
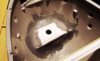
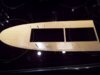
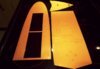
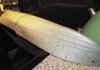
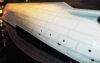
The aftermarket looks exciting-what's the steam thing and how does it work?
Btw, great work
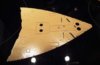
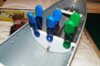
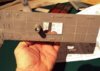
The tube has an element inside that warms up, the liquid is put into the tube via a dispenser.
The liquid heats up producing smoke., I have no idea what the liquid is but experimenting at the moment to see what else works.