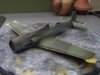
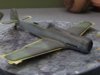
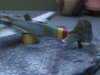
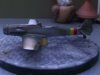
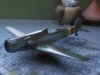
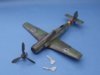
Snail's pace progress...
View attachment 240207
View attachment 240208
View attachment 240209
View attachment 240210
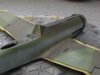
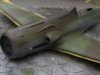
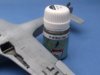
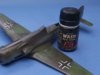
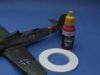
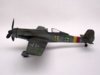
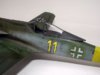
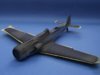
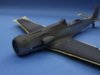
I'm tackling the camo/mottling slowly because I'm not really sure what I'm doing. Not got much experience doing this sort of scheme!
Matt
View attachment 240207
View attachment 240208
View attachment 240209
View attachment 240210
I'm tackling the camo/mottling slowly because I'm not really sure what I'm doing. Not got much experience doing this sort of scheme!
Matt
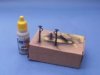
") Sometimes for Mottling I find a cut up sponge helpful to paint with
Sometimes for Mottling I find a cut up sponge helpful to paint with ")