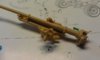
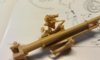
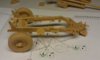
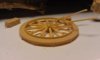
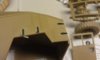
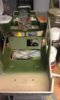
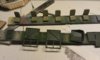
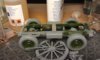
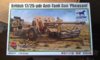
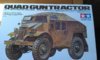
As I have a slight problem with the 17lb'er I posted in the other thread I will be turning to plan B; A 17/25pounder Pheasant with a Ford Quad tractor.
It turns out that the 17 didn't see much action in the desert and the quad didn't pull it around in Europe. Not wishing to blow the better part of £80 just to build a Crusader gun tractor, I Had a change of plan.
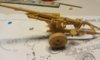
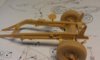
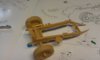
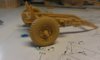
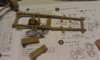
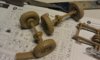
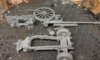
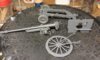
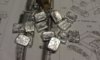
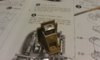
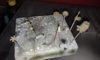
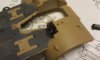
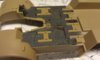
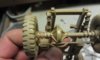
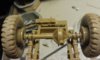
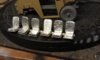
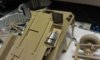
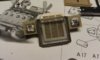
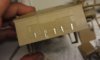
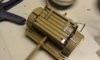
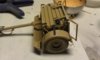
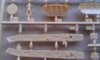
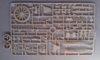
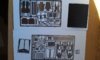
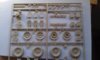
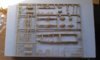
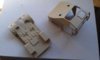
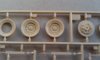
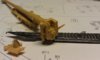
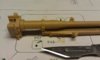
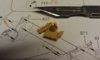
So here are the sprue shots of the 17/25 and the quad.
View attachment 48042 View attachment 48043 View attachment 48044 View attachment 48045 View attachment 48046 View attachment 48047 View attachment 48048
View attachment 48049 View attachment 48055 View attachment 48054 View attachment 48053 View attachment 48052 View attachment 48051 View attachment 48050 View attachment 48056
So there you have it. I will make a start some time soon.
Ian M
View attachment 50923
View attachment 50924
View attachment 50925
View attachment 50926
View attachment 50927
View attachment 50928
View attachment 50929
View attachment 50930
View attachment 50931
View attachment 50932
View attachment 50933
View attachment 50934
View attachment 50935
View attachment 50936
View attachment 50937
View attachment 163949
View attachment 163950
View attachment 163951
View attachment 163952
View attachment 163953
View attachment 163954
View attachment 163955
View attachment 163956
View attachment 163957
View attachment 163958
View attachment 163959
View attachment 163960
View attachment 163961
View attachment 163962
View attachment 163963
It turns out that the 17 didn't see much action in the desert and the quad didn't pull it around in Europe. Not wishing to blow the better part of £80 just to build a Crusader gun tractor, I Had a change of plan.
So here are the sprue shots of the 17/25 and the quad.
View attachment 48042 View attachment 48043 View attachment 48044 View attachment 48045 View attachment 48046 View attachment 48047 View attachment 48048
View attachment 48049 View attachment 48055 View attachment 48054 View attachment 48053 View attachment 48052 View attachment 48051 View attachment 48050 View attachment 48056
So there you have it. I will make a start some time soon.
Ian M
View attachment 50923
View attachment 50924
View attachment 50925
View attachment 50926
View attachment 50927
View attachment 50928
View attachment 50929
View attachment 50930
View attachment 50931
View attachment 50932
View attachment 50933
View attachment 50934
View attachment 50935
View attachment 50936
View attachment 50937
View attachment 163949
View attachment 163950
View attachment 163951
View attachment 163952
View attachment 163953
View attachment 163954
View attachment 163955
View attachment 163956
View attachment 163957
View attachment 163958
View attachment 163959
View attachment 163960
View attachment 163961
View attachment 163962
View attachment 163963
Attachments
-
 04sprue2 detail.jpg2.3 KB · Views: 0
 -
 03sprue 2.jpg2.1 KB · Views: 0
 -
 02sprue 1.jpg2.2 KB · Views: 0
 -
 01Box top.jpg2.5 KB · Views: 0
 -
 07 Eduard PE set..jpg2.4 KB · Views: 0
 -
 06 sprue A.jpg1.9 KB · Views: 0
 -
 05 sprue B.jpg2.2 KB · Views: 0
 -
 04 sprue C.jpg2 KB · Views: 0
 -
 03 clear sprue.jpg1.1 KB · Views: 0
 -
 02 big bits.jpg1.8 KB · Views: 0
 -
 05sprue 3.jpg2.5 KB · Views: 0
 -
 06sprue 3 detail.jpg2.1 KB · Views: 0
 -
 08 Instructions.jpg1.5 KB · Views: 0
 -
 07 ammo boxes.jpg1.9 KB · Views: 0
 -
 01 box art.jpg2.7 KB · Views: 0
")