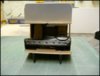
As this is my first plastic build for over 30 years this may take some time. After leaving the plastic behind I spent about 20 years building and flying RC model aircraft but since then I have been spending all my spare time on my motor bikes, but it's time to get modelling again.
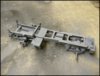
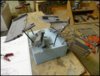
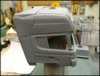
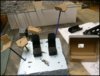
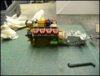
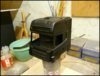
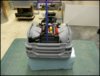
Just starting to get the chassis and various lumps together for painting.

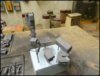
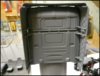
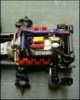
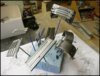
Do you guys reckon I should prime the black bits, or just paint right on the items, you can tell by the question that this stuff is all new to me.
Andy.
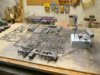
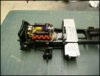
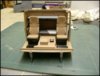
Just starting to get the chassis and various lumps together for painting.
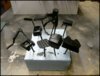
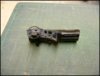
Do you guys reckon I should prime the black bits, or just paint right on the items, you can tell by the question that this stuff is all new to me.
Andy.