Hi ya all!
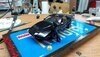
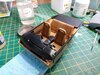
It's been a while. I finally started my Knight Rider build. As per usual it's been dragging along.
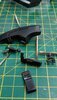
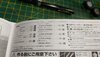
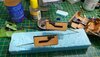
Here are some WiP pics of dashboard. Painting the individual buttons was quite a task and the colour chart had issues with the translation, with orange being the the main colour option.
Anyway, I was happy how it turned out.
Till next time.
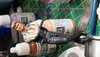
It's been a while. I finally started my Knight Rider build. As per usual it's been dragging along.
Here are some WiP pics of dashboard. Painting the individual buttons was quite a task and the colour chart had issues with the translation, with orange being the the main colour option.
Anyway, I was happy how it turned out.
Till next time.
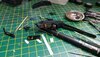


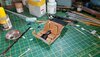
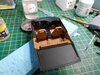
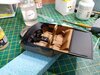
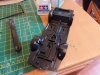
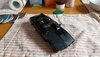
 assembled circuit test


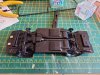
 KITT
KITT