Theme editor

Scale Model Shop

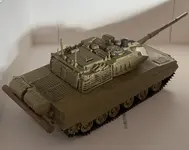
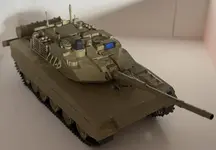
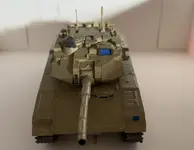
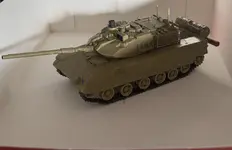
MENG 1/35 Chinese ZTQ 15 light tank with cage armour

Thread owner
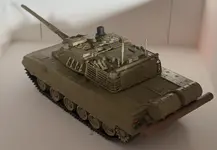
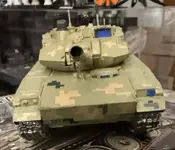
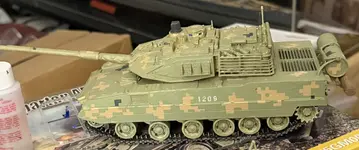
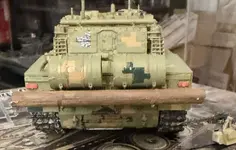
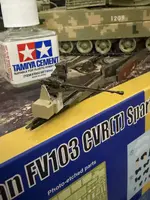
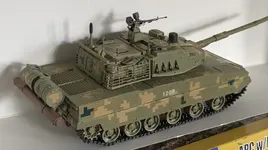
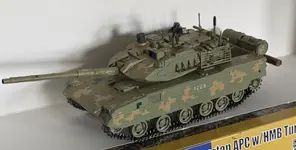
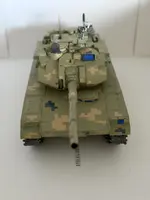
So the construction of the tank has nearly finished I’ve just got to put the drone protection screens on and the machine gun but first as you can see I’ve added all the other bits baskets and things various aerials sensors etc and given it a sort of weathered look as though it’s been on patrol for a couple of months up in the Arrid mountains as this is the colour scheme that would be used in those areas whereas in the tropical areas where it also serves it would be probably green and brown
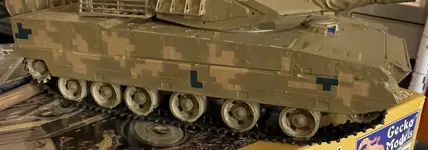
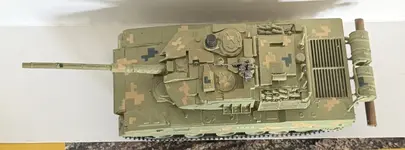
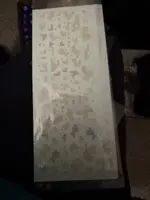
Next I’ve got about 100 decals to add to it this is the digital camouflage piece as you can see from the closed picture there’s loads of it so when is fully dried as it’s still slightly tacky from its last paint I will start applying the decals which is probably gonna take me a good couple of days looking at the amount there is anyway enjoy hopefully next time you see it I’ll have all the decals on itIMG_8237.webp
IMG_8239.webpIMG_8240.webpIMG_8241.webpIMG_8242.webpIMG_8243.webp
 
Thread owner
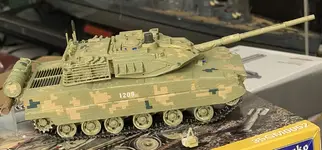
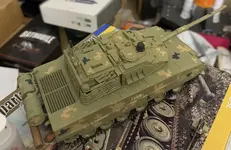
Started the digital camouflage I can say that these are probably some of the best decals I’ve ever used which is good because the whole camouflage scheme is produced using them so far 19 have been done 81 to go I’ve done the right hand side skirt and the fuel drums
Microsol Red is an absolute must here to allow the decals to conform to the rivets bolts etc especially on the fuel drums and later on the turret
IMG_8247.webp
 
Thread owner
Finishing up
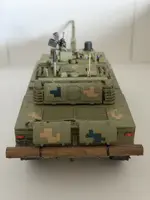
The digital camouflage has been added all I Gotta do now is build the machine gun and start work on the frames for the cage that goes over the top of the tankIMG_8257.webpIMG_8258.webpIMG_8259.webpIMG_8260.webpIMG_8261.webpIMG_8267.webpIMG_8285.webpIMG_8286.webpIMG_8287.webpIMG_8288.webp
 
Thread owner
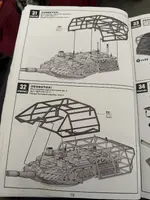
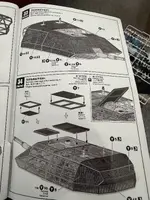
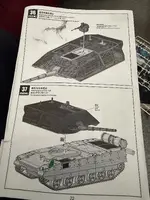
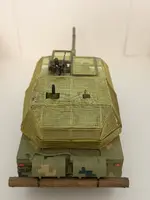
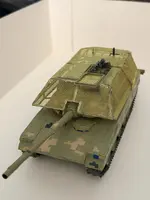
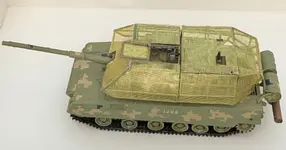
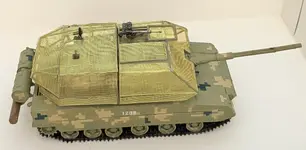
So tank is now finished the cages are a different matter once I’ve removed all the filaments from the 3-D printed frames they all distorted and went into trapezoidal shapes instead of remaining square which made the job a whole lot more difficult and I’m afraid of my cages look like they’ve been hit by about half a dozen drones at the same time they’re not good my advice to anyone buying this kit or building it is scrap the 3-D printed pieces and use 1 mm or 2 mm² plastic rod or wood glue it directly to the pieces of photoetch and then join it together afterwards if you use wood you can use PVA glue to stick the photoetch to the frame as wood glue will stick photo and wood together as I found out when building the HMS hood of several years ago doing it this way you will get dead straight frames and if you use PVA glue it’s transparent to it won’t matter if you’ve got glue splashes on your photoetch and forgot to wipe them off afterwards
The kit overall that’s the plastic parts is superb it all fits if it doesn’t fit it’s not the kit it’s you as they say in Tamiya circles i.e. their 1/32 Spitfire Mark IX part of that could be too much paint on the parts as there’s such a precise fit that you need to make sure that the parts you join don’t have any paint on them otherwise they will not fit and now a word on the photoetch absolutely the best I’ve ever worked with if you do as I say and scrap the 3-D printed parts and use either wood or plastic rod you will do these photoetch parts justice mine using the 3-D printed frames are a disgrace I wish I could get some more of the photo from
somewhere and I’d redo it using a wooden frame
So summing up if you want a really good tank model of a modern day tank I give this one 10 out of 10 with the exception of the 3-D printed pieces IMG_8272.webpIMG_8273.webpIMG_8274.webpIMG_8275.webpIMG_8276.webp
 
Thread owner
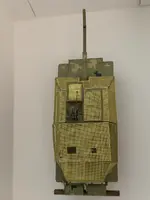
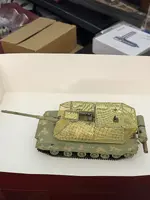
Well here it is in its cage it looks like something that they made in a cheap car workshop this now concludes the build of this tank time to move onto something elseIMG_8293.webp
IMG_8294.webpIMG_8295.webpIMG_8297.webpIMG_8296.webp
 

Attachments

  • IMG_8295.webp
    IMG_8295.webp
    610.8 KB · Views: 4
Last edited:
Back
Top