Theme editor

Scale Model Shop

Meng 1/35 Husky TSV

Mr Bowcat

SMF Supporter
Joined
Dec 29, 2016
Messages
4,736
Reaction score
225
Points
63
1/3
Thread owner
Afternoon all. :)

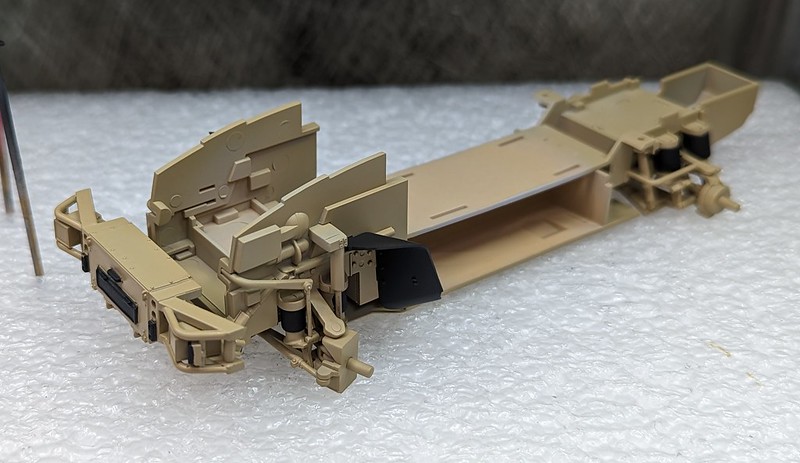
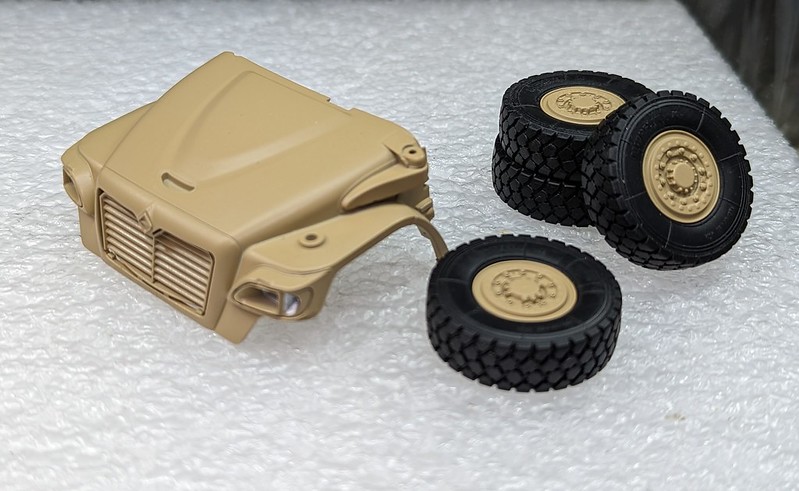
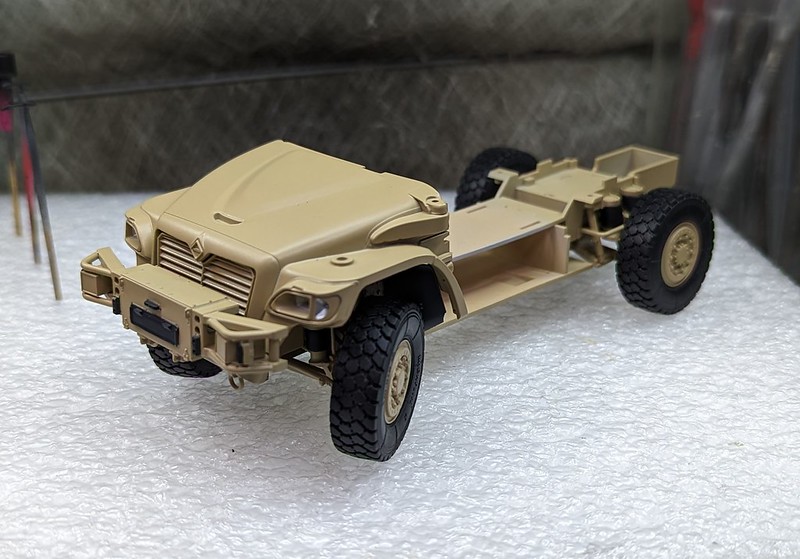
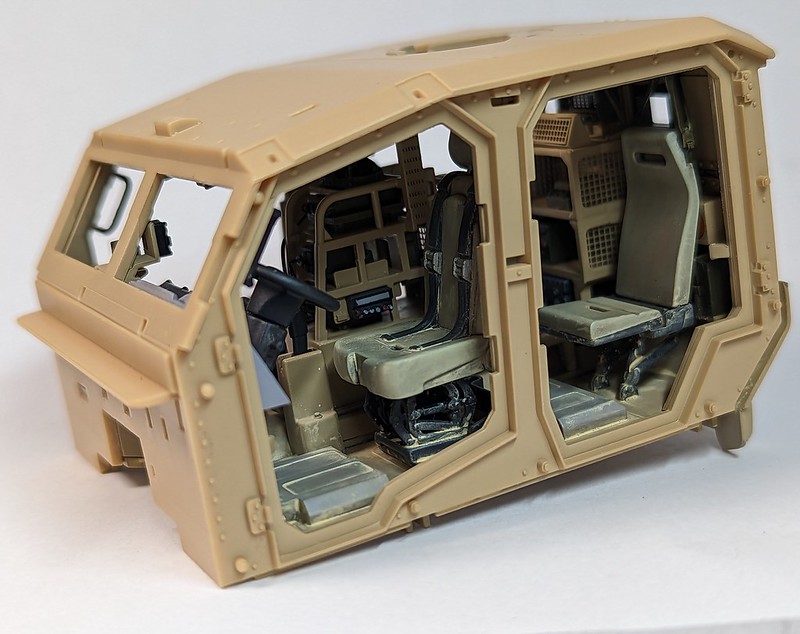
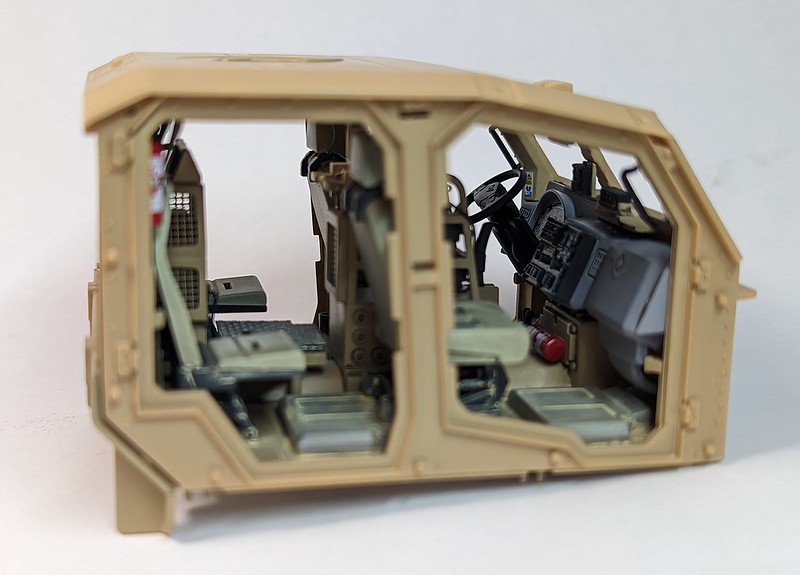
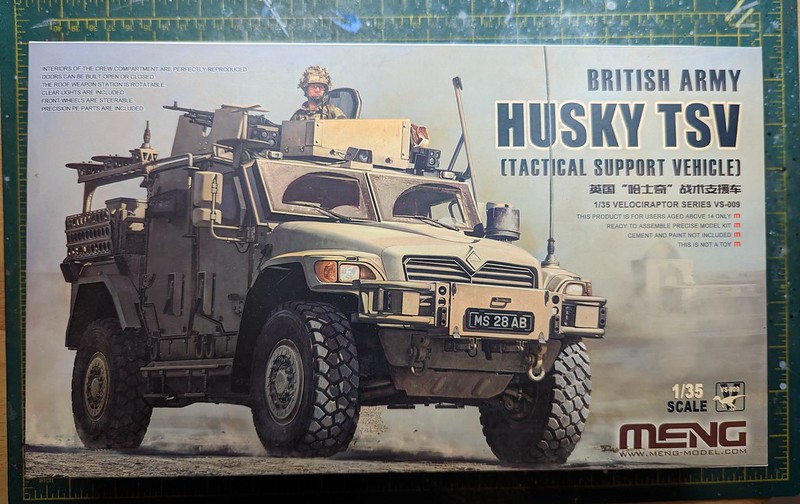
After a full year of building motorcycles I thought it was about time to get back to something armed and armoured. I built the M1240A1 M-ATV almost exactly a year ago, this is very similar but in British flavour.

52606678608_2a2f1e07b8_c.jpg


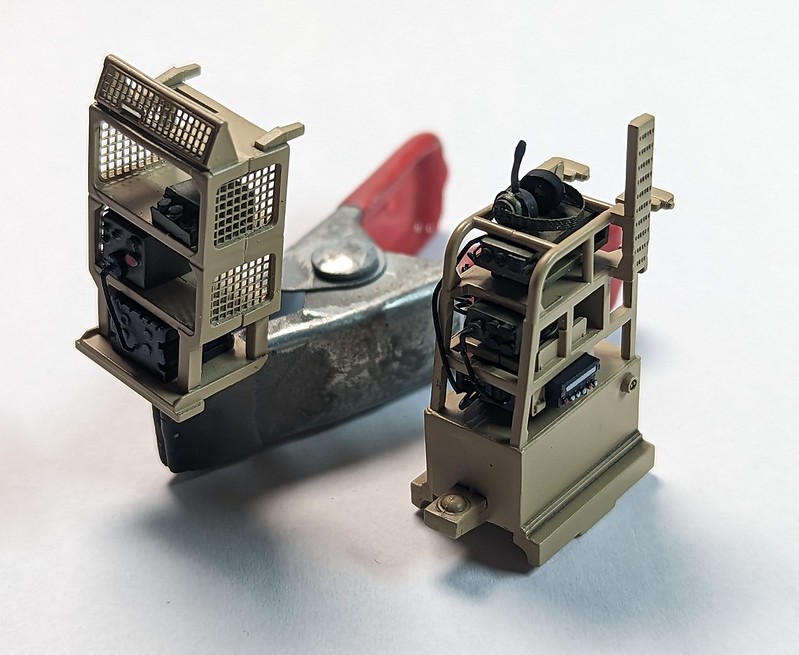
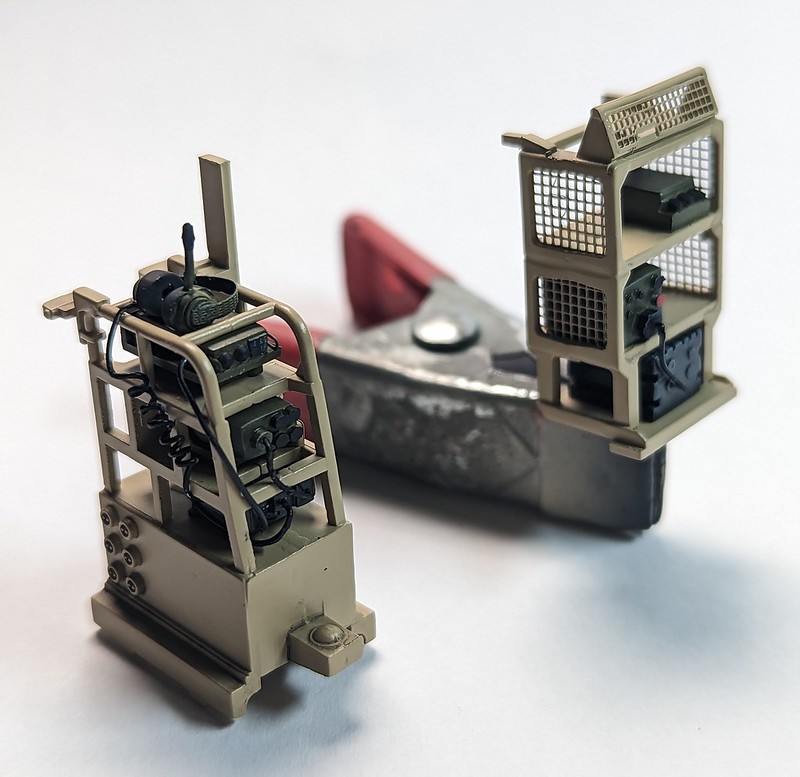
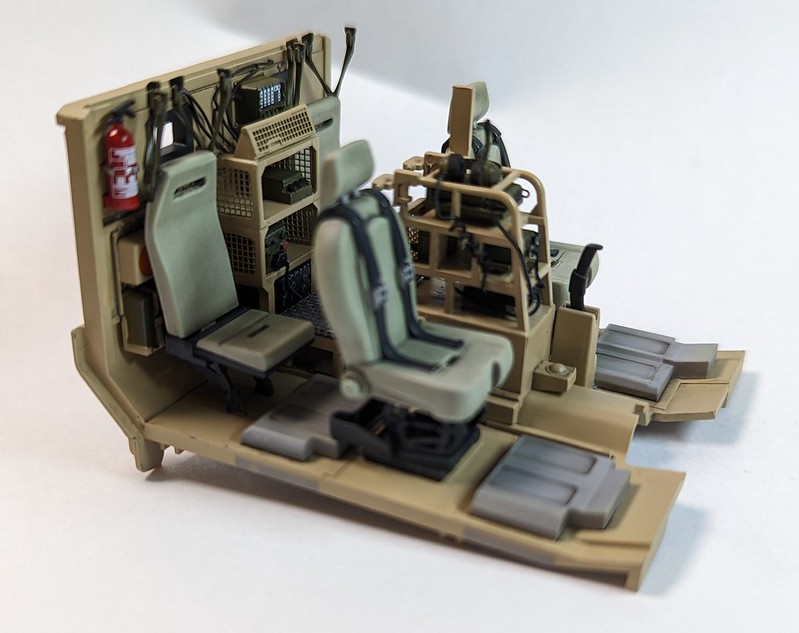
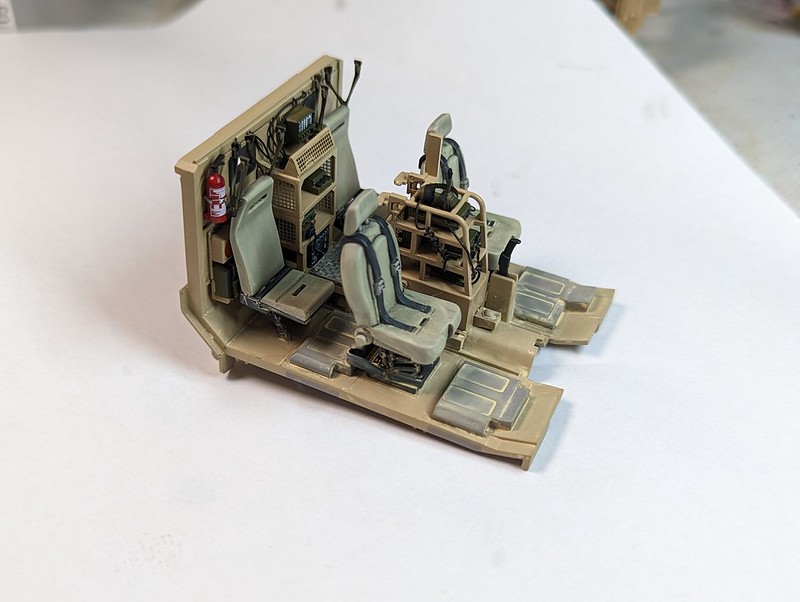
This will be a fairly straightforward build, I might scratch some radio gear. With the M-ATV I bought the 3D printed radio's and put in a lot of wiring detail, but realised at the end that you can't really see any of it anyway.
 
Thread owner
Morning all. :)

Made a start on this one yesterday, after a year of building bikes this fell together easily.

The kit is basically three parts, the chassis/running gear/bonnet, the cab and the rear bed. Without an engine the first part went fast.

Chassis/running gear.
52609635602_d6460d6275_c.jpg


Bonnet and wheels.
52610141271_174d5411c2_c.jpg


And a quick test fit of all the parts.
52610141246_5baf24fb49_c.jpg


This all needs a pin wash, and later some dirt and sand, but I think I will move on for now and do all the weathering when the various sub assemblies are together.

Paint is Hataka C238 Desert Tan, and some Tamiya LP for the blacks. I actually found I was almost out of the C238 so had to order more. Paint was £3.30, delivery was £4.50, so naturally had to add a cheeky kit to the order to make the postage worthwhile. :tears-of-joy:
 
Wow Bob, you really are off to a quick start on this one. You haven't lost your touch working in 1/35 either. That looks great!!!

Paint was £3.30, delivery was £4.50, so naturally had to add a cheeky kit to the order to make the postage worthwhile. :tears-of-joy:
Yup, one has to do what one has to do to save that postage!!!...

Prost
Allen
 
Thread owner
Cheers guys. :)

Didn't do much over the weekend, was out at the range most of yesterday practicing with a new rifle.

I did get most of the bits for the cab of the sprues and cleaned up ready for painting.
 
Thread owner
Morning all.

I've been working on the cab interior. As mentioned before the kit doesn't come with any type of radio gear to fill the shelving. Having built the M_ATV previously and splashing out on a 3D printed radio set I knew that not very much would be visible once the doors are on (even when open) so I decided to scratch some bits to go in there.

Now, full disclosure, I'm not much of a scratch builder but I used my imagination and made some blobs to represent radio's, transceivers, amps and a headset. This is what it all looks like, along with some wiring.

52633903452_fa892f1ac6_c.jpg


52634414896_332fabdecd_c.jpg


And this is what the interior currently looks like.

52634898803_8b46f2ae57_c.jpg


52633903467_6ca61341bb_c.jpg


It's just had a first weathering pass with some oil's at the moment, I will go back over it with sand and dust pigment to make it look a bit more lived in before closing up the cab.
 
Im not much of a scratchbuilder or i dont scratch build much ! Theres a difference, your the latter. Lovely job :thumb2:
 
Thread owner
Morning all.

Finished up the cab this weekend. First was a second weathering pass, I kept it simple with a sand clay wash followed up by some pigments, mostly on the floor and lower parts, and the seats. Again, not much will be seen once closed and with the (open) doors fitted so I didn't go mad.

52644297394_81ec3769fb_c.jpg


Next I had to finish the dashboard which had already been painted but needed a wash and 17 decals applied.

52643534792_1deca9fac7_c.jpg


And with that all done I could get the roof on. This all seems to fit well.

52644041401_e2c50417c8_c.jpg


52644297344_4bffdee8cb_c.jpg


I think next I will get the exterior of the cab and the doors painted, then move on to the rear bed.
 
Back
Top