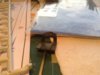
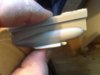
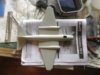
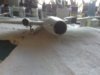
Well this is going to be my build for this SIG
View attachment 112242
View attachment 112243
View attachment 112244
View attachment 112245
View attachment 112246
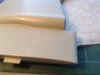
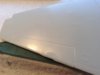
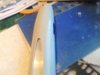
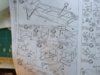
And I've got these to add to it
View attachment 112247
View attachment 112248
View attachment 112249
View attachment 112250
View attachment 112251
View attachment 225265
View attachment 225266
View attachment 225267
View attachment 225268
View attachment 225269
View attachment 225270
View attachment 225271
View attachment 225272
View attachment 225273
View attachment 225274
View attachment 112242
View attachment 112243
View attachment 112244
View attachment 112245
View attachment 112246
And I've got these to add to it
View attachment 112247
View attachment 112248
View attachment 112249
View attachment 112250
View attachment 112251
View attachment 225265
View attachment 225266
View attachment 225267
View attachment 225268
View attachment 225269
View attachment 225270
View attachment 225271
View attachment 225272
View attachment 225273
View attachment 225274


")
")