
G
Guest
Guest
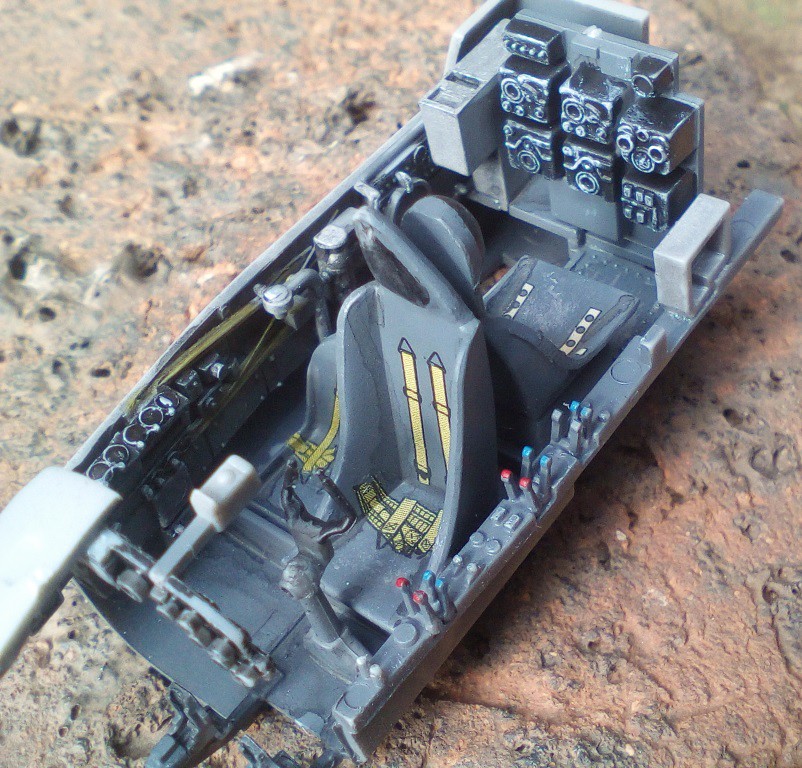
This promodler kit is not what I expected, the fit is not very good, the pannel lined on the fuselage does not line up either, had to sand then down and re scribe.

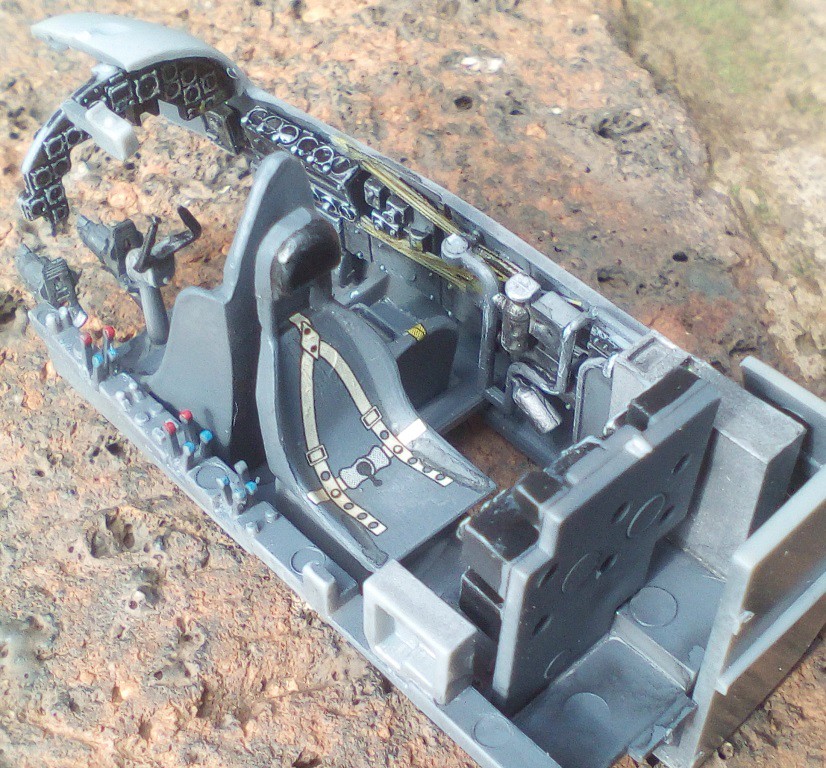
Cockpit detail however is actually good out the box, I just added the standard yellow electrical harnass.
Since the detail will be somewhat obscured through the glass I used seatbelt decals for simplicity.
 1/48 JU 88 A4 by Theunis van Vuuren, on Flickr
 1/48 JU 88 A4 by Theunis van Vuuren, on Flickr
 1/48 JU 88 A4 by Theunis van Vuuren, on Flickr
T
Cockpit detail however is actually good out the box, I just added the standard yellow electrical harnass.
Since the detail will be somewhat obscured through the glass I used seatbelt decals for simplicity.
1/48 JU 88 A4 by Theunis van Vuuren, on Flickr1/48 JU 88 A4 by Theunis van Vuuren, on Flickr1/48 JU 88 A4 by Theunis van Vuuren, on FlickrT

 IMG_20180214_084410
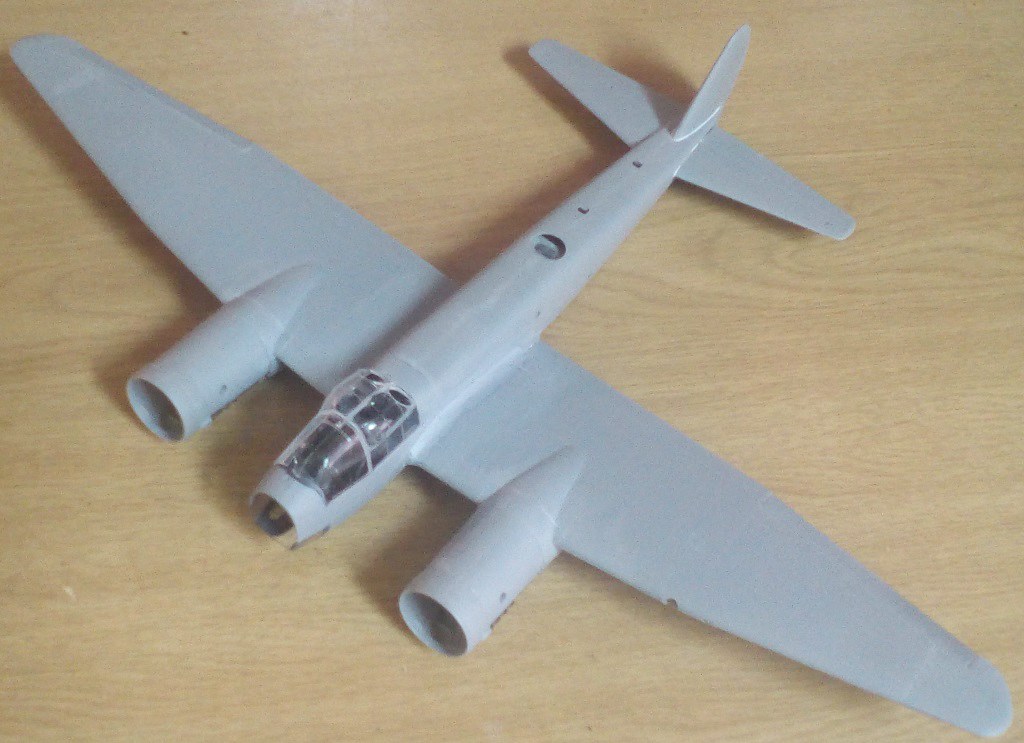 1/48 JU 88 A4
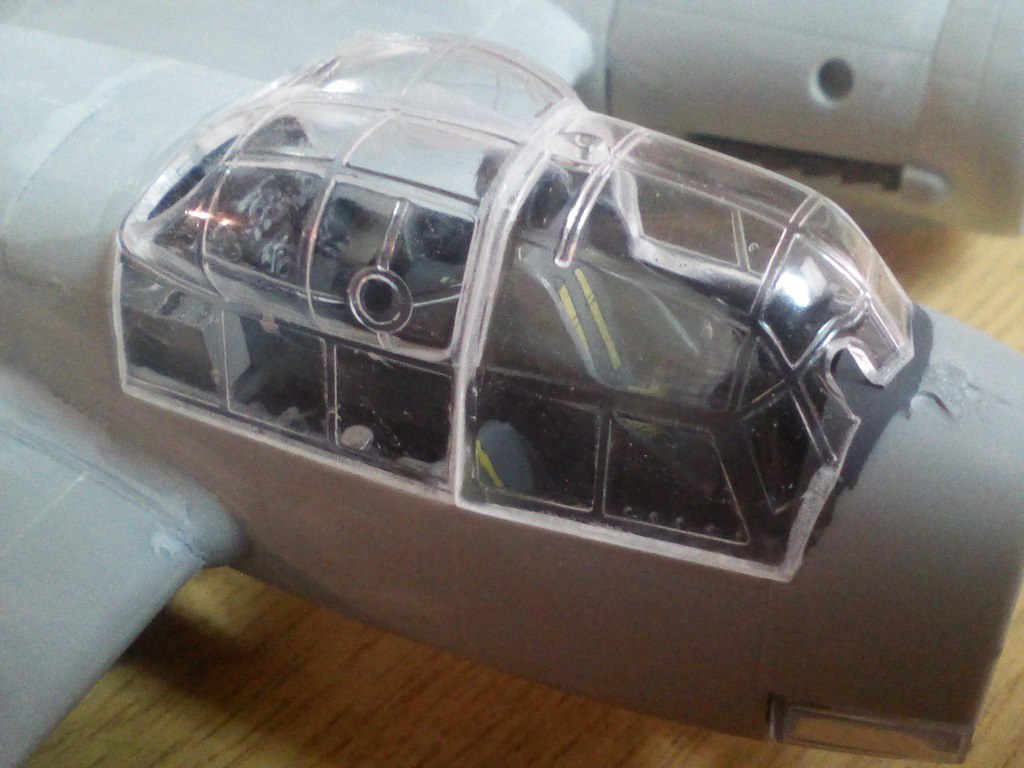 1/48 JU 88A4
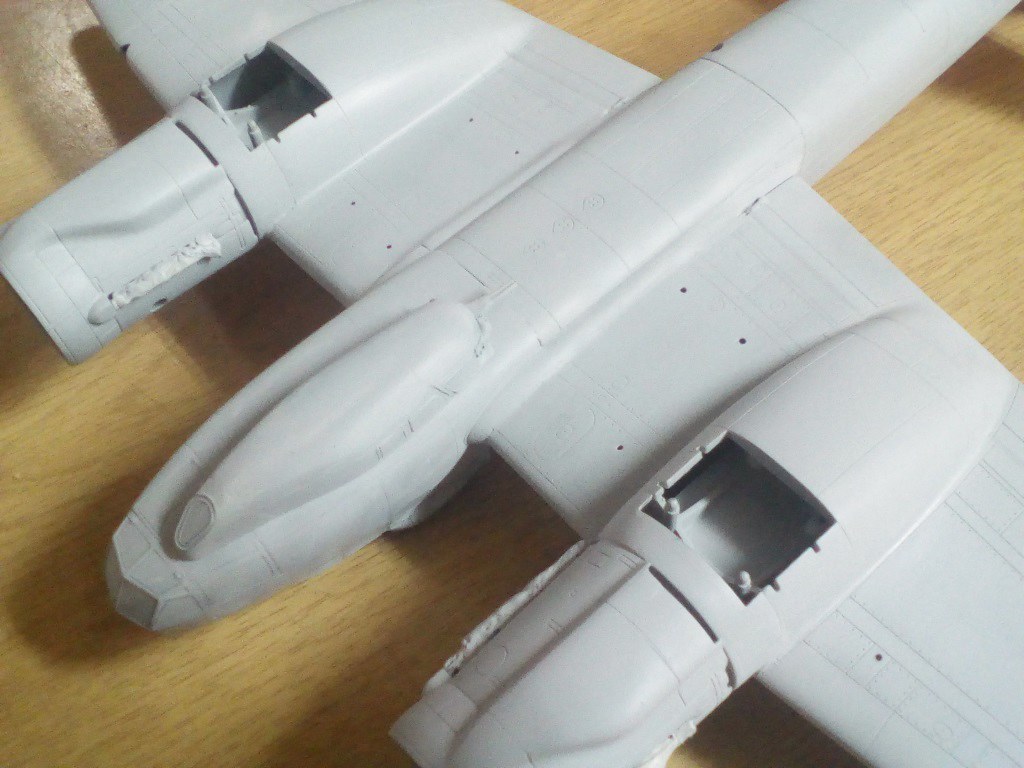 IMG_20180325_185641
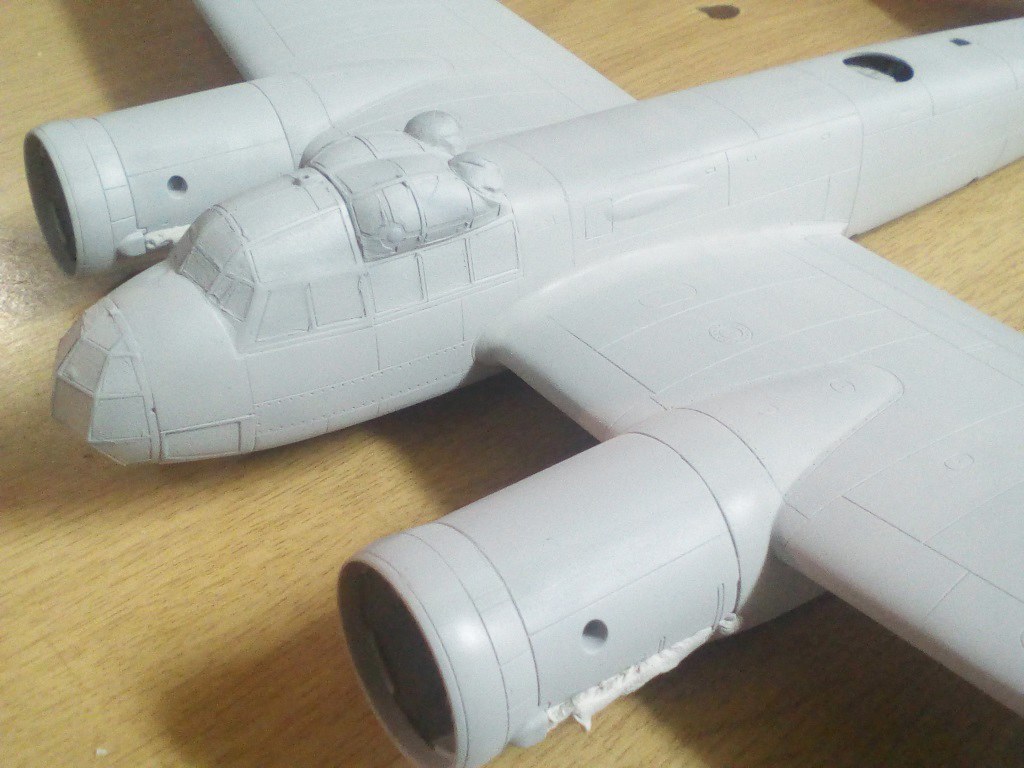 IMG_20180325_184726
 IMG_20180325_184652
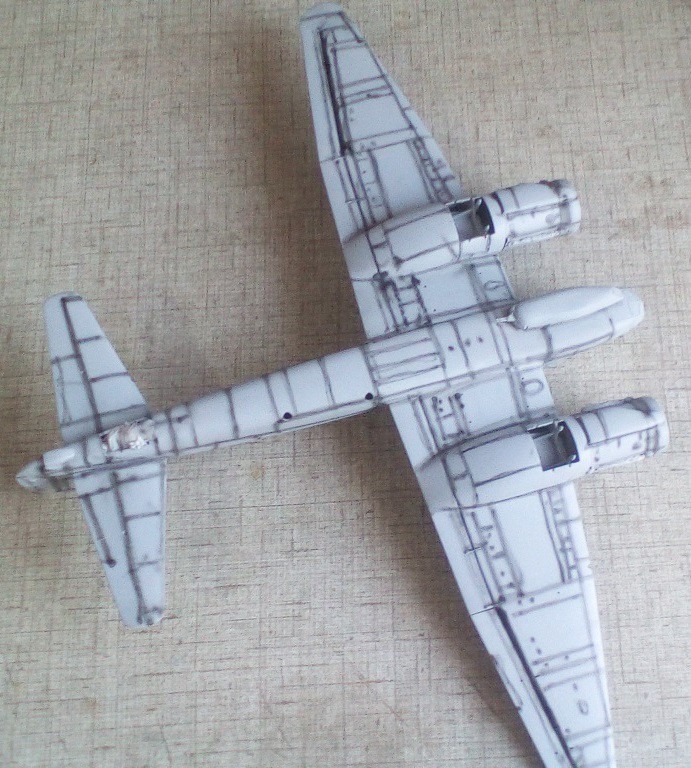 IMG_20180326_171807
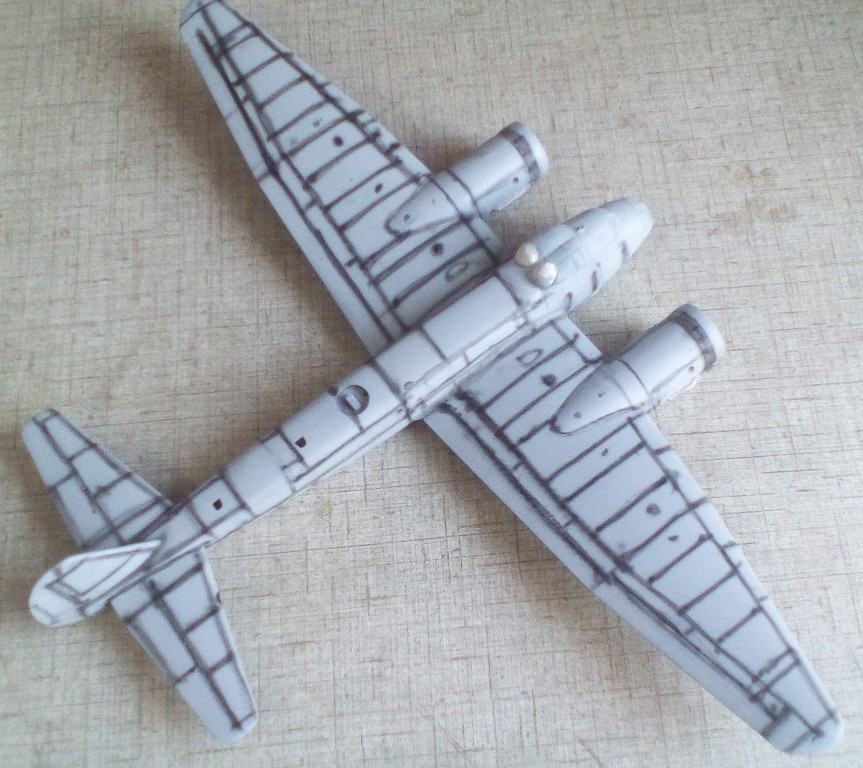 IMG_20180326_171754
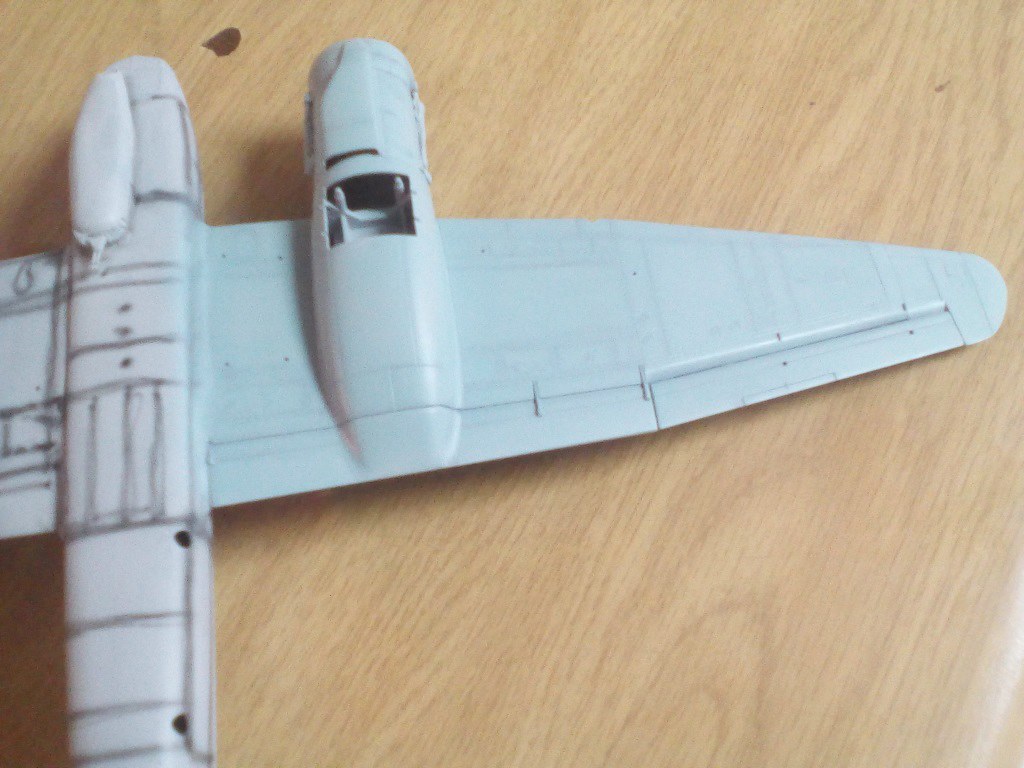 IMG_20180326_173519
 IMG_20180326_190932
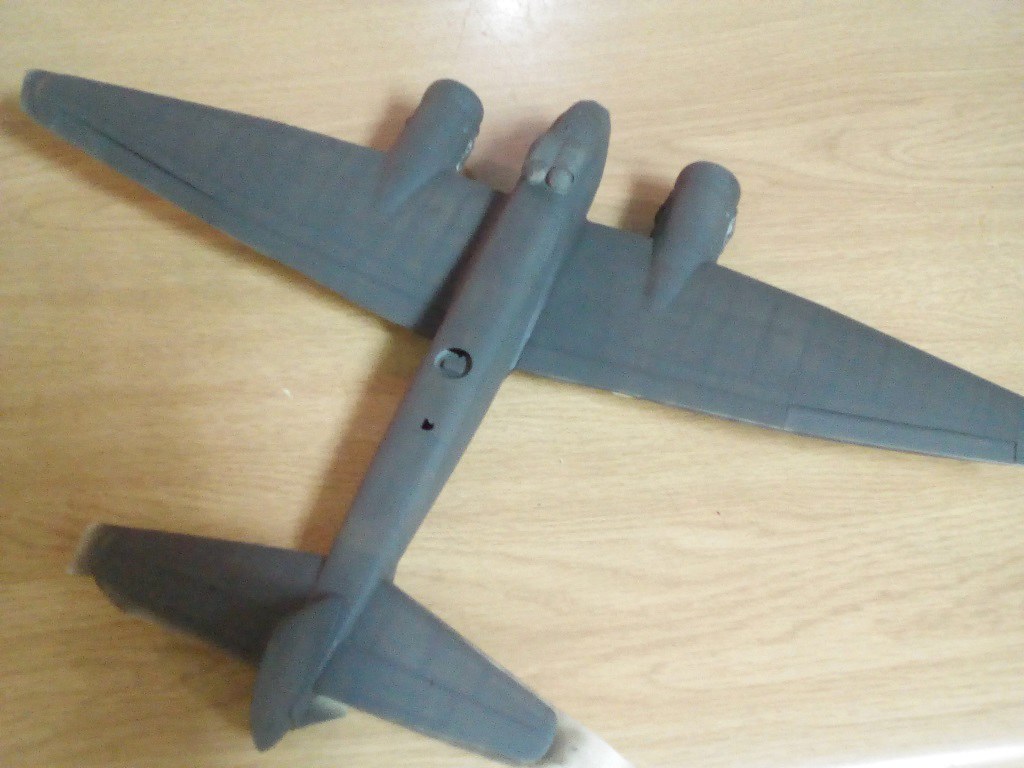 IMG_20180328_182729
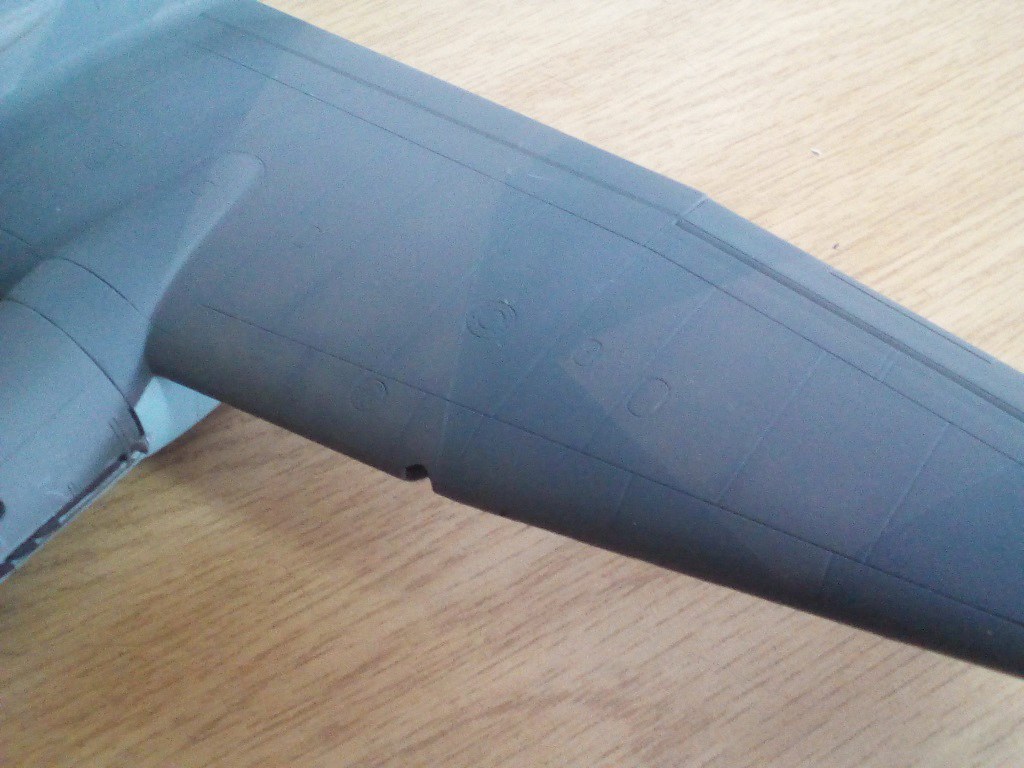 IMG_20180329_163619
 IMG_20180330_122042