Theme editor

Scale Model Shop

Pushing Back .......

Thread owner
Hi John,

glad you find it interesting. This is a slow burner so I'm in no real rush. I want to progress of course but there are that many little mini projects and I have to hop back and forth between them all to keep everything moving and coming in together ..... in my mind anyway .... maybe others would tackle it differently.

The good thing is you get a bit relief from working on the same element all the time. there are so many different materials involved and they all give you more idea's as you progress. My latest brain wave was when working with the plaster bandage. I will be building a structure with brick sheets but the minute you go above one storey high, the horizontal joint between sheets is not great as it is not keyed in. The sheets are simply glued together with PVA and the join is not great. ..... Answer ( if its a cavity wall ...... place strips of plaster bandage allow the inside of the cavity on the join ...... the plaster join will be much better than the PVA join ..... sorted.

I am trying to use as little " ready to plant " proprietary items as possible. Apart from the buildings, vehicles and figures, everything else has a degree of building from scratch albeit using moulds in some cases. The buildings although pre-cast still give me a bit of modelling to do in building the floors, ceilings and roof structures and to be honest, its the part I enjoy most.

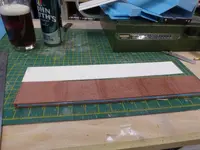
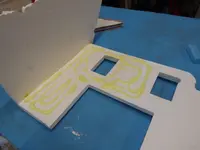
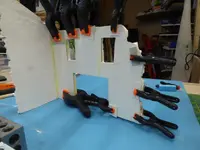
Anyway ..... I'm blethering now ....... back to the task in hand . The first Daler Board layers are a bit drier or at least dry enough to work with so ..... on with the second fitting ....
P1020067.webp

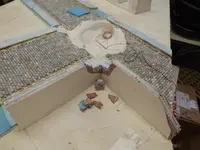
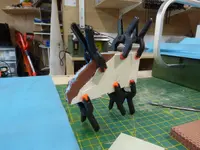
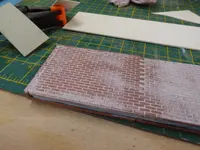
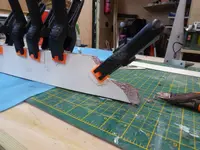
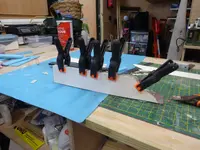
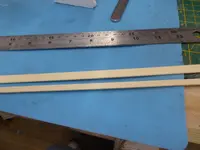
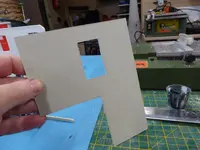
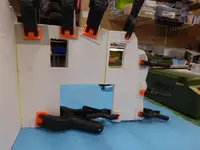
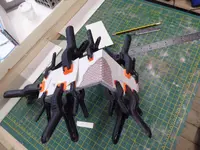
The Daler Board needs to be clamped at first as it has a tendancy to warp and spring off until the PVA has bonded a bit ....
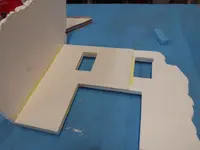
P1020068.webp

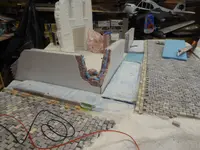
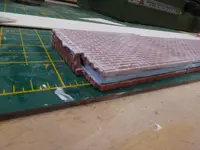
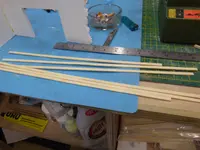
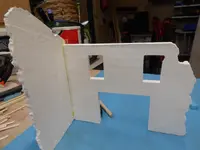
I used the cut off's from the outside walls to mirror the cut aways on the inside corner ..... what a brainwave ..... well for me anyway.
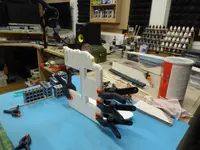
P1020069.webp

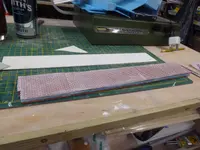
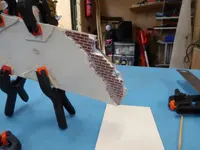
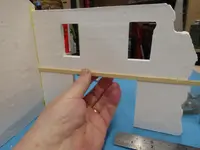
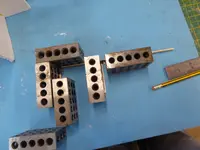
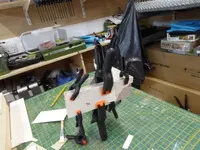
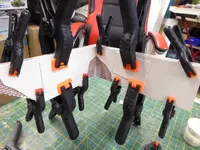
These clamps look like some kind of sci fi beasty invasion .... 😂 great little things .... and cheap as well.
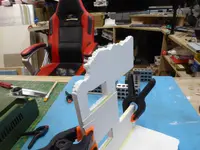
P1020070.webp

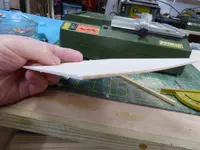
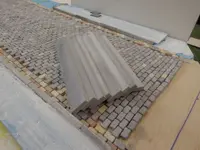
concrete lintels ..... or coping stones at the ready .... I'm wondering whether to apply these after the stucco layer is painted. The stucco will be painted in some sort of muted pastille colour ... ochre or light blue and the lintels will be treated to some kind of dark washes to dirty them down. I still have to " take out " the explosion damage area's as well so plenty to do going forward.

However ..... for now ...... thats it. I don't know whether I may get a hour or two on this later tonight by which time the whole thing should be dry.

take care for now

toto
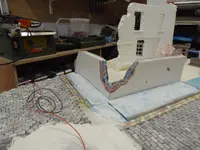
 
Good idea to have another part to fall back on toto, nothing gets boring then. As for those lintels, painting the stucco first and then the lintels I would give you the ability to do any wash that you feel would come off the lintels , esp shadow lines.
John
 
Thread owner
Never made the shed again tonight. So ..... it'll be next weekend now.

More walls. I'll see how far I get in finishing off the two brick walls before moving on to the stone wall beside the Cafe.

I will need to cast more brick wall sections as I did use a few this weekend and one or two cracked. So the plan will be Friday night will be casting and hopefully Saturday and Sunday constructing.

I keep looking ahead by a couple of weeks to the start of my next mini project so after the walls .... who knows what.

The pavement areas need an undercoat of say .... brown acyrilic before laying paving slabs. The land under the buildings needs the same to create a base colour onto which everything else will be built. These tasks need done before the permanent planting of buildings and walls etc.

All these elements .... once done ......will start to bring the whole thing together and whilst nowhere near detailed or complete suggests the beginning of a living scene.

Roll on next weekend. For those getting bored or tired of plaster and casting etc ...... I will be boring the butt of you with balsa floors, ceilings and roofs before long ....... so be careful what you wish for. 😂

Cheers

Toto
 
Thread owner
Well, I appear to have a blank canvas for next weekend. No major domestic duties, no mumsie duties ( yet ) and no other interuprions that I am aware of.

So the plan is to get down the roadon Friday ( 6 hour drive Dounreay to Edinburgh ) hopefully be down for tea time. Get the diorama moved from the mancave to the house to make room for casting duties and cast the remaining wall sections that I require to start and complete the second wall sections. I'd say about another dozen or so ...... divided by 8 moulds equals one and a half casts per mould. ..... lets say 2 casts per mould will leave me with 16 wall sections.

The Daler board is easy enough as its all pretty straight sections. I still have to make my mind up about the entrance piers though .... no big shakes.

The vast majority ot the work on the brick walls should be done this weekend. It will leave me with the coping stones, painting and weathering.

I do question myselfon painting and weathering the walls so soon though when the diorama is still in its infancy. Am I leaving the walls open to damage I wonder.

I'll spill my guts a bit more later as I plan the coming enslaught of planned tasks / activities.

Feel free to chirp in with any ideas.

Cheers for now

Toto
 
Thread owner
OK ..... back down the road early again .... mumsie not so good .....

However one advantage is that it gives me a little more shed time .....

An easy quick two minute hit was to start the destruction to my recently built wall ....

P1020071.webp

so the first of three shots .....

P1020072.webp

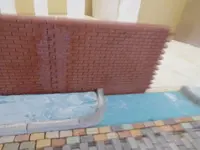
sort of how I envisaged it but might take the damage a tad lower still ....

P1020073.webp

and of course tidy up the brickwork with some mortar to hide the blue foam etc. As I said more to trim away yet and the blue foam to cut back on but its a starting point for now.

cheers

toto
 
Thread owner
Tomorrow night all going well, clear the diorama out the way for now and set up the plaster casting equipment to enable more brick wall sections to be cast. This wasn't originally planned until friday night / saturday but being home early has given me a bit of a head start.

Thats all for tonight.

Toto
 
Thread owner
On course for tonight's activities, just waiting for my dinner being made. Then .... time to hit the mancave.

More later

Toto
 
Thread owner
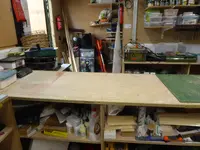
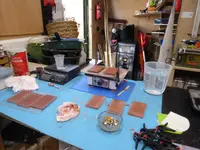
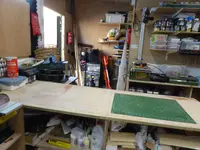
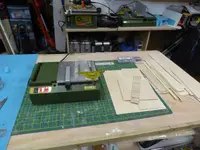
and ...... the decks have been cleared .....

P1020078.webp

all ready for a fresh start on some " wet " works ....

P1020079.webp

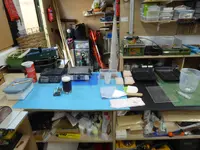
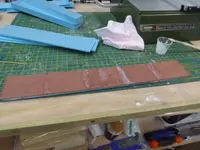
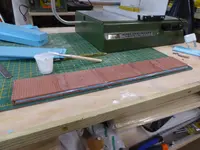
some silicon mats put down to protect the plywood work tops from water etc. All the tools of the trade at the ready for a full on plaster aasault.

P1020080.webp

the rest is just a glory hole at the moment ..... it happens ....

Light miscellaneous duties for the rest of tonight as the ancave is very warm ..... the sweat is running down my back ..... not comfortable at all. But tomorrow .... regardless of conditions ..... progress will be made.

I may have a little go at carving a stone wall in " blue foam " tonight ..... that sounds relaxing enough .... with a beer at the ready.

maybe more later

toto
 
Thread owner
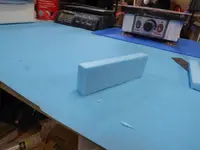
OK ..... decided to play around with the " blue foam " stone wall idea .....

P1020081.webp

and cut a piece from some scrap I had which measures 100mm x 30mm x 15mm

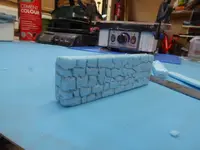
P1020082.webp

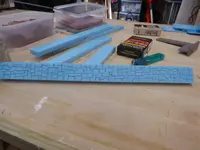
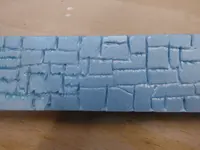
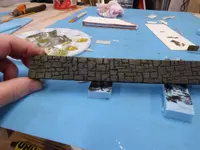
and after 10 minutes with a pencil and a blunt cocktail stick ..... came up with this ....

P1020083.webp

The exact dimensions can be played around with to get something more scale but I thought as a practice piece the actual result in principle looks ok. a light sanding down, go over it with the magic PVA, , Paint and plaster slurry to give the whole thing an even rough texture then some paint and washes ..... oh .... and some kind of finish to the top.

we'll see .... its just a rough attempt whilst I had some time to spare. There could be many changes by the time the build comes around.

cheers

toto
 
Thread owner
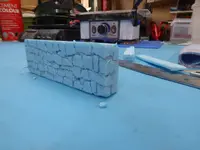
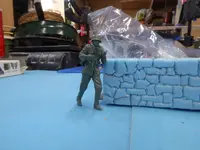
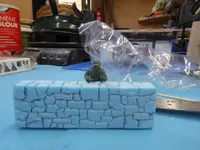
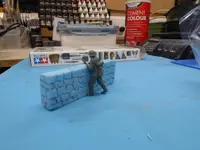
A couple of other images ... just for a sense of scale ....

P1020085.webp

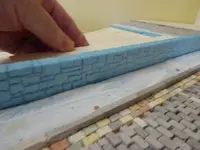
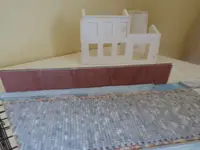
for a stone wall outside a Cafe ..... too high ..... too low ?????

P1020086.webp

Too thick maybe .... maybe take it down from 15mm thick to nearer 12mm thick.

P1020087.webp
keep it in mind some sort of coping would still need to go on the top ....

any opinions welcome ...

toto
 

Attachments

  • P1020087.webp
    P1020087.webp
    422.3 KB · Views: 0
Thread owner
OK ..... so a rather dull evening in the mancave so far casting more wall sections in readiness for tomorrows wall build.

P1020089.webp

Got stuck in with the first batch for tonight.

P1020090.webp

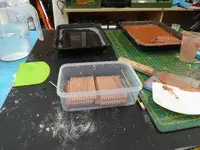
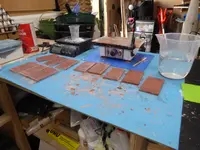
The casts start to mount up again ....

P1020091.webp

and a second batch started ..... I need eight casts for the longest section of wall to be completed ....


P1020092.webp

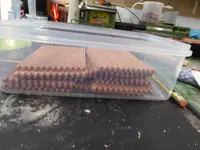
mission accomplished ..... with a couple of extras to spare allowing for breakages ....

P1020093.webp

and back to a clean, fresh work bench for the morning.

I probably should have done another batch but couldn't face it. 😂 So hopefully tomorrow will see me finished with the brick walls and I can move on to the stone walls. I have decided based on the practice pieces to thin the stone wall down from 15mm to around 10 - 11mm in depth and 25mm high given that every 9mm is equal to 1 foot. The cafe wall is more a low level decorative item that people could sit behind and look over easily. ..... in theory anyway ..... its not over yet.

Now to go and cut up some Daler Board at 60mm high by about 300mm long.

More later

toto
 
Thread owner
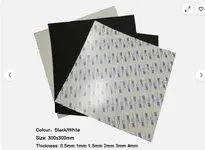
Currently thinking ahead and looking at this ......

1783710464278.webp

I'm thinking 0.5mm thickness to create a DPC coating to the underside of the ground floor level of the buildings. It will then have an upstand to the DPC level just beneath floor board level.

Not 100% sure yet as I could probably eaqually paint in the same with black paint but it would look realistic, even if patially covered with dust and debri.

The jury is out on it at the moment.

cheers

toto
 
Thread owner
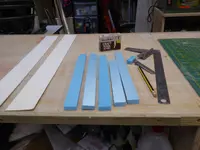
So tomorrows victims on the bench .....
P1020095.webp

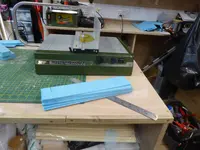
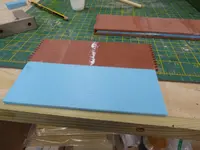
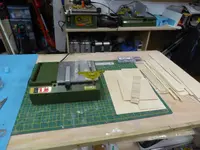
We have .... in no particular order ...... Blue foam cut to size for stone walls, Daler Board cut to the correct height dimension for the remainder of the brickwork walls and the required tools etc.

Boy is this dragging on. However hopefully we will start to see things taking a bit more shape soon.

cheers for now

toto
 
Thread owner
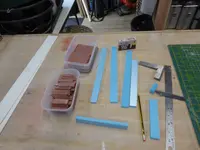
OK .... a later start to the day than I envisaged but could not sleep last night with the heat and never really fell over until around 4.00am or so. the result ...... never got up until mid day. 😂 Still ..... I feel rested and raring to go ..... In fact, I've made a bit of a start already ....

P1020096.webp

all the tools of the trade ready and willing ....

P1020097.webp

blue foam cut and ready to be incorporated into the brick wall build ....

P1020098.webp

and wolla ...... so it was said ..... so it was done .... but

P1020099.webp

No time for dithering ..... The stone wall for the Cafe is next ....


P1020100.webp

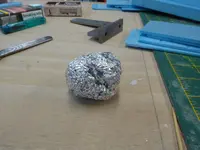
The wall looks ok but needs a bit roughing up so we use this ..... a scrunched up ball of foil ..... to add son texture.

P1020101.webp

before .....

P1020102.webp

and after ..... much better ....

P1020103.webp

and an idea of what it will look like in place ..... note just a sample .... positioning will change as will the actual length of the finished item.

P1020104.webp

apologies for the blurry image .... was trying to show a close up of the weathered finish. try again later.

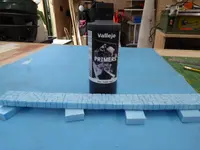
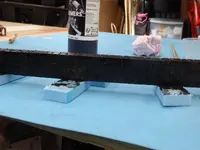
No ...... a coat of black primer .... brushed on ..... then return to the brick wall which should be dry enough to work on again by now ..... more later


toto
 
Thread owner
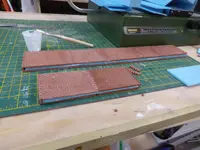
and on we jolly well go ....

P1020105.webp

the other side of the wall done ..... glued waiting to dry and for the Daler board which will come later once dried out a bit.

P1020106.webp

another smaller wall which will be absolutely decimated by the time I am finished with it .... more on that later ...

P1020107.webp

drying time ....

P1020108.webp

but .... no rest for the wicked I'm afraid ..... a coat of black primer on the way for the blue board stone wall section .....

P1020109.webp
Now some drying time and patience required ....

onwards ....

toto
 
Thread owner
OK ..... more things drying than a big huge driery ...... 😂

small wall more or less done bar a bit more destruction once I come to final fitments etc ..... ( for the sharp eyed amongst you .... I forgot to apply the mortar ).

P1020110.webp

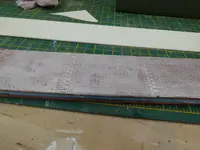
Bigger wall drying out but Daler board cut. All ready to place on the diorama and cut the wall to final size, shape etc ....

P1020111.webp

As you can see below it needs chopped and shaped.

P1020112.webp

needs a fair bit to come off.

P1020113.webp


P1020115.webp

it gets the mortar treatment ..... which I forgot to do on the smaller wall prior to fixing the Daler board but no big shakes .....

P1020116.webp

mortar left intentionally patchy so when I take random holes out of the Daler board, the mortar should vary a bit.

P1020117.webp

a bit broken off but no worries as the end will more than likely be cut out later.

P1020118.webp

and there it is for now.

P1020119.webp

The smaller wall with the mortar applied after the Daler board. The only difference will be if I take holes out of the Daler board in the middle of the wall ..... no mortar would be there. I'd just apply it at the time.

Thats me for now.

cheers

toto
 
Thread owner
Slowed down with the brick wall progress for now as I think I'm working the pieces too hard. if you are applying various wet courses of various mayerials without drying out properly, the glued joints seem to become activated again and you weaken the structure by handling it.

P1020123.webp

here is where we are at the moment with the brick wall install.

P1020124.webp

still got the other end to tackle yet in terms of damage but would not dare right now ..... just too wet.

P1020122.webp

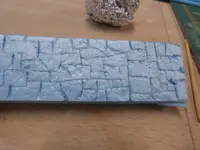
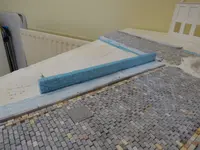
tried progressing the painting of the stone wall ..... all as per UTube video but not giving the right result ..... still way too dark. You can see the other colours working through but .... mmmmm more work needed on this. I'll back off for now until I can see ..... and understand ... a clear way forward with it rather than completely ruin the piece and start from scratch ........ thats the second option. .... 😂

Thats it for now

toto
 
Back
Top