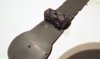
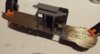
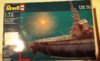
Made a start on this today, and the first thing needed was to work out how to get the very large box, into my small modelling cupboard.
After a lot of thinking and very careful surgery") , needing delicate cutting with a large pair of pinking shears. I managed to separate it into two reasonable sized containers, taped up with only the best quality cellotape
, needing delicate cutting with a large pair of pinking shears. I managed to separate it into two reasonable sized containers, taped up with only the best quality cellotape
Wonder if I can patent this idea to pass on to other modellers, it might just catch on.")
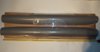
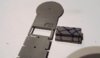
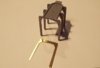
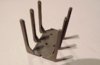
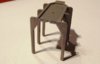
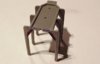
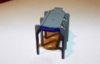
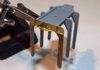
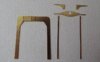
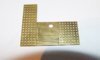
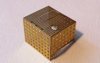
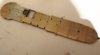
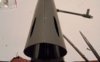
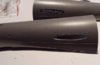
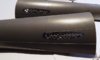
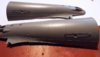
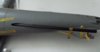
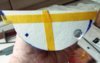
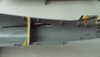
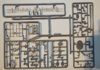
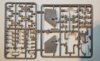
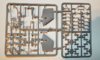
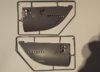
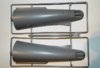
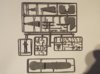
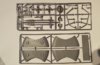
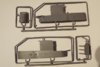
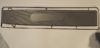
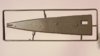
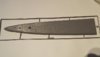
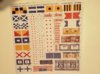
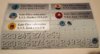
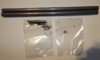
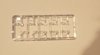
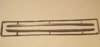
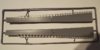
There is a 20 page fully illustrated instruction book, 21 Grey plastic sprue's, 1 Clear plastic sprue, 12 Small metal steps, Cord, a Multi colour transfer sheet and a large sheet of assorted flags.
View attachment 87039
View attachment 87040
View attachment 87041
View attachment 87042
View attachment 87043
View attachment 87044
View attachment 87045
View attachment 87046
View attachment 87047
View attachment 87048
View attachment 87049
View attachment 87050
View attachment 87051
View attachment 87052
View attachment 87053
View attachment 87054
View attachment 87055
View attachment 87056
View attachment 87057
View attachment 87058
View attachment 200062
View attachment 200063
View attachment 200064
View attachment 200065
View attachment 200066
View attachment 200067
View attachment 200068
View attachment 200069
View attachment 200070
View attachment 200071
View attachment 200072
View attachment 200073
View attachment 200074
View attachment 200075
View attachment 200076
View attachment 200077
View attachment 200078
View attachment 200079
View attachment 200080
View attachment 200081
After a lot of thinking and very careful surgery
, needing delicate cutting with a large pair of pinking shears. I managed to separate it into two reasonable sized containers, taped up with only the best quality cellotape Wonder if I can patent this idea to pass on to other modellers, it might just catch on.
There is a 20 page fully illustrated instruction book, 21 Grey plastic sprue's, 1 Clear plastic sprue, 12 Small metal steps, Cord, a Multi colour transfer sheet and a large sheet of assorted flags.
View attachment 87039
View attachment 87040
View attachment 87041
View attachment 87042
View attachment 87043
View attachment 87044
View attachment 87045
View attachment 87046
View attachment 87047
View attachment 87048
View attachment 87049
View attachment 87050
View attachment 87051
View attachment 87052
View attachment 87053
View attachment 87054
View attachment 87055
View attachment 87056
View attachment 87057
View attachment 87058
View attachment 200062
View attachment 200063
View attachment 200064
View attachment 200065
View attachment 200066
View attachment 200067
View attachment 200068
View attachment 200069
View attachment 200070
View attachment 200071
View attachment 200072
View attachment 200073
View attachment 200074
View attachment 200075
View attachment 200076
View attachment 200077
View attachment 200078
View attachment 200079
View attachment 200080
View attachment 200081
Attachments
-
 DSCF2416.JPG3.1 KB · Views: 0
 -
 DSCF2415.JPG2.8 KB · Views: 0
 -
 DSCF2414.JPG2.8 KB · Views: 0
 -
 DSCF2412.JPG2.1 KB · Views: 0
 -
 DSCF2410.JPG2.3 KB · Views: 0
 -
 DSCF2407.JPG2.6 KB · Views: 0
 -
 DSCF2406.JPG2.6 KB · Views: 0
 -
 DSCF2405.JPG2.4 KB · Views: 0
 -
 DSCF2403.JPG2.5 KB · Views: 0
 -
 DSCF2418.JPG1.3 KB · Views: 0
 -
 DSCF2419.JPG1.5 KB · Views: 0
 -
 DSCF2422.JPG1.3 KB · Views: 0
 -
 DSCF2438.JPG2.8 KB · Views: 0
 -
 DSCF2437.JPG2 KB · Views: 0
 -
 DSCF2432.JPG1.7 KB · Views: 0
 -
 DSCF2430.JPG1.2 KB · Views: 0
 -
 DSCF2429.JPG2.2 KB · Views: 0
 -
 DSCF2426.JPG1.2 KB · Views: 0
 -
 DSCF2424.JPG1.7 KB · Views: 0
 -
 DSCF2401.JPG2.5 KB · Views: 0