Hi all
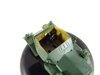
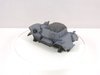
Having finished the Jaguar SS100 I had a rummage through my limited stash and came across this. Bought a few years ago at the Perth Model Show.
View attachment 313900
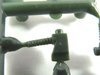
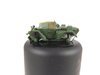
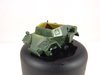
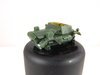
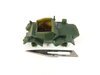
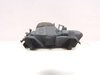
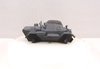
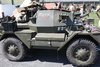
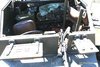
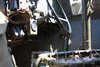
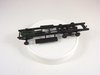
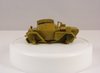
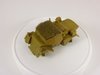
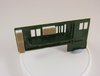
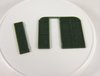
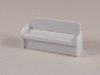
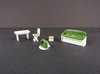
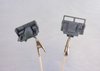
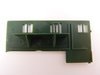
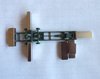
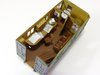
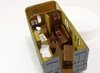
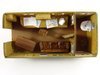
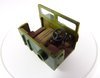
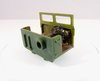
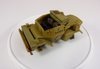
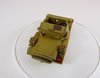
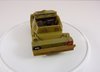
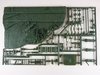
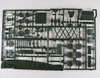
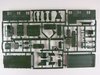
As well as the two vehicles it comes with a base and three figures. It is a rebox of the Matchbox kit from the early 1980s. I don't plan on using the kit base but will make one myself. For an old kit the sprues look OK. A bit soft in detail but no flash.
View attachment 313901
View attachment 313902
View attachment 313903
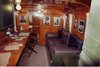
I have made a start and I'll update progress later. Anyone who is interested in following along would be more than welcome.
Jim
Having finished the Jaguar SS100 I had a rummage through my limited stash and came across this. Bought a few years ago at the Perth Model Show.
View attachment 313900
As well as the two vehicles it comes with a base and three figures. It is a rebox of the Matchbox kit from the early 1980s. I don't plan on using the kit base but will make one myself. For an old kit the sprues look OK. A bit soft in detail but no flash.
View attachment 313901
View attachment 313902
View attachment 313903
I have made a start and I'll update progress later. Anyone who is interested in following along would be more than welcome.
Jim
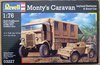
") Pity Revell don’t mould it in three colours anymore like it should be.
Pity Revell don’t mould it in three colours anymore like it should be.