rickoshea52
Active member
1/3
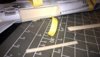
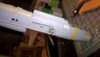
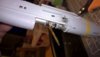
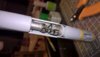
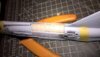
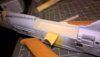
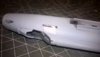
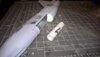
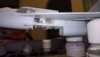
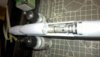
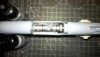
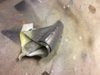
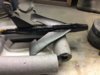
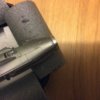
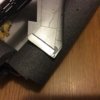
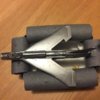
Buttoned up the fuselage tonight and added the resin engine kit and had a play around with the scratch built one that I made just to see if something could work. The compartment on the right hand side behind the cockpit has a scratch made back panel and will have some LRU's and other bits added in due course.
View attachment 247711
View attachment 247712
View attachment 247713
View attachment 247714
View attachment 247715
View attachment 247716
View attachment 247711
View attachment 247712
View attachment 247713
View attachment 247714
View attachment 247715
View attachment 247716