This will be my entry for Peters GB build
Well I got my kite at the weekend and will be starting this lovely kit ( so it looks ) at the weekend.
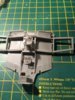
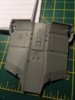
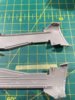
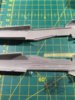
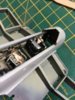
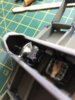
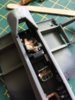
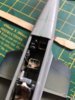
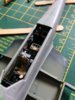
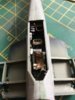
I'm thinking this is the new mouldings Ju87B. It looks very clean and has some lovely detail.
With Airfix new mouldings it seems to be no flash if any
I'll be building out of box and source other stuff needed from my spares box ( 1/48 Luftwaffe seat belts ) etc
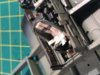
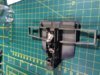
I may change the decals using what I have in my decal drawer to depict another "Stuka" other than the box art ones supplied ( defo needs a swastika ) Not sure if I build with engine displayed or not ( think it should be nice eh ??
May need a bit of help with Luftwaffe Units in France etc 1940 etc ???
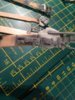
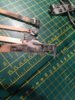
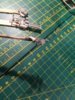
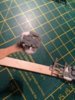
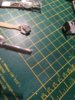
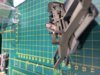
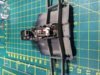
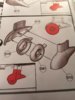
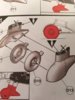
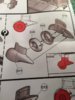
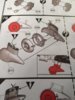
Anyway box shots and sprue shots
Thanks for looking
Regards Robert
View attachment 277711 View attachment 277712 View attachment 277713 View attachment 277714 View attachment 277715 View attachment 277716 View attachment 277717 View attachment 277718 View attachment 277719 View attachment 277720 View attachment 277721 View attachment 277722 View attachment 277723 View attachment 277724 View attachment 277725 View attachment 277726 View attachment 277727 View attachment 277728 View attachment 277729 View attachment 277730 I'm
Well I got my kite at the weekend and will be starting this lovely kit ( so it looks ) at the weekend.
I'm thinking this is the new mouldings Ju87B. It looks very clean and has some lovely detail.
With Airfix new mouldings it seems to be no flash if any
I'll be building out of box and source other stuff needed from my spares box ( 1/48 Luftwaffe seat belts ) etc
I may change the decals using what I have in my decal drawer to depict another "Stuka" other than the box art ones supplied ( defo needs a swastika ) Not sure if I build with engine displayed or not ( think it should be nice eh ??
May need a bit of help with Luftwaffe Units in France etc 1940 etc ???
Anyway box shots and sprue shots
Thanks for looking
Regards Robert
View attachment 277711 View attachment 277712 View attachment 277713 View attachment 277714 View attachment 277715 View attachment 277716 View attachment 277717 View attachment 277718 View attachment 277719 View attachment 277720 View attachment 277721 View attachment 277722 View attachment 277723 View attachment 277724 View attachment 277725 View attachment 277726 View attachment 277727 View attachment 277728 View attachment 277729 View attachment 277730 I'm
Attachments
-
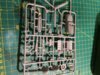 image.jpeg3.5 KB · Views: 0
 -
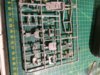 image.jpeg3.5 KB · Views: 0
 -
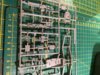 image.jpeg3.6 KB · Views: 0
 -
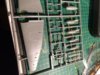 image.jpeg3.2 KB · Views: 0
 -
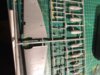 image.jpeg3.1 KB · Views: 0
 -
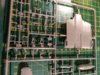 image.jpeg3.5 KB · Views: 0
 -
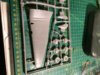 image.jpeg3.3 KB · Views: 0
 -
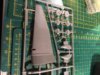 image.jpeg3.2 KB · Views: 0
 -
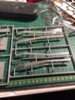 image.jpeg3.4 KB · Views: 0
 -
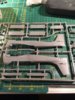 image.jpeg3.2 KB · Views: 0
 -
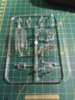 image.jpeg3.1 KB · Views: 0
 -
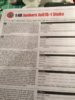 image.jpeg2.5 KB · Views: 0
 -
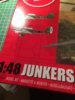 image.jpeg2.7 KB · Views: 0
 -
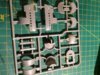 image.jpeg3.6 KB · Views: 0
 -
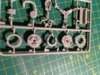 image.jpeg3.8 KB · Views: 0
 -
 image.jpeg2.3 KB · Views: 0
 -
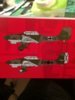 image.jpeg2.5 KB · Views: 0
 -
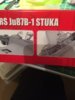 image.jpeg2.6 KB · Views: 0
 -
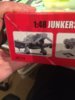 image.jpeg2.6 KB · Views: 0
 -
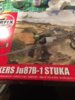 image.jpeg2.9 KB · Views: 0