- Joined
- Jul 3, 2014
- Messages
- 950
1/3
No probs.
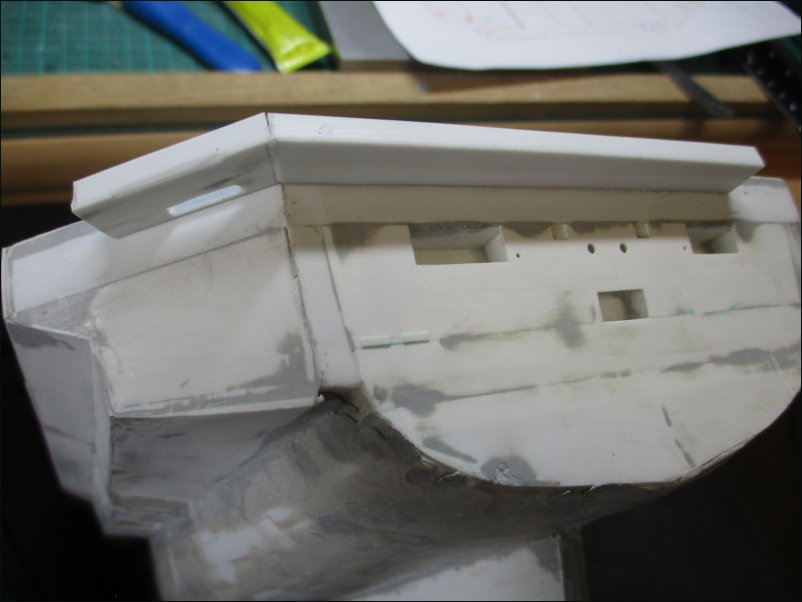
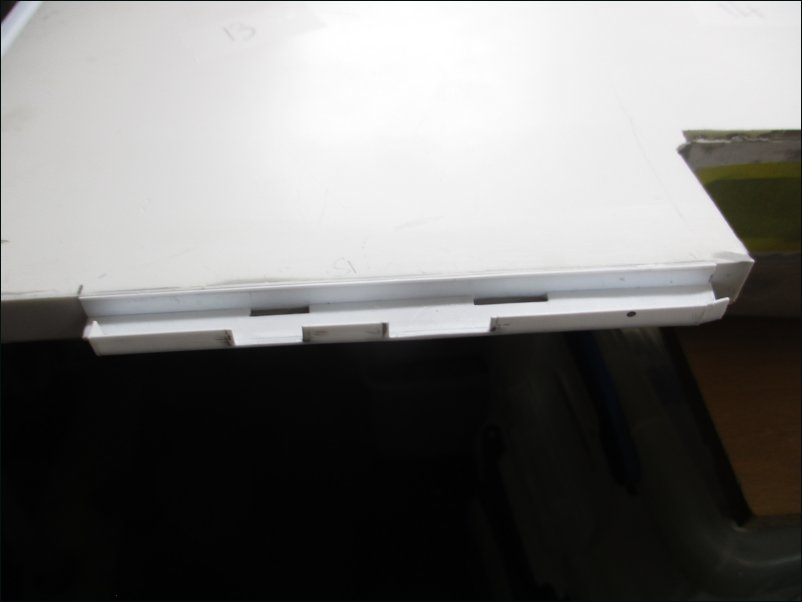
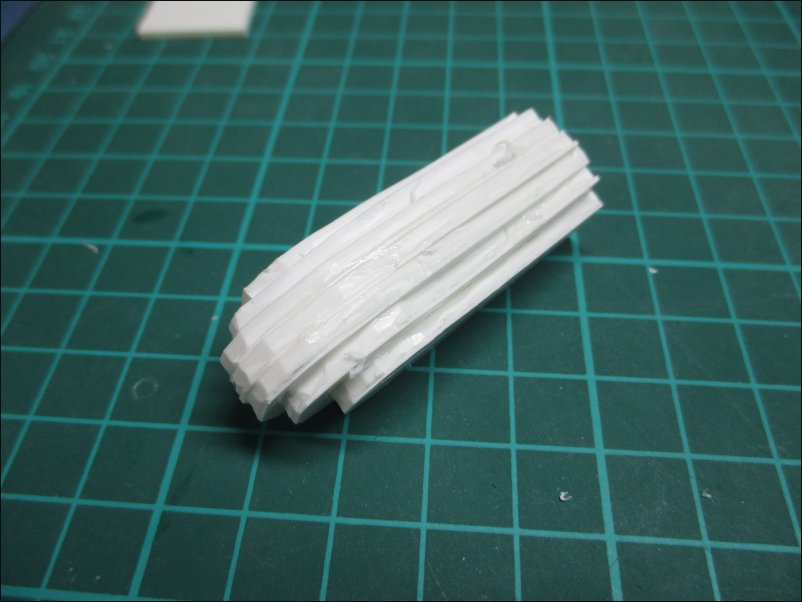
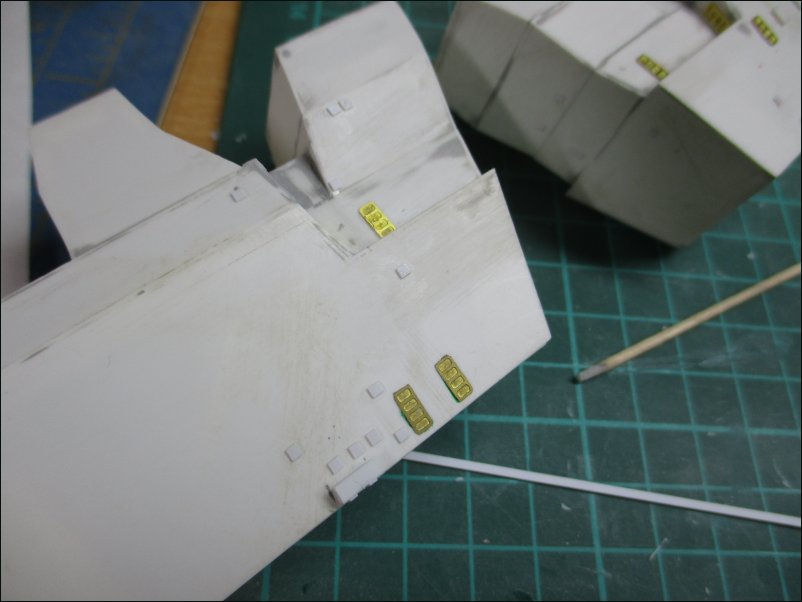
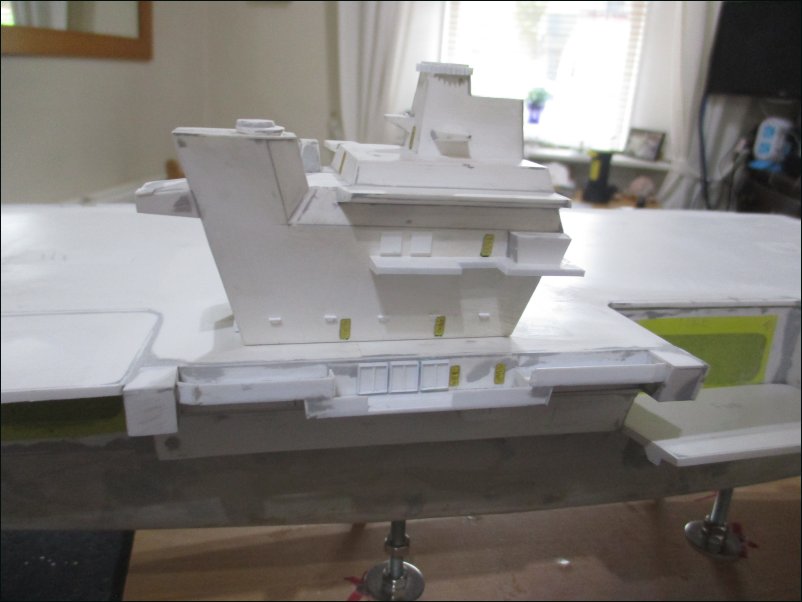
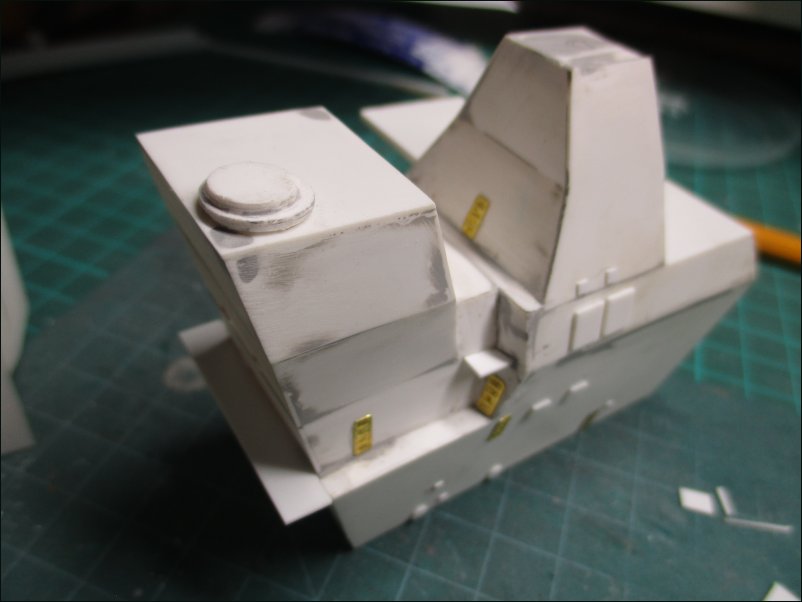
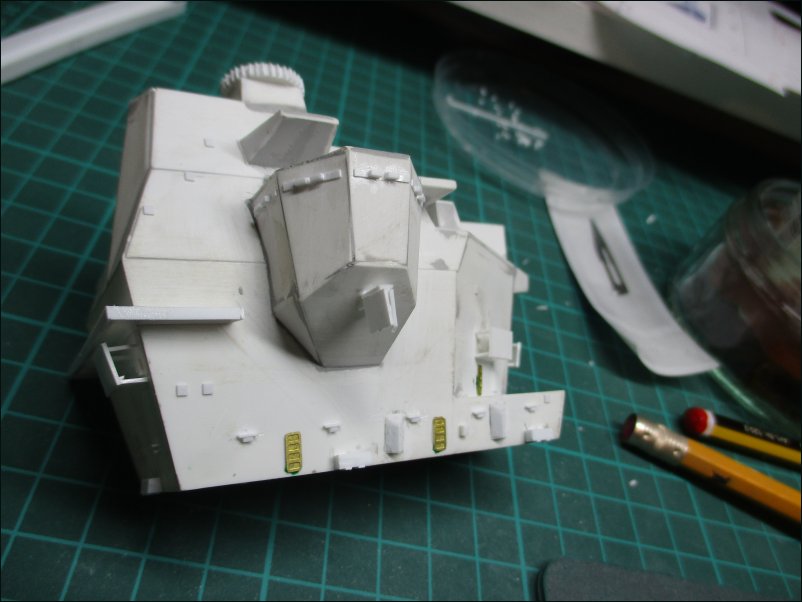
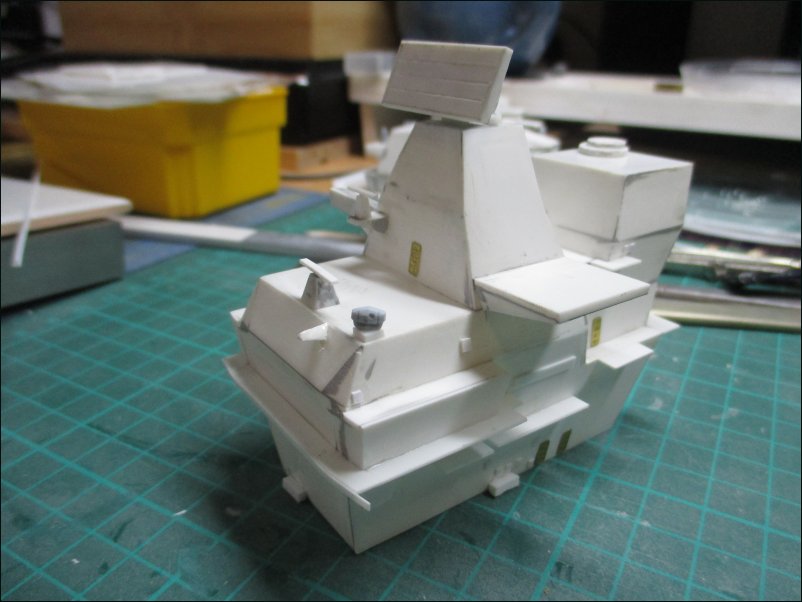
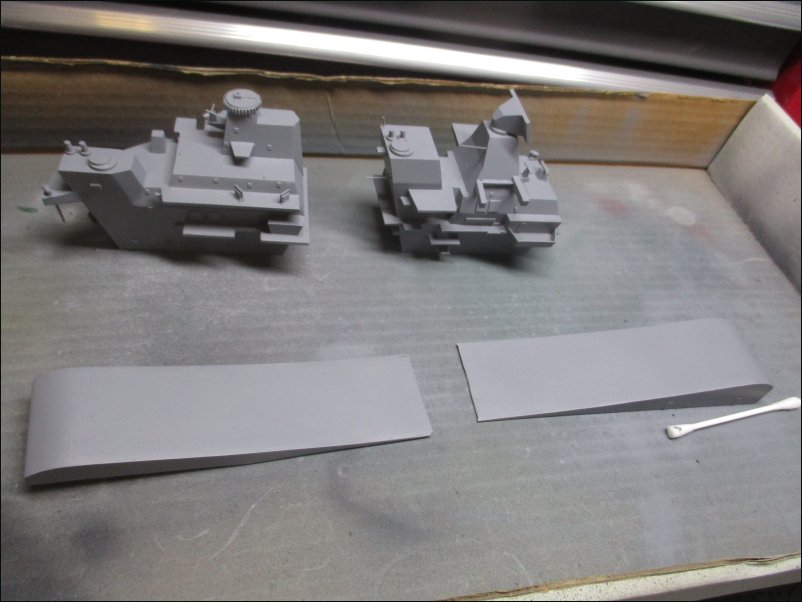
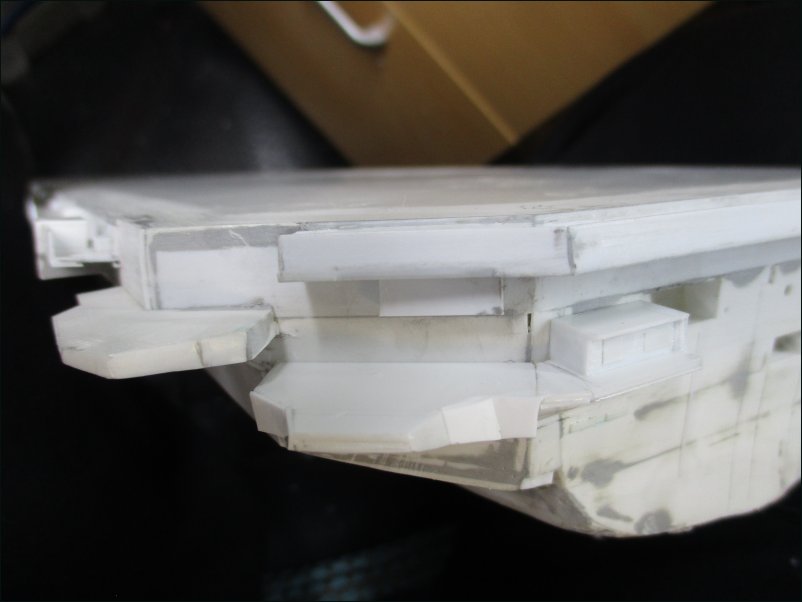
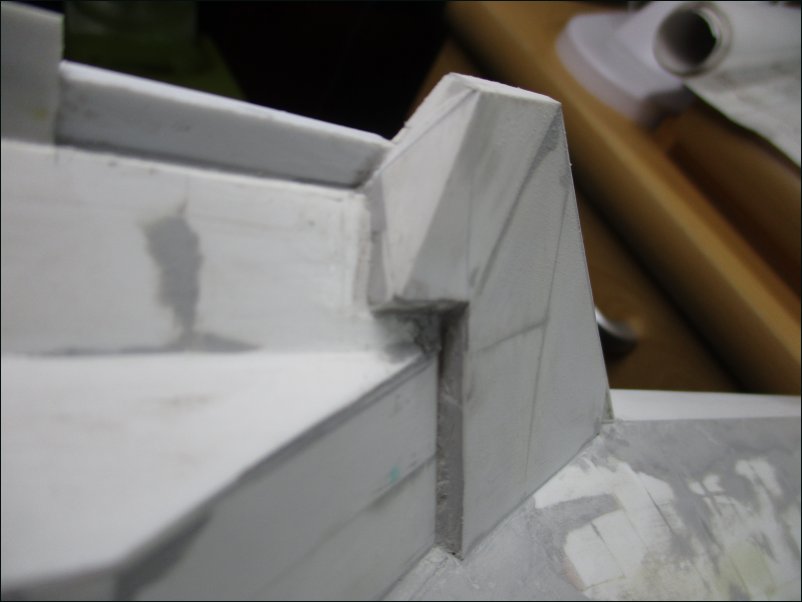
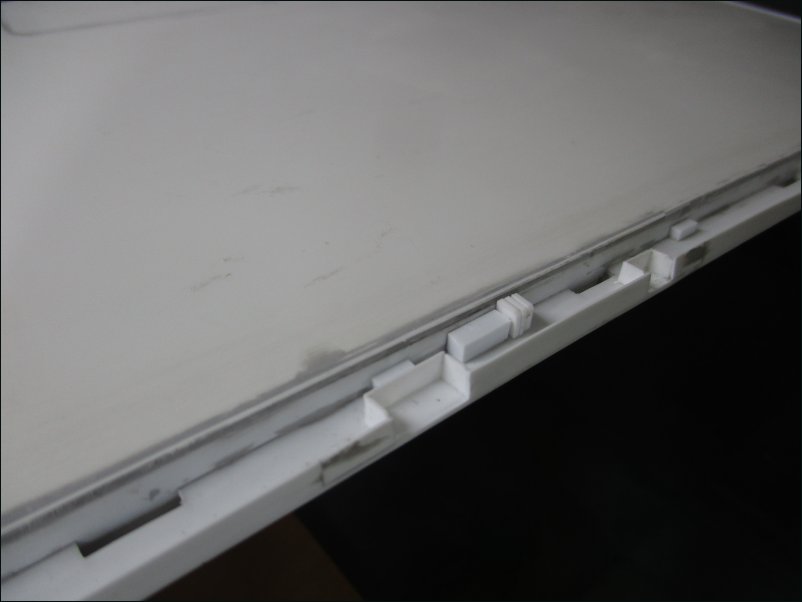
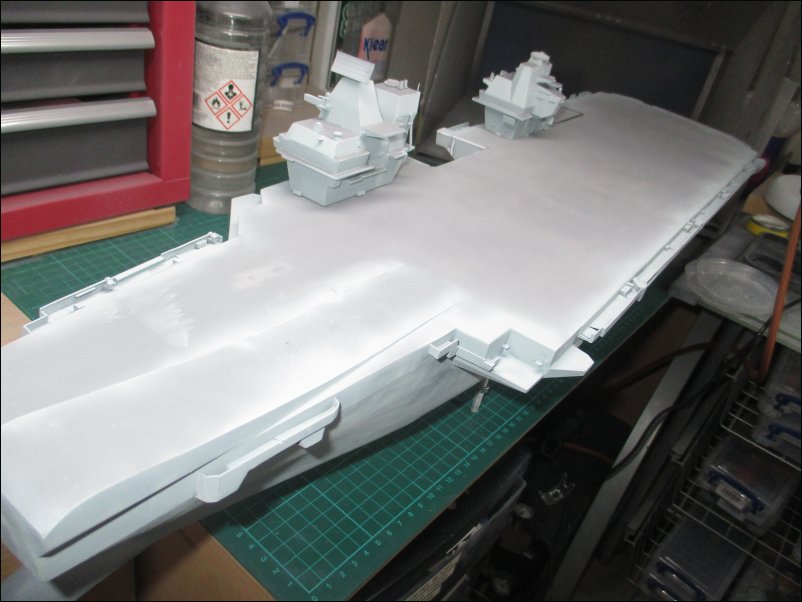
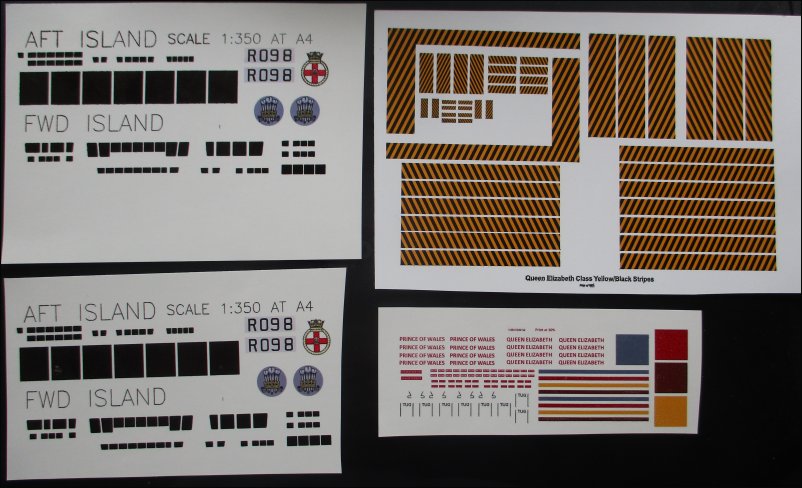
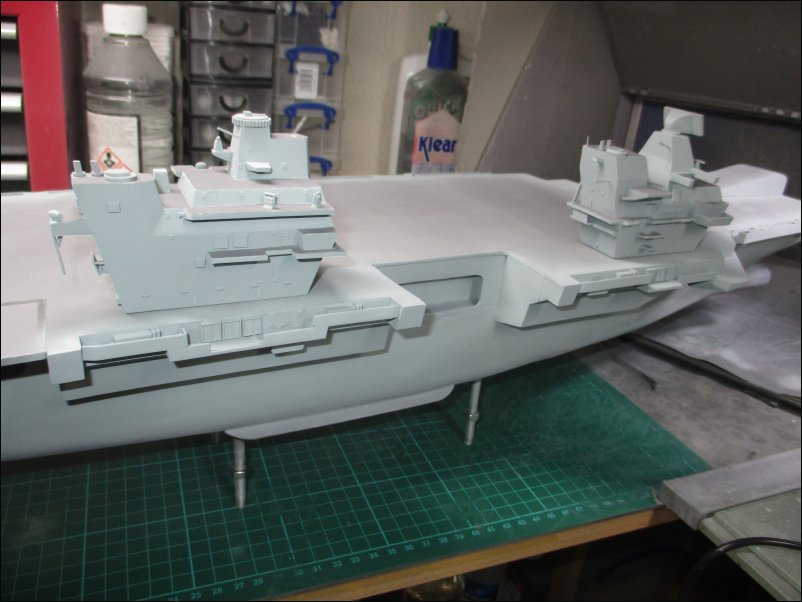
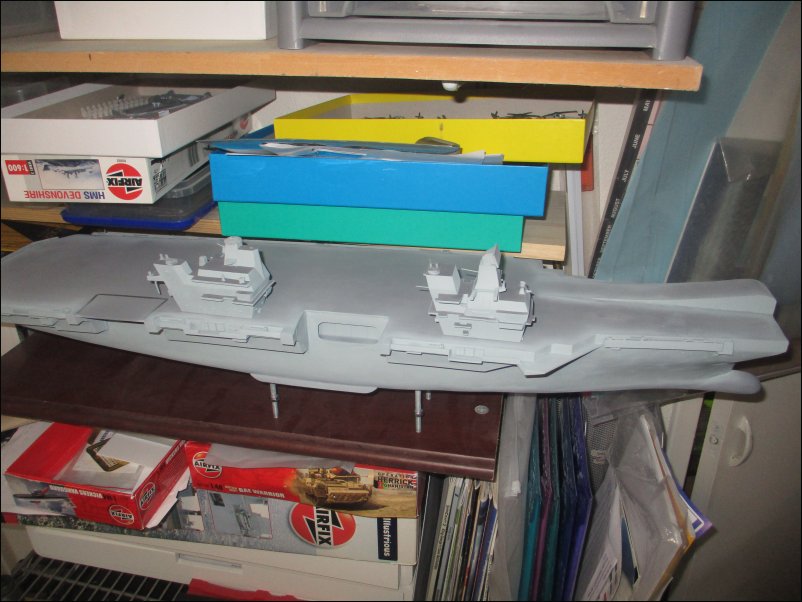
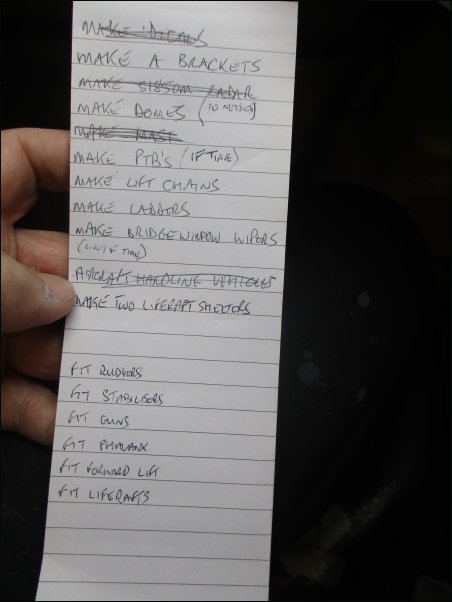
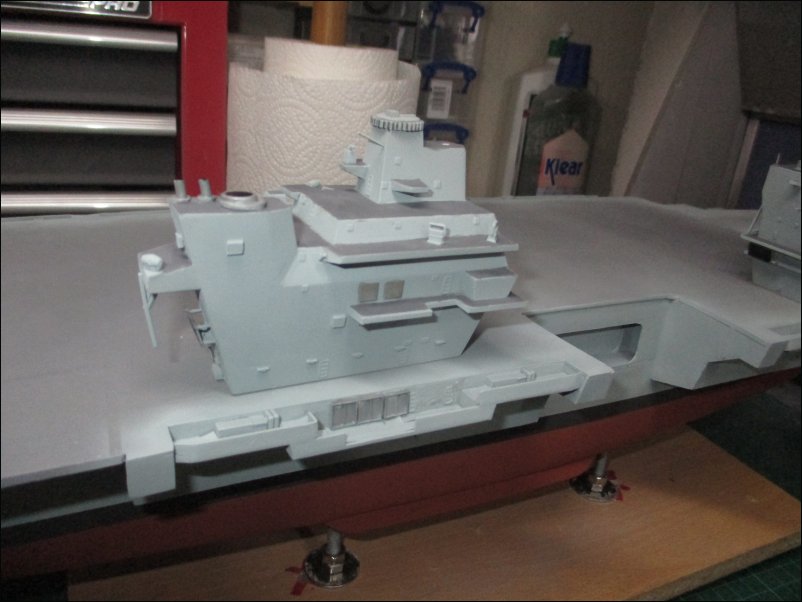
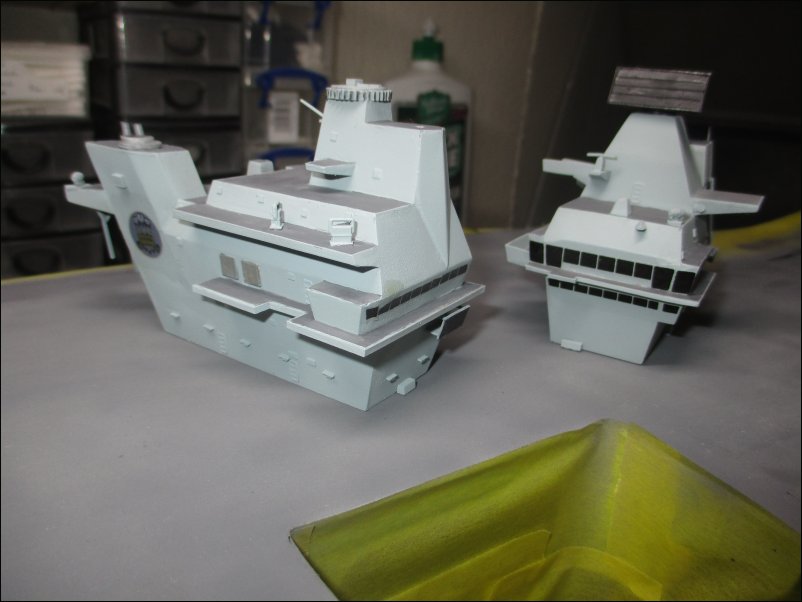
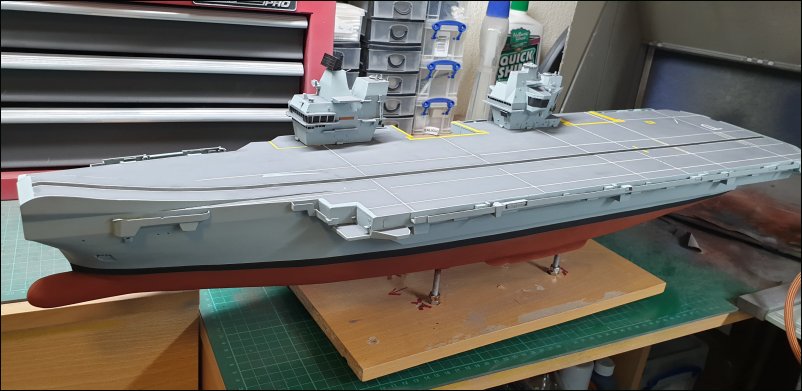
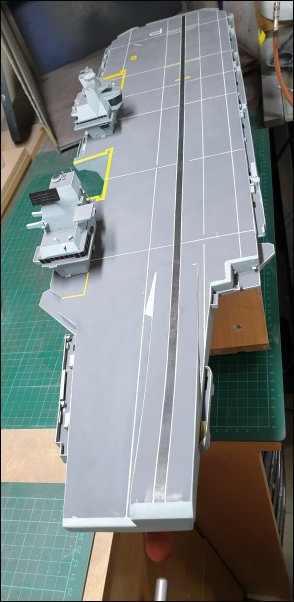
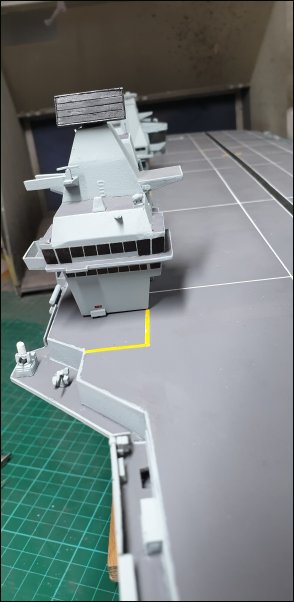
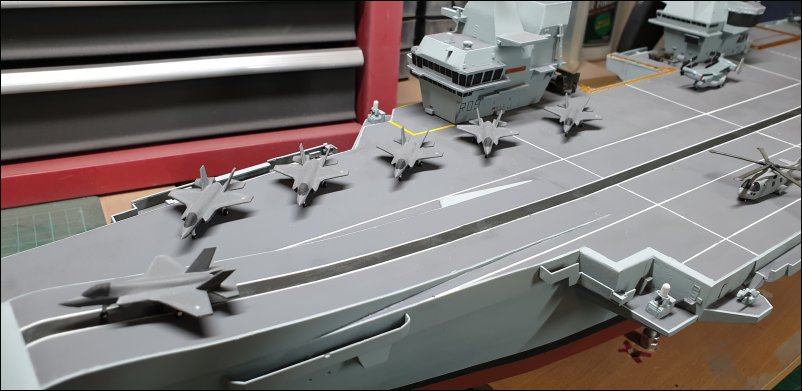
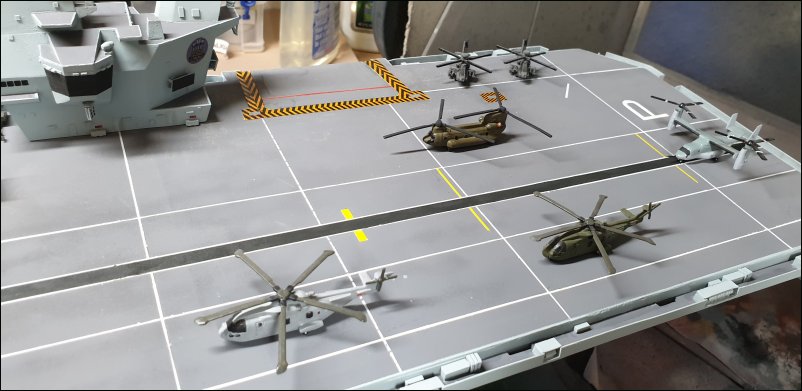
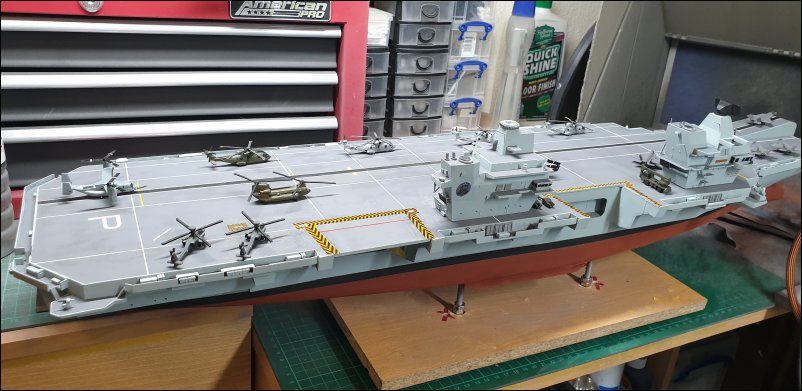
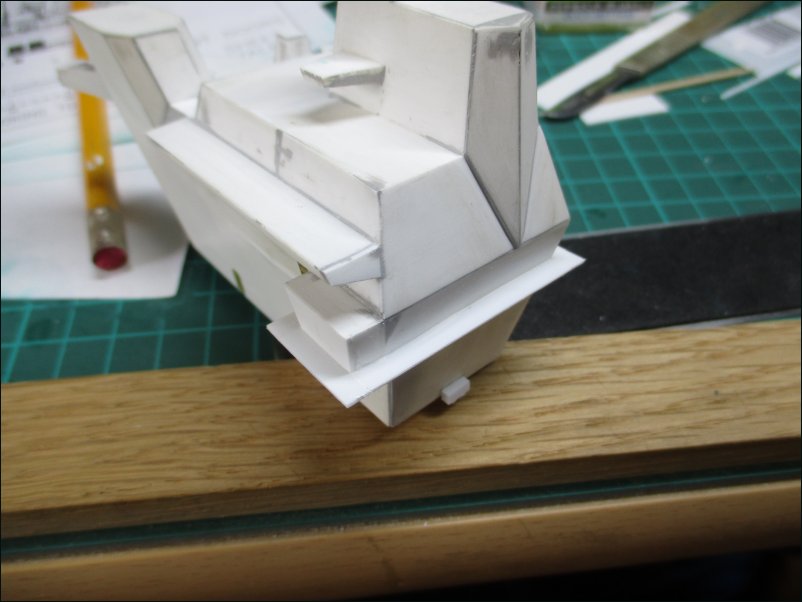
It was time to continue work on the Aft Islands of both builds. The major work would be the walkway that goes under the bridge windows and around each side. The walkway under construction:
Pic 142:
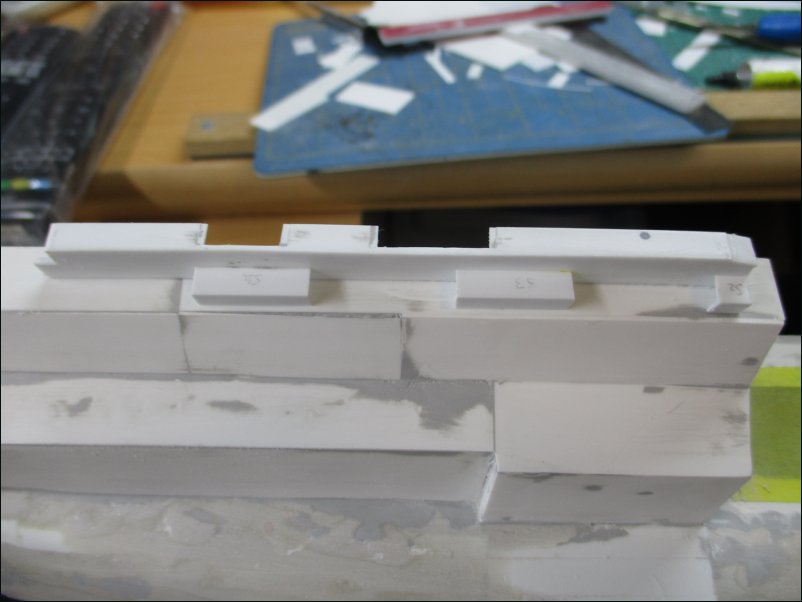
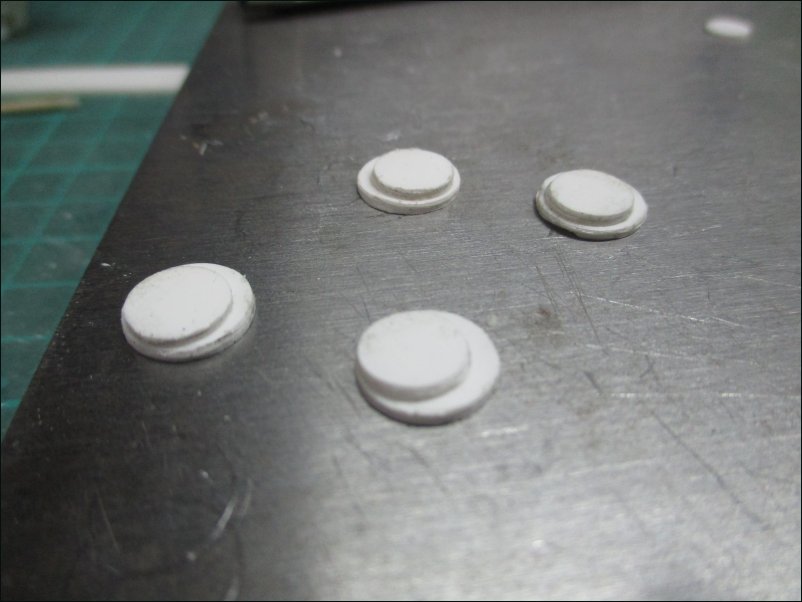
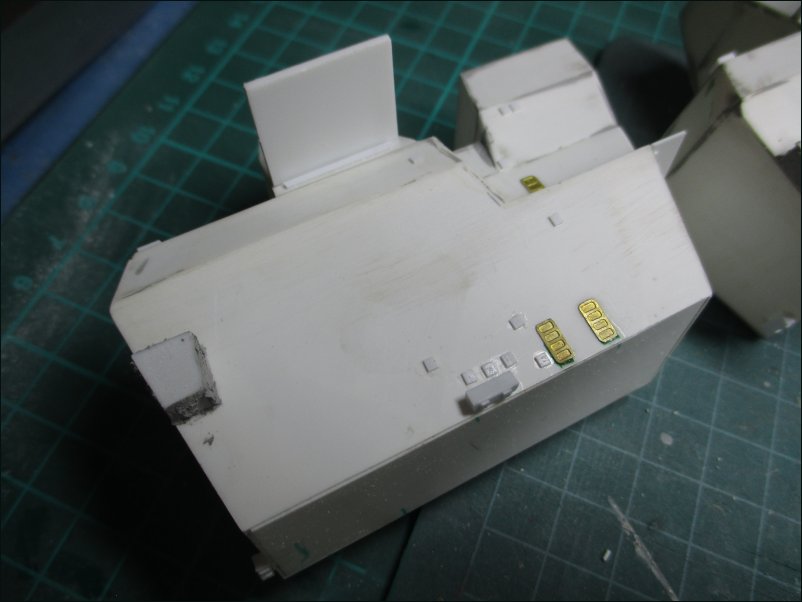
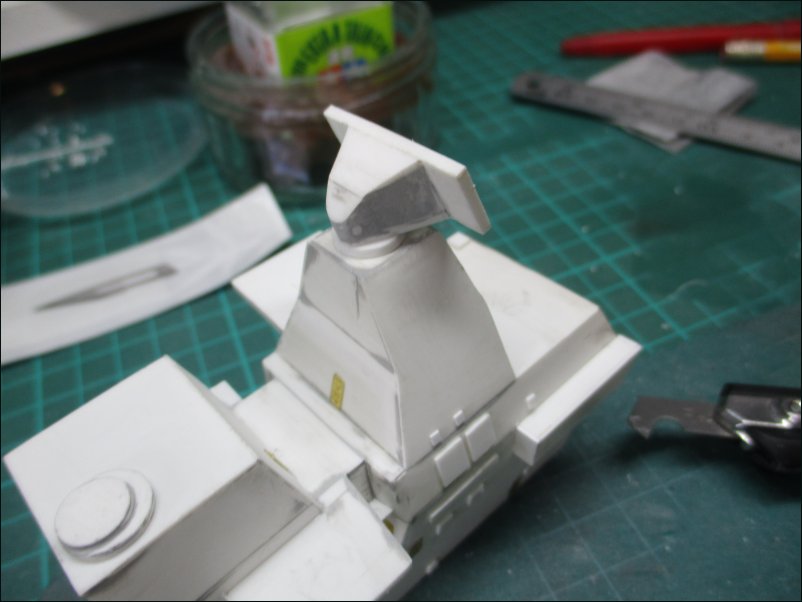
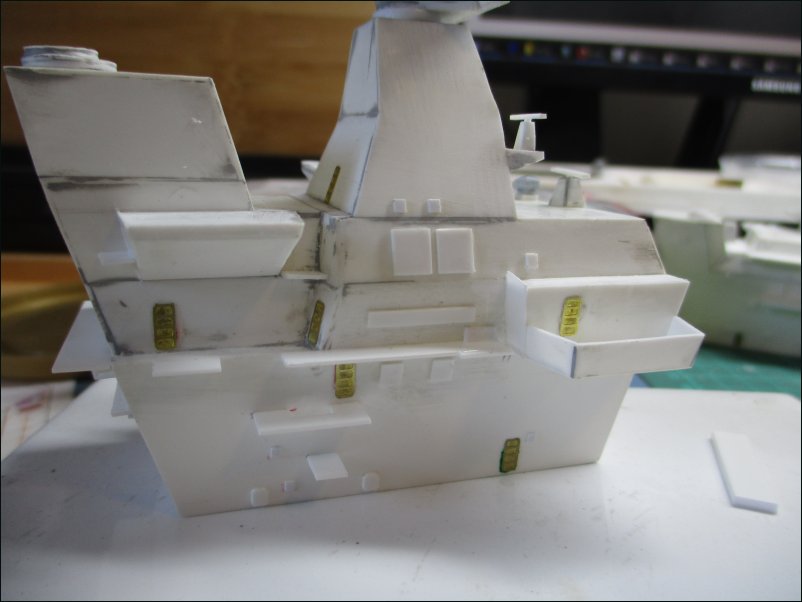
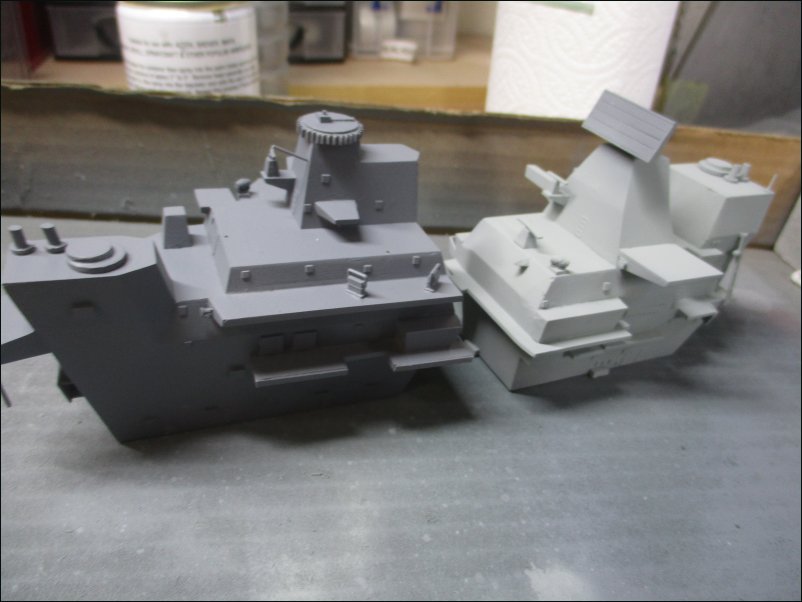
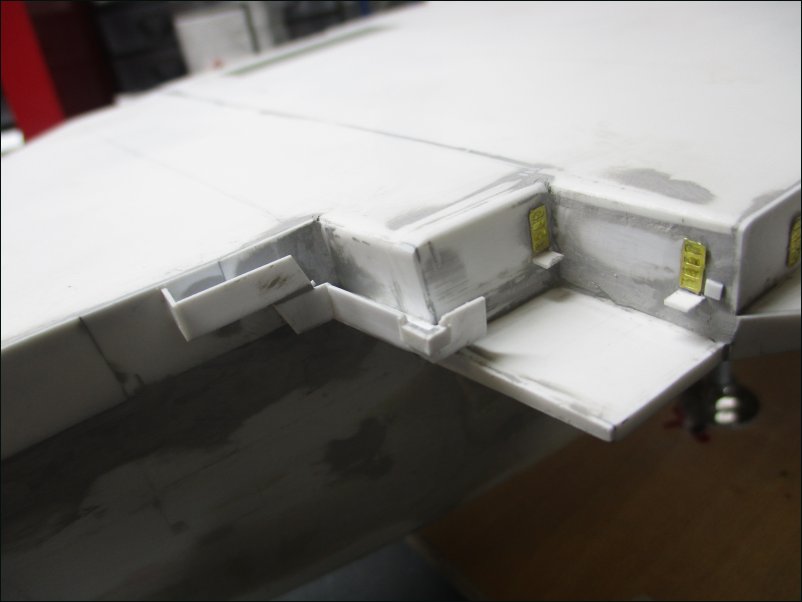
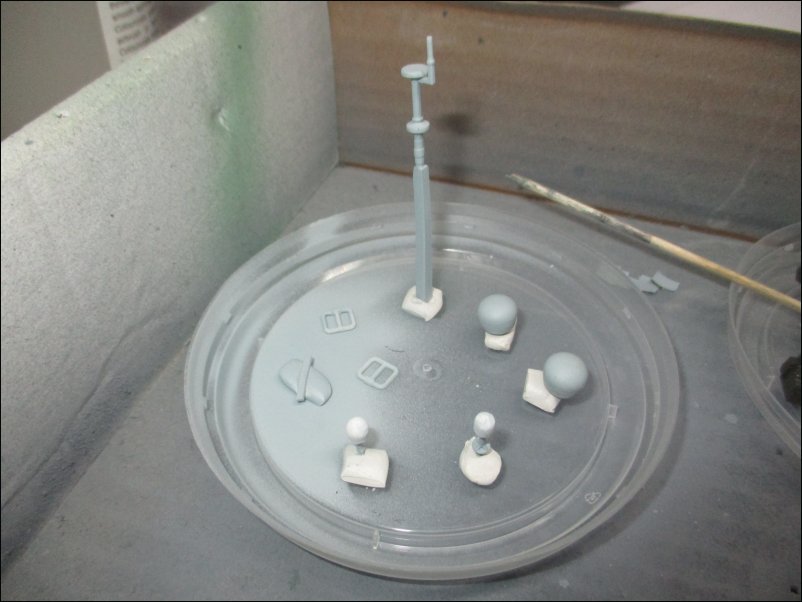
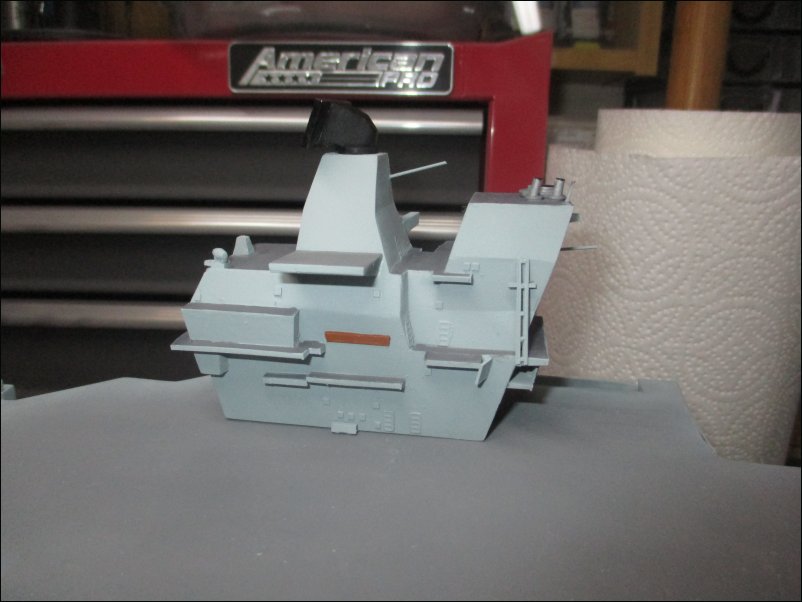
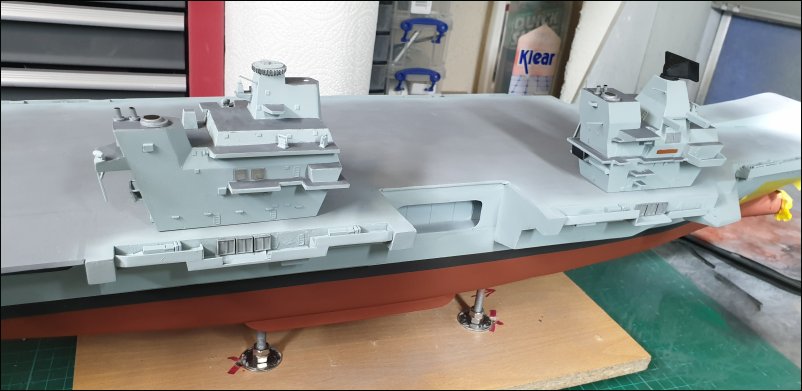
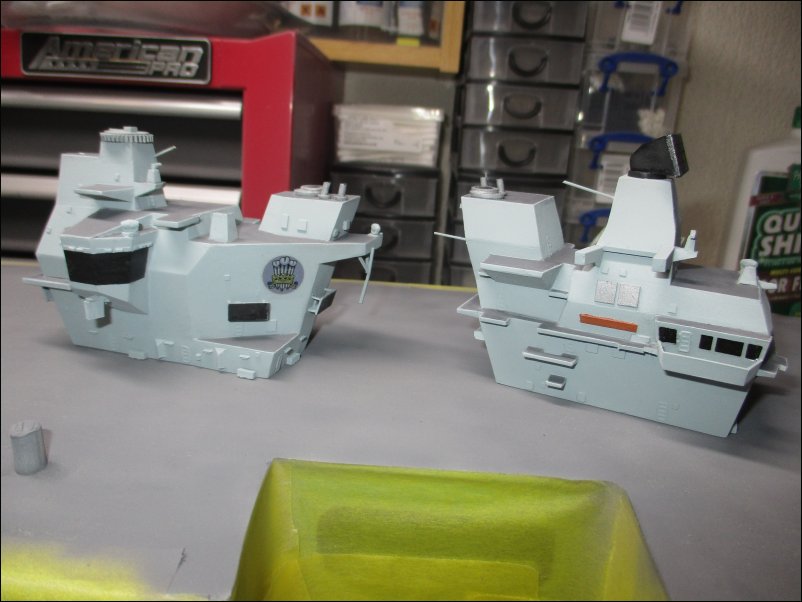
The starboard side is almost complete and vents have been glued in place just above the walkway. I have also glued fourteen roofs of the lighting hoods around the island:
Pic 143:

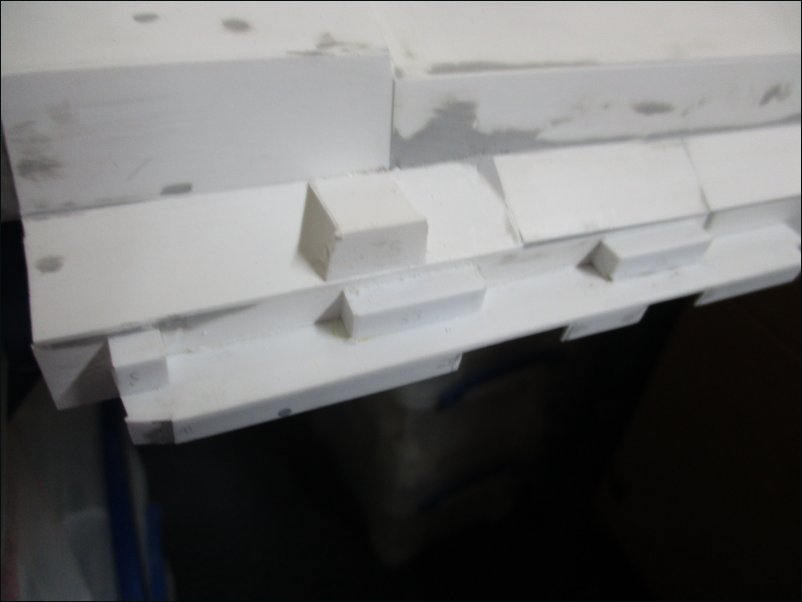
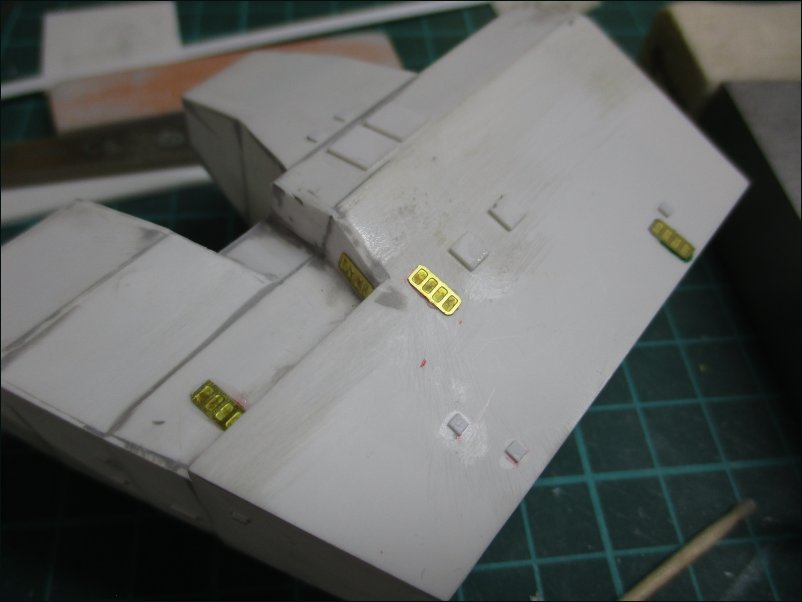
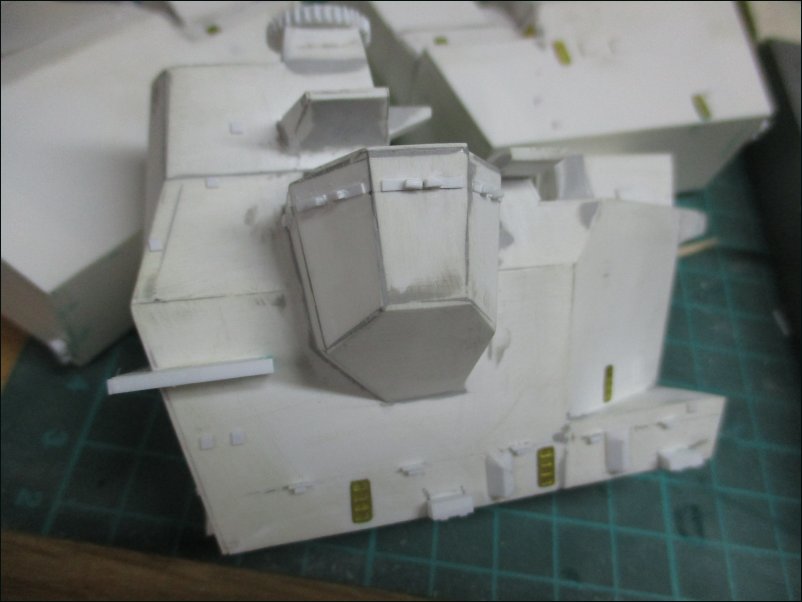
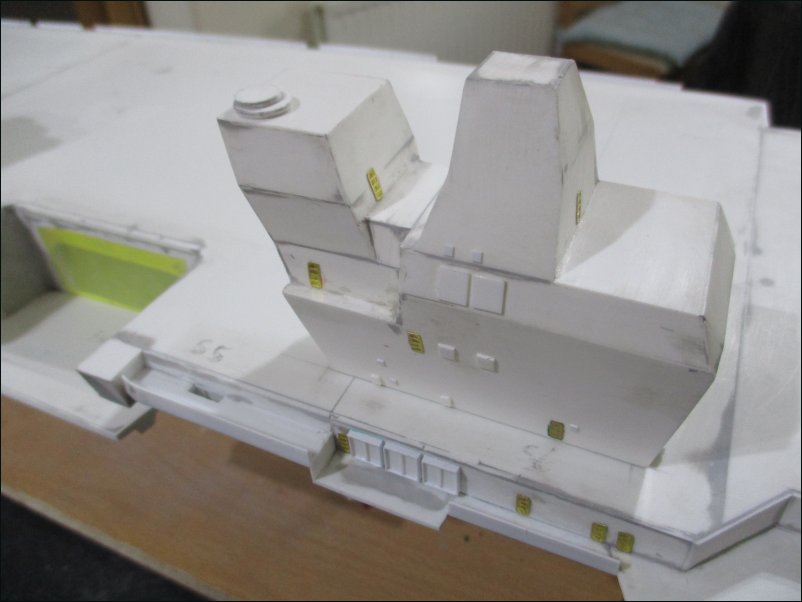
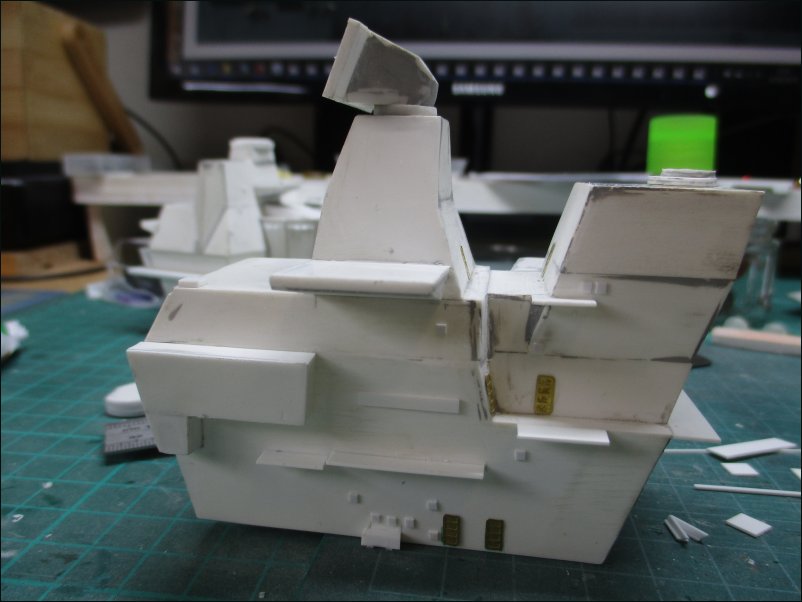
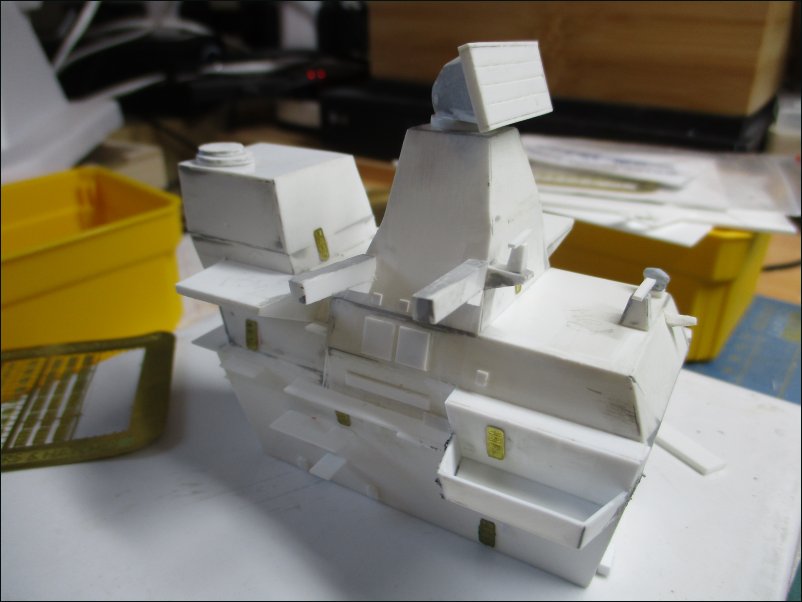
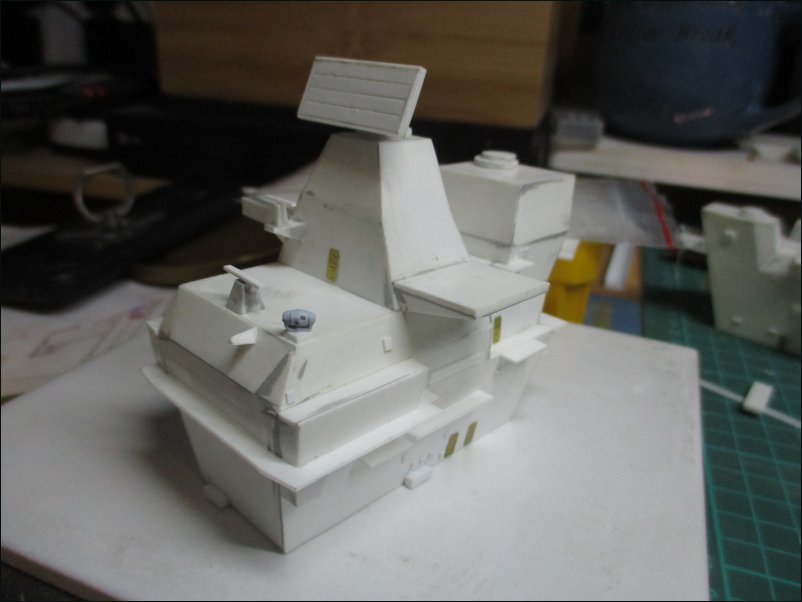
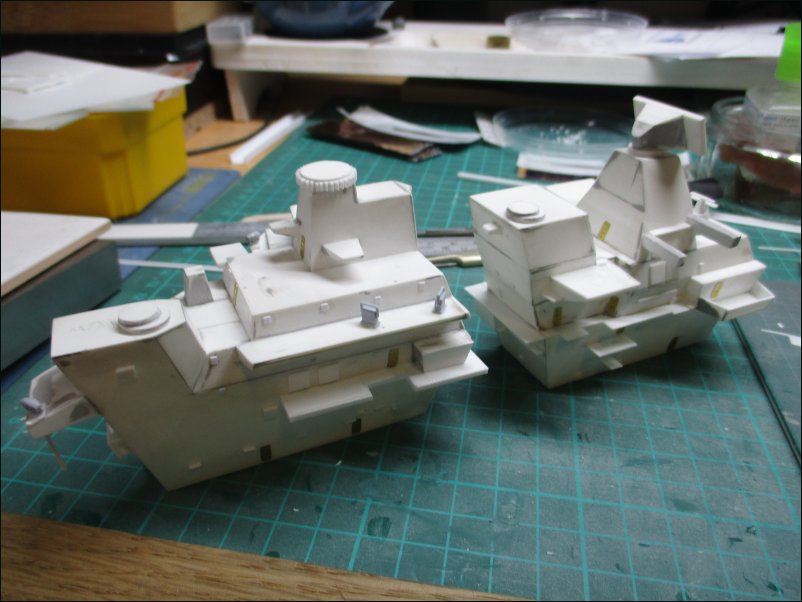
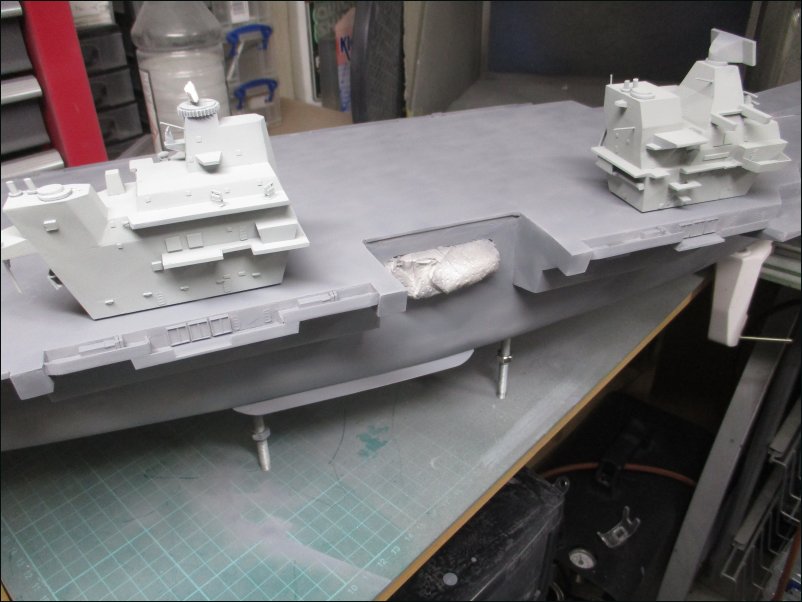
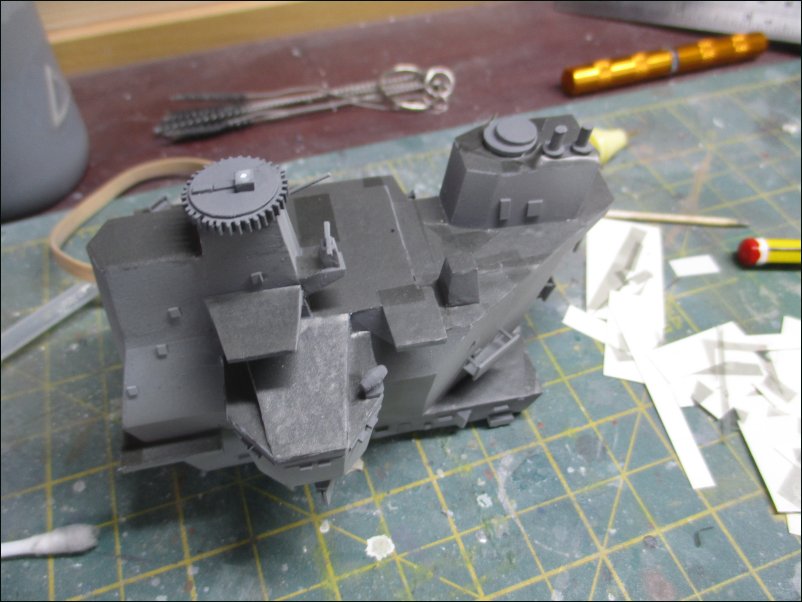
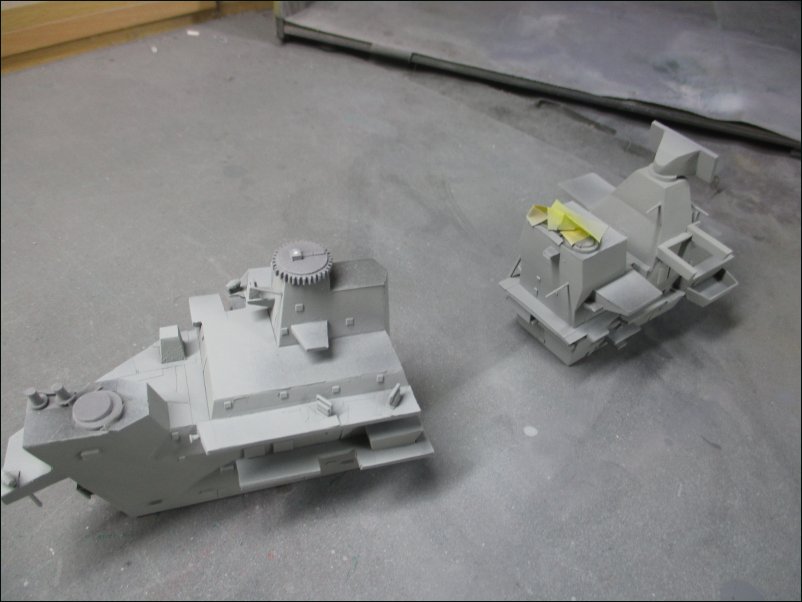
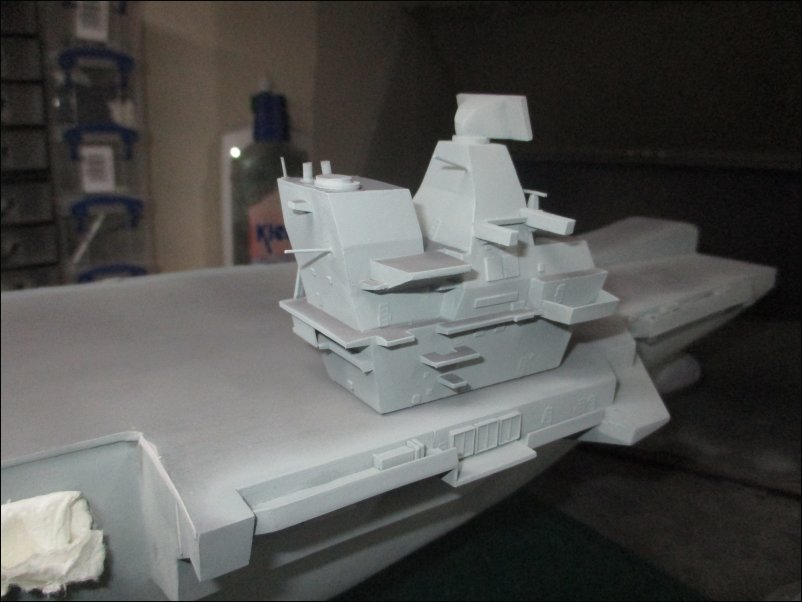
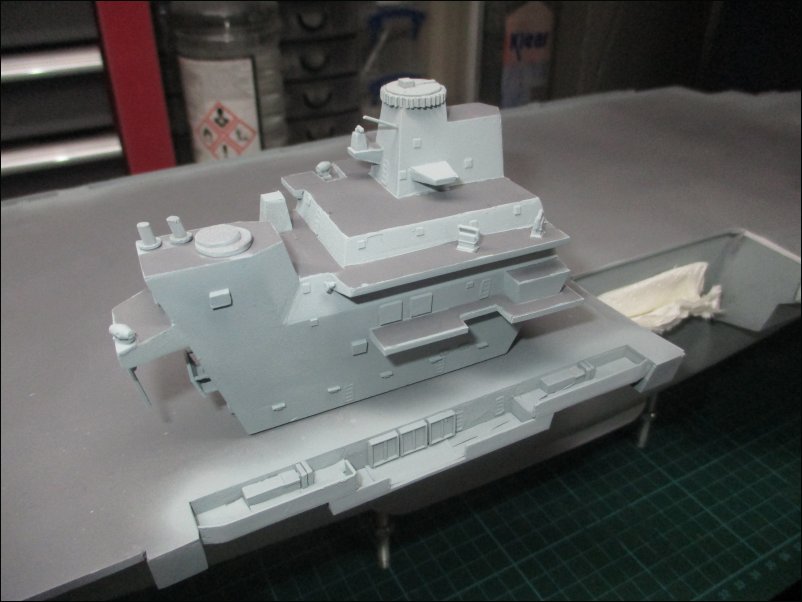
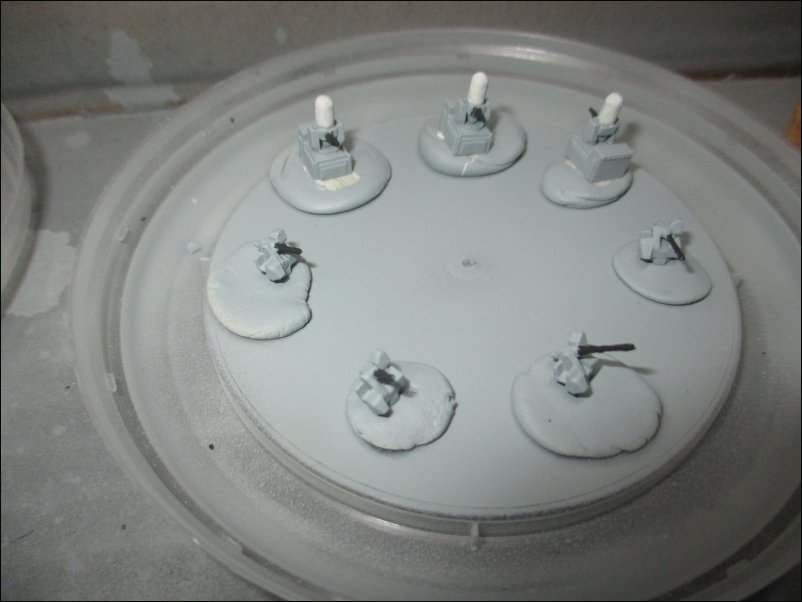
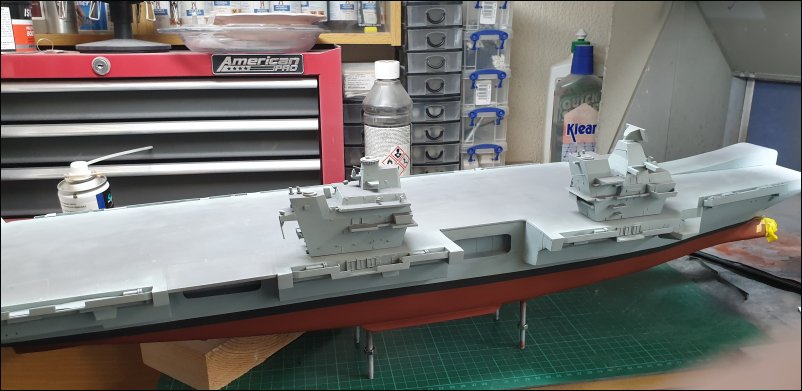
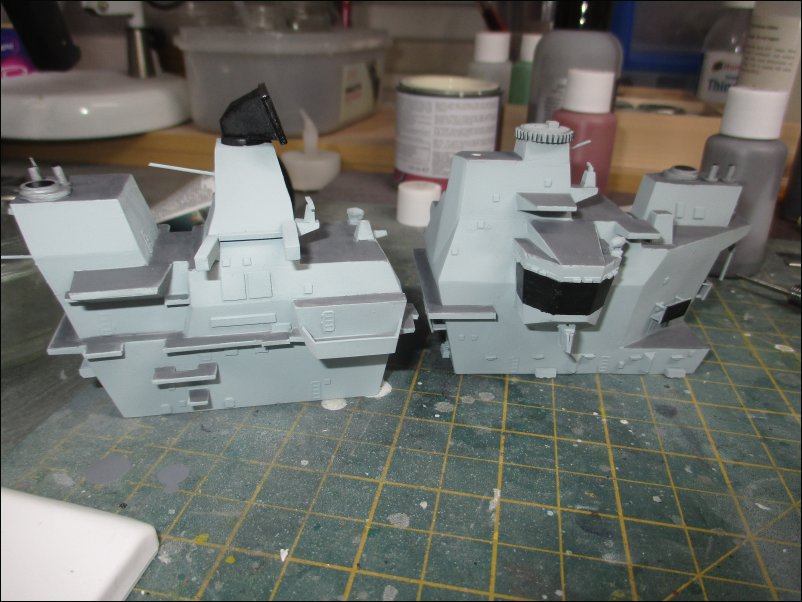
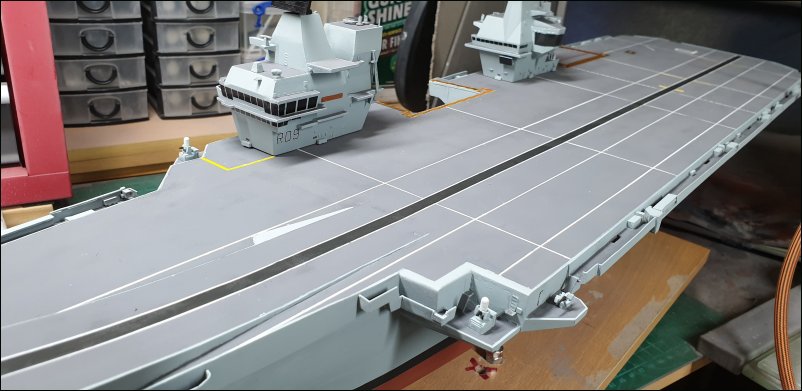
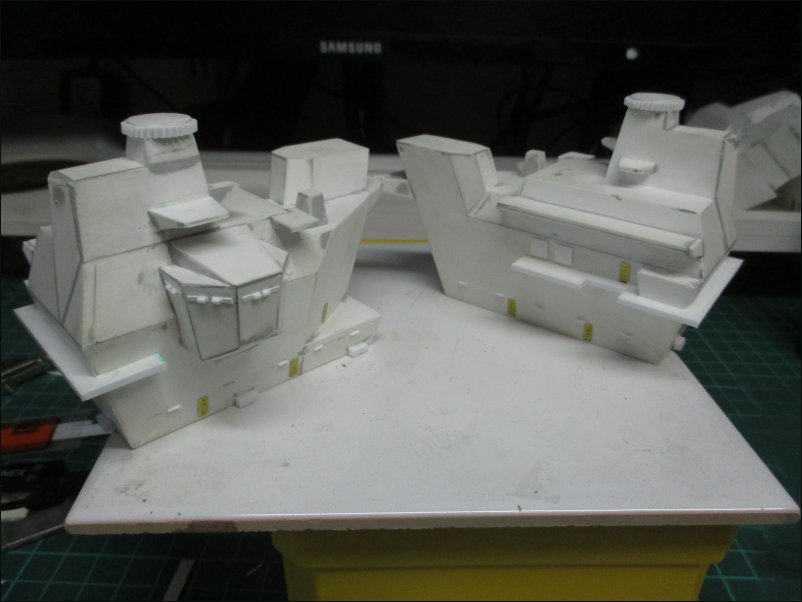
View showing both sides of the two Aft islands:
Pic 144:
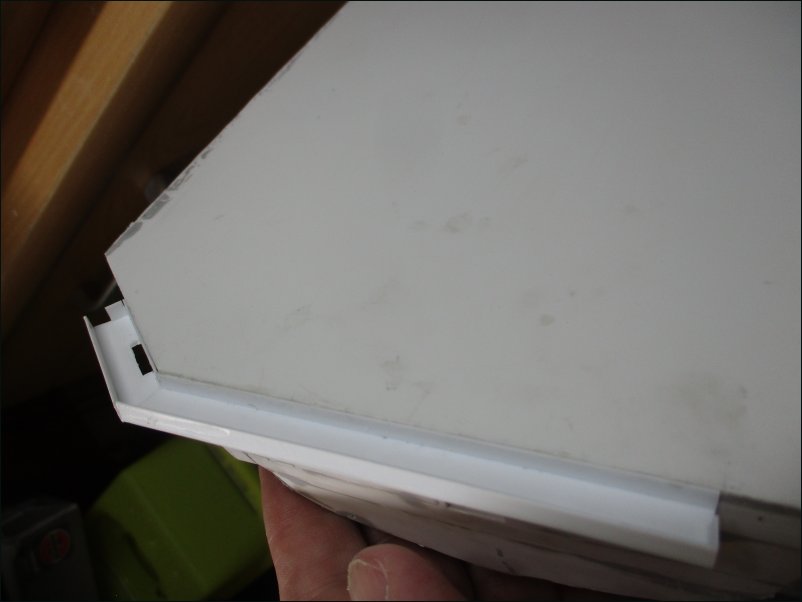
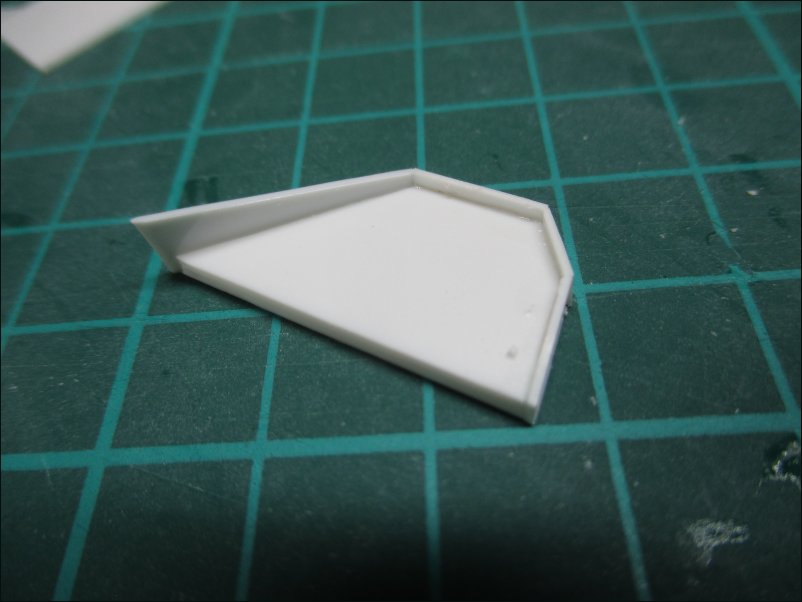
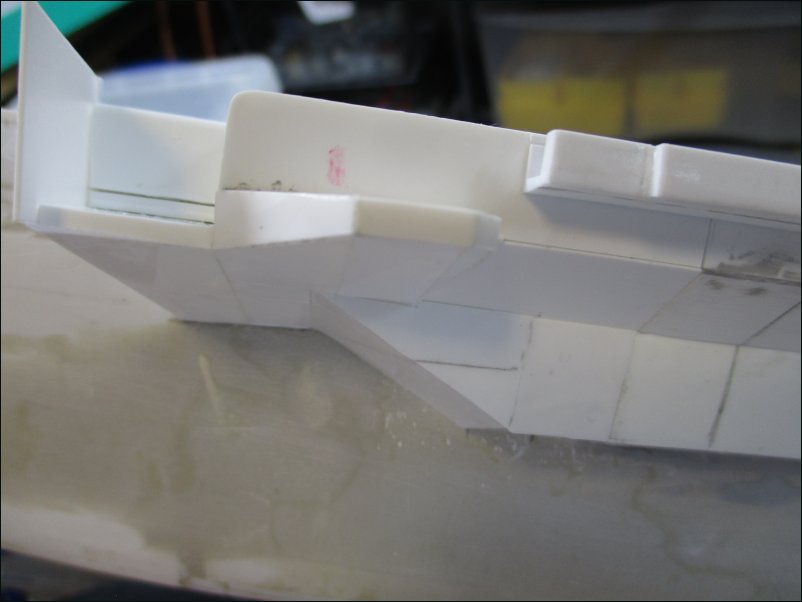
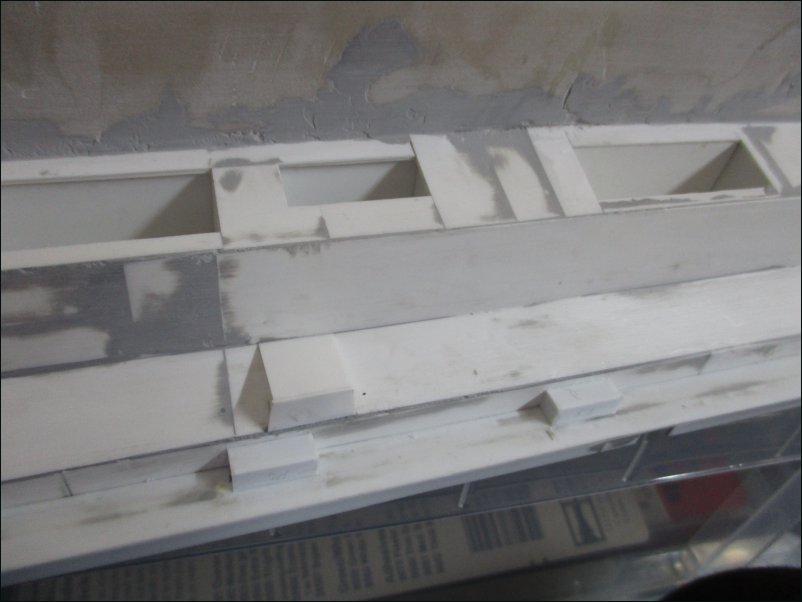
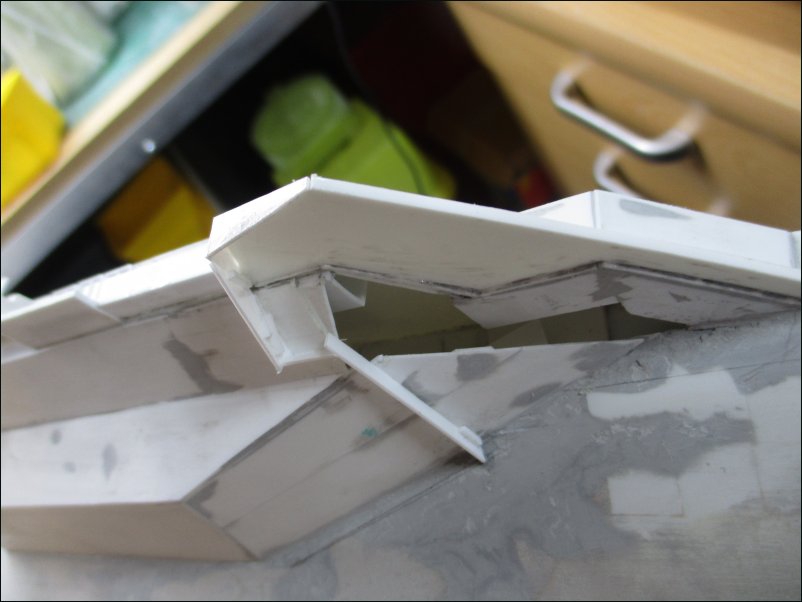
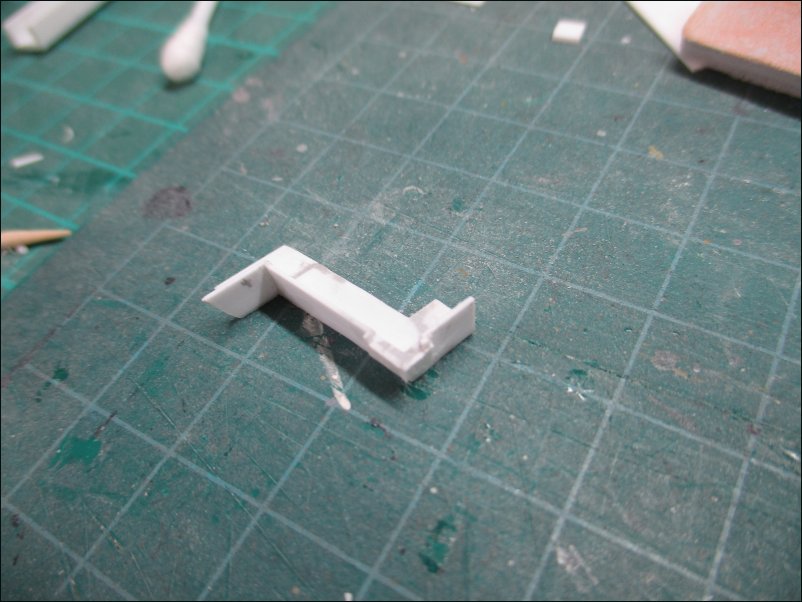
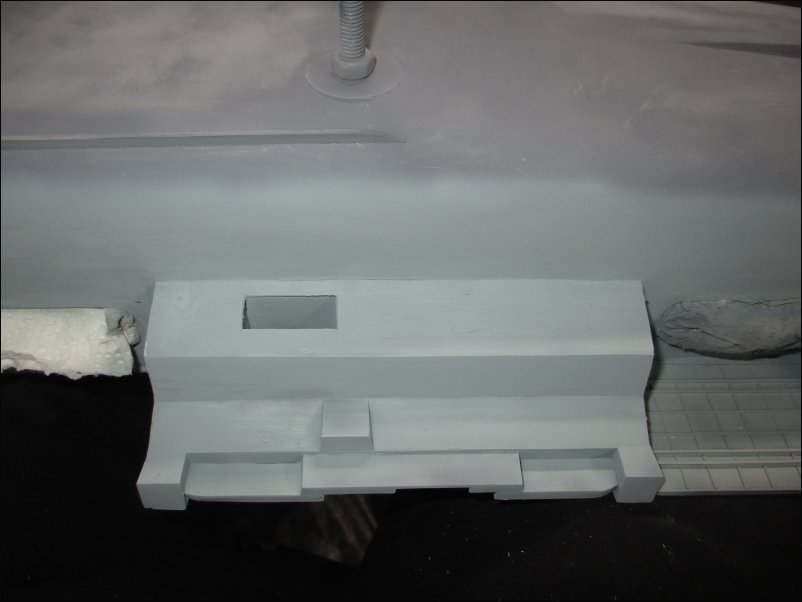
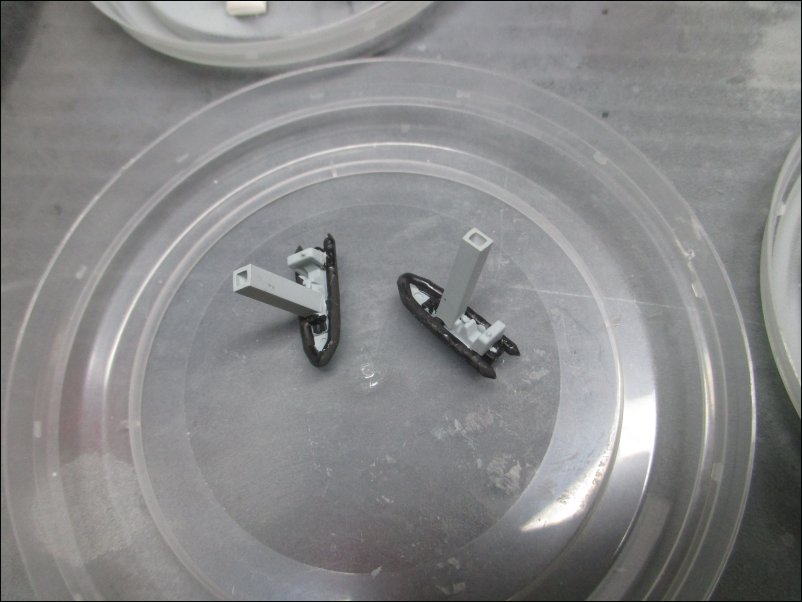
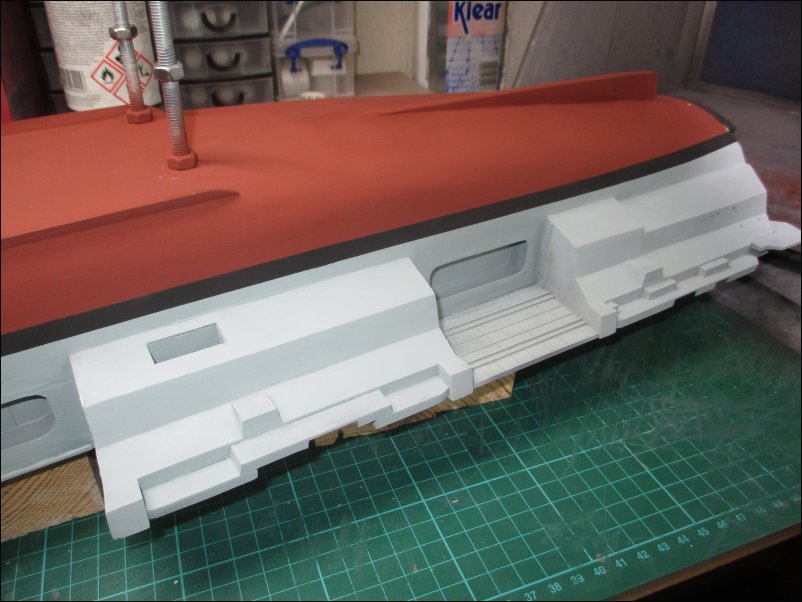
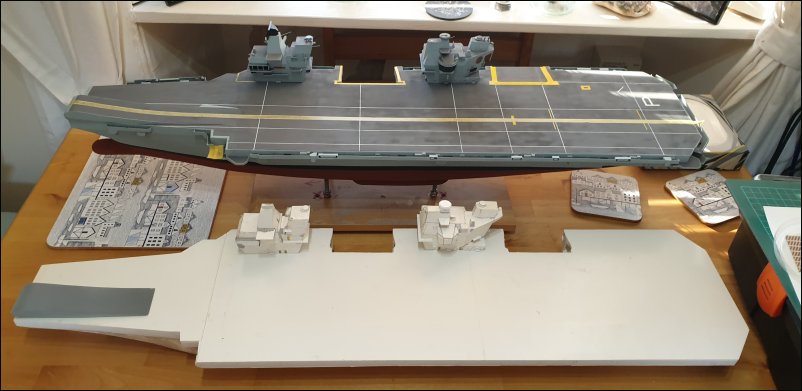
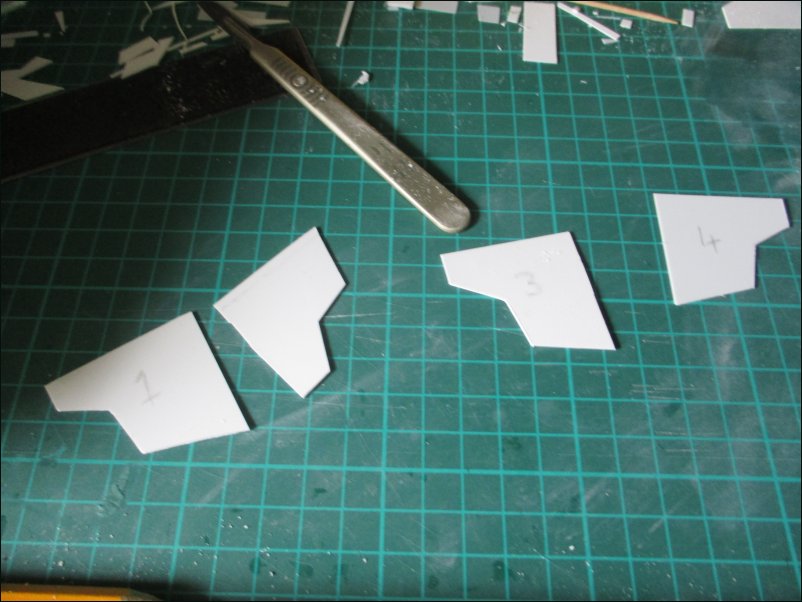
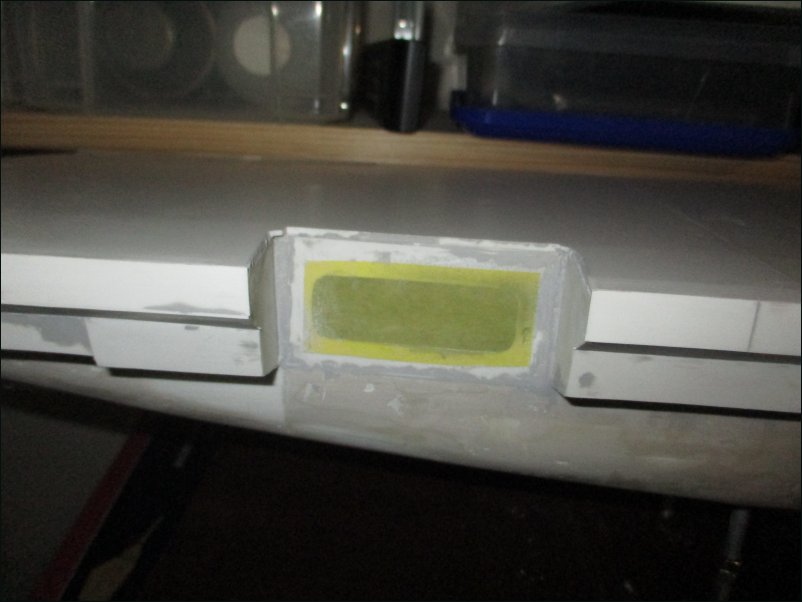
Time to work on the ends of the starboard sponsons. The sponson bulkheads have been cut out:
Pic 145:
Sponson bulkheads were glued in place. The Hangar opening assemblies were also fitted with scrap plastic card filling any gaps:
Pic 146:
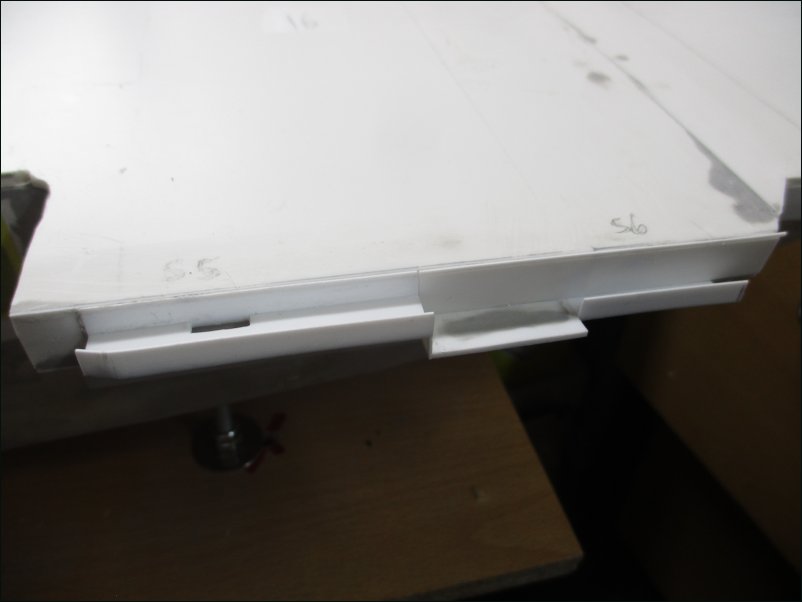
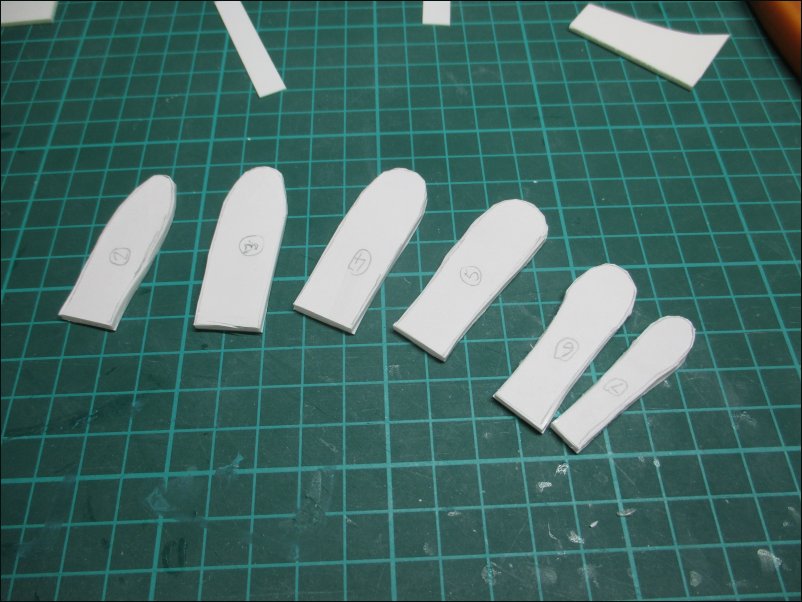
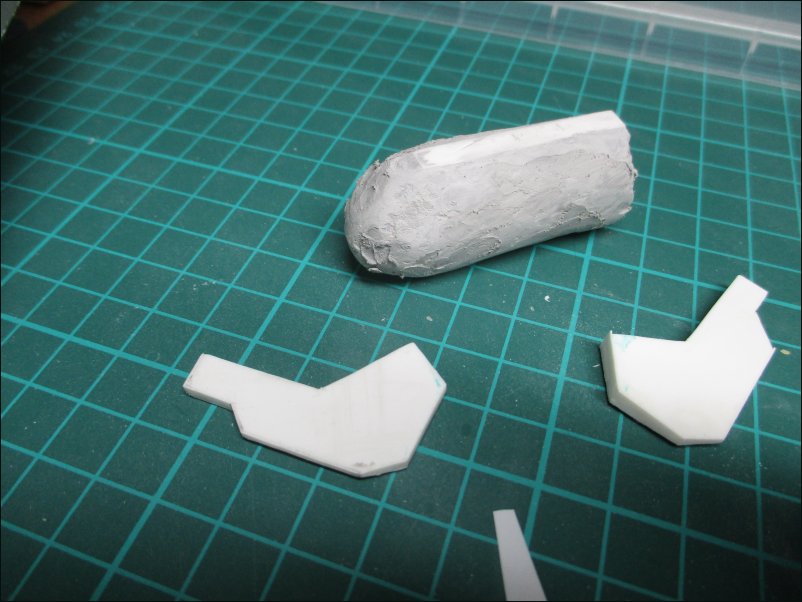
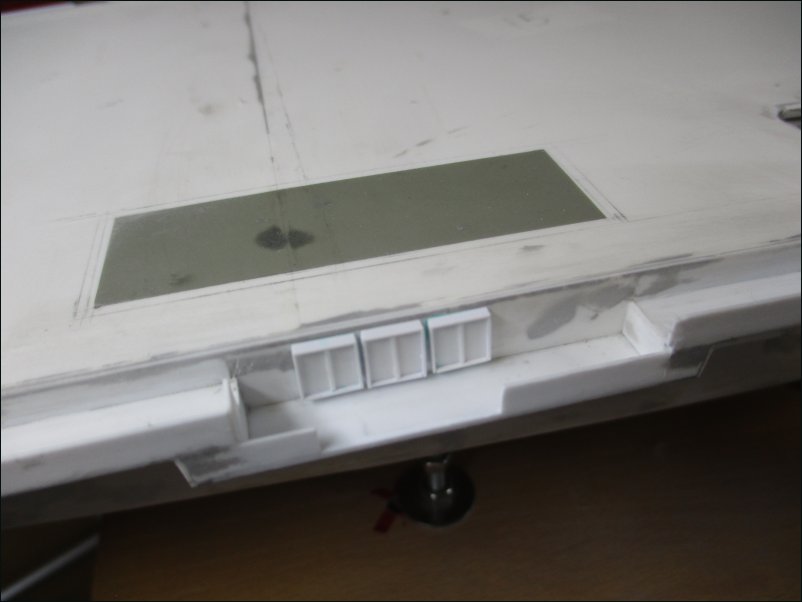
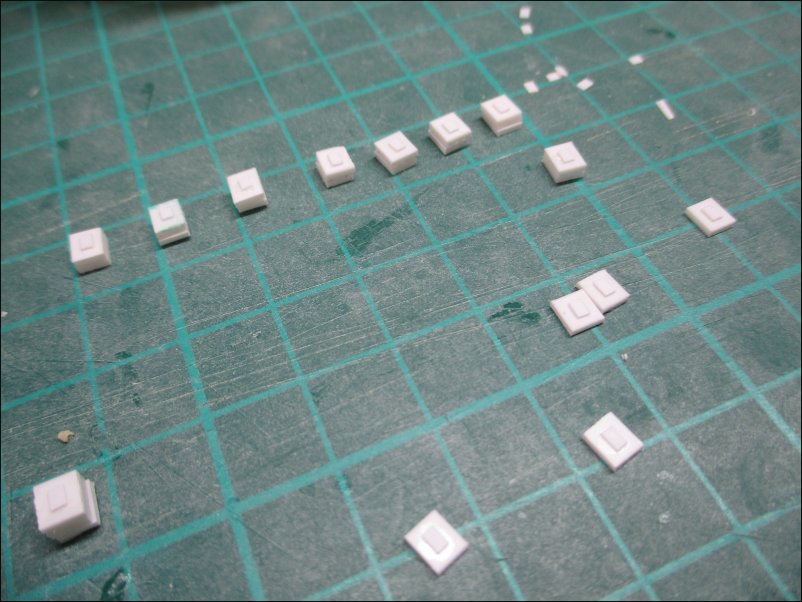
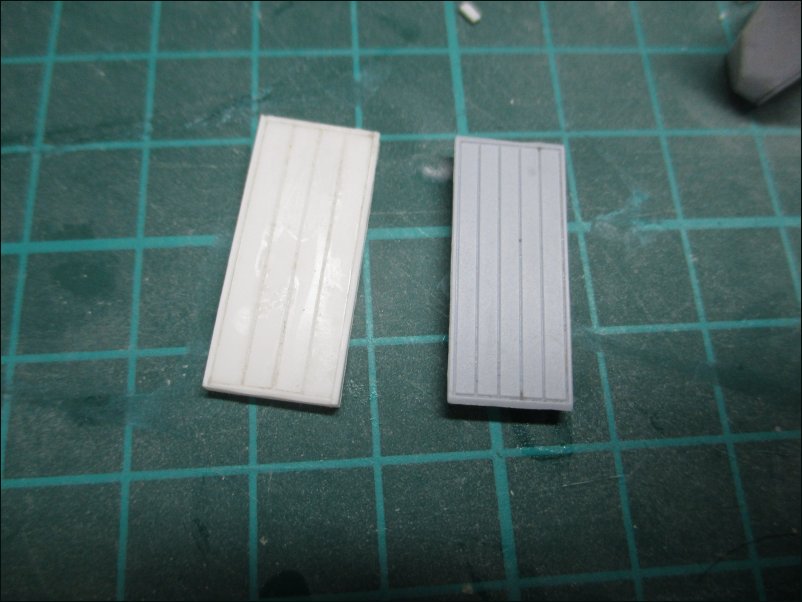
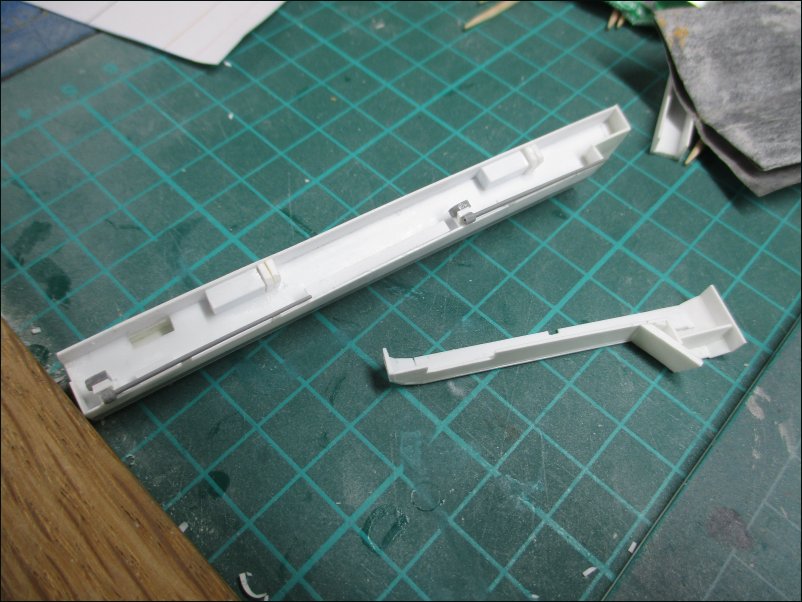
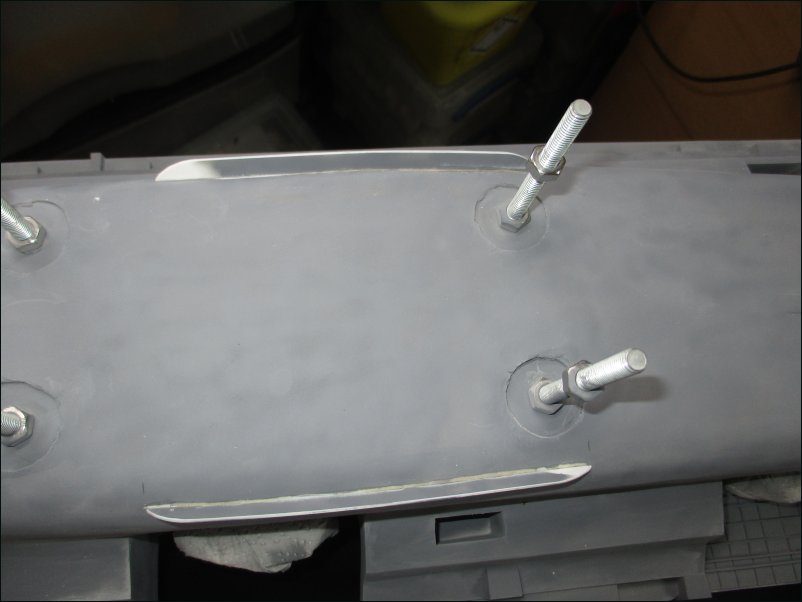
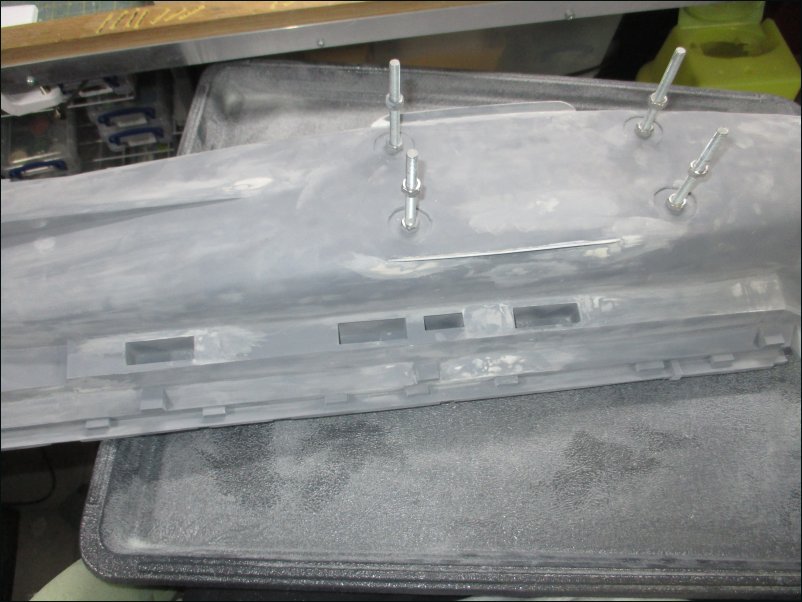
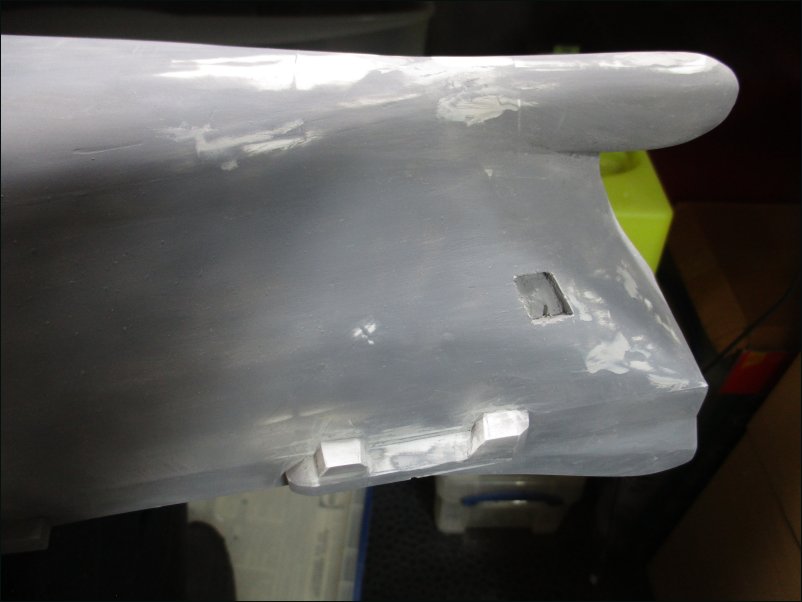
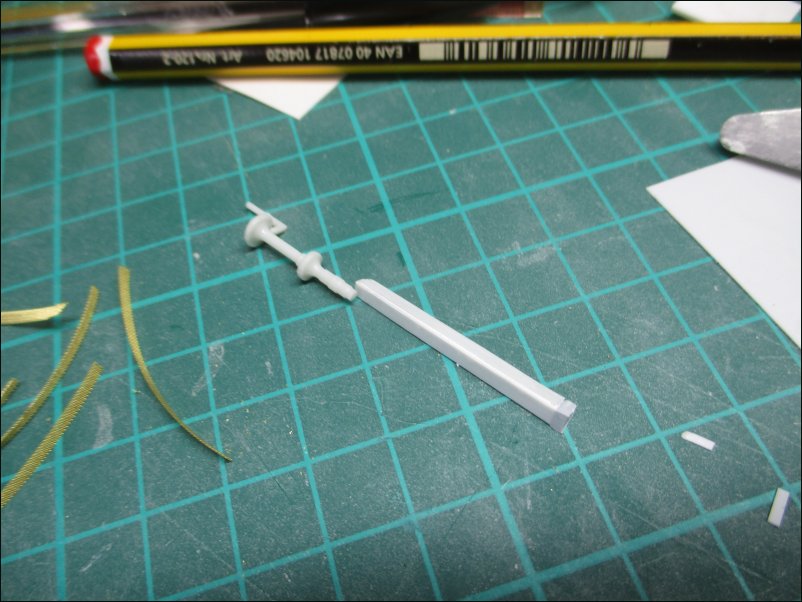
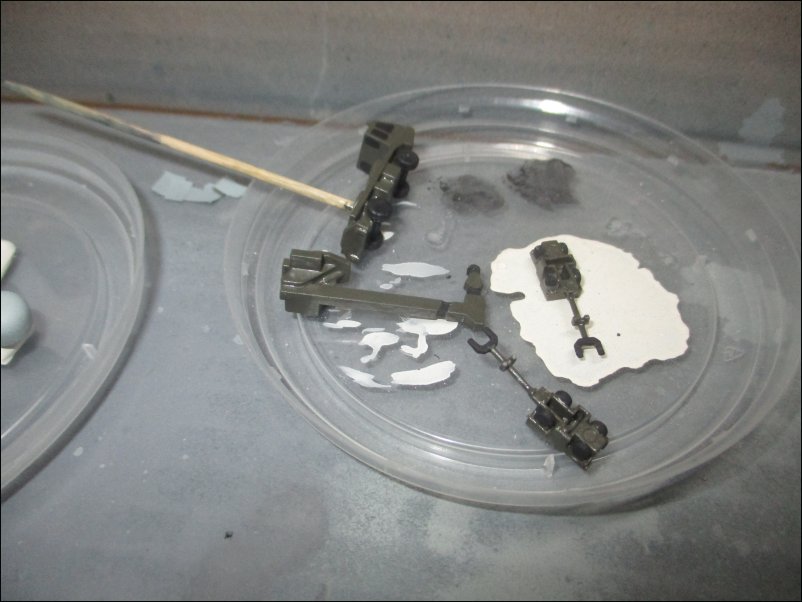
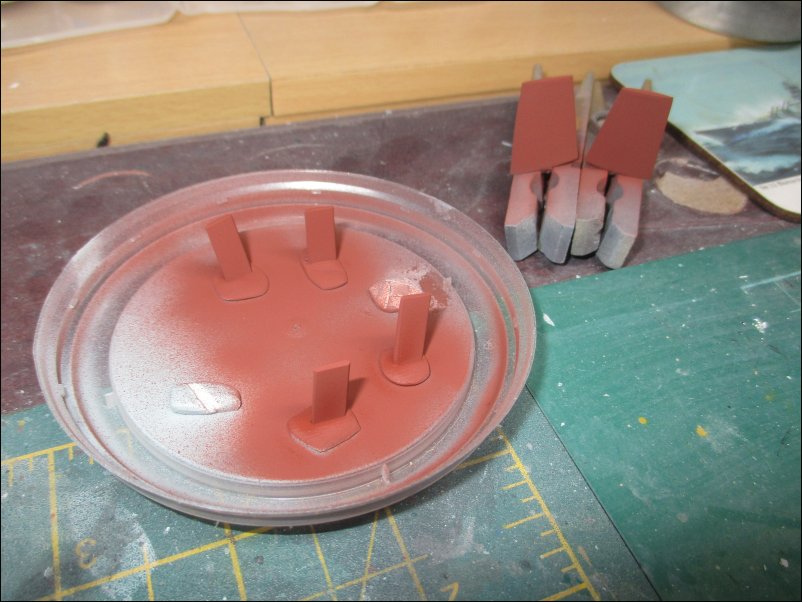
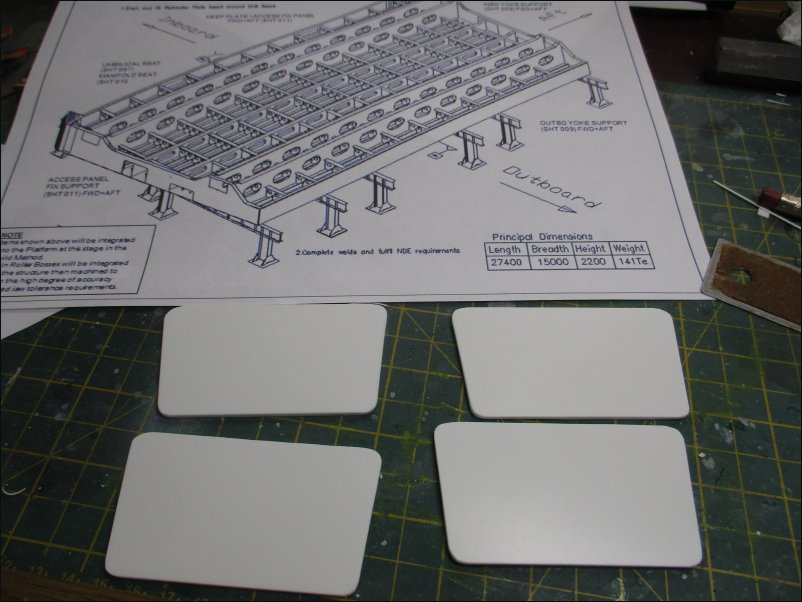
The lifts were cut out and ready for some detailing on their undersides. I won't be replicating every beam but will add just enough to look the part:
Pic 147:
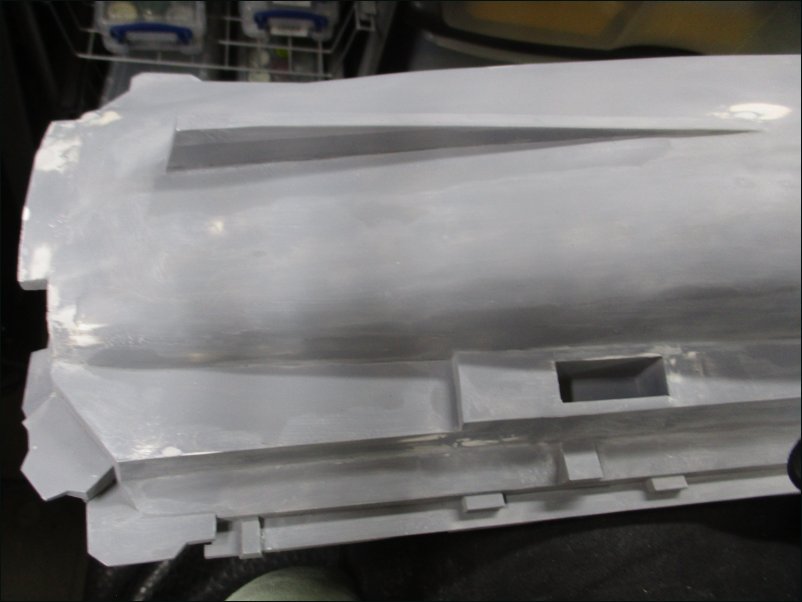
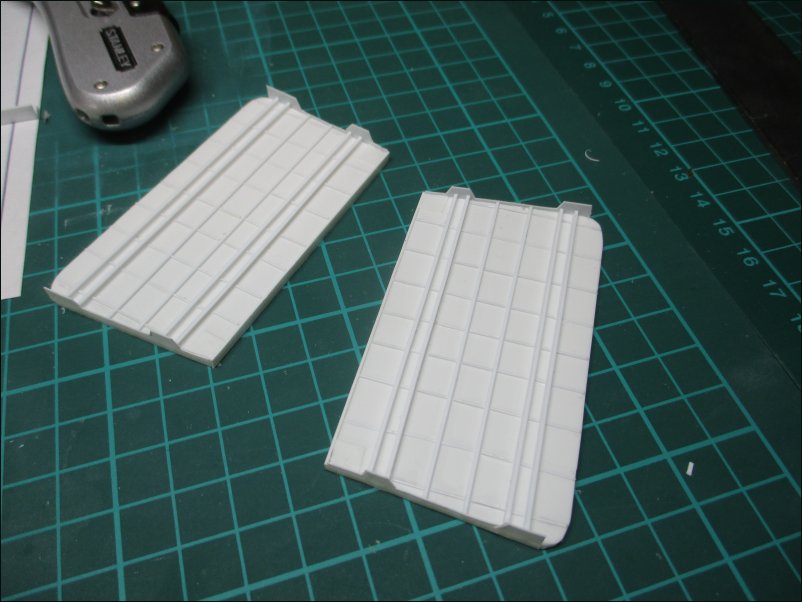
Detailing underway:
Pic 148:

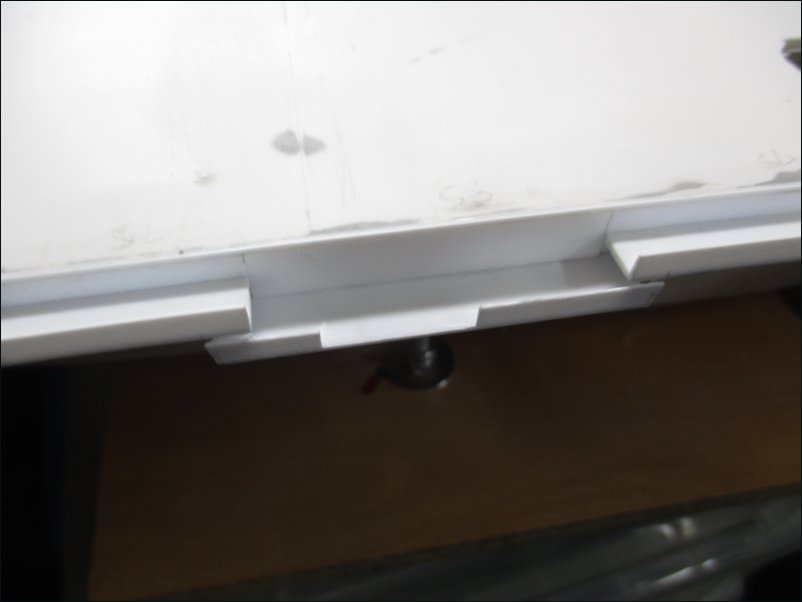
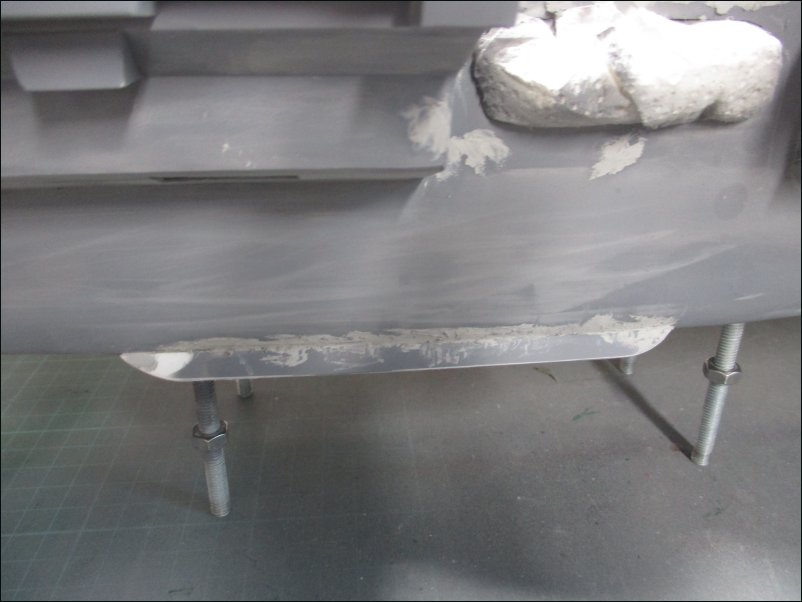
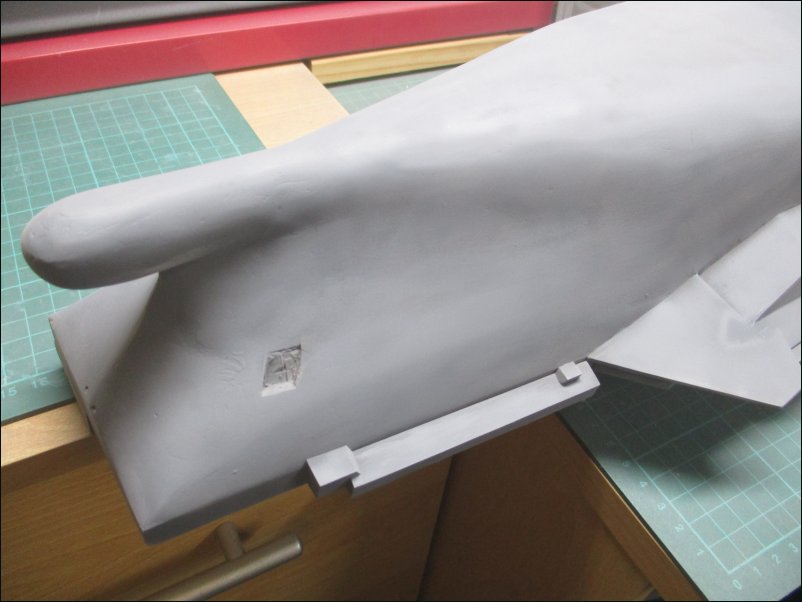
After hours of work, I have finished the detailing of the underside of the lifts and they will be fitted later in the build after painting:
Pic 149:
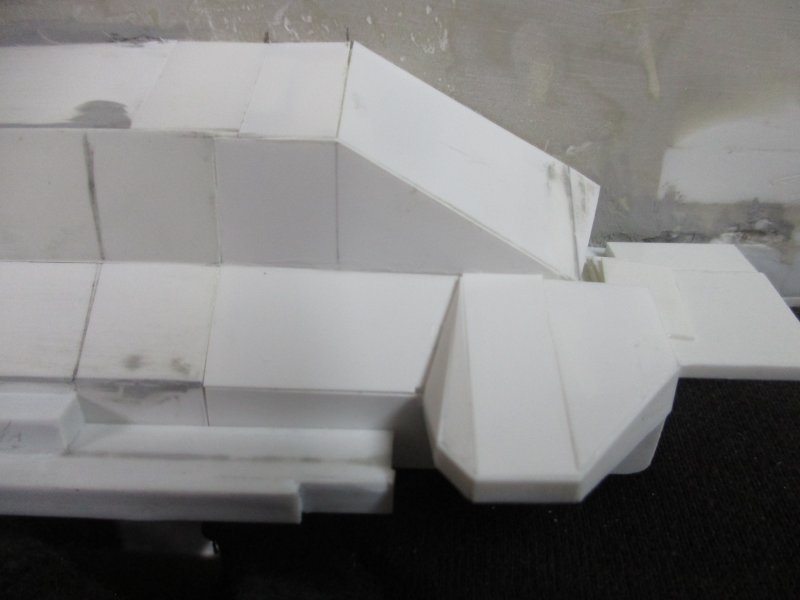
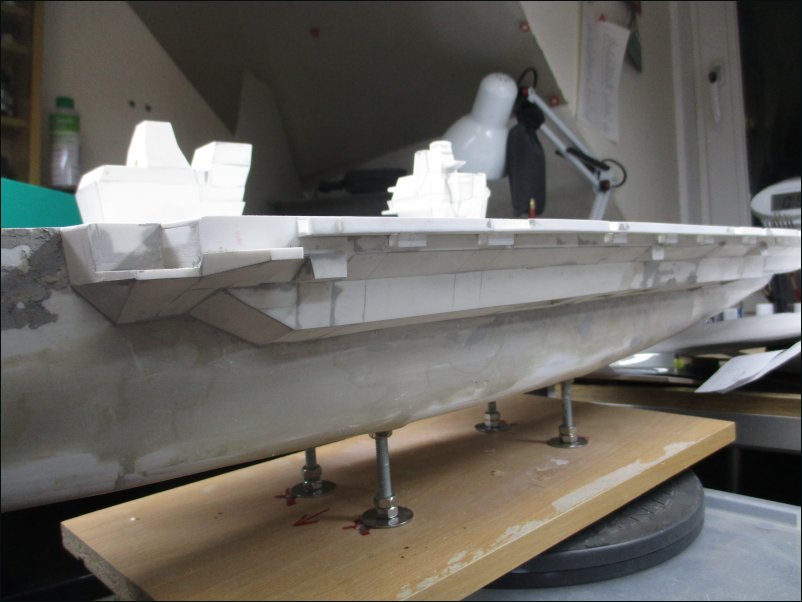
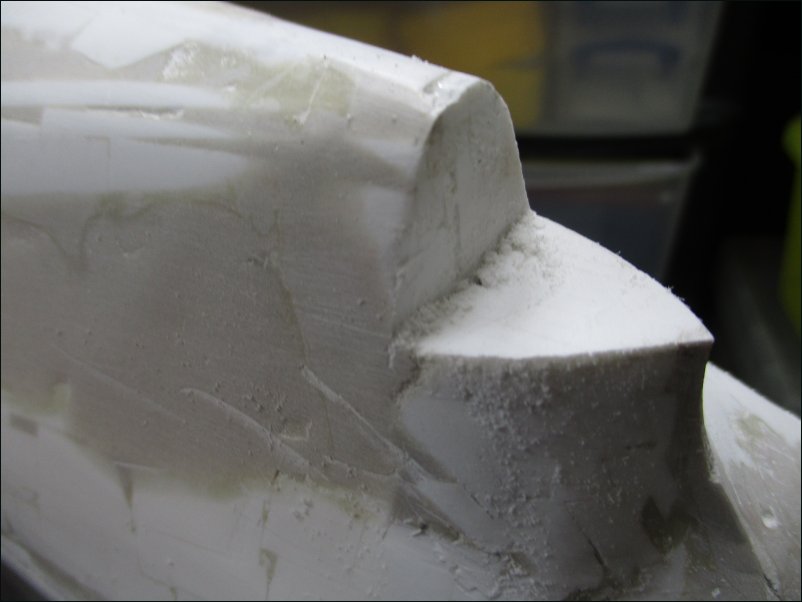
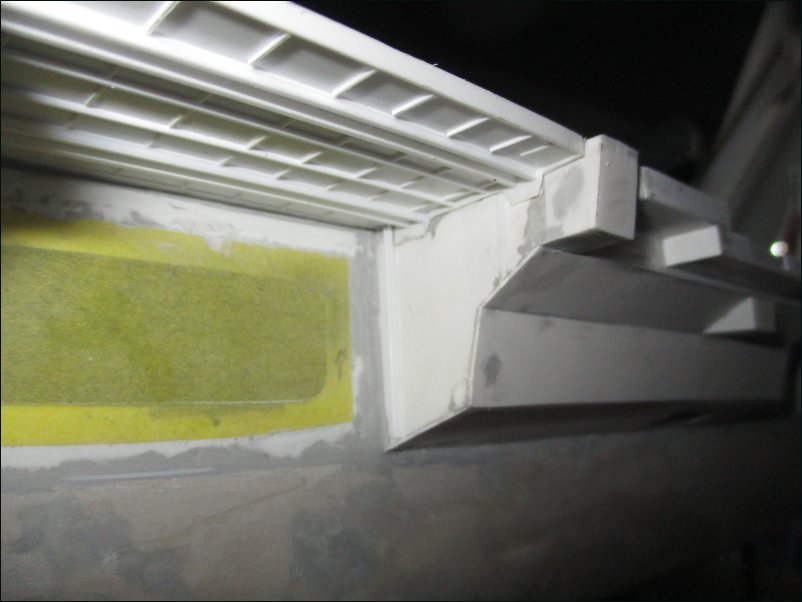
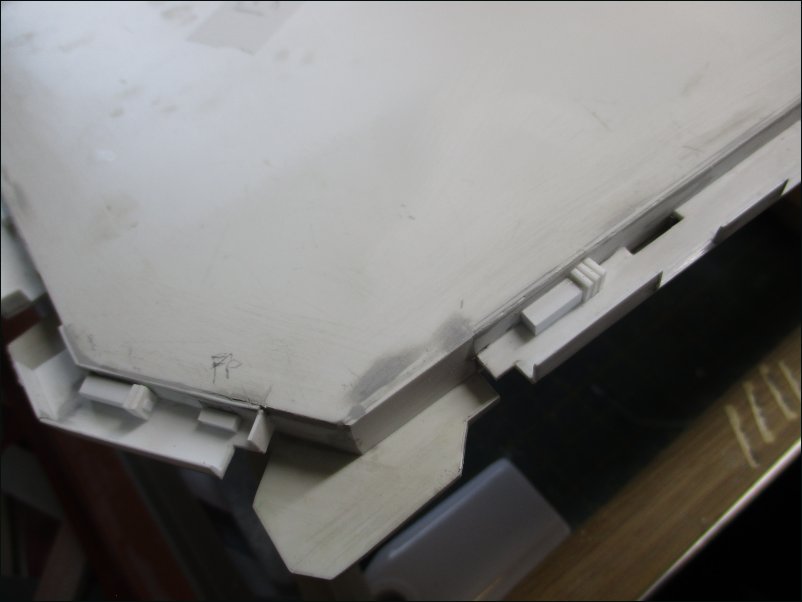
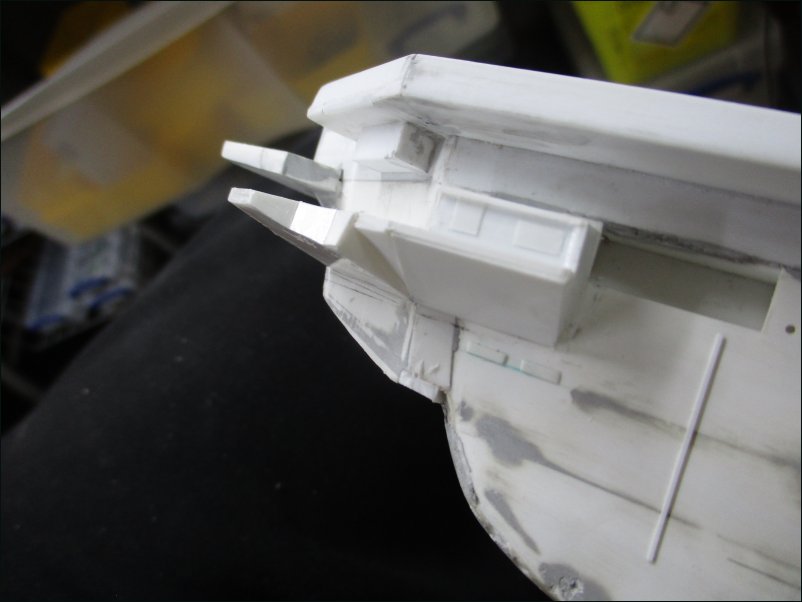
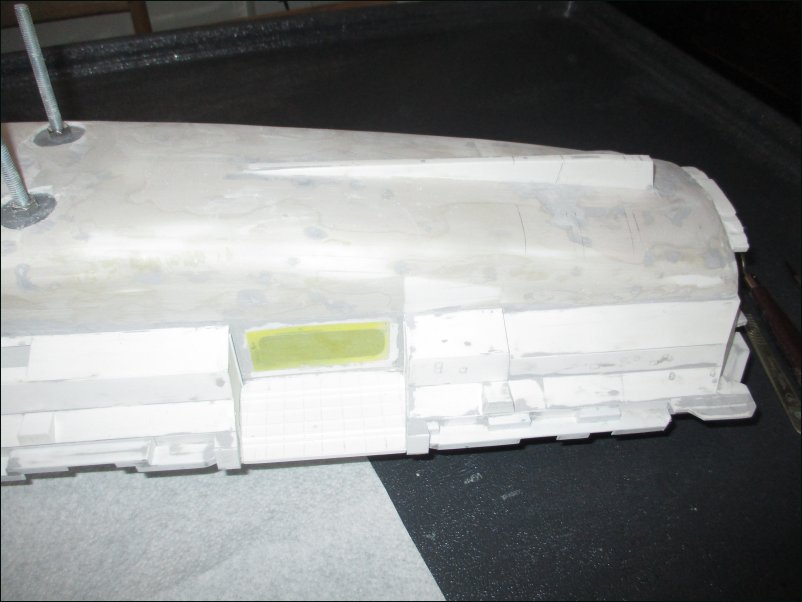
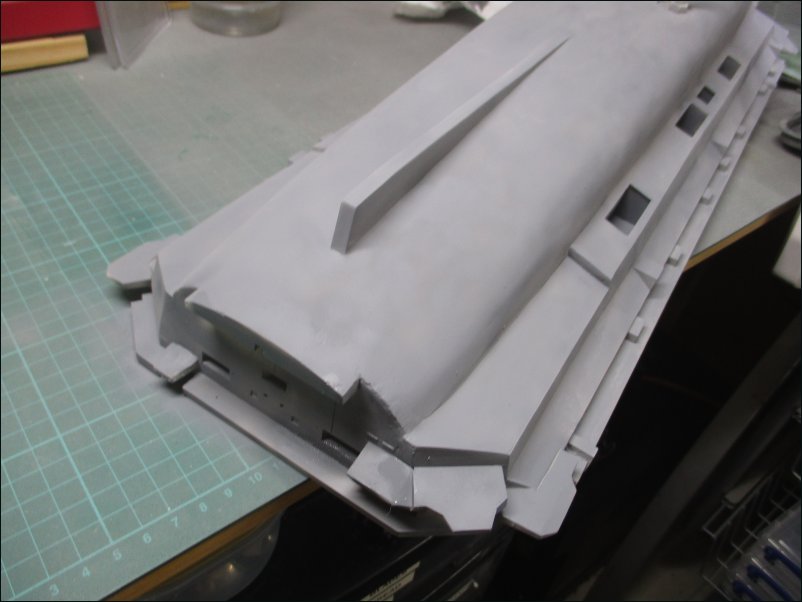
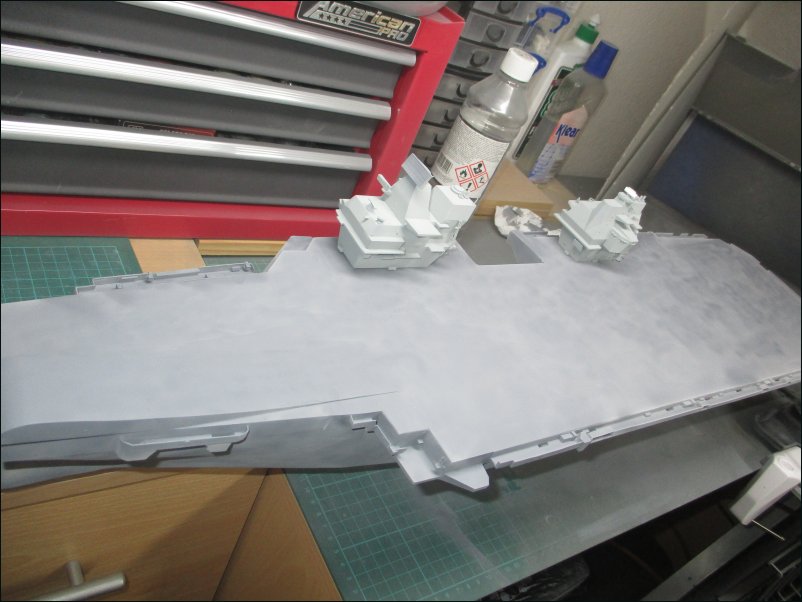
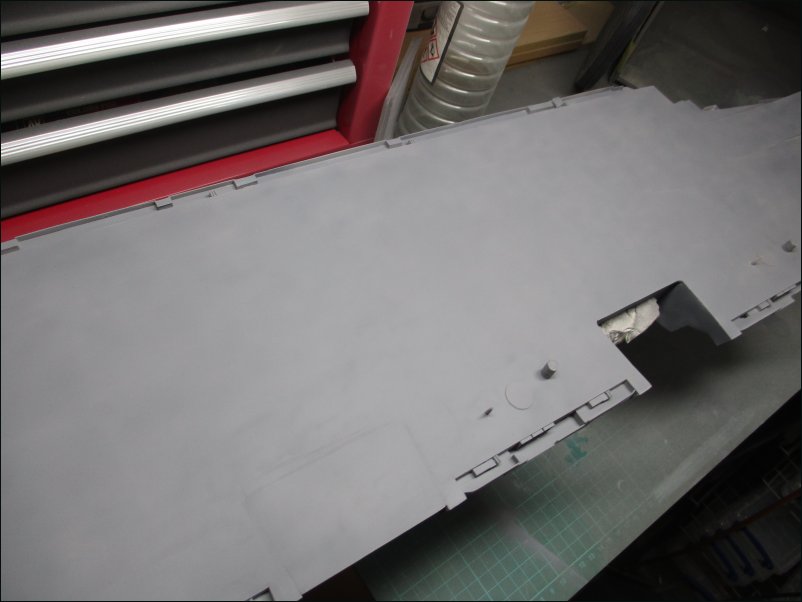
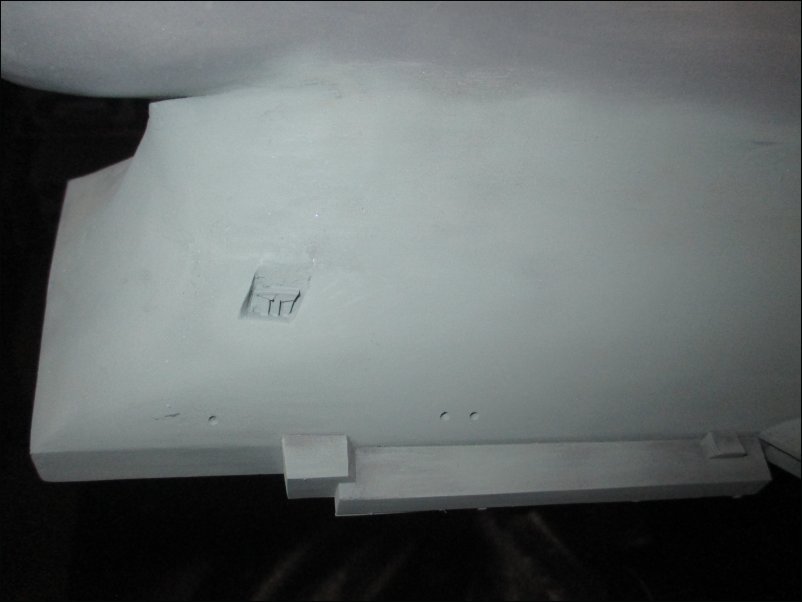
The cleaning up of the hangar door areas is progressing well. Here is the forward hangar opening:
Pic 150:
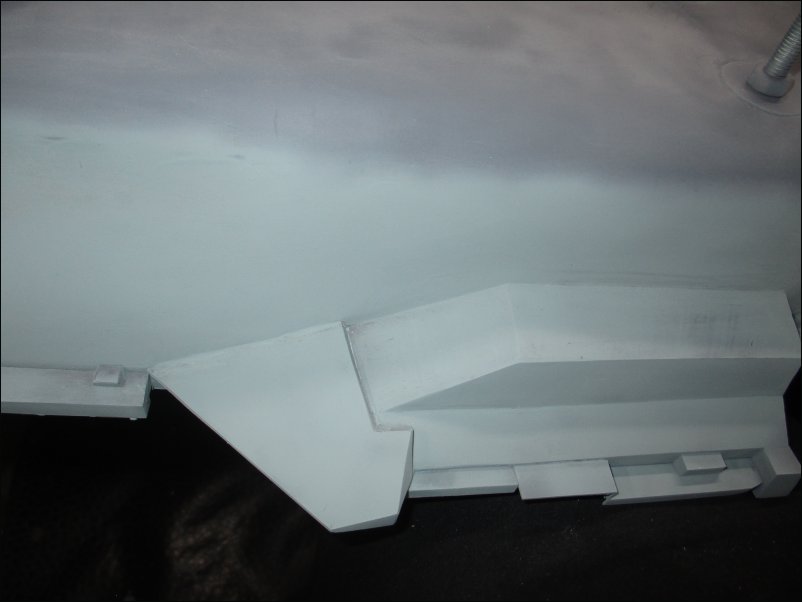
And here is the aft hangar opening:
Pic 151:
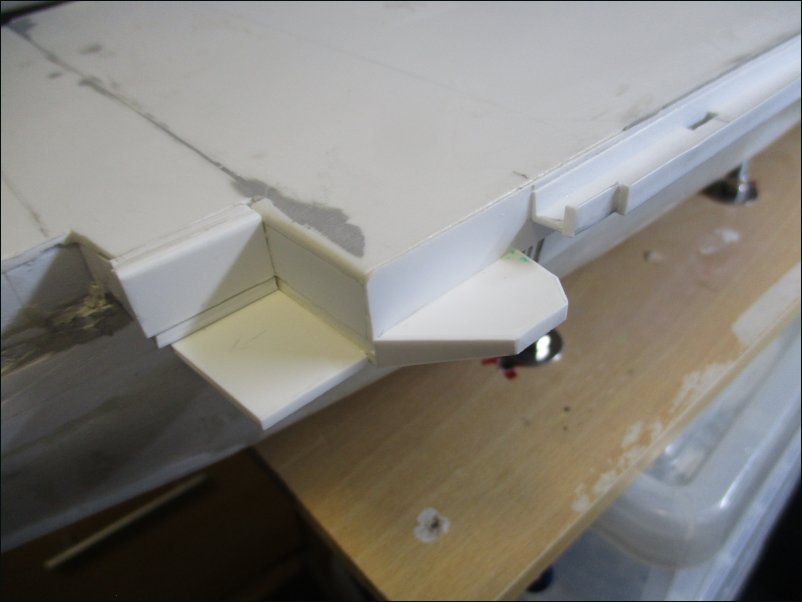
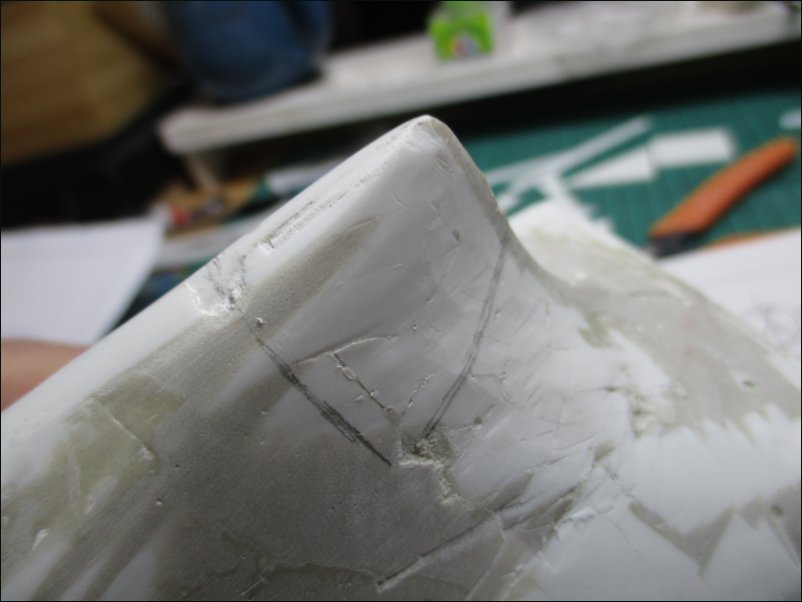
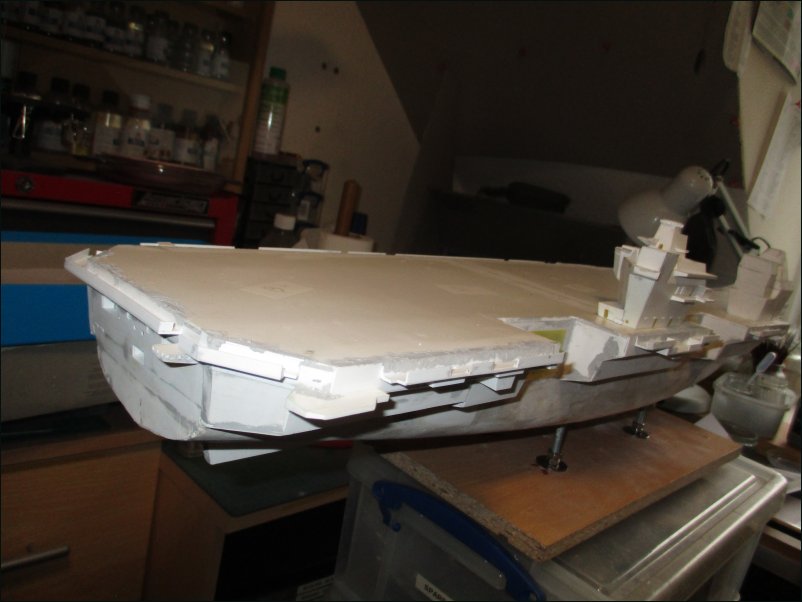
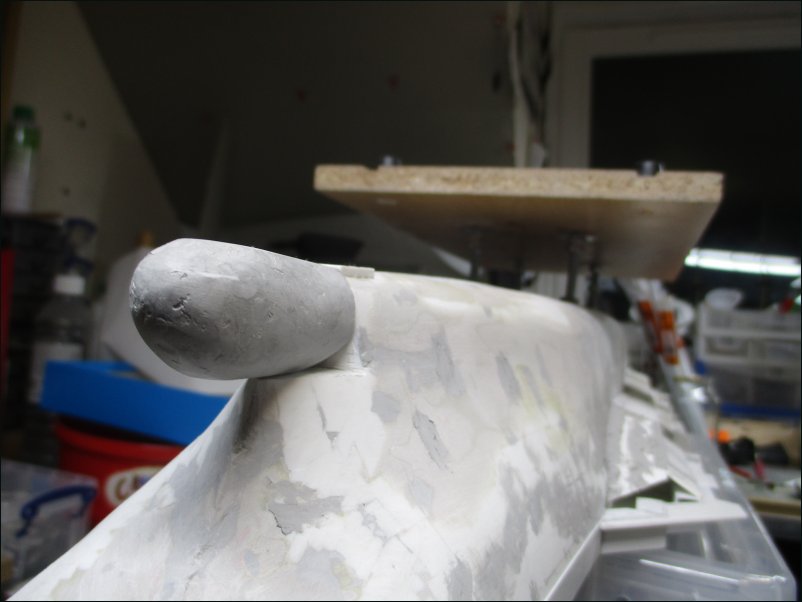
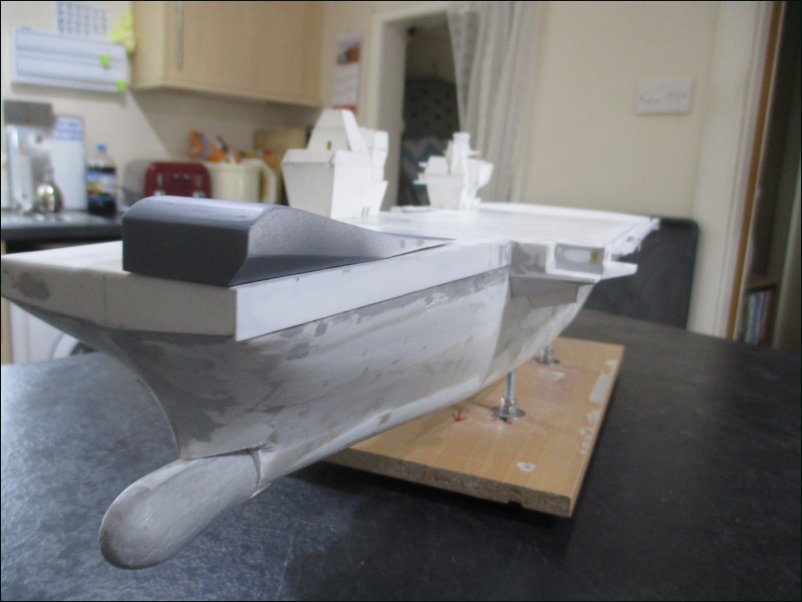
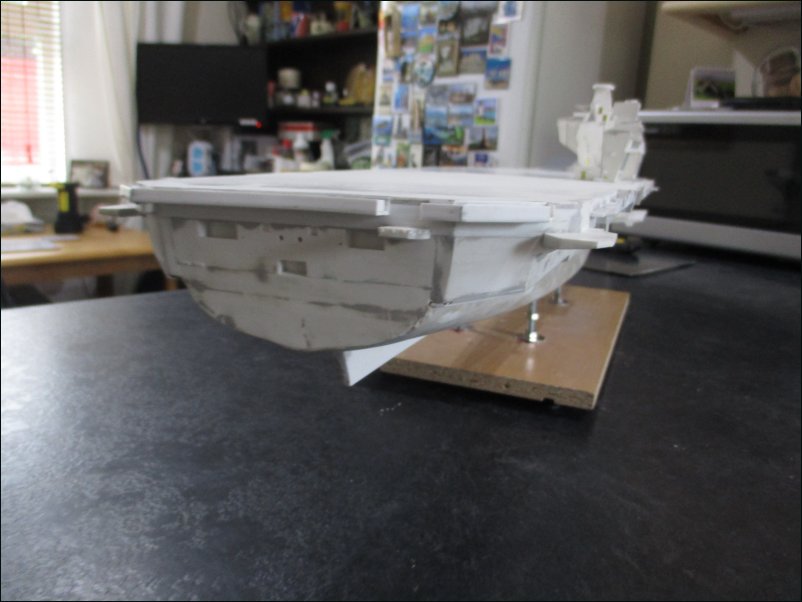
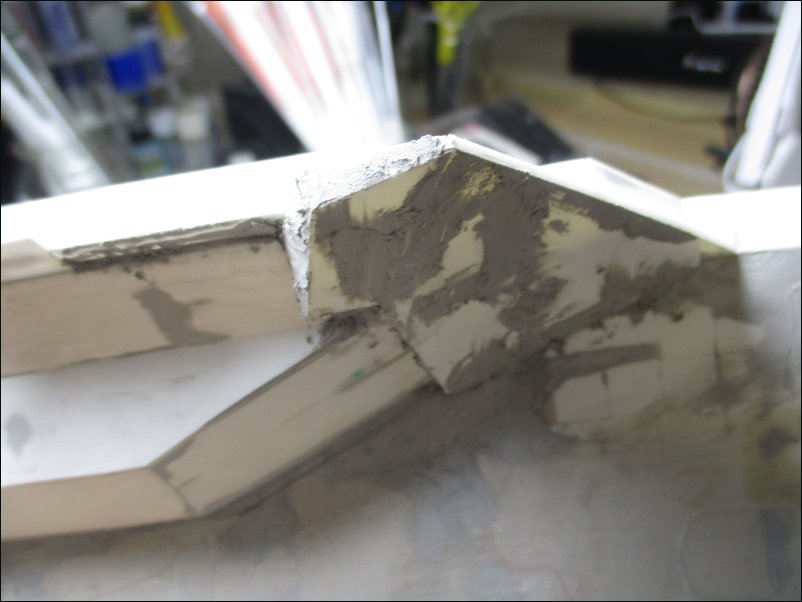
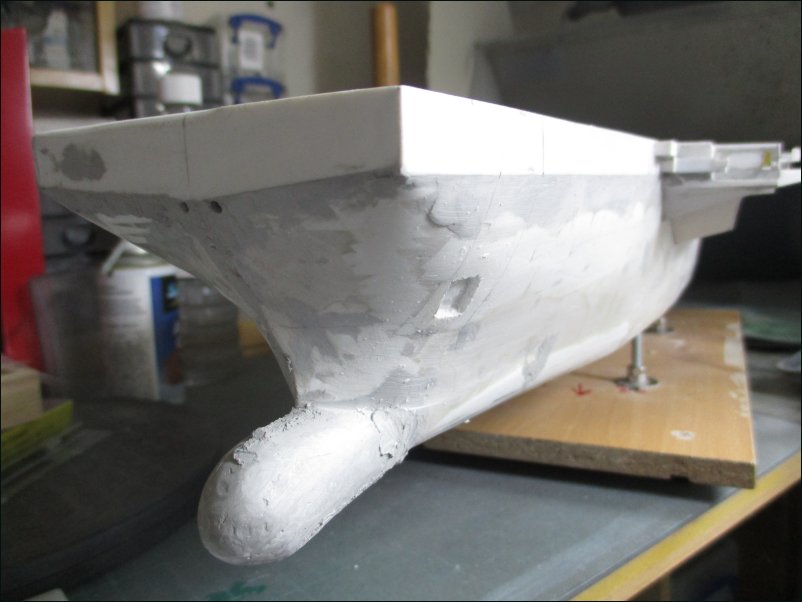
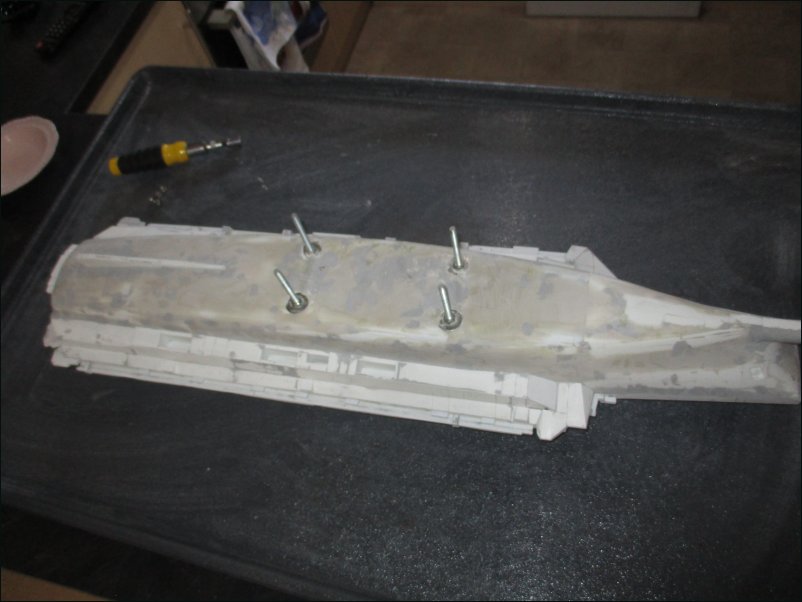
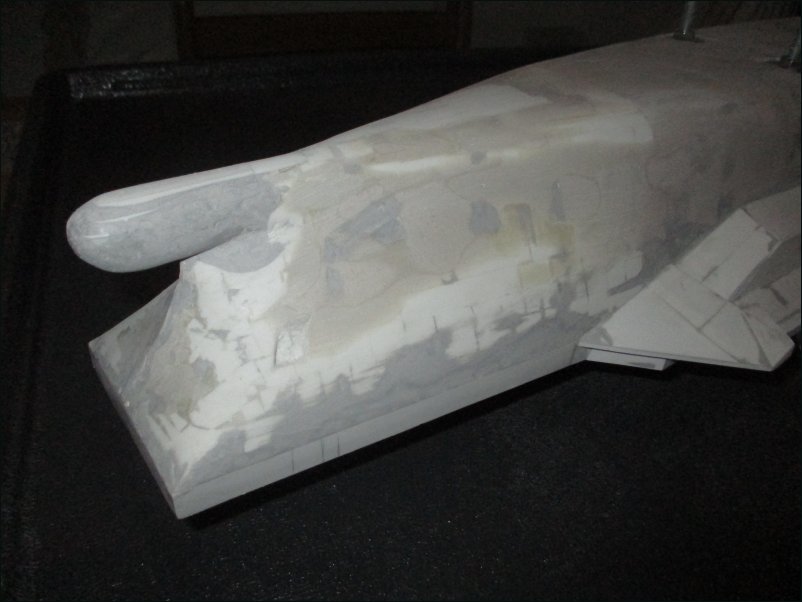
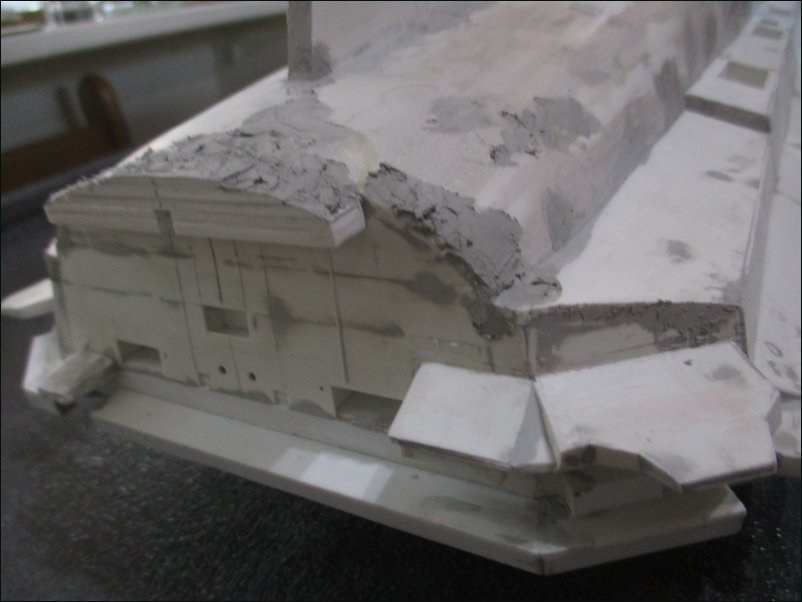
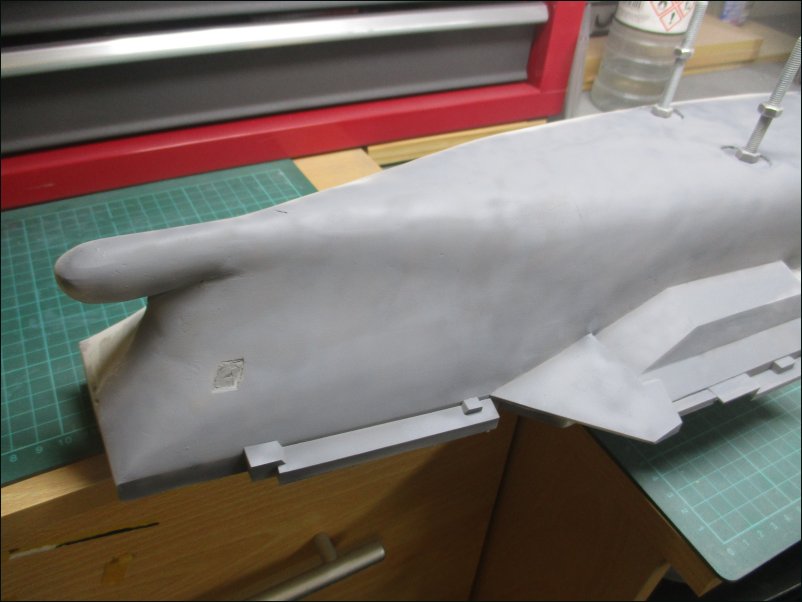
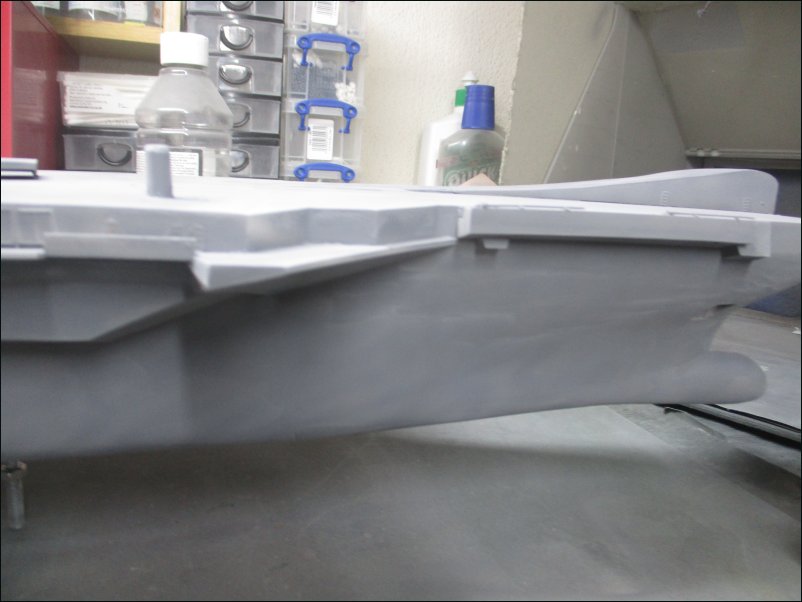
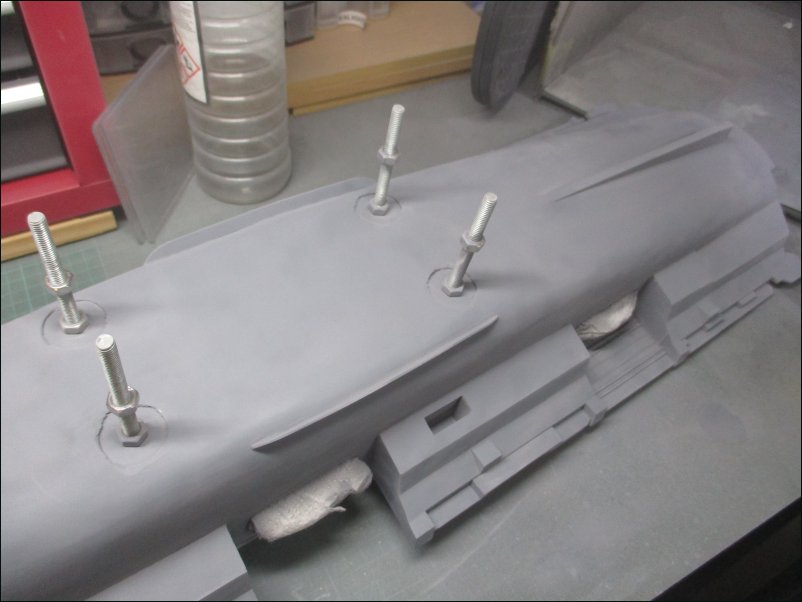
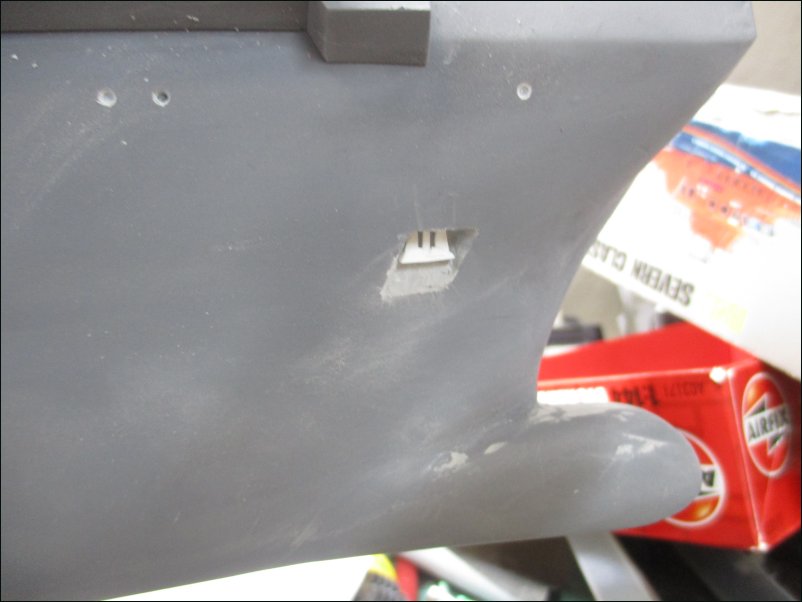
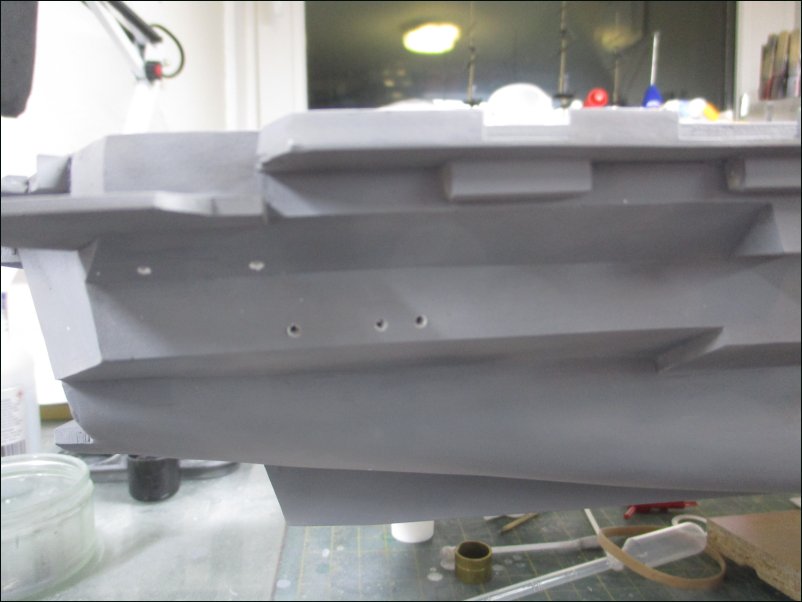
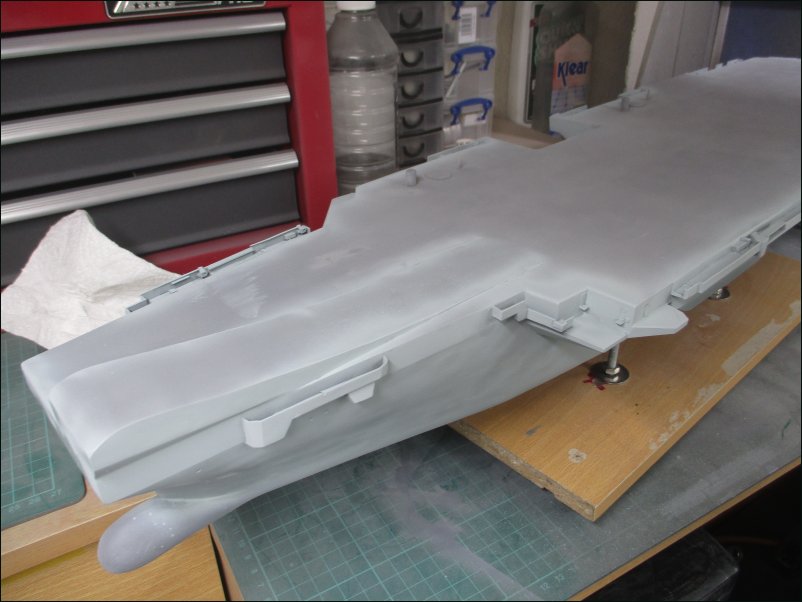
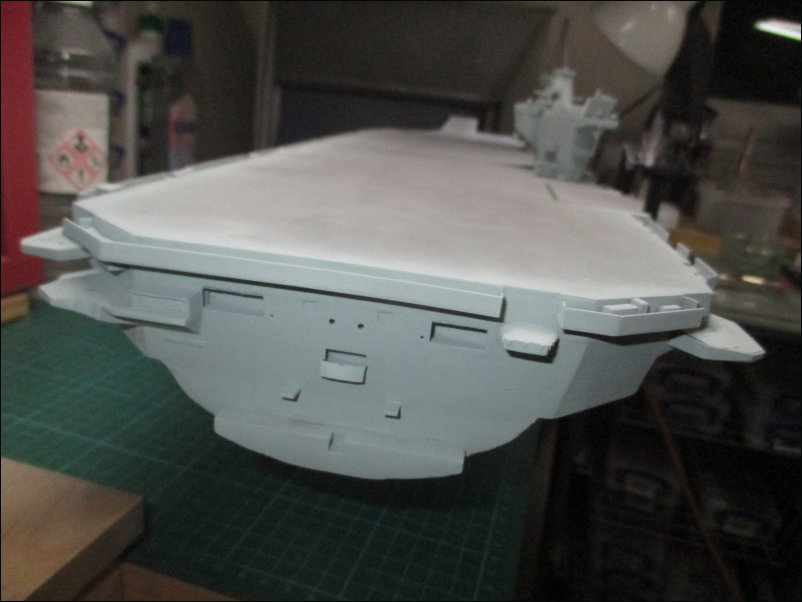
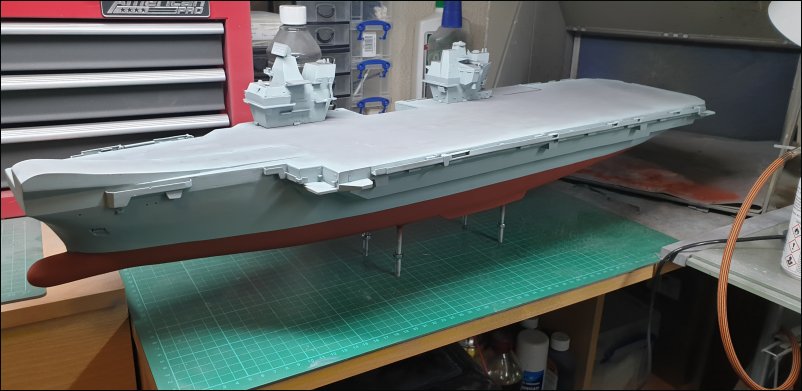
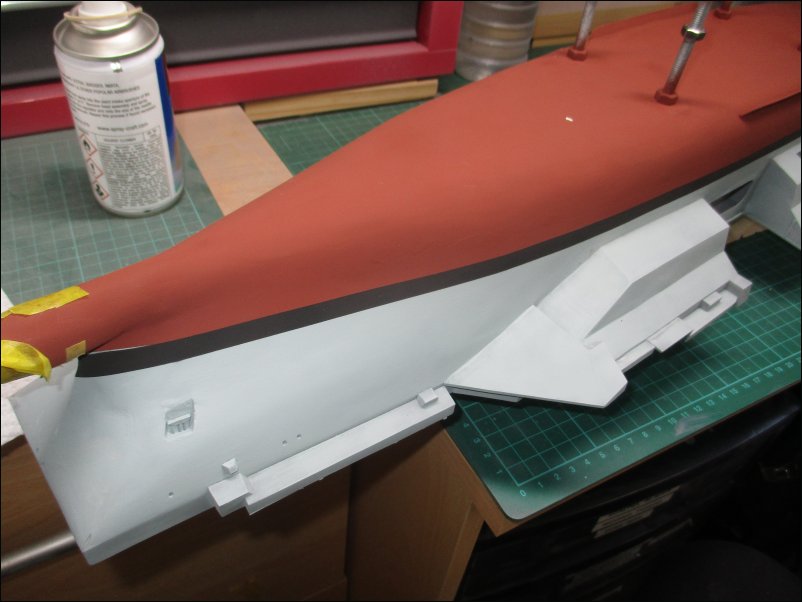
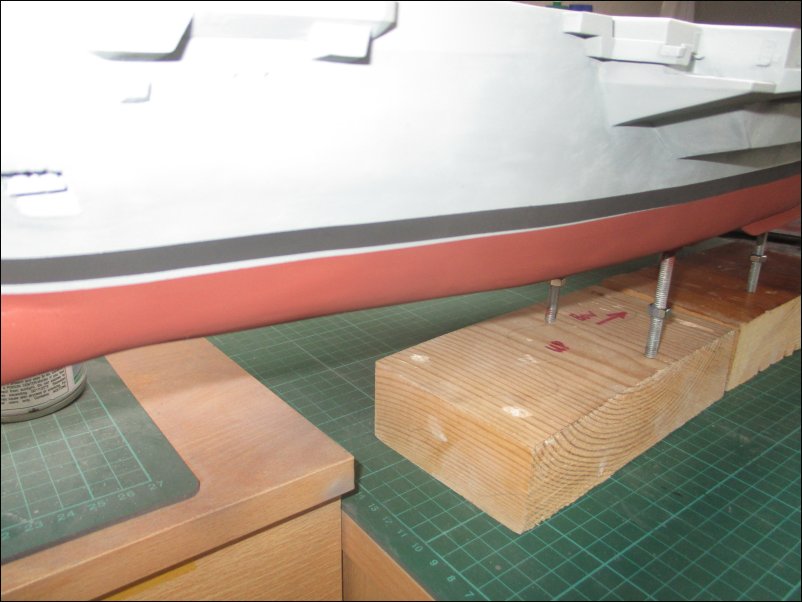
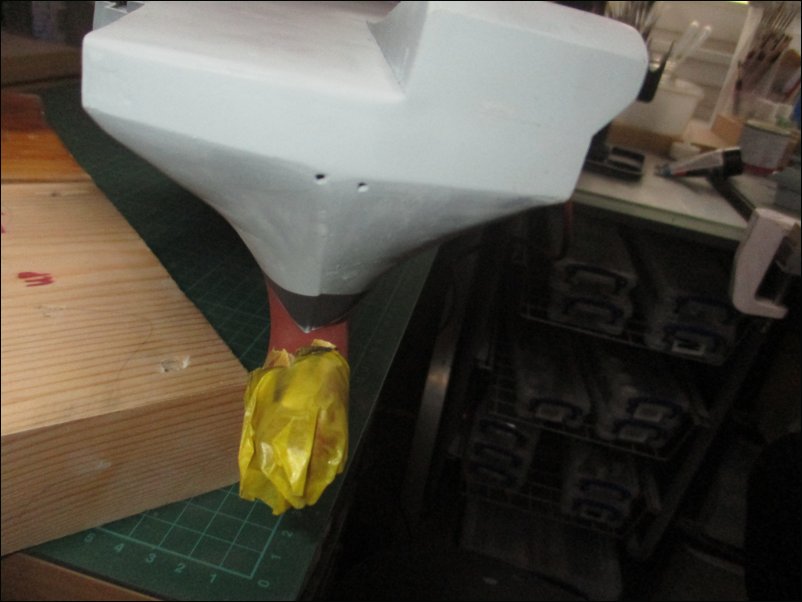
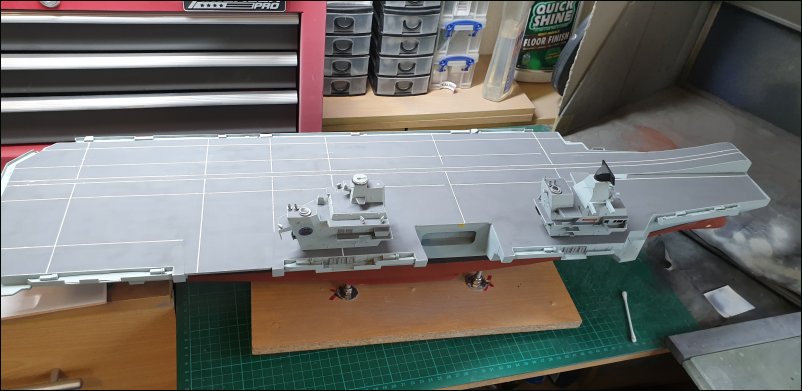
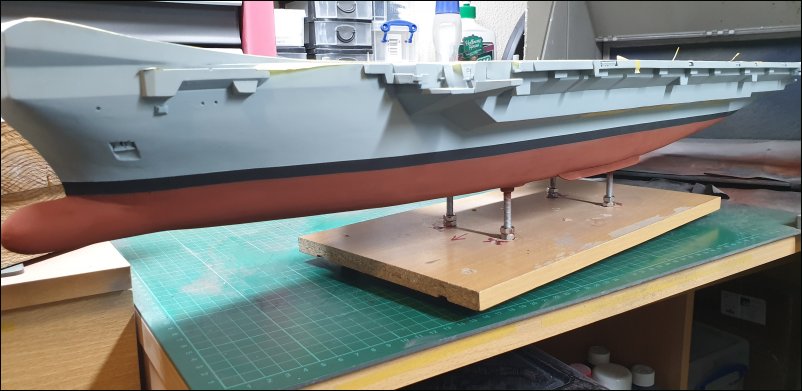
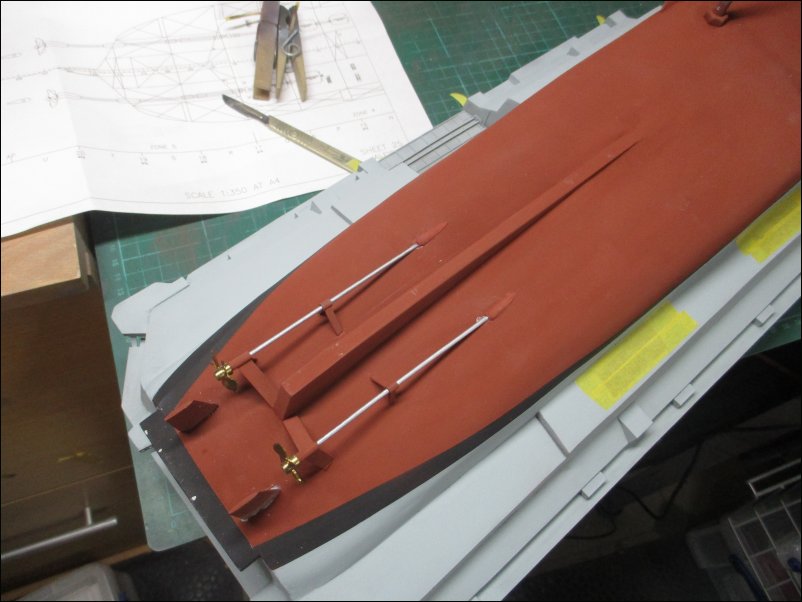
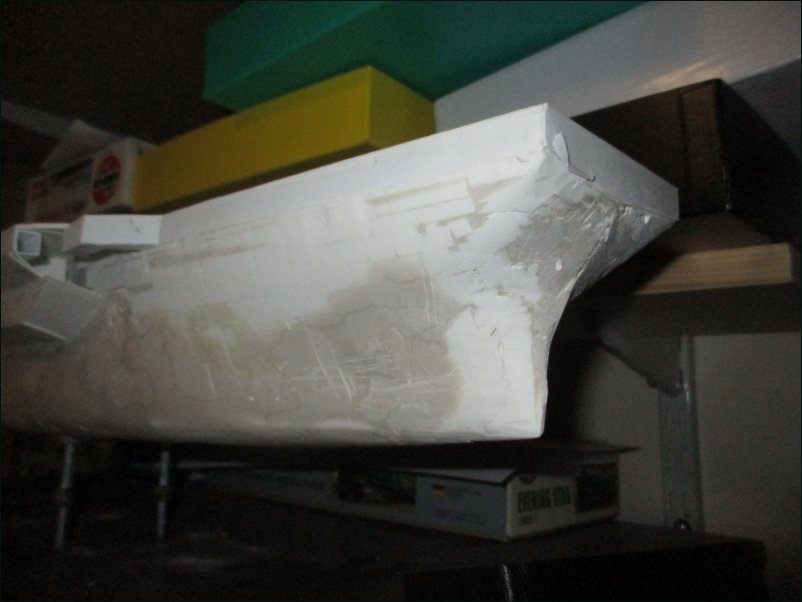
Another mammoth sanding session on the bow. The profile is getting there but I still need to remove a fair bit from just under the vertical bulkheads. That can't be done until the forward sponsons on each side are plated in - and they can't be done until the walkways are fitted:
Pic 152:
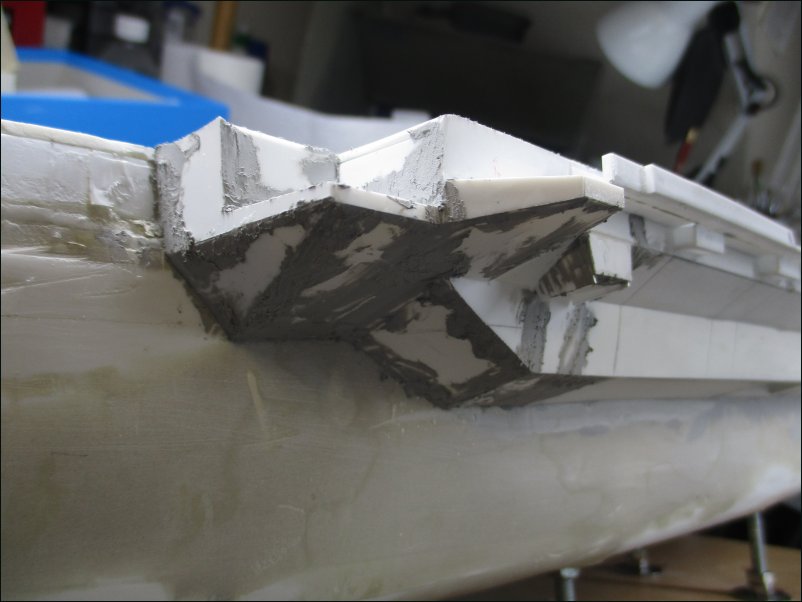
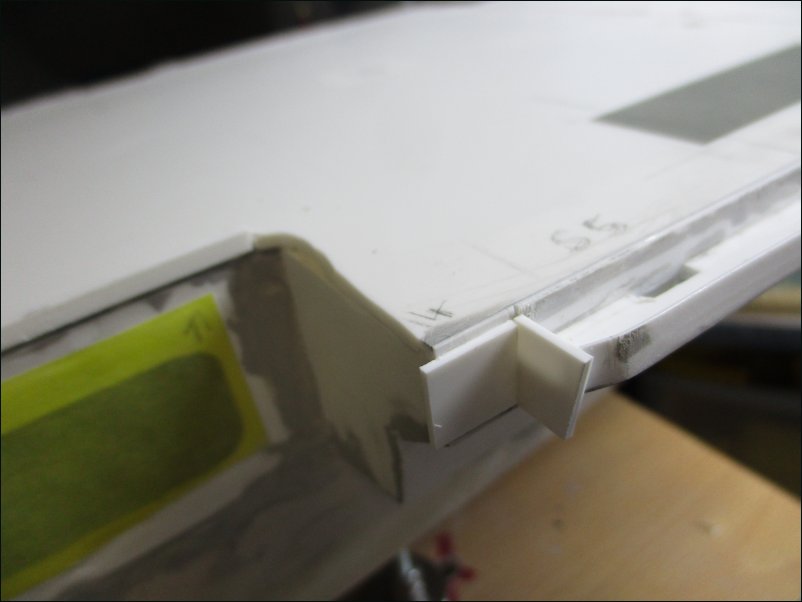
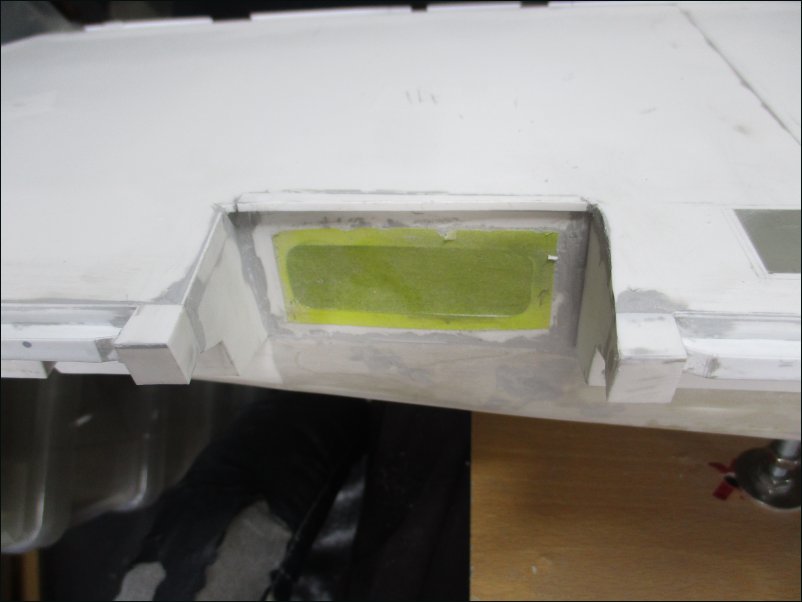
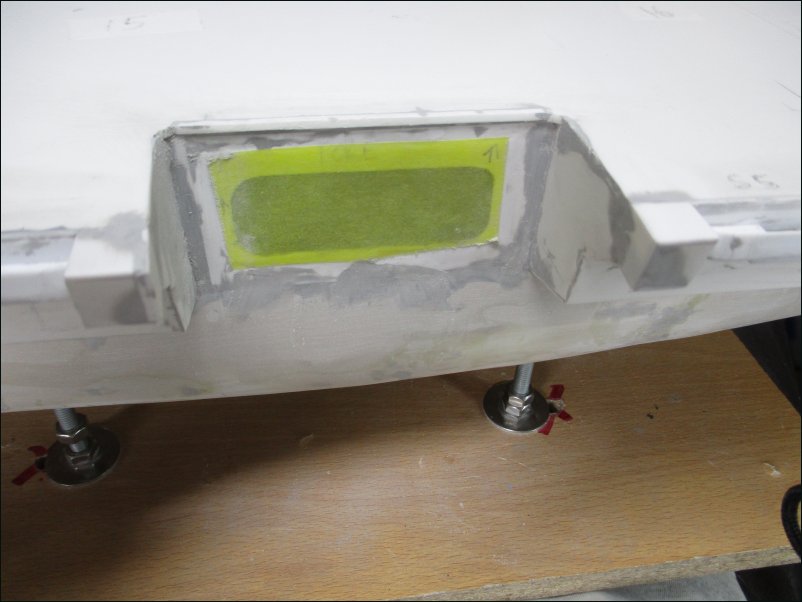
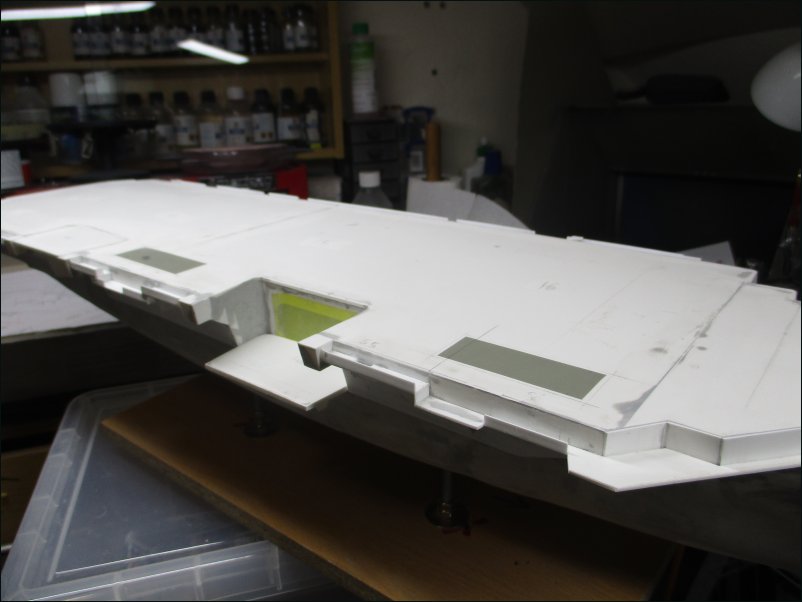
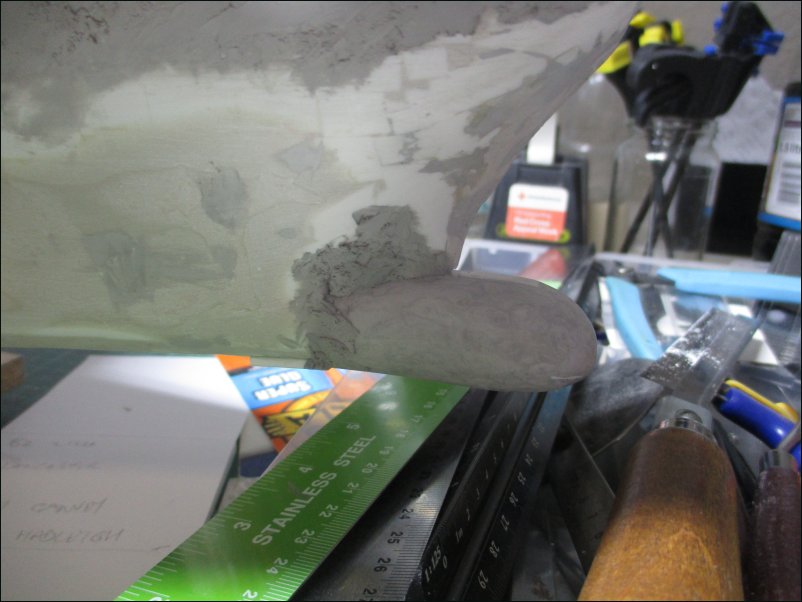
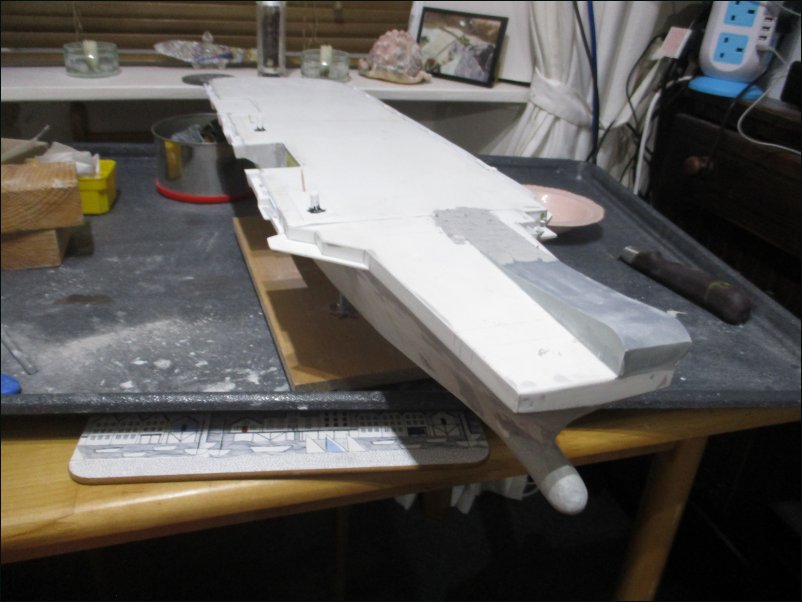
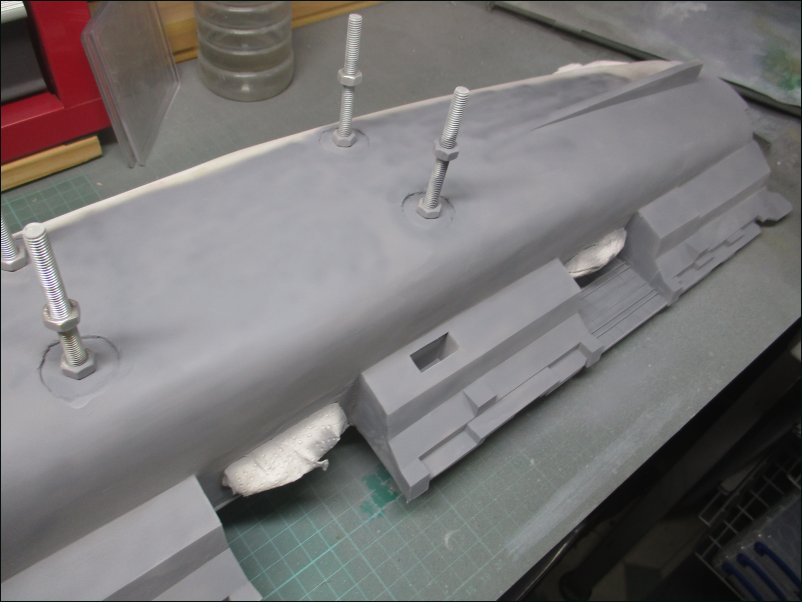
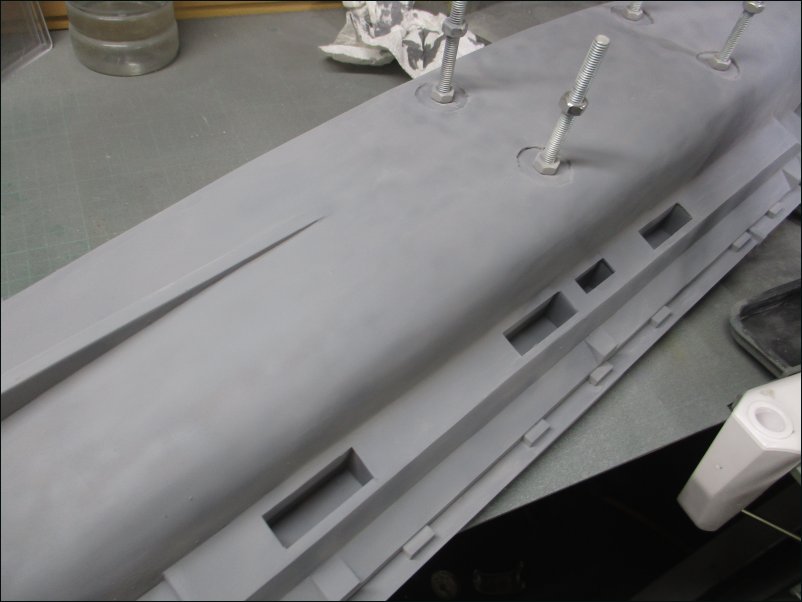
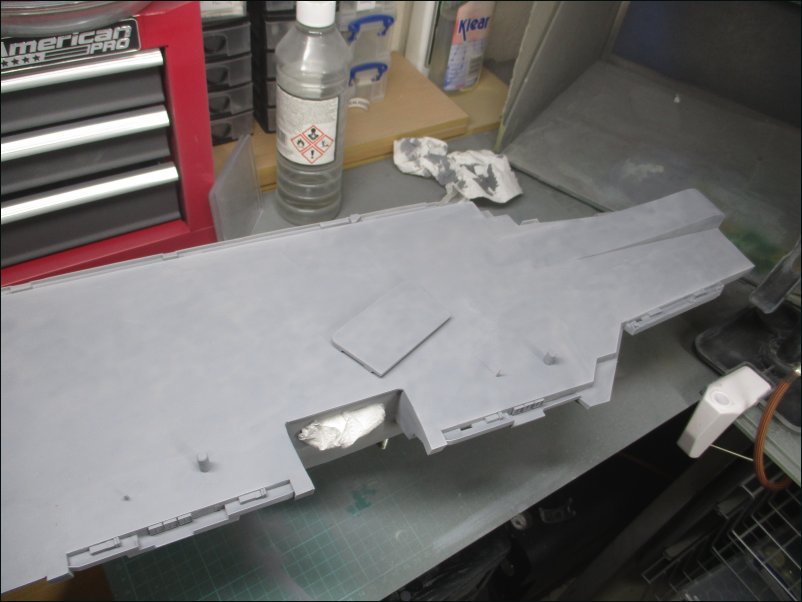
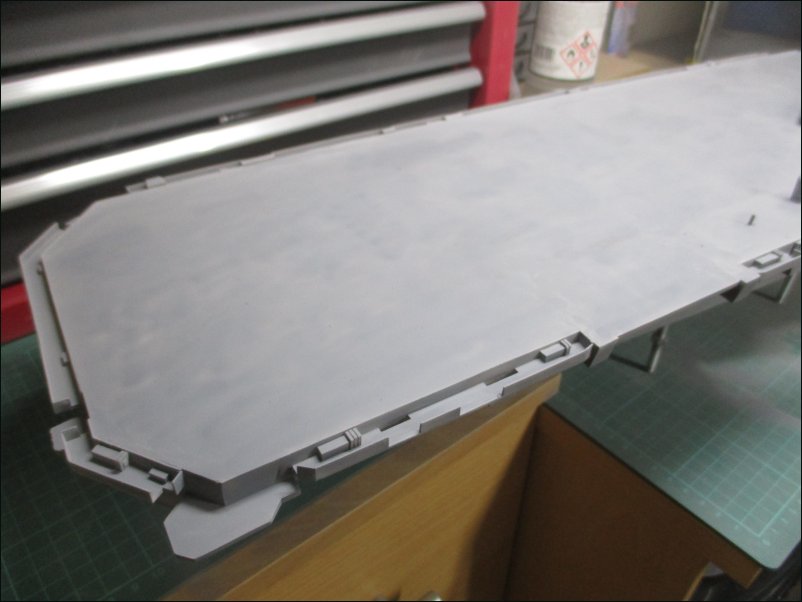
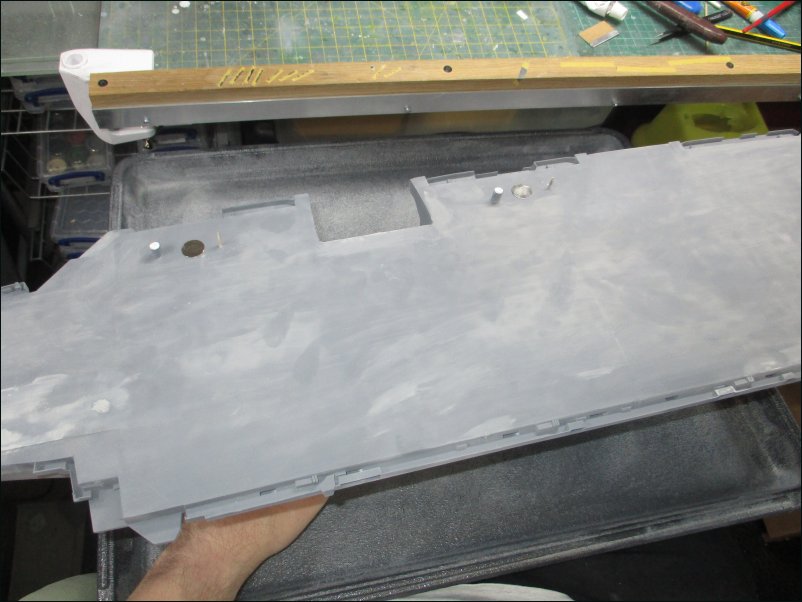
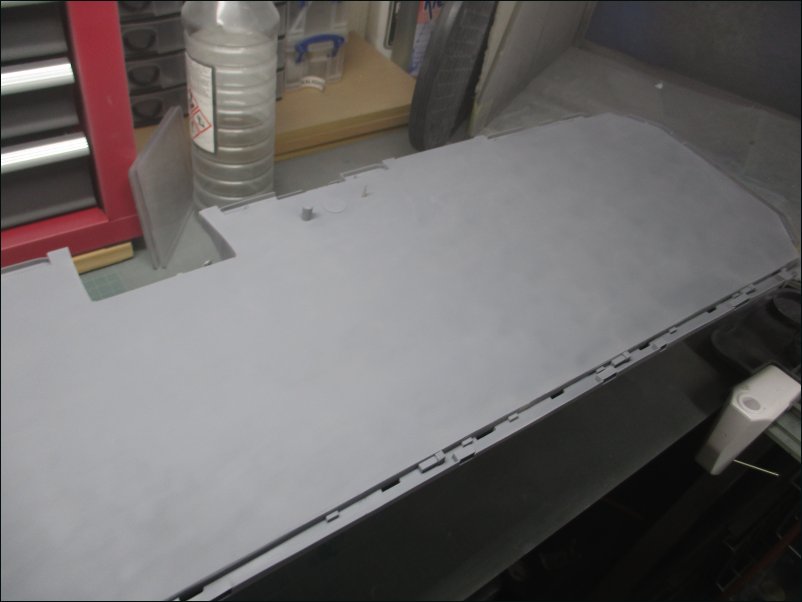
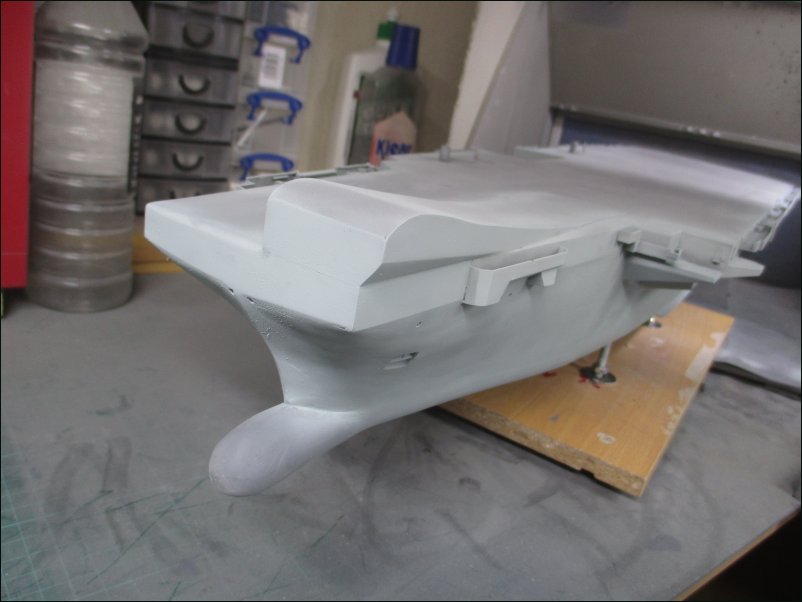
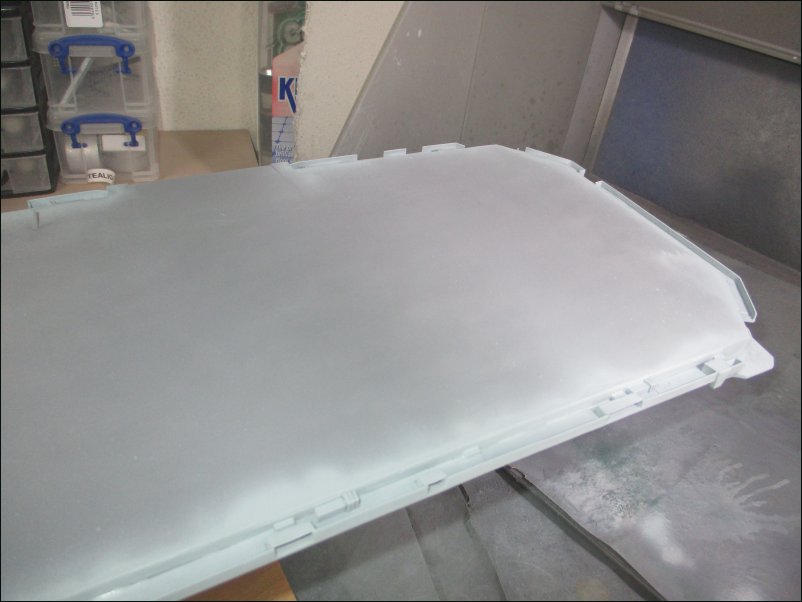
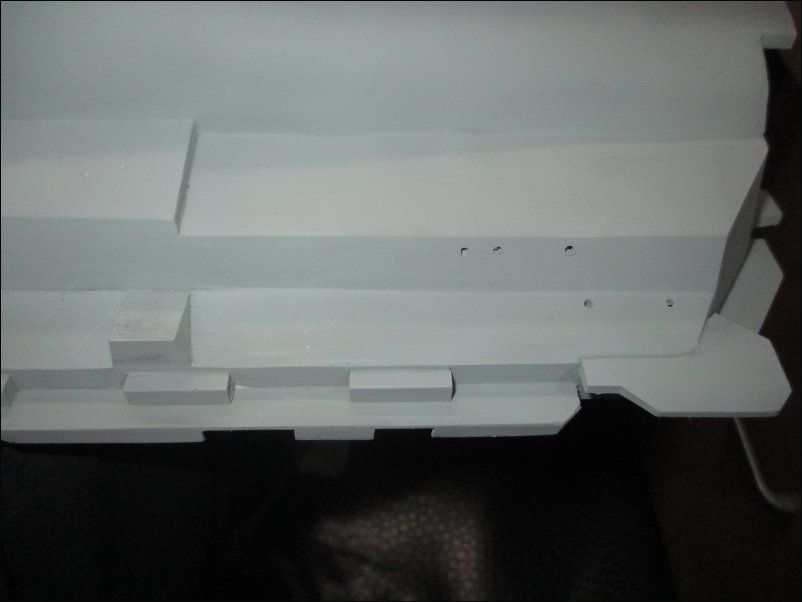
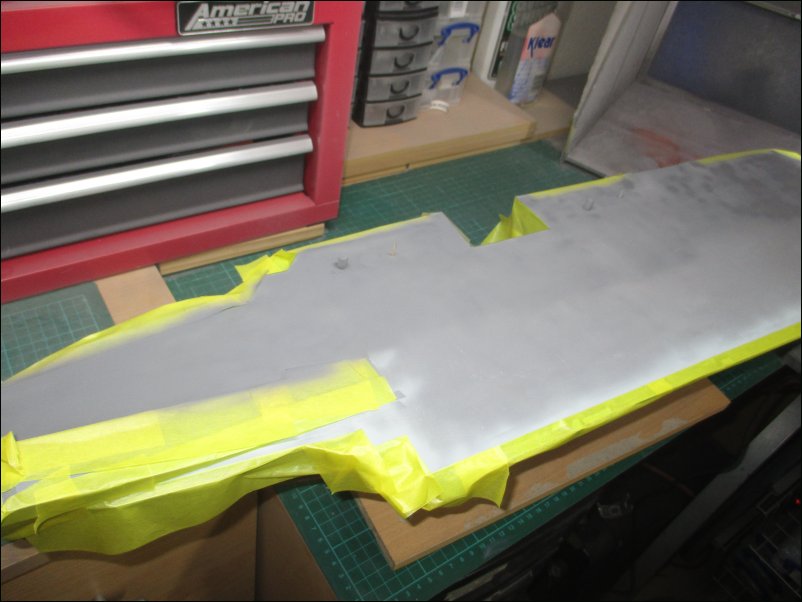
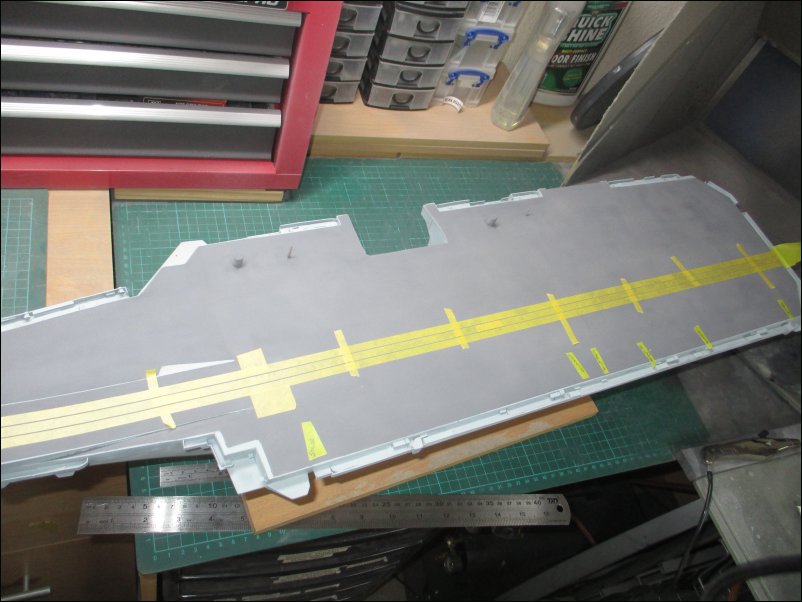
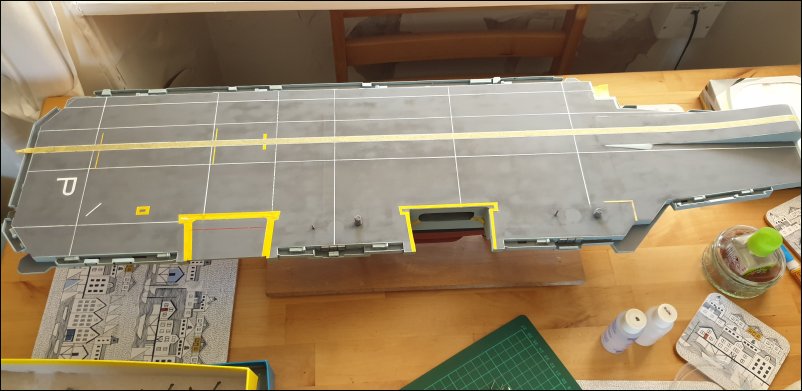
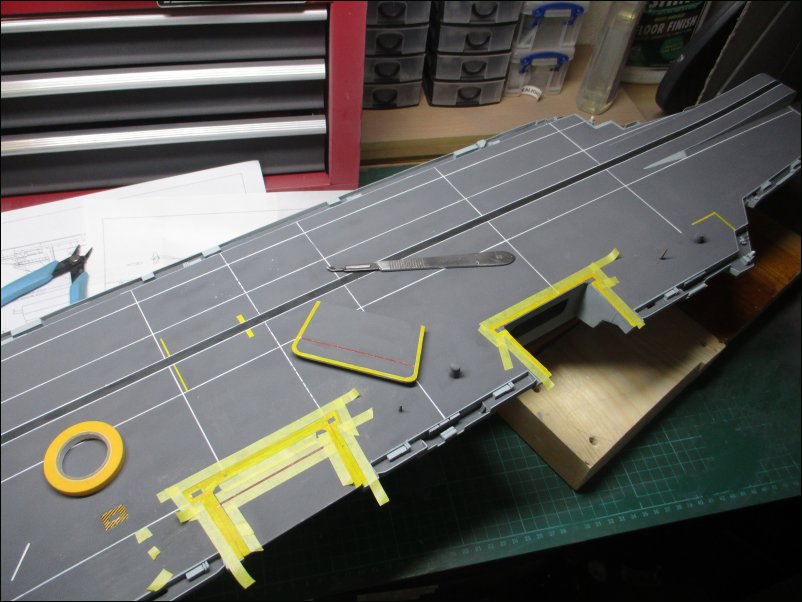
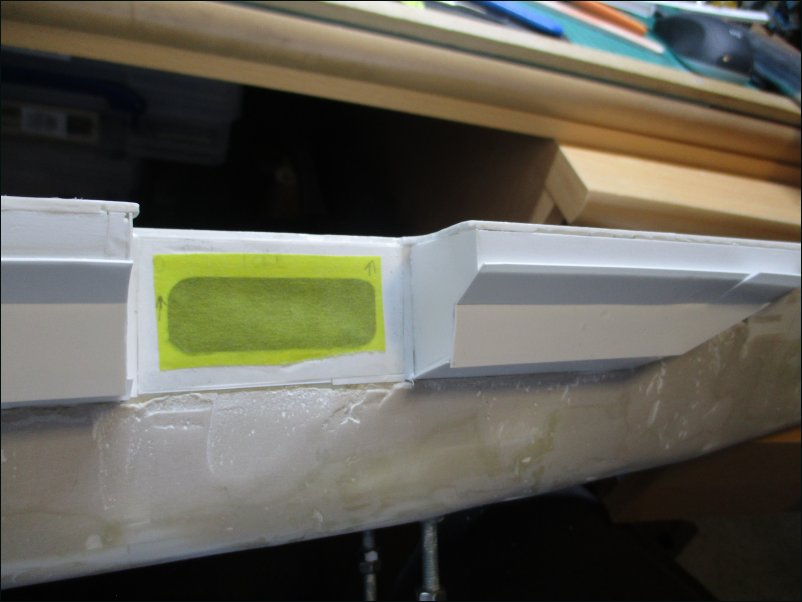
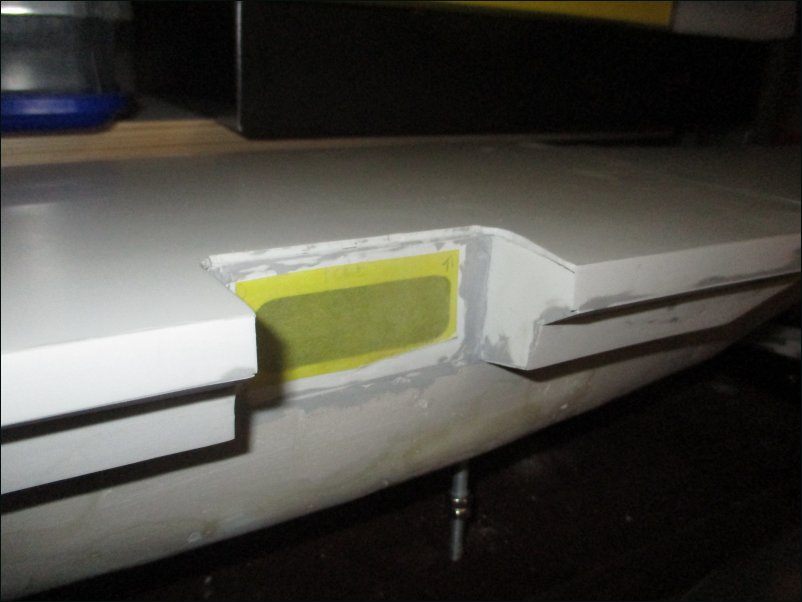
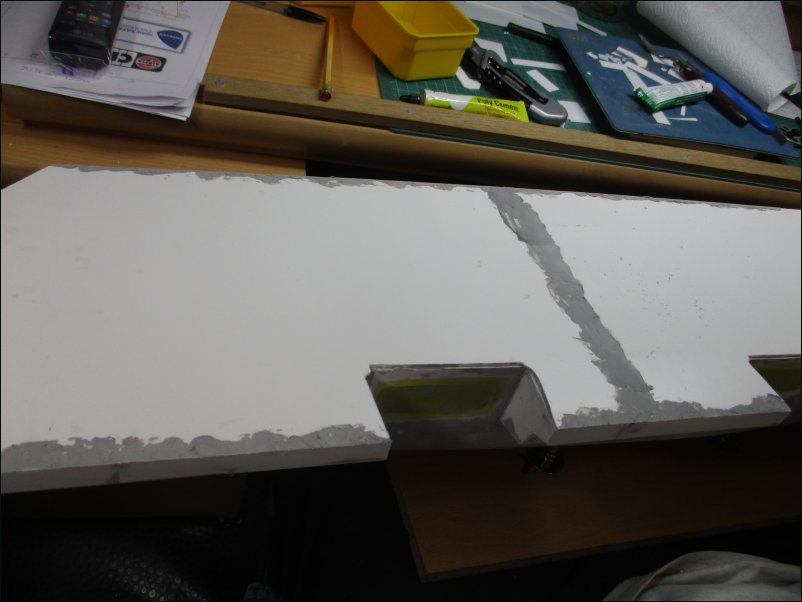
Prior to installing the walkways, it was time to get the filler out to clean up the edges and joins of the Flight Deck:
Pic 153:
That's all for now.
Dave
It was time to continue work on the Aft Islands of both builds. The major work would be the walkway that goes under the bridge windows and around each side. The walkway under construction:
Pic 142:
The starboard side is almost complete and vents have been glued in place just above the walkway. I have also glued fourteen roofs of the lighting hoods around the island:
Pic 143:
View showing both sides of the two Aft islands:
Pic 144:
Time to work on the ends of the starboard sponsons. The sponson bulkheads have been cut out:
Pic 145:
Sponson bulkheads were glued in place. The Hangar opening assemblies were also fitted with scrap plastic card filling any gaps:
Pic 146:
The lifts were cut out and ready for some detailing on their undersides. I won't be replicating every beam but will add just enough to look the part:
Pic 147:
Detailing underway:
Pic 148:
After hours of work, I have finished the detailing of the underside of the lifts and they will be fitted later in the build after painting:
Pic 149:
The cleaning up of the hangar door areas is progressing well. Here is the forward hangar opening:
Pic 150:
And here is the aft hangar opening:
Pic 151:
Another mammoth sanding session on the bow. The profile is getting there but I still need to remove a fair bit from just under the vertical bulkheads. That can't be done until the forward sponsons on each side are plated in - and they can't be done until the walkways are fitted:
Pic 152:
Prior to installing the walkways, it was time to get the filler out to clean up the edges and joins of the Flight Deck:
Pic 153:
That's all for now.
Dave
Last edited: