Theme editor

Scale Model Shop

Scratchbuilt 1/72 Avro Aldershot

Steve-the-Duck

Active member
SMF Supporters
Joined
Jul 3, 2020
Messages
1,800
Reaction score
115
Points
63
First Name
Chris
Location
Medway Towns
1/3
Thread owner
I could have added this to the completed thread, but I've a LOT of pics of the build. And no-one said you can't do the WIP stuff first

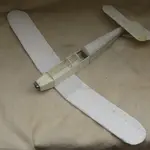
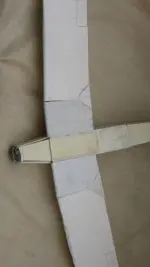
So, this was three months work, copious amounts of 10, 20 and 30 thou plasticard, a couple of missteps, a LOT of careful planning and doing things in the wrong order, but overall, I'm very pleased with the result. And it's not like anyone is going to kit this beast any time soon
And if they do, I can always convert it to an Andover transport
IMG_3699~2.webpIMG_3683~2.webp

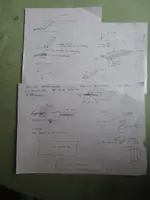
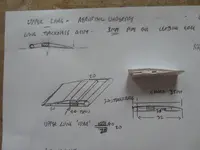
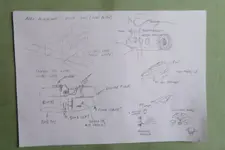
Starting off, sketches drawn from online pics, specifically Rex's Hanger Aldershot feature on Youtube. At the time, back in April, I didn't have a means to capture and print pics. Next there's the 'how to go about each piece.' This is the final layout, as I kept adding new stuff as I went
IMG_3613.webp
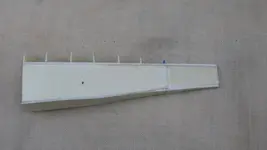
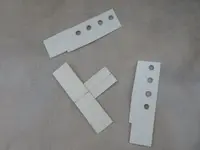
And this is where we start with the two main fuselage sides and the base (with 'main spar') already attached
Now, if I can only get the rest of the photos uploaded and accessible...
 
Thread owner
And we're up and running
IMG_3617.webp
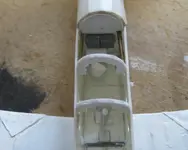
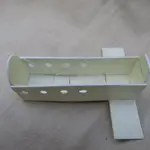
So, the crew cabin altogether, with a few spars added for detail. At this stage I already knew the interior when finished would be practically invisible, but hey...
IMG_3620.webpIMG_3619-1.webp
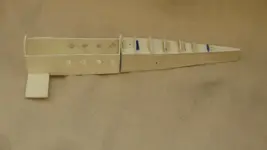
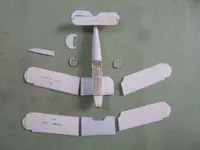
The tail box, interior structure and side panels
IMG_3621.webpIMG_3622.webp
Added formers for the upper surface shape. So far, everything was 20 thou plasticard
IMG_3629.webp
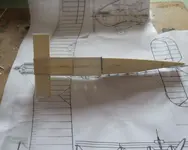
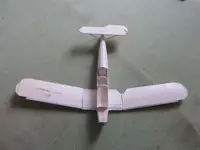
Tail assembly attached to the main cabin. It was all going well this far. Then I realised the amount of weight that would be on the butt joint between the two parts, what with all the tail surfaces to be added, so I later fitted two 1.2mm brass rods as support

IMG_3631~2.webpIMG_3632.webp
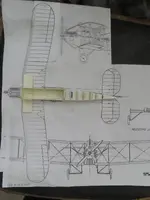
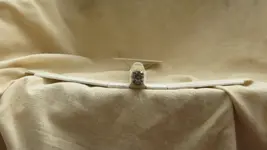
The scale plans I used are blown up photocopies from the Puttnam Avro book. Nothing wrong with my maths with the percentage increase; basically, what are the 'real' dimensions in 1/72, and how big are the pics
Sorted
 
Thread owner
Very nice work Steve. It will be a nice addition to your collection when completed 👍
Well, technically it already is. I've already posted the pics in the completed thread. But for best results, follow here and then go check out the outcome!
 
Thread owner
Okay, next
IMG_3636.webp
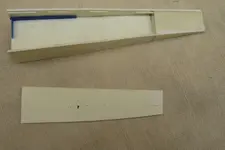
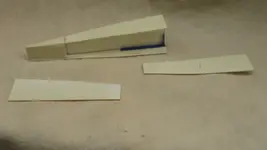
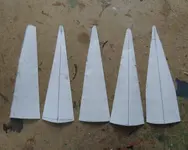
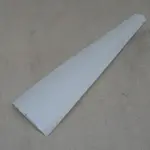
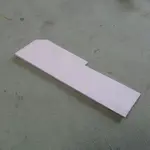
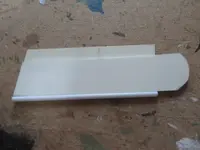
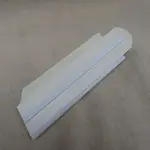
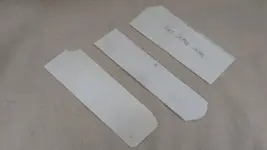
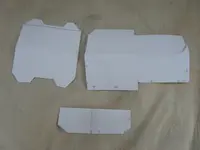
These are the paper and card templates for the rear fuselage upper decking. Measure five times, cut twice, which eventually lead
IMG_3634.webp
to this. All the skinning of the model is 10 thou plasticard, scribed on the inside to make ribs. Still needed fettling afterwards, but this was only the second attempt in plastic

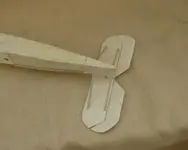
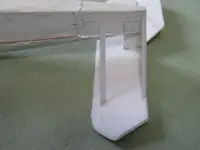
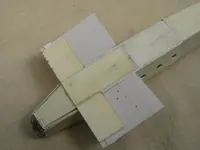
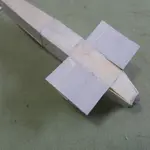
Then onto the tail surfaces. The body is 20 thou card again with the 10 thou skinning
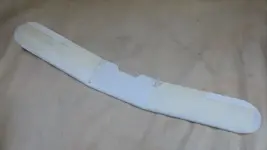
IMG_3649.webpIMG_3655.webpIMG_3656.webp
Support struts are my ubiquitous Aeroclub stut material, which I REALLY need to find more of. Naturally, the struts got a bit knocked about a bit through the rest of the build, and one of the elevators came off, and stayed off thill MUCH later
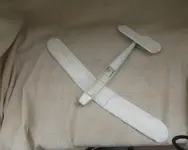
Also, the tail surface is supported by a piece of brass rod, and at this stage a long tail fin, which I later realised is only on the Mk.I prototype, so that got cut off later
IMG_3650.webp
The rudder, which was left off almost to the very end, is a !0-20-10 sandwich. Not my first attempt at this either, as my Breda Ba.44 from waaay back will attest.
 
Thread owner
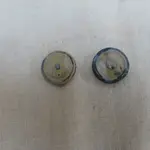
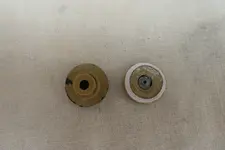
Now, the wheels are one of the few parts from somewhere else. I don't have a method of making big circular pieces so
IMG_3651.webpIMG_3654.webp
These, would you believe, are road wheels off an OLD Tamiya Panzer II!
 
Thread owner
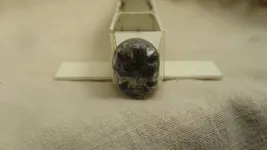
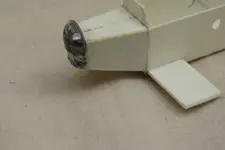
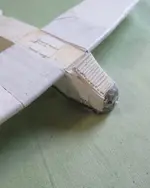
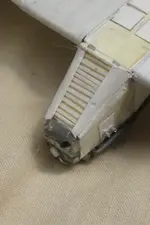
So, would you believe the nose piece is an old 3D support piece?

IMG_3645.webpIMG_3647.webpIMG_3648.webp
A bit of fettling, filling and venting, plus a road wheel off a 1/72 Lorraine 37, and the nose is in place, on a simple box of plasticard
Later, I will realise that the whole nose piece is mounted 4mm too low. The base should NOT align with the fuselage bottom!

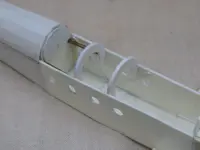
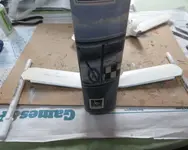
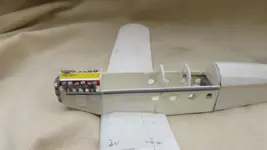
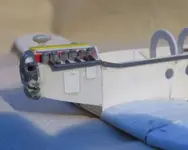
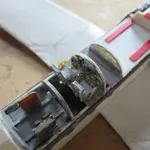
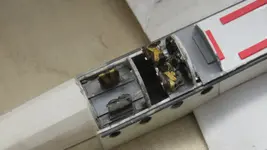
Now, here we have the Cockpit formers in place, plus the brass support rods for the tailIMG_3653.webpIMG_3652.webp
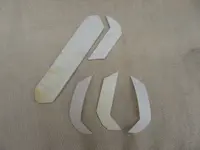
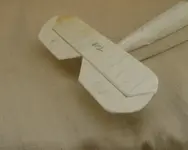
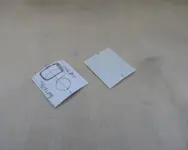
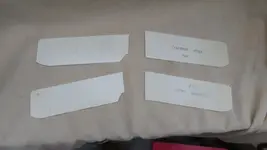
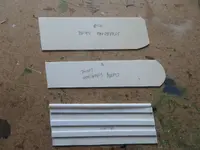
And the card templates for the cockpit coaming. Wait! It says that on the template!
 
Back
Top