Theme editor

Scale Model Shop

Steve's Hasegawa 1/72 AH-64A Apache Attack Helicopter

HAWKERHUNTER

Active member
SMF Supporters
Joined
Feb 29, 2012
Messages
2,587
Reaction score
1,619
Points
113
First Name
Steve
Location
Halifax, West Yorks.
1/3
Thread owner
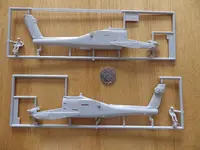
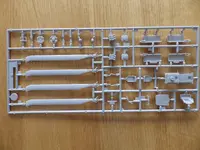
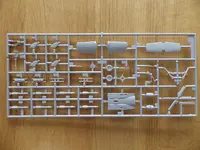
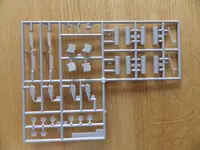
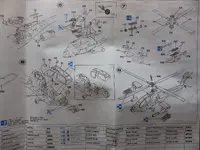
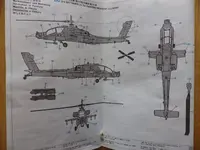
A last minute change of direction for me on this one. I was going to do something from the space race period but had this bad boy kicking around in my stash for some time. I think it fits the criteria for "Iconic" Geoff as the Apache is a combat proven. battle tested piece of American military hardware feared by many and which is still regarded as the world's most advanced and proven attack helicopter. More pictures and spru shots will follow later.
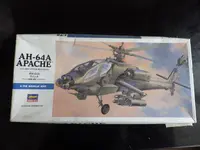
IMGP0038.webp
 
A last minute change of direction for me on this one. I was going to do something from the space race period but had this bad boy kicking around in my stash for some time. I think it fits the criteria for "Iconic" Geoff as the Apache is a combat proven. battle tested piece of American military hardware feared by many and which is still regarded as the world's most advanced and proven attack helicopter. More pictures and spru shots will follow later.
View attachment 1285604
Yep it’s certainly iconic, good luck with the build 👍

Geoff.
 
Thread owner
Thread owner
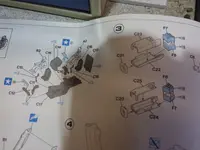
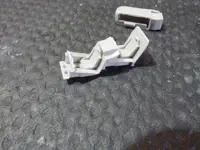
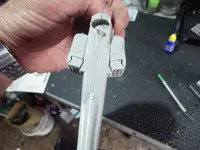
Off and running at last. This is my first experience of a Hasegawa model so it will be an eye opener for me. Progress on the office and motors
IMGP0073.webp
All parts fitted together really nicely so far.
IMGP0070.webp
IMGP0071.webp
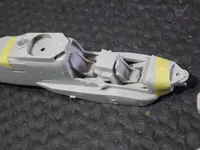
After the trouble I had with my last ventue I just had to do a dry fit with the cockpit into the fuzz. Fitted lovely, no issues at all.
IMGP0074.webp
I think I am going to enjoy this little heli.
 
Apache helicopter - definitely iconic US. I hope the good fit of parts continues.
 
Well this looks a whole lot easier than the Mossie. The perfect antidote to a 'challenging' kit. Looking forward to this one.
 
Thread owner
Off to a good start Steve. Sounds like you are having a good experience with the Hasegawa kit.
Thanks Joe. Yes, so far so good. For too long I have been blinkered into using Revell or Airfix so its time to expand my horizons and see what else is out their.
 
Thread owner
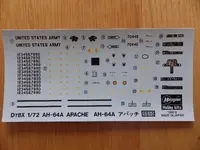
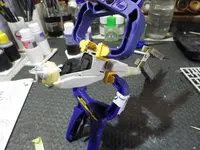
Office painted in matt black. I then coated the area where the decals were going to be applied with a coat of gloss. I am not sure how old the decals are, they have a date of 1992 but the box art of this model came out around 1999-2000. To avoid any issues with the decals I gave them a coat of decal film to be on the safe side. Decals were applied without any issues.
IMGP0084.webp
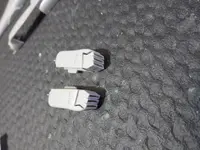
Next up I attached the engine nacelles to the fuzz sides and joined the two fuzz halves together
IMGP0075.webp
IMGP0085.webp
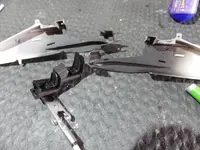
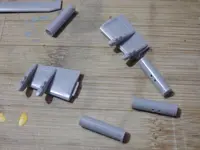
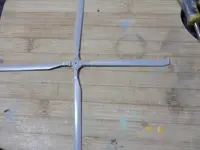
Next up was to assemble the stub wings and rotor blades
IMGP0087.webp
IMGP0086.webp
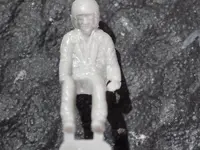
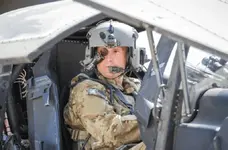
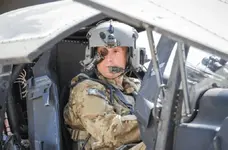
The model comes with a pilot and co pilot/gunner. I dont normally bother with pilots especially in this scale but may have a go at painting them up in the below colours
IMGP0080.webp
Elbit-Systems-of-America-IHADSS.webp
Thats it for now.
 
Thread owner
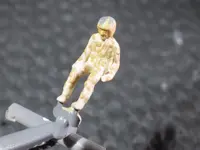
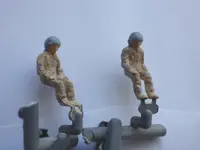
I am not usually one for putting pilots into models. Generally I feel the model looks more realistic without probably because I dont have the skills for fine detailing, faces etc especially in 1/72 scale. But the Apache has a huge cockpit space and lacks detail so I thought I would have a go with the pilot and weapons officer/co pilot.

I have deviated away from the instructions green suited color guide and gone with my own design to replicate the flying suits we often see.
Elbit-Systems-of-America-IHADSS.webp
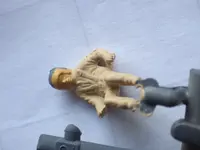
Started off with primer and then used some Games workshop acrylic Flesh for faces. Then I toned down some Revell matt 17 Africa brown with some matt white to make a very light shade of brown Put this on as the base coat.
IMGP0098.webp
Next I applied Matt 17 as it comes out the tin. I used a cocktail stick and pin to dab it on.
IMGP0092.webp
I then toned down some Revell 83 Rust Matt using matt white and put that on in light dabs. Ended up with this.


IMGP0102.webp
Not brilliant but they will do. Ill give them a coat of gloss and pop a wash into the face and then a light dry brush to finish and they can go in.
 
Back
Top