
You are using an out of date browser. It may not display this or other websites correctly.
You should upgrade or use an alternative browser.
You should upgrade or use an alternative browser.
Tamiya 'famo' 18 ton halftrack
- Thread starter shovelhead 1977
- Start date
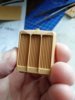
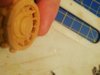
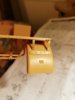
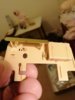
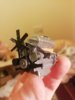
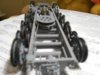
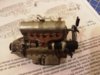
sorry pictures are not to clear, these are a few of the assembled parts ready for detailing. just been reading through the instructions and found one mistake it ,the road wheels all come in two halves which are to be cemented together then fitted to the axles once cemented together you can't fit them all on as they are supposed to sort of overlap each other but you cant fit them on this way,best way is to fit inner halves to axles then cement the outer halves in place !
Attachments
-
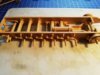 tamiya 'famo' 18 ton halftrack chassis and suspension fitted.jpg2.8 KB · Views: 0
 -
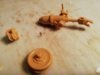 135 scale tamiya ' famo' 18 ton halftrack coupling parts.jpg2.2 KB · Views: 0
 -
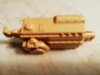
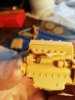
 135 scale tamiya ' famo' 18 ton halftrack engine.jpg2.4 KB · Views: 0
 -
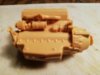
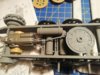
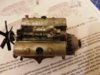
 135 scale tamiya ' famo' 18 ton halftrack gearbox.jpg2.1 KB · Views: 0
 -
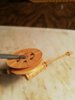 tamiya 'famo'18 ton halftrack winch complete.jpg2.1 KB · Views: 0
 -
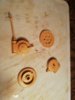 135 scale tamiya ' famo' 18 ton halftrack 22 ton winch parts.jpg2.3 KB · Views: 0
 -
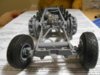
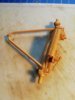 135 scale tamiya ' famo' 18 ton halftrack front axle complete.jpg2.3 KB · Views: 0
 -
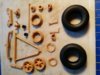 135 scale tamiya ' famo' 18 ton halftrack front axle parts.jpg3.3 KB · Views: 0
 -
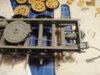
 135 scale tamiya ' famo' 18 ton halftrack suspension parts.jpg2.5 KB · Views: 0
 -
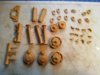 135 scale tamiya ' famo' 18 ton halftrack suspension parts.jpg2.8 KB · Views: 0
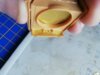
If you have glued the wheels together. You can get them on the axles by standing the wheels up in the "assembled" position and place the chassis alongside and carefully move them into place and press onto the axles....
Ask me how I know...
Ask me how I know...
G
Guest
Guest
Just keep the outer faces of the wheel axes clear of paint (or scrape it off, of course), then install them like you say — you can still glue the inner and outer halves together fine.best way is to fit inner halves to axles then cement the outer halves in place !
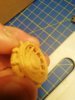
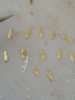
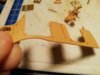
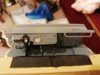
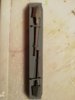
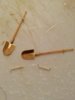
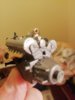
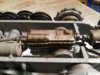
a couple of photo etched parts fitted to headlights and engine, also some track parts
Attachments
-
 headlights and photo etched mounting plates fitted,.jpg2.4 KB · Views: 0
 -
 some photo etched parts fitted to engine.jpg2.9 KB · Views: 0
 -
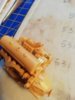 photo etched parts fitted to engine.jpg2.5 KB · Views: 0
 -
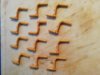
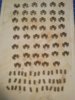
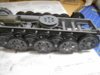
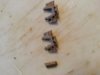 track links 46 each side.jpg1.7 KB · Views: 0
 -
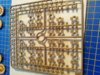 track link parts 'three of these sprues'.jpg3.8 KB · Views: 0
scottie3158
SMF Supporters
1/3
Hi Raymond,
Nice work I will follow along.
Nice work I will follow along.
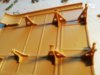
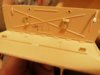
more photo etched fitted, bit of tidying up to do and then be ready for painting , brackets fitted to bottom of body bit more tidying and painting to do !
Attachments
scottie3158
SMF Supporters
1/3
Ray,
Nice work on the etch.
Nice work on the etch.
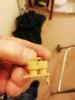
done some of the track just waiting for glue to dry plates now fitted to both drive sprockets,what a fiddly job that was but got there in the end !
Attachments
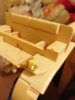
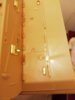
pic 1 and 2 tying down eyes, brackets,,strap with buckle , and two floor mounted brackets pic 3 tool tray and locker clasps, pic 4 body side with door tie down eyes pic 5 mudguard hinge pic 6 air filter clamps
Attachments
-
 more photo etched parts fitted (6).jpg2.5 KB · Views: 0
 -
 more photo etched parts fitted (5).jpg2.2 KB · Views: 0
 -
 more photo etched parts fitted (4).jpg2.6 KB · Views: 0
 -
 more photo etched parts fitted (3).jpg2.8 KB · Views: 0
 -
 more photo etched parts fitted (2).jpg2.3 KB · Views: 0
 -
 more photo etched parts fitted (1).jpg1.9 KB · Views: 0
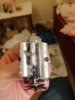
engine near completion, just a few little details to add, winch , cable and gearbox ready, bit of touching up on the painting and then ready for weathering !
Attachments
tried a bit of dirtying up today, never done weathering or anything like this before, any opinions welcome !
Attachments

scottie3158
SMF Supporters
1/3
Ray,
Nice work.
Nice work.
Legal Notice
scalemodelling.co.uk is a privately operated online discussion forum. All content posted by members reflects their own views and opinions and does not necessarily represent those of the forum owners or administrators. While reasonable efforts are made to moderate content, no responsibility is accepted for user-generated material. By using this site, you agree to comply with UK law and the forum rules.